The problem was, we were all on motorcycles and there wasn't really a good place to strap on a couple bundles of wood.
We did some engineering and math calculations / roshambo to see who would carry the wood. In the end, Tyler lost and we loaded the wood up against his sissy bar and risked it possibly ripping a hole in his seat. Luckily we were only a couple miles from camp.
 Two bundles of fire wood in not the ideal place on Tyler's Panhead.
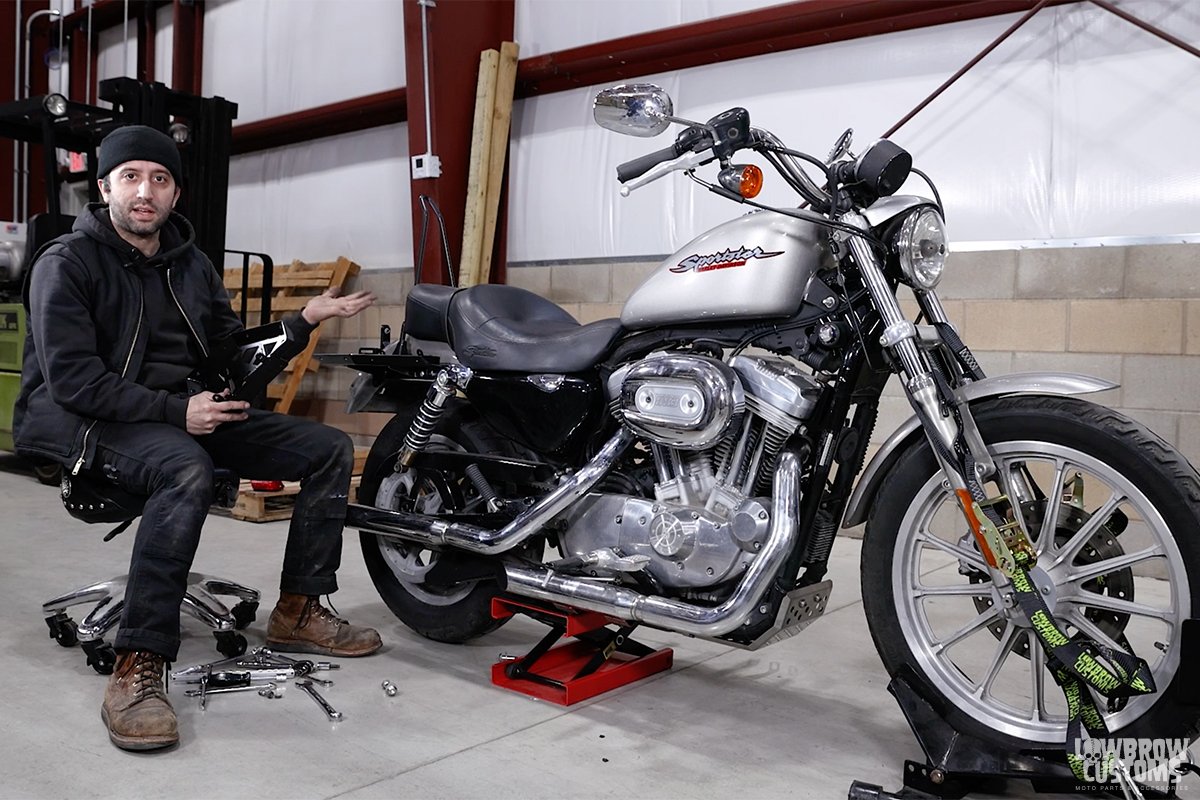
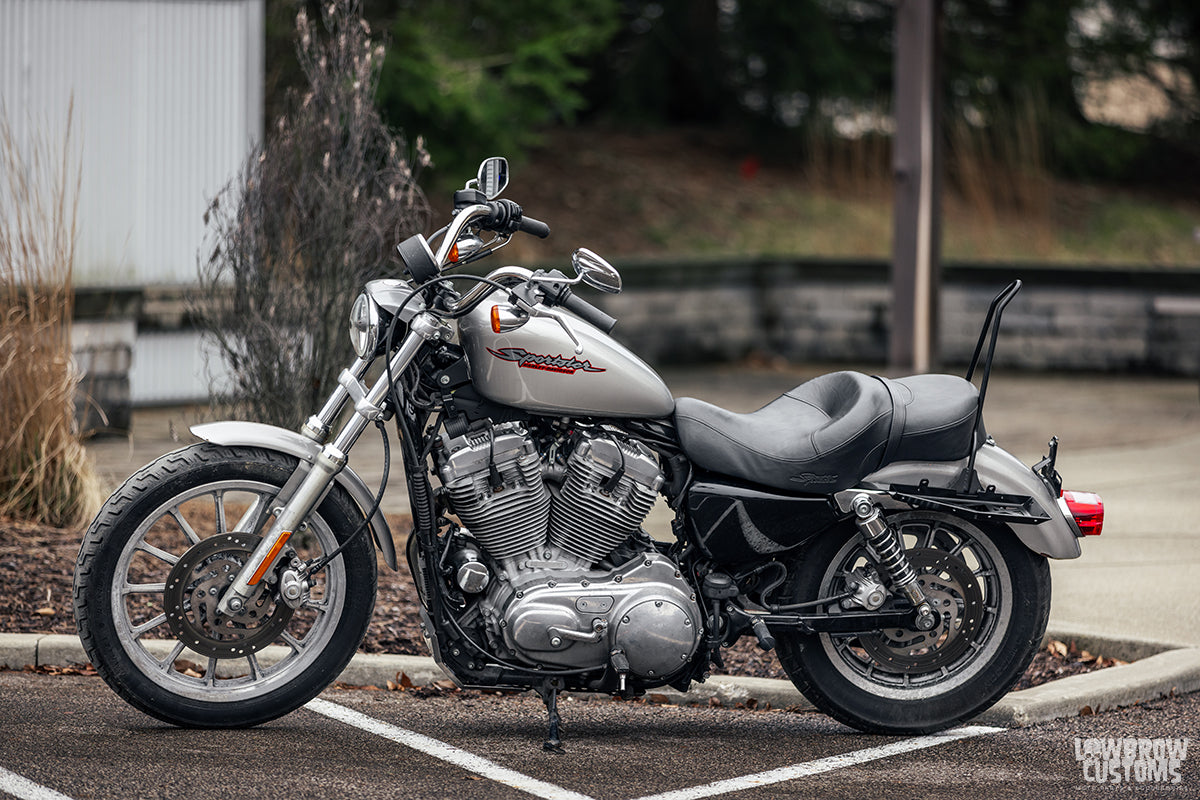
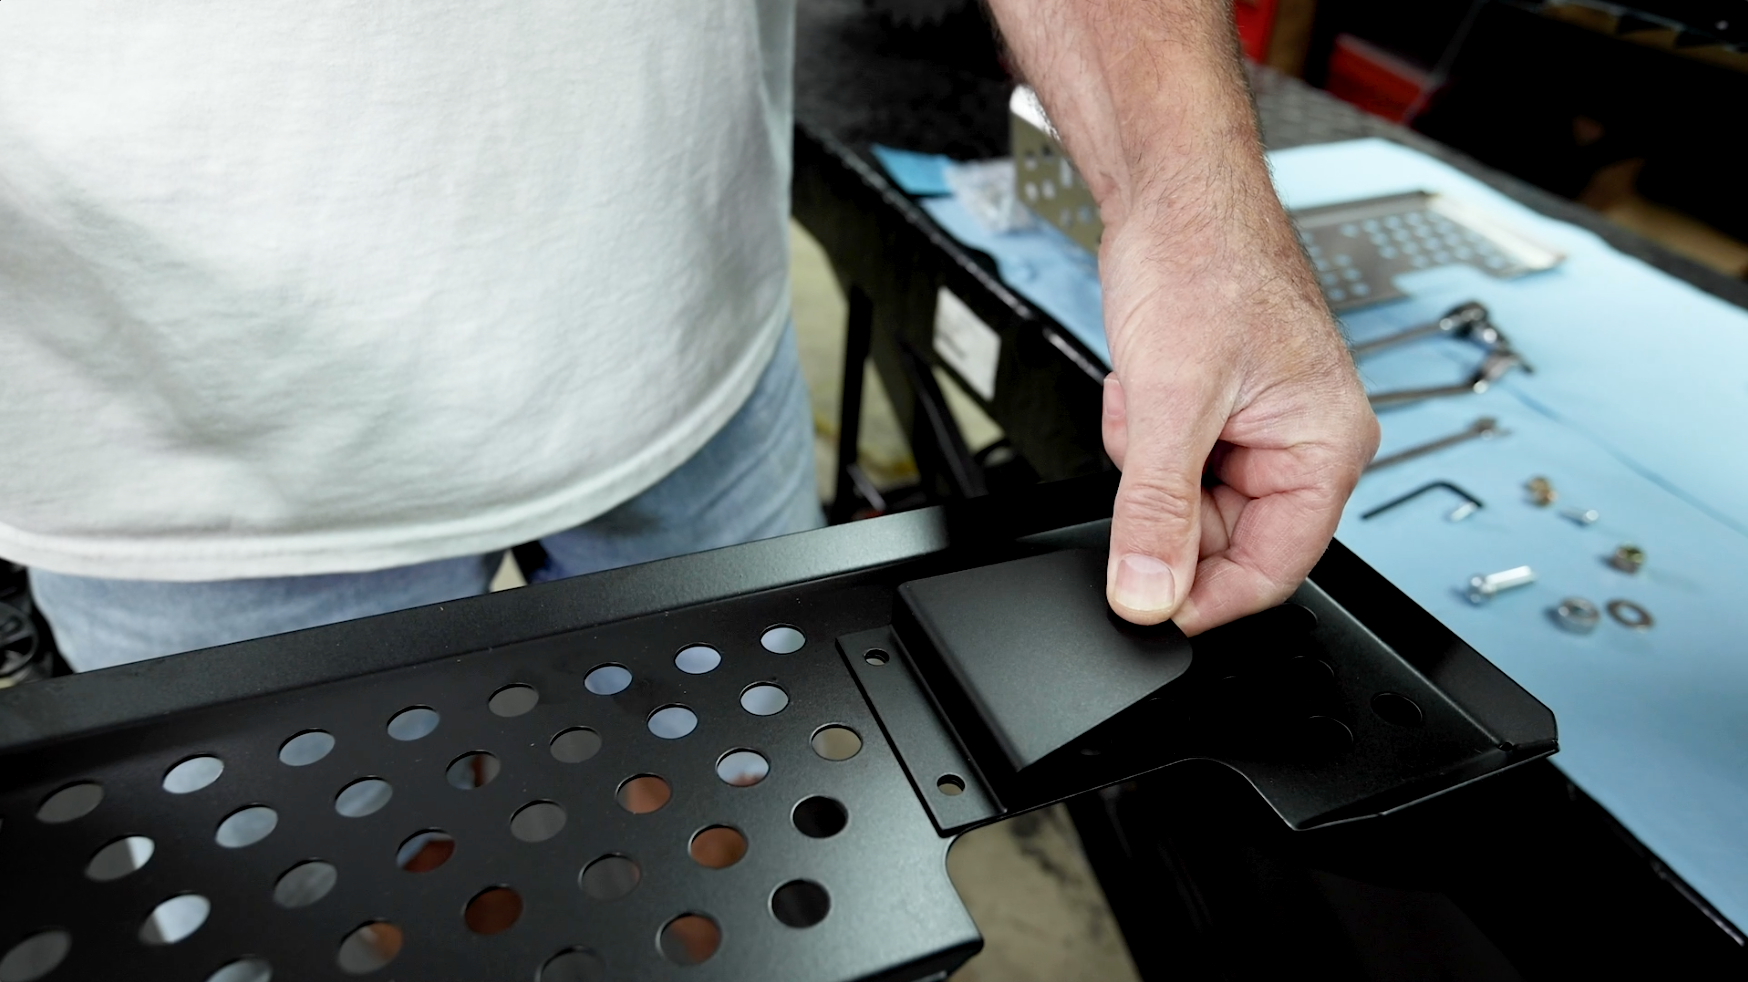
With that scenario in mind, the new Moto Luggage Rack was born. These Moto Luggage Racks are made right here in Ohio, consisting of three piece construction with gussets and are incredibly beefy. There is an array of holes spread out on the rack as well to allow easy use of bungees and cargo nets.
There are two variations of the Moto Luggage Rack where you can mount it either on the left or right side of your motorcycle. They are made for three models of bikes, 1994 - 2003 Sportsters, 2004 - 2022 Sportsters, and 2006 - 2017 Dynas. Oh, and did we mention they are all incredibly easy to install?
WATCH VIDEO: HOW TO INSTALL MOTO LUGGAGE RACK ON 1994-2003 HARLEY SPORTSTERS
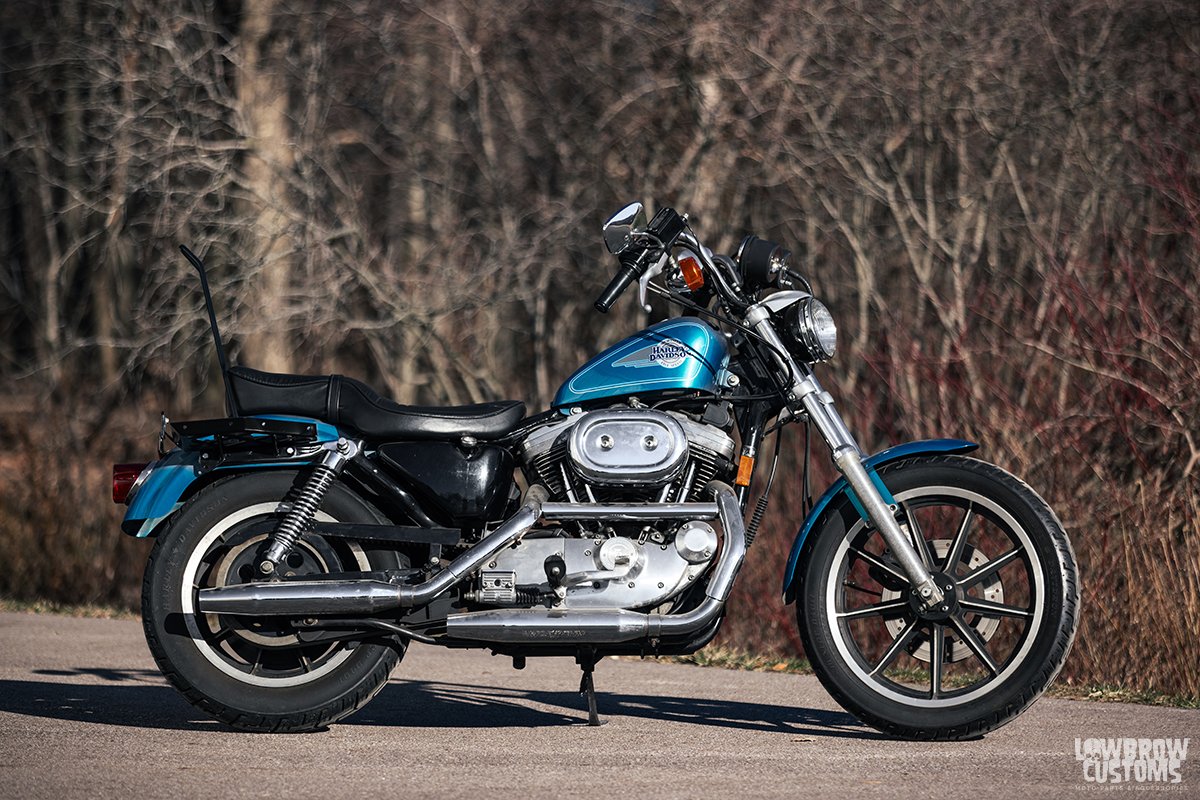
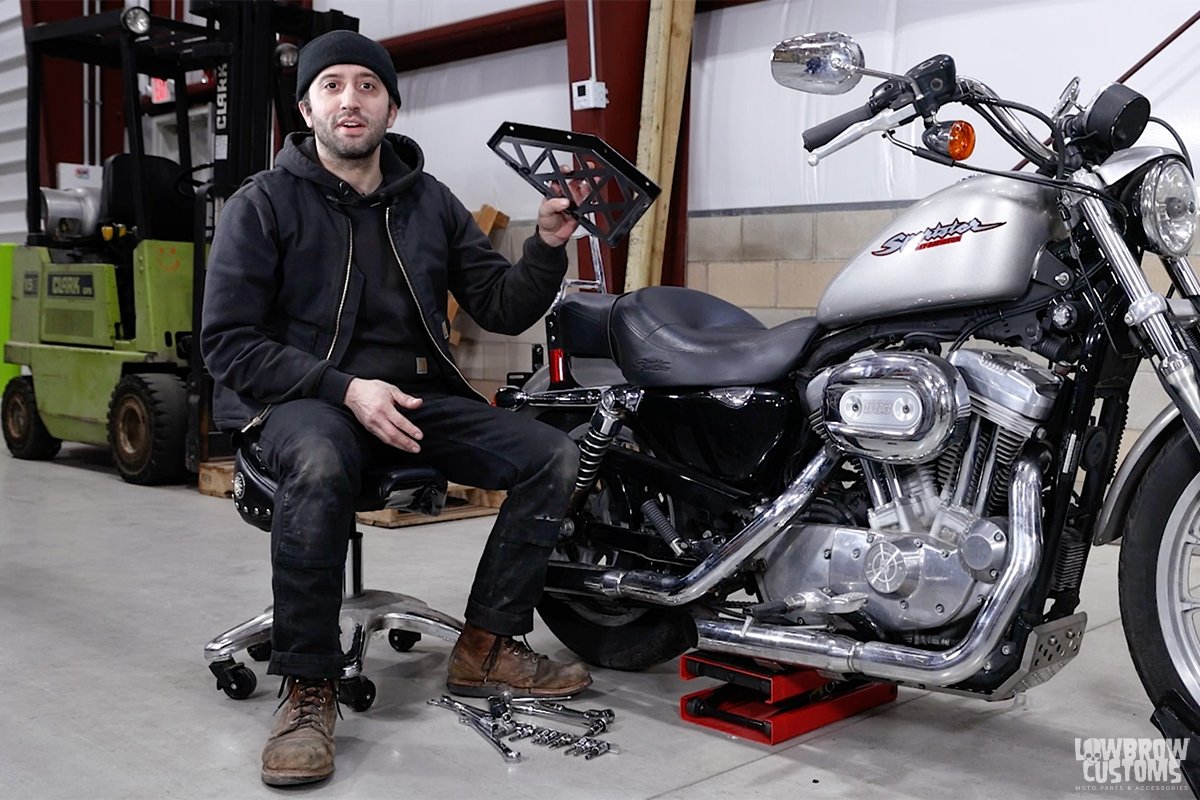
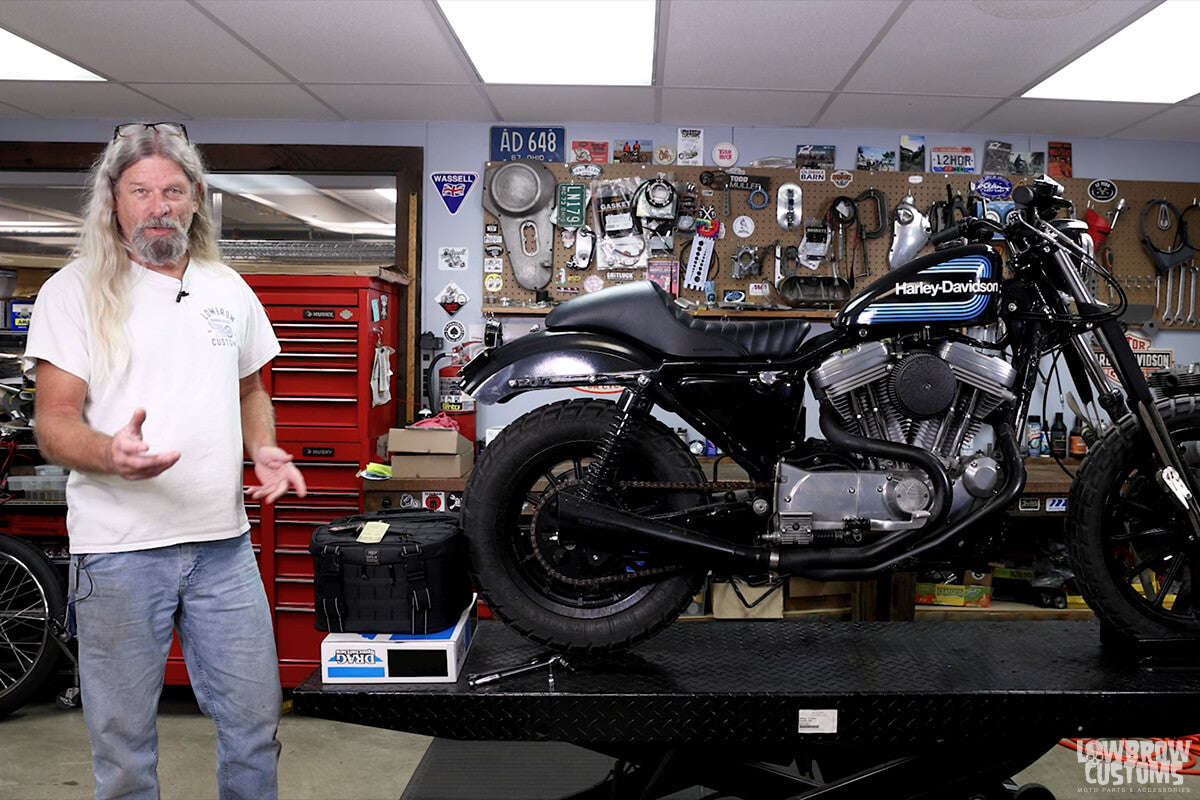
In this video Tim from Fiorucci Fabrications walks you through the features of the Moto Luggage Rack and shows you how easy it is to install a right side Moto Luggage Rack on our 1994 Harley-Davidson Sportster. He even gives you a sneak peak at the new Skateboard racks that are available.
INSTALLING MOTO LUGGAGE RACK ON 1994-2003 HARLEY SPORTSTER IN 4 EASY STEPS
 Let's Go!
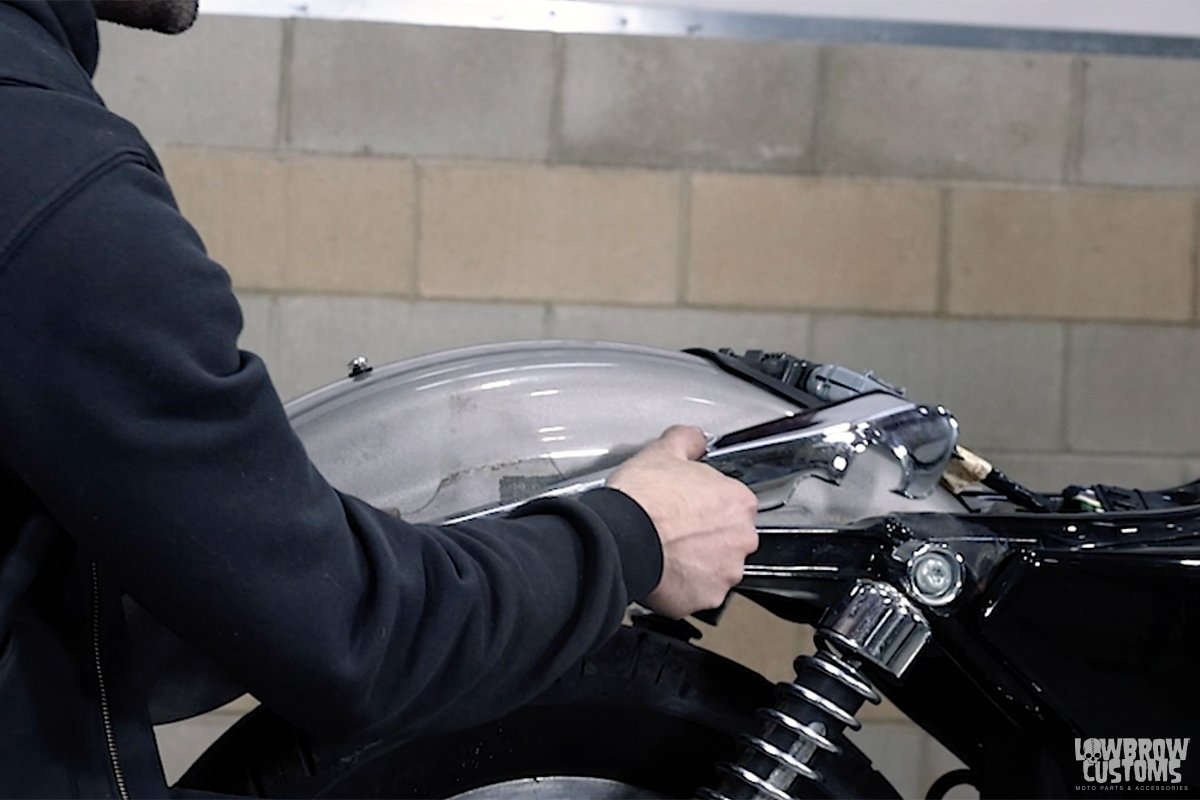
STEP 1: REMOVE BOLTS FROM STRUTS (IF YOU HAVE TURN SIGNALS THOSE NEED TO BE REMOVED AS WELL.
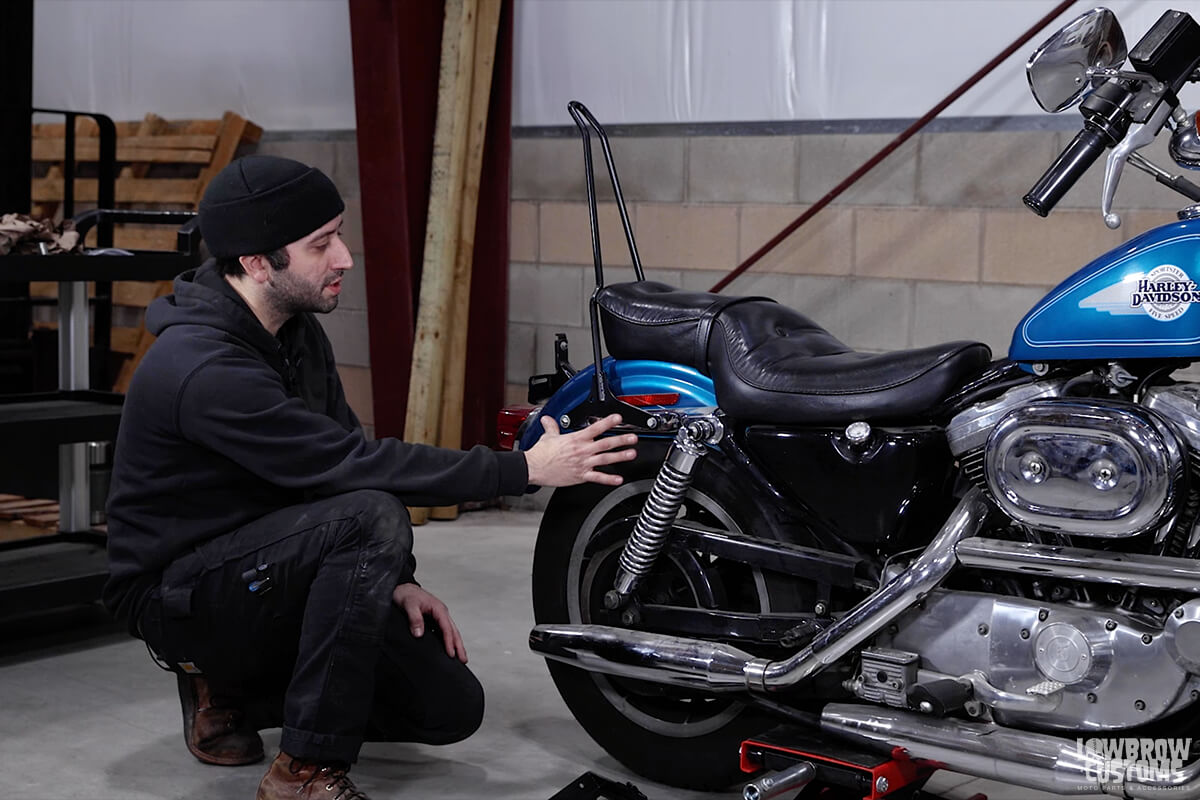 Theres two bolts on your struts that need removed.
Remove the two bolts on the struts. We supply new bolts with the Moto Luggage Rack that are longer, but you can re-use your nuts and or if you have the inner fender bracket that has nuts welded on it for install. The longer bolts allow you to continue use of your Gasbox sissy bar or other stock sissy bar.
*Note you will have to remove your stock turn signals before installtion of the Moto Luggage Rack. They will not work.*
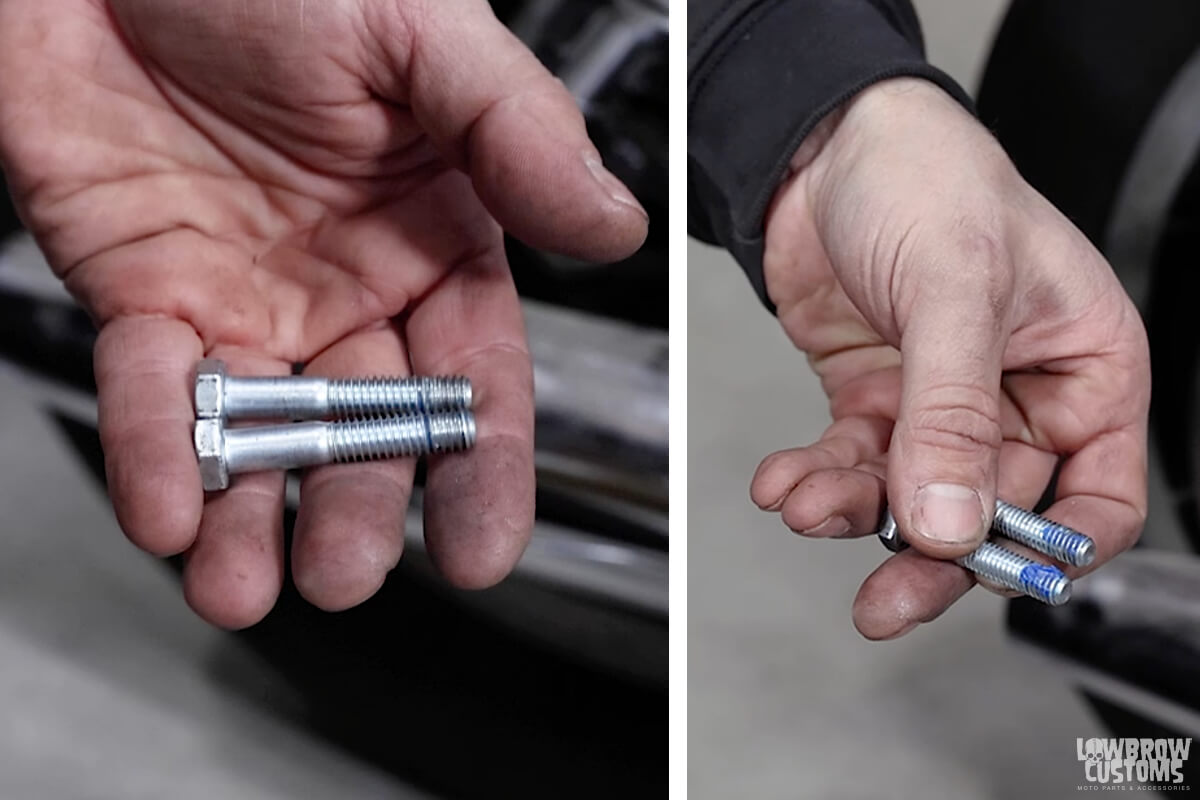 Left new supplied hardware, right add blue loctite when installing.
STEP 2: INSTALL THE MOTO LUGGAGE RACK ON TO THE MOTORCYCLE
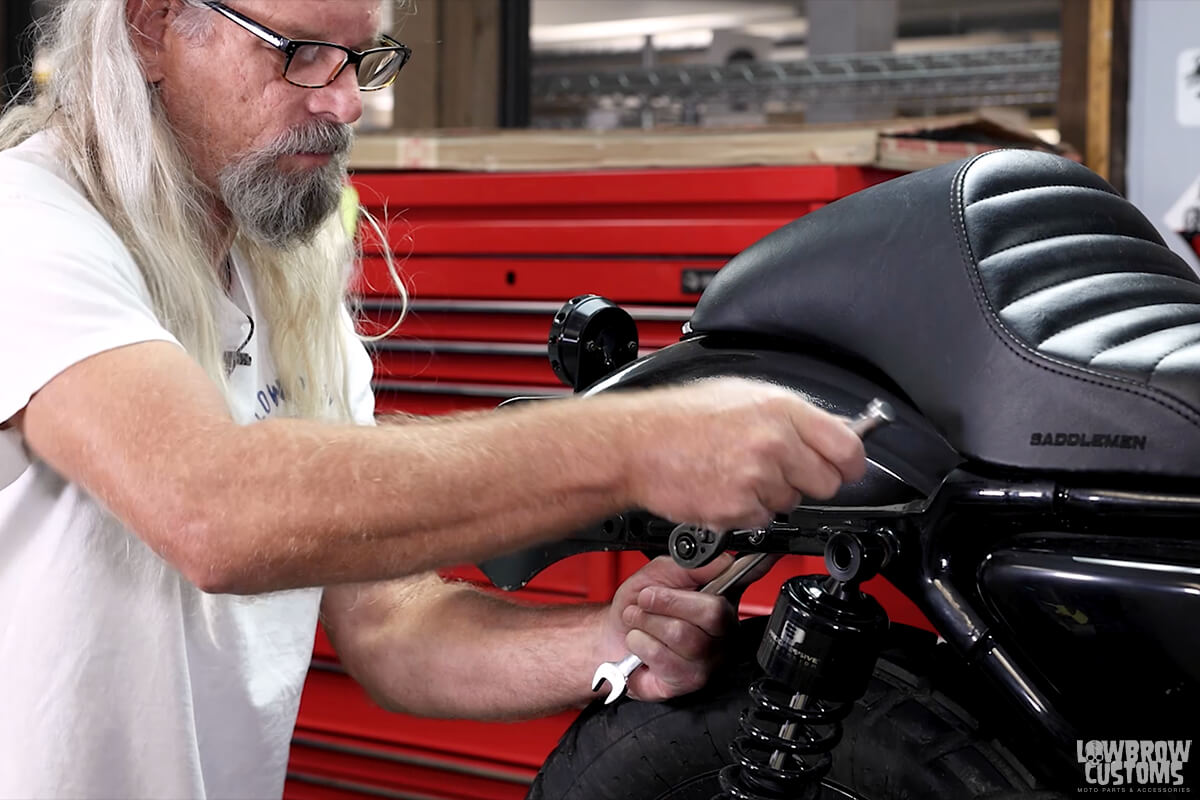
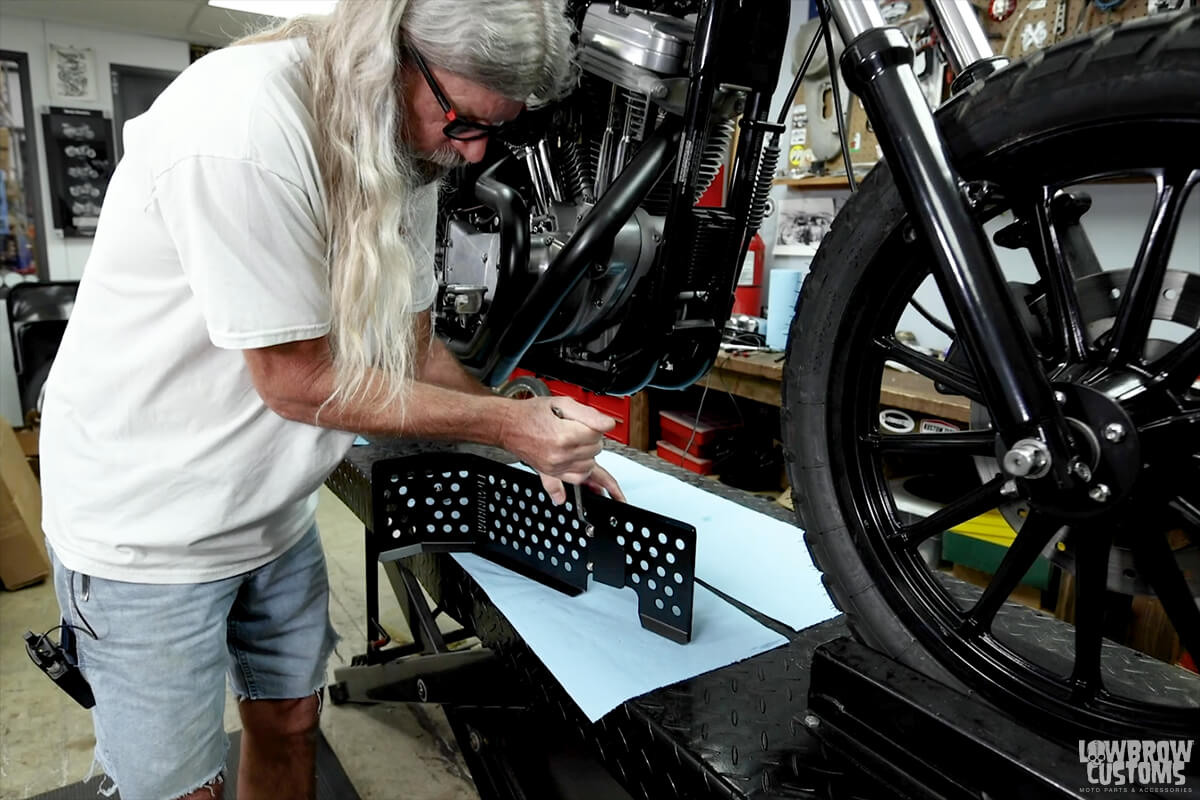
With the supplied bolts, put a dab of blue loctite on each and mount the rack up to the struts.
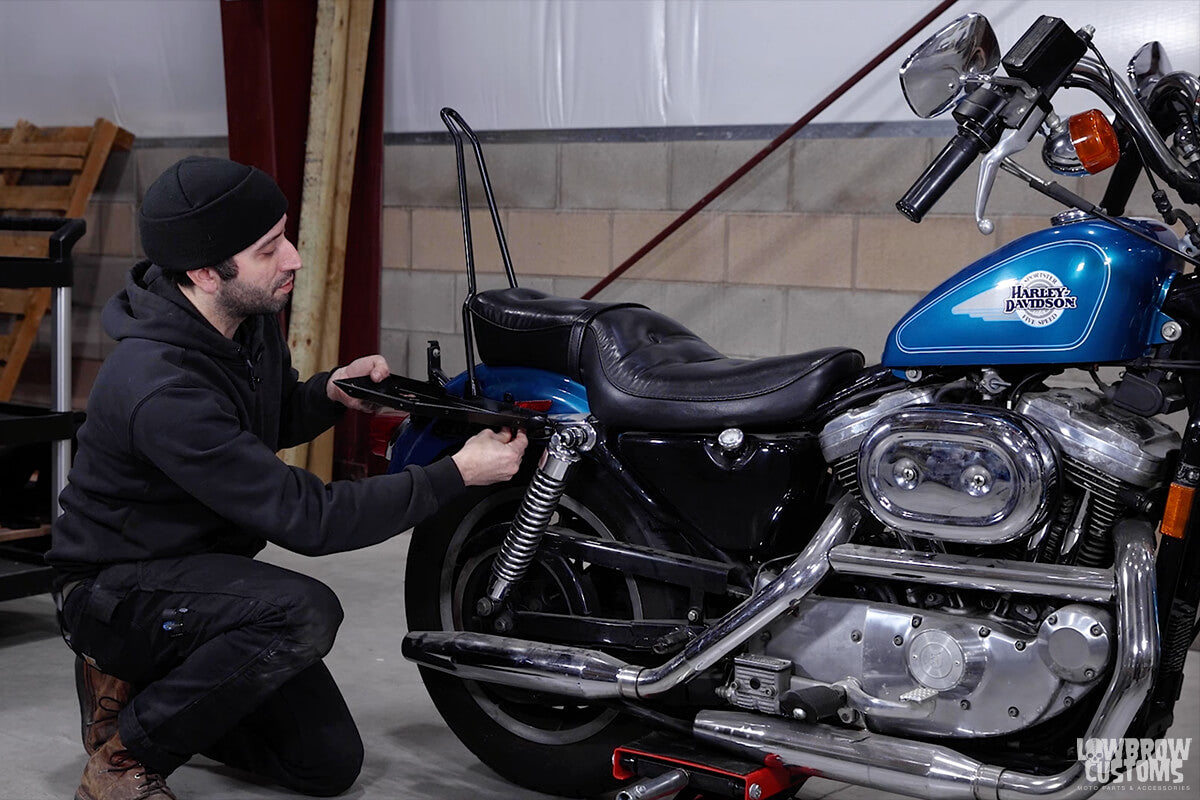 Inserting each bolt through the Moto Luggage Rack, sissy bar mount and strut.
  Reusing the original nuts that were on the bike and securely fastening both bolts.
STEP 3: CHECK BOLT TO TIRE CLEARANCE
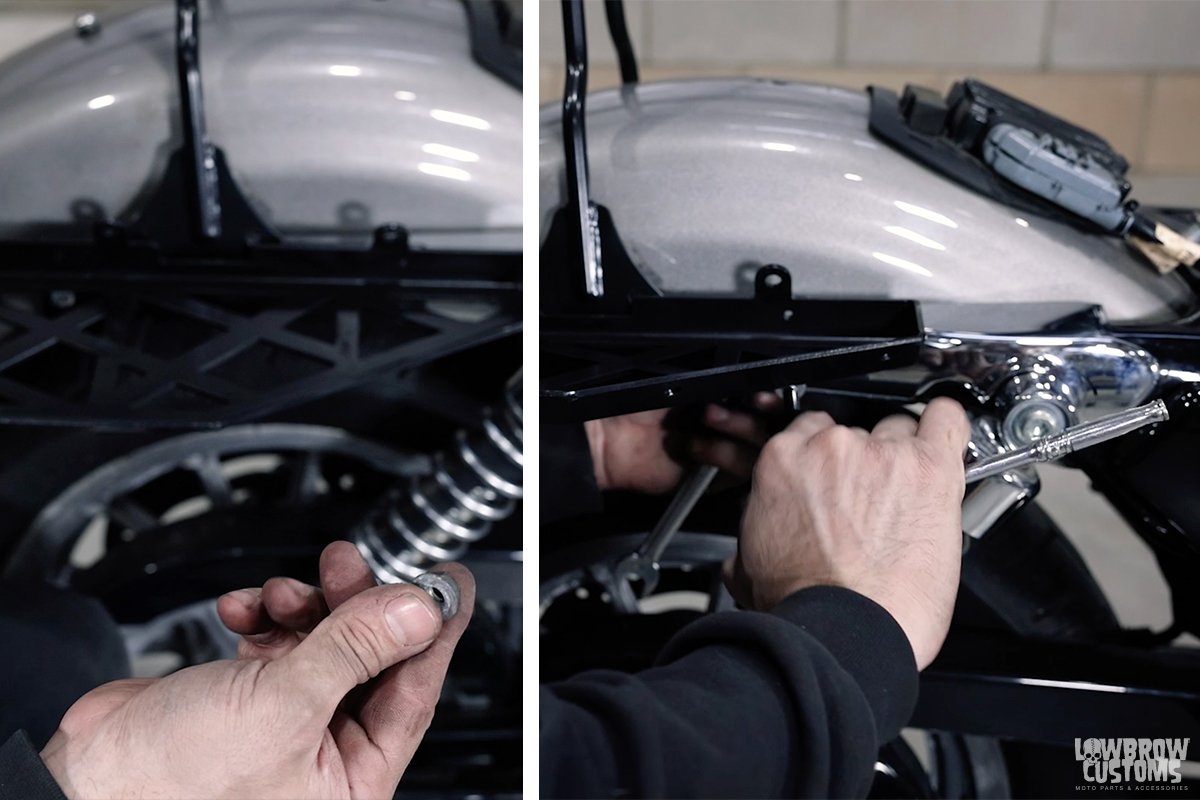
Once the rack is securely bolted up to the motorcycle you will want to look on the inside of the fender and confirm you will have ample tire clearance. A good rule of thumb is if the bolt is flush with the nut you are good to go. If it's passed the nut you might want to add a washer or two to the bolt to make it flush.
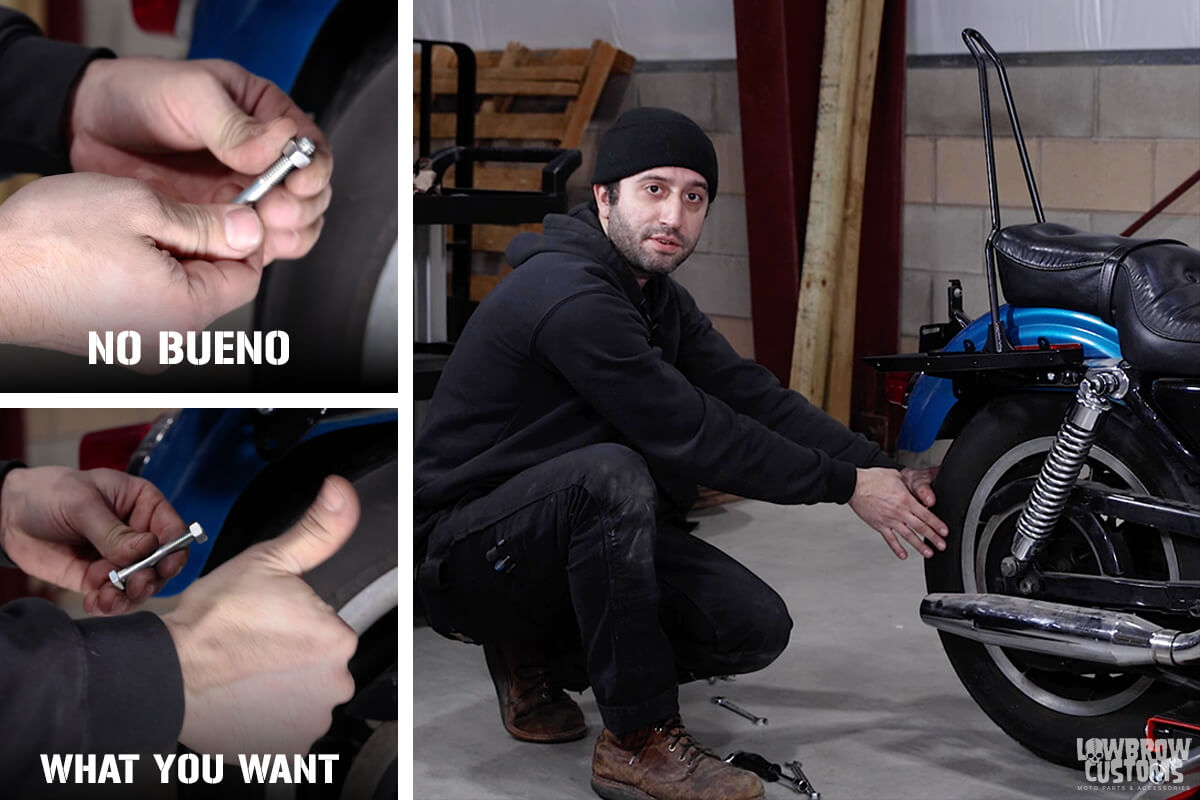 Passed the nut, No bueno. Flush with the nut is what you want. This important because last thing you want is to hit a bump, your shocks compress and your side bolt punctures your tire.
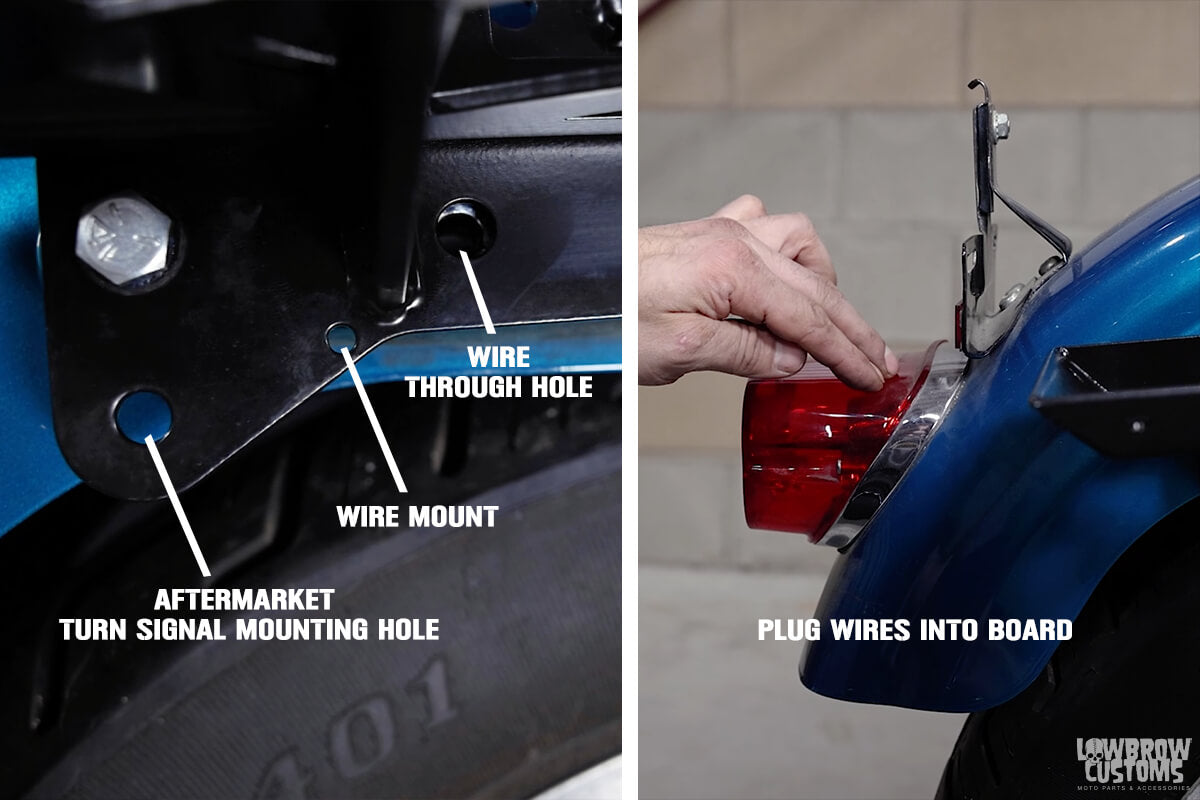 *Bonus* If you want to run aftermarket Turn signals there are mounts on the rack to do so.
STEP 4: THAT'S IT YOU READY TO GO FOR A RIDE, GO CAMPING, GO CROSS COUNTRY!
Thats it! You are good to go travel the world. So get after it you wild and crazy kids!
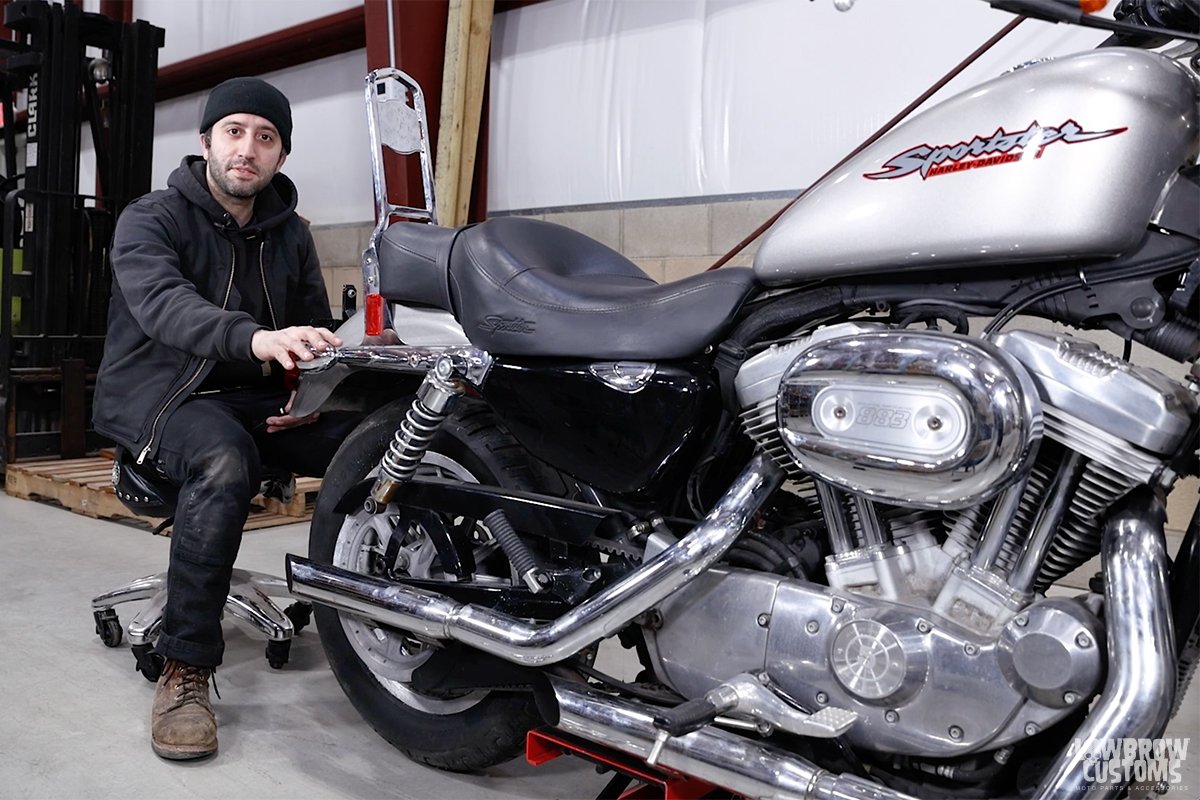
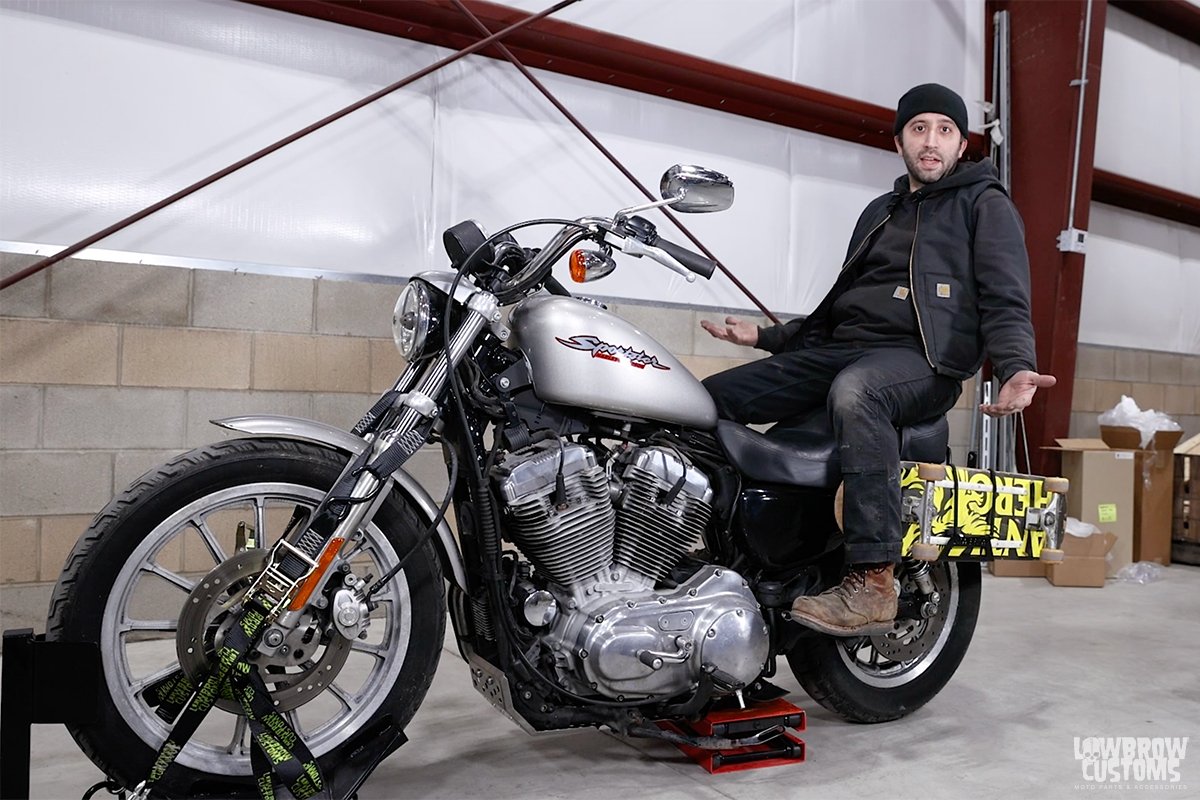
 Bam! It's installed and ready to haul some crazy SH*T!
SEE PHOTOS ON 1994 HD SPORTSTER
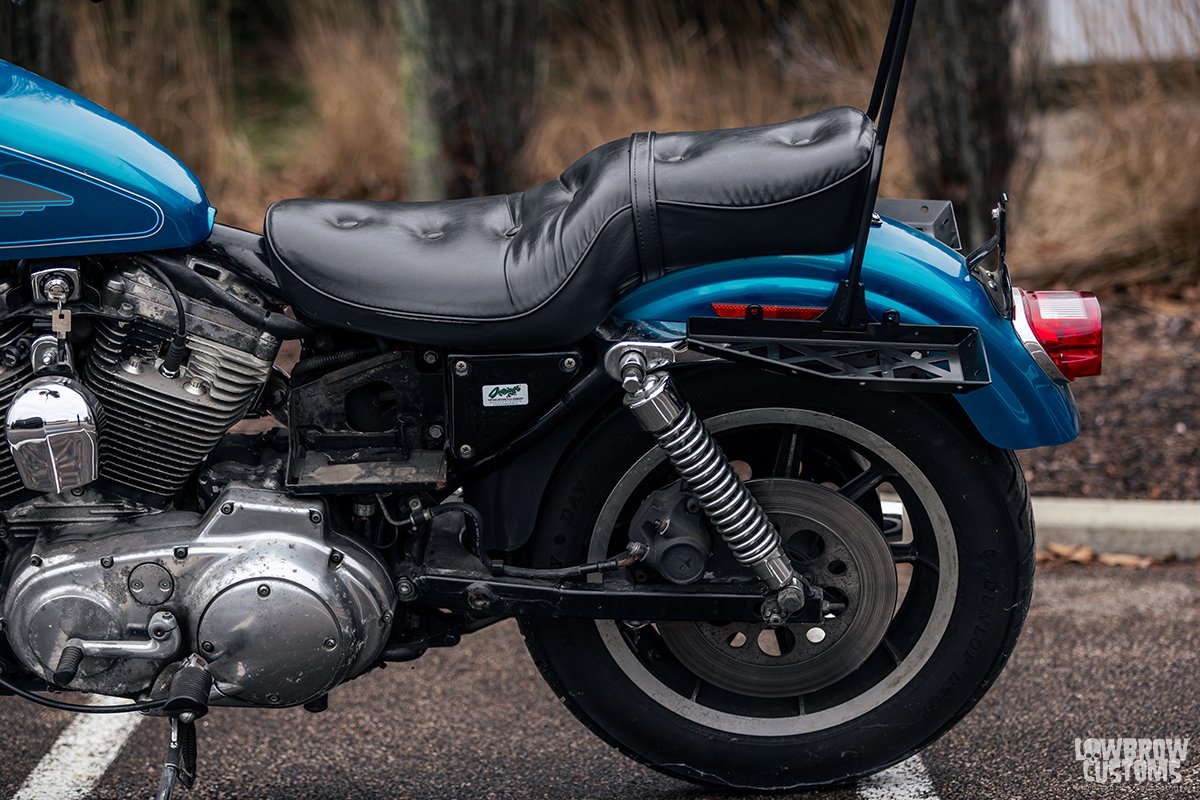
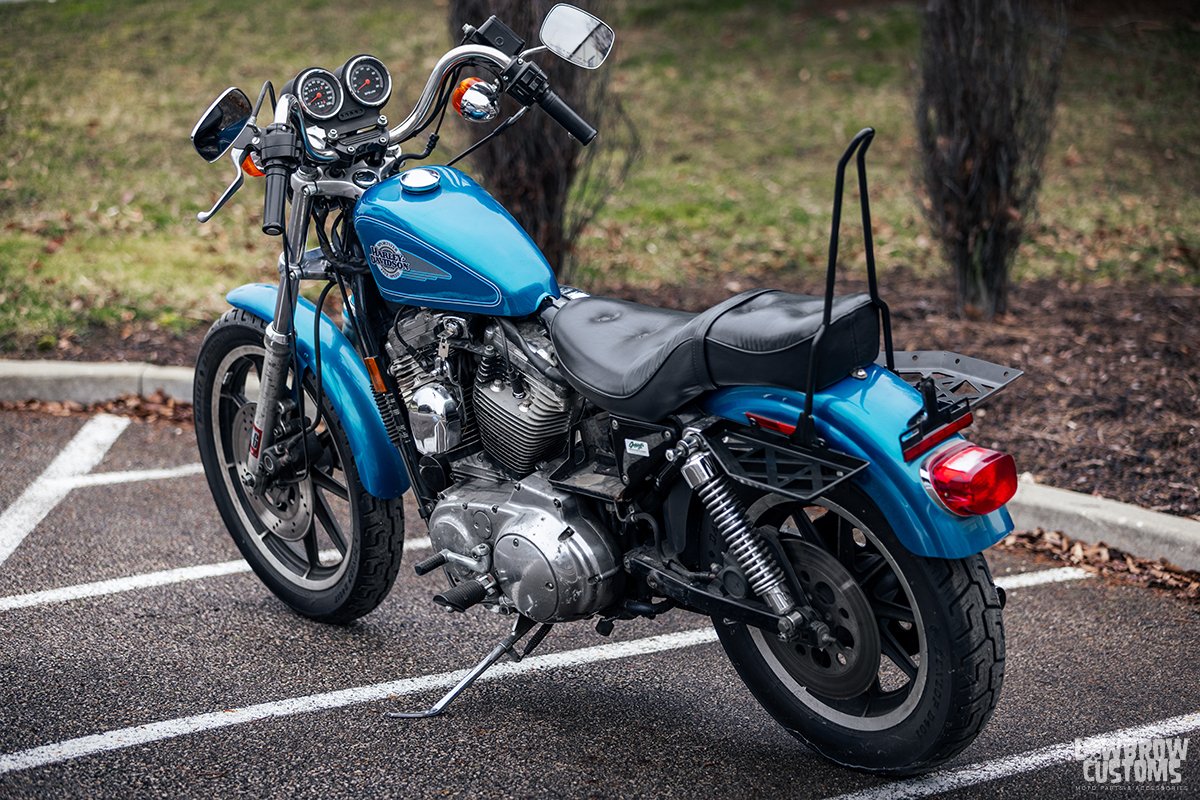
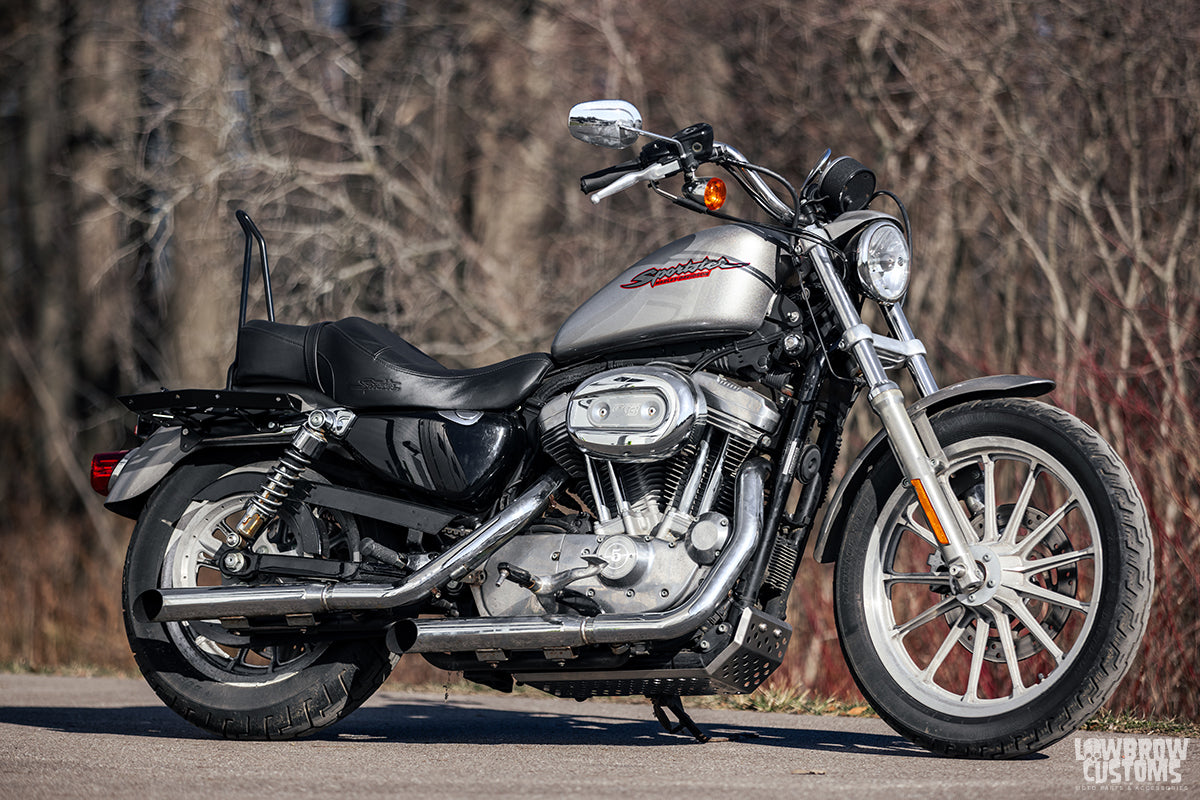
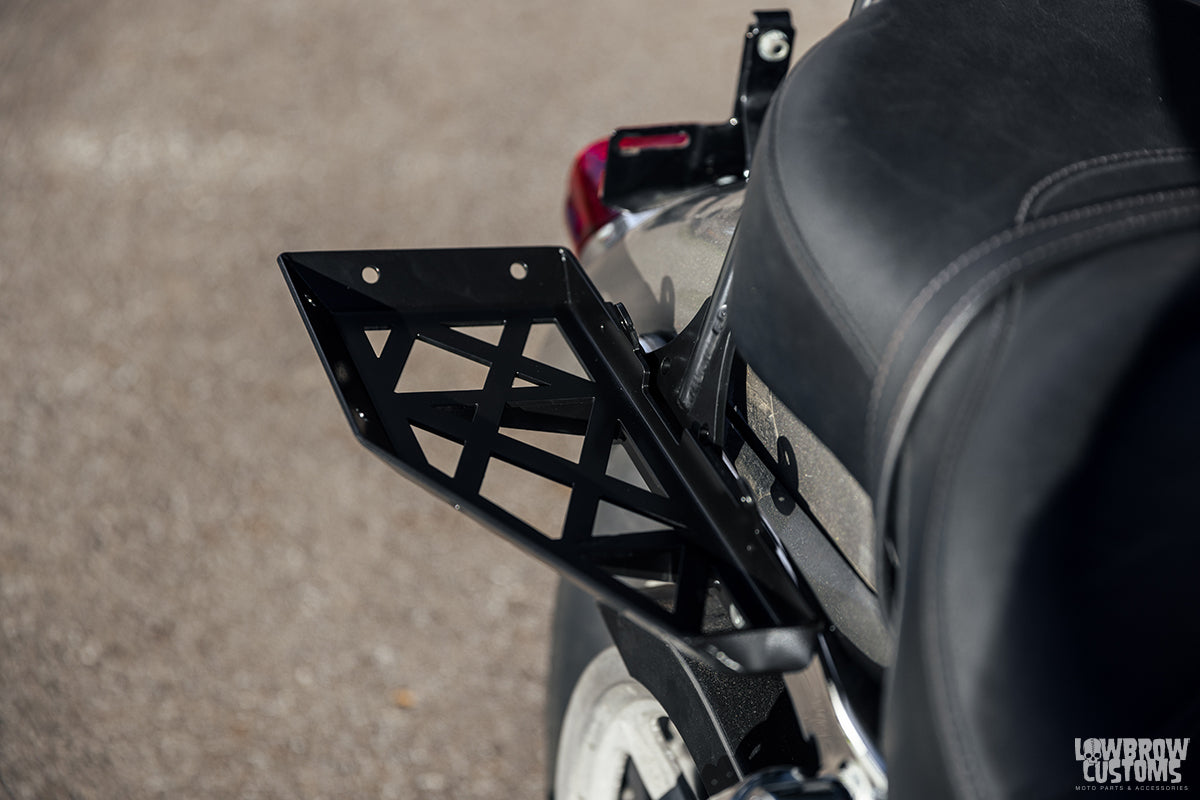
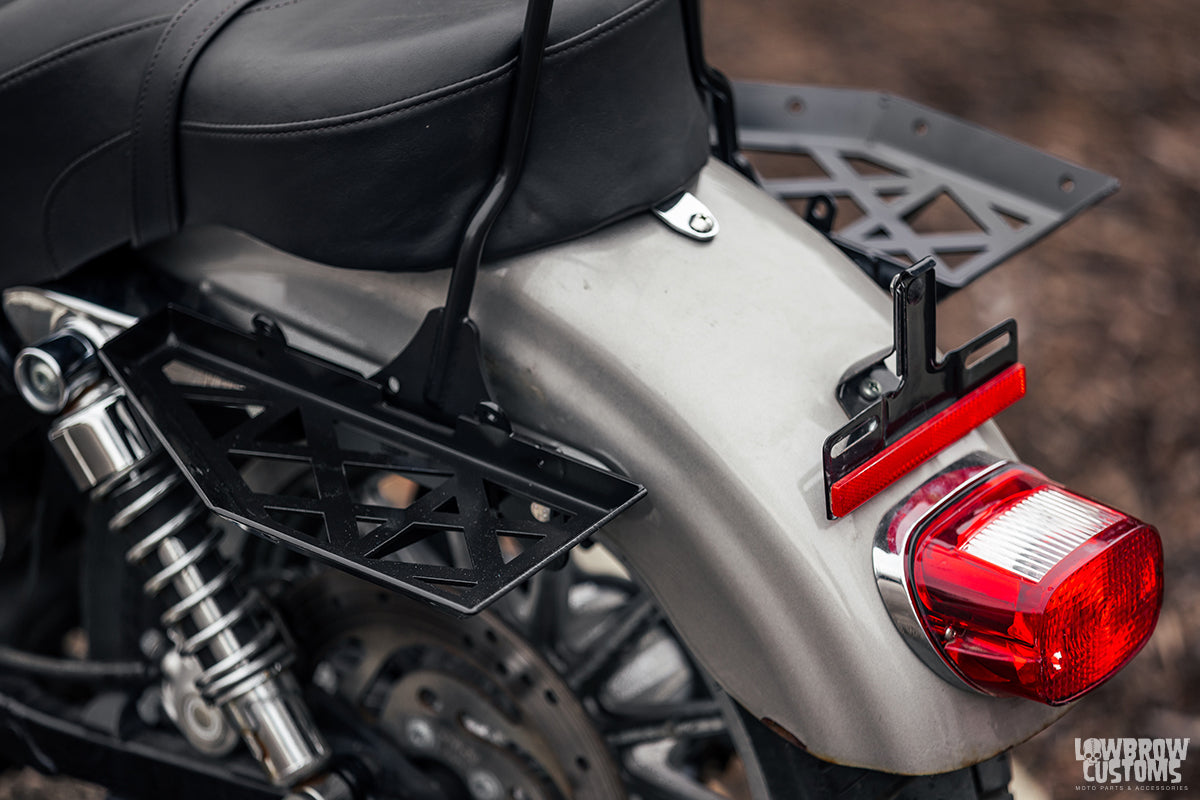
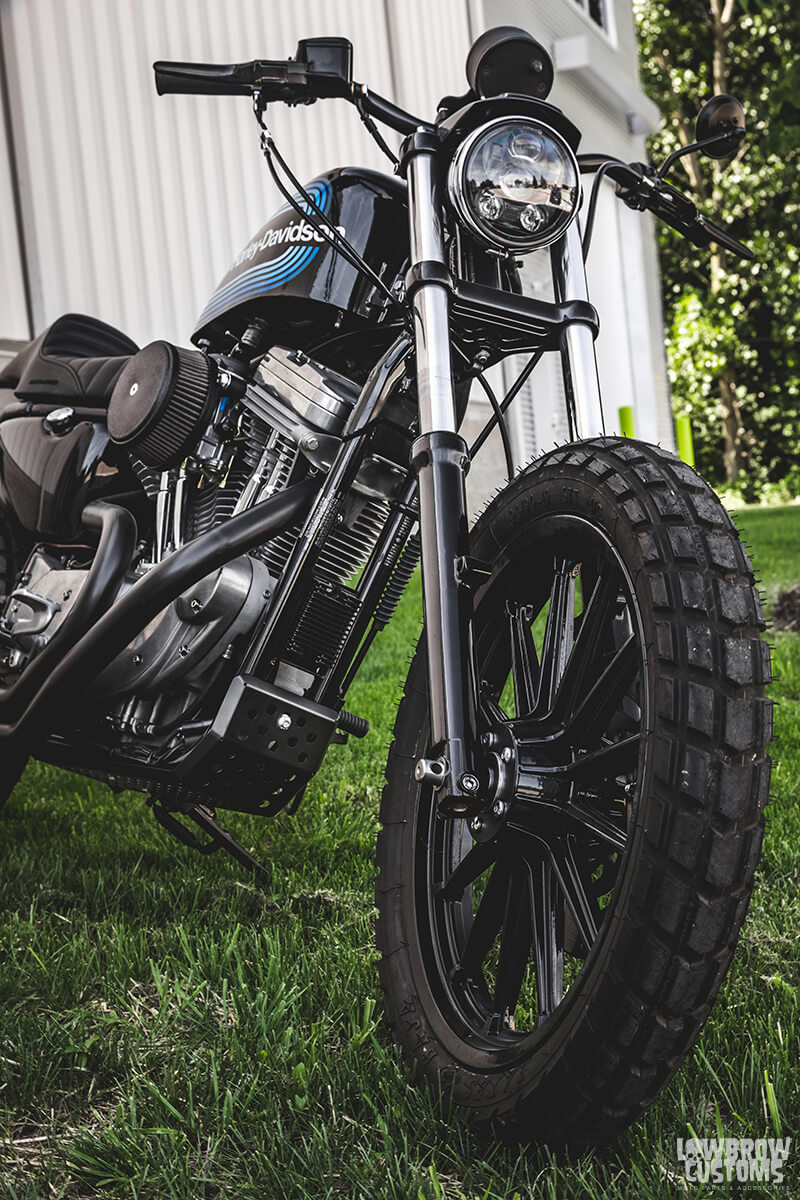
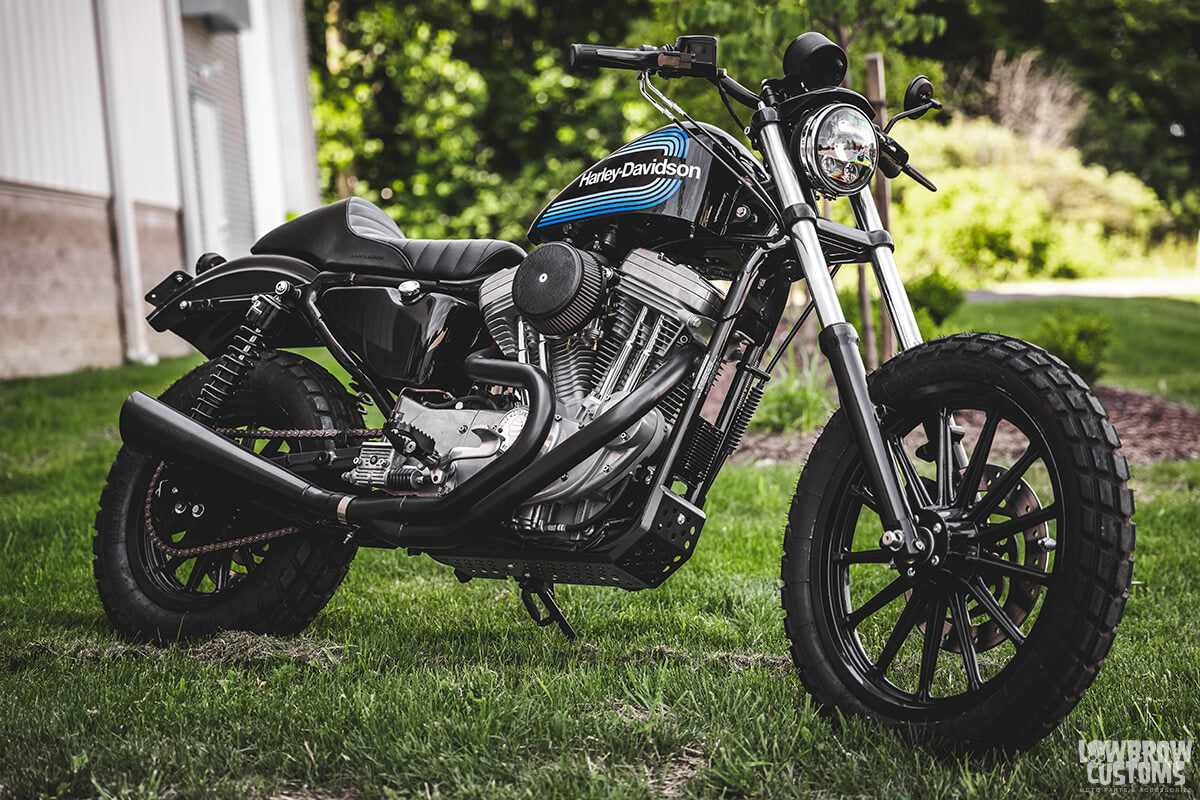
 Right side Moto Luggage Rack
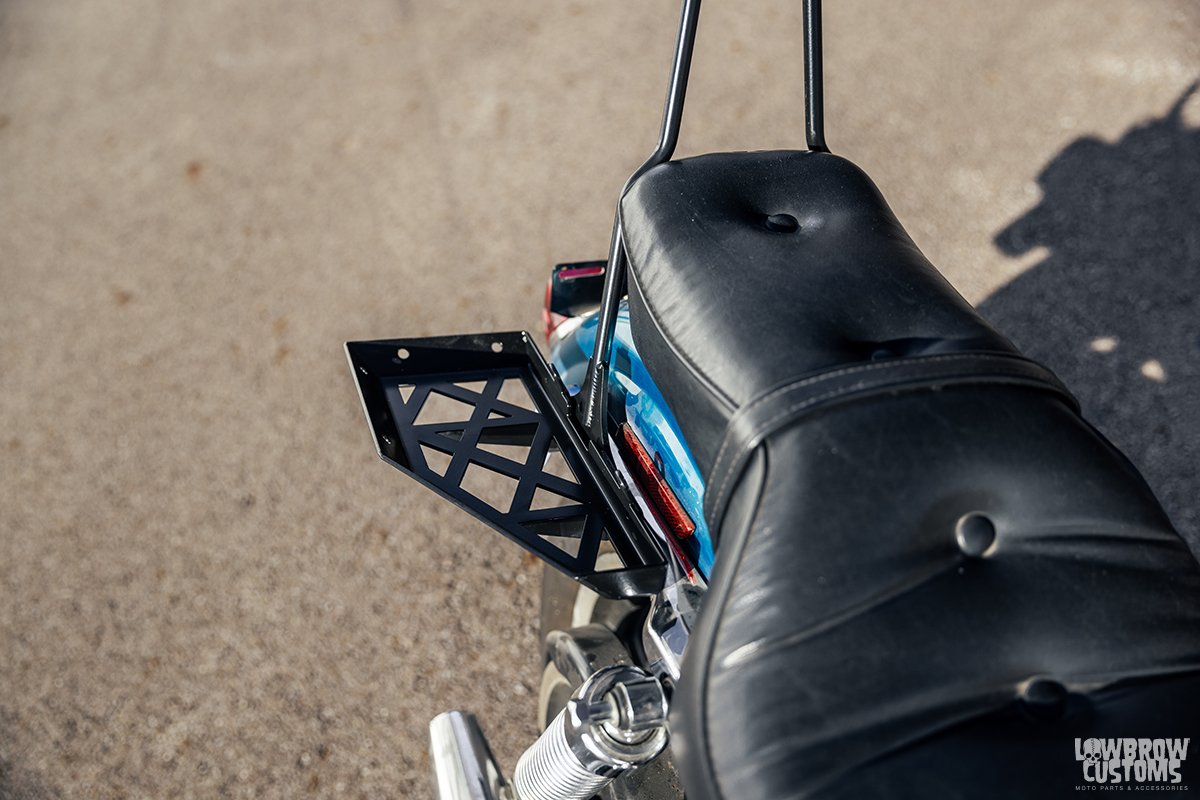
Right Side Moto Luggage Rack
Left Side Moto Luggage Rack

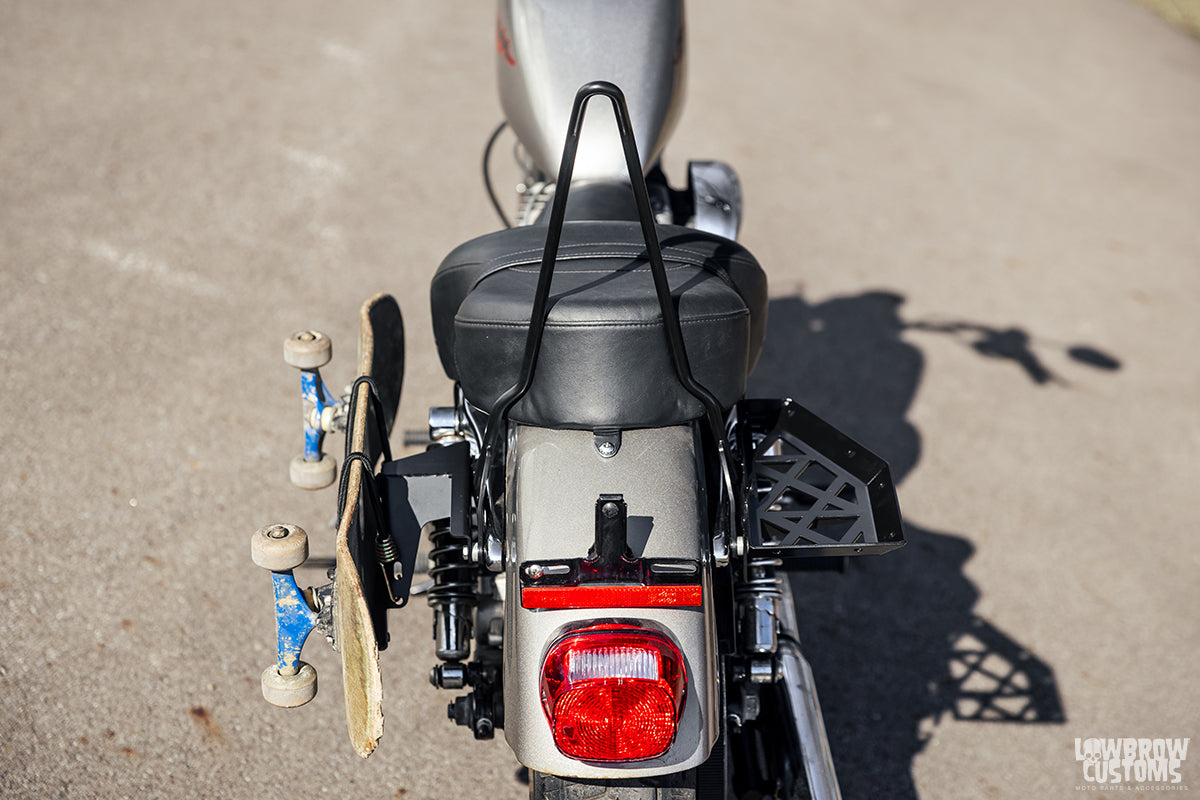
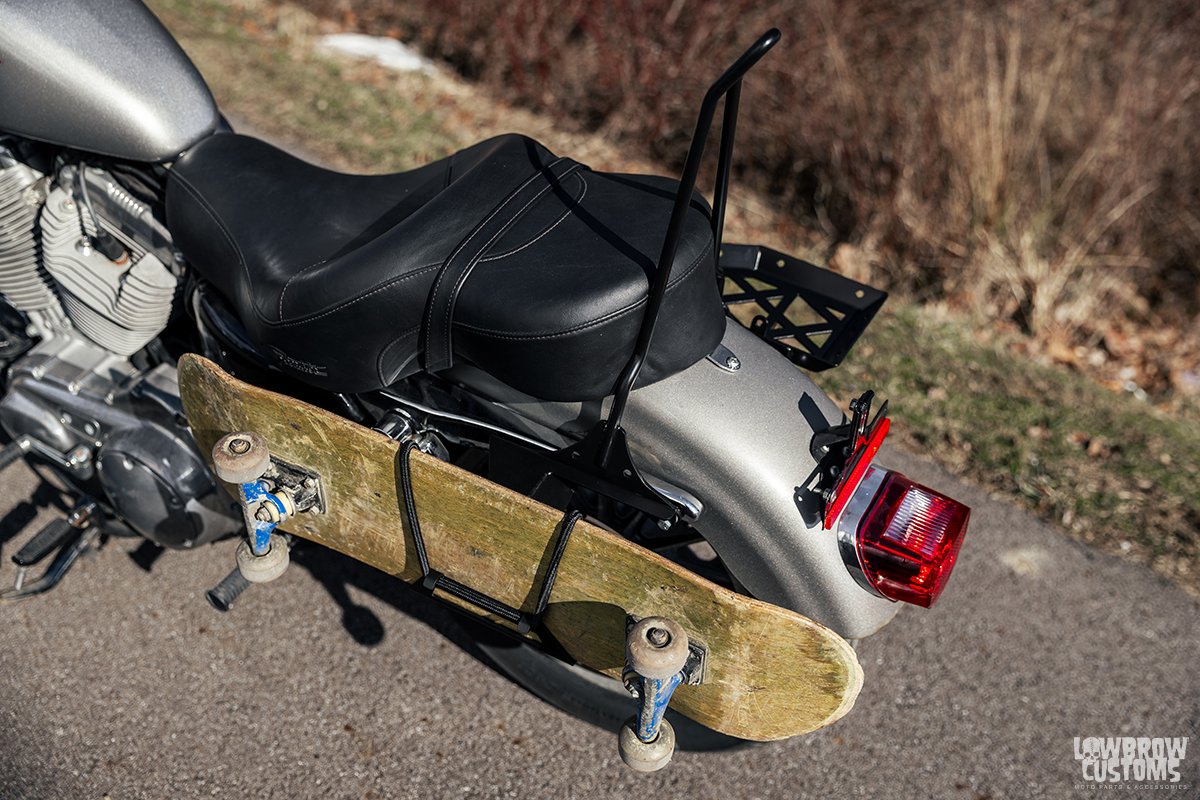
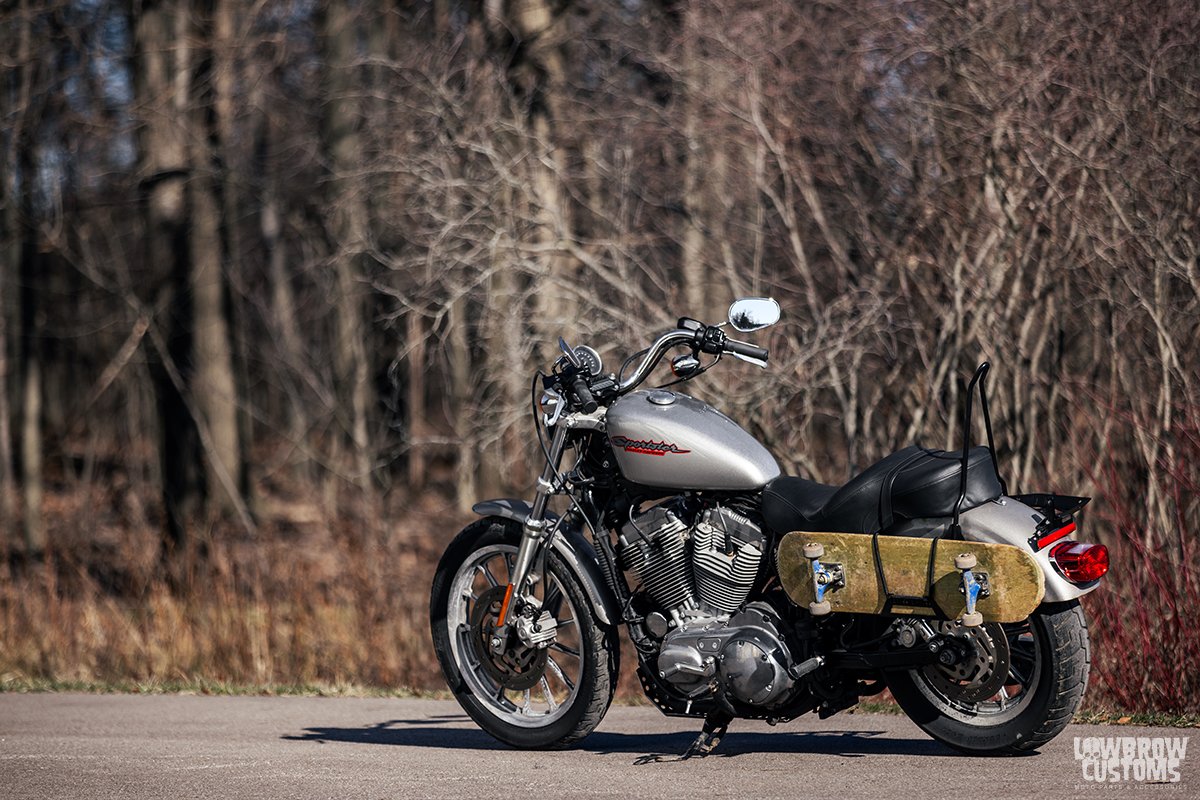
Skateboard Rack and right side Moto Luggage Rack
Left Side Moto Luggage Rack
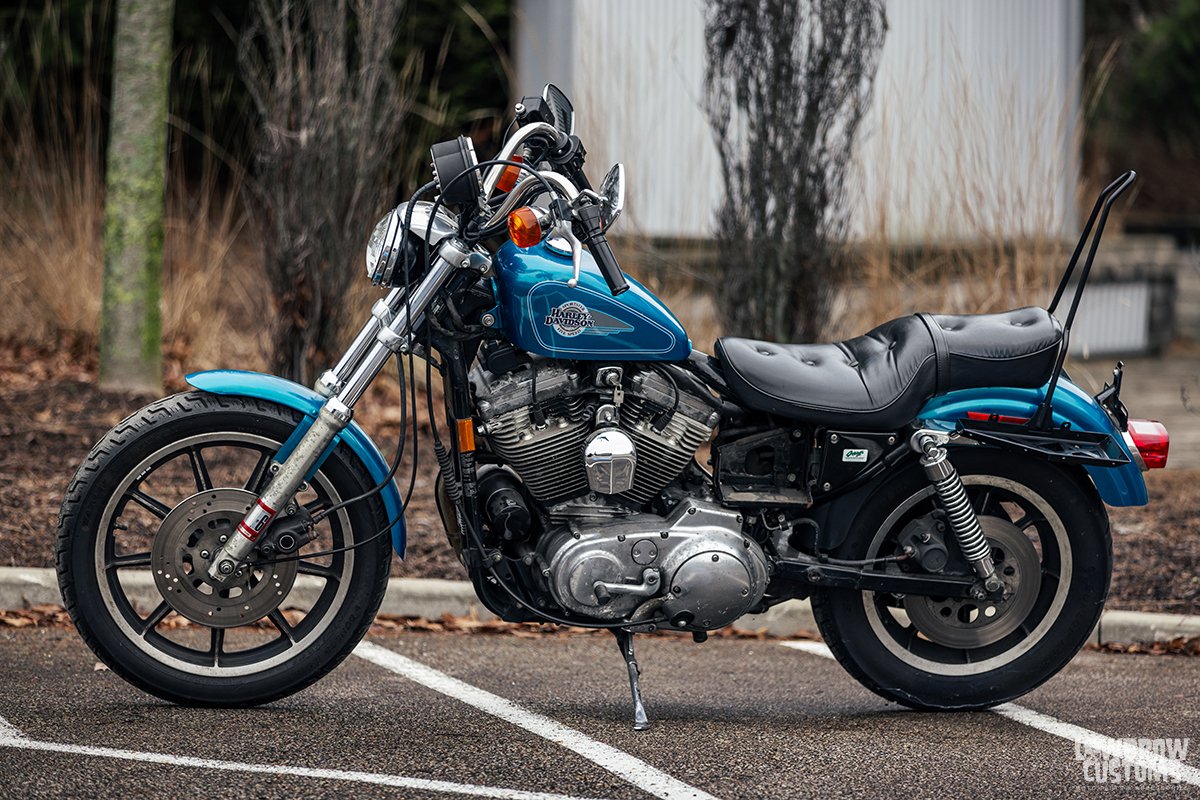
Left Side Moto Luggage Rack
WATCH VIDEO: HOW TO INSTALL MOTO LUGGAGE RACK ON 2004-2022 HARLEY SPORTSTERS
In this video Tim from Fiorucci Fabrications walks you through the features of the Moto Luggage Rack and shows you how easy it is to install a right side Moto Luggage Rack on our 2007 Harley-Davidson Sportster. He even gives you a sneak peak at the new Skateboard racks that are available as well. Tim also shows you how to remove your turn signals the proper way with out cutting or breaking anything off.
INSTALLING MOTO LUGGAGE RACK ON 2004-2022 HARLEY SPORTSTER IN 4 EASY STEPS
STEP 1: REMOVE TURN SIGNALS, SEAT AND STOCK SISY BAR
With this Moto Luggage Rack install its going to require a little prep work on your bike depending on what you have on it already. This 2007 is completely stock so we are need to remove the turn signals. We are also going to replace that fugly stock sissy bar with a Gasbox Chopper Sissy bar. So thats coming off as well.
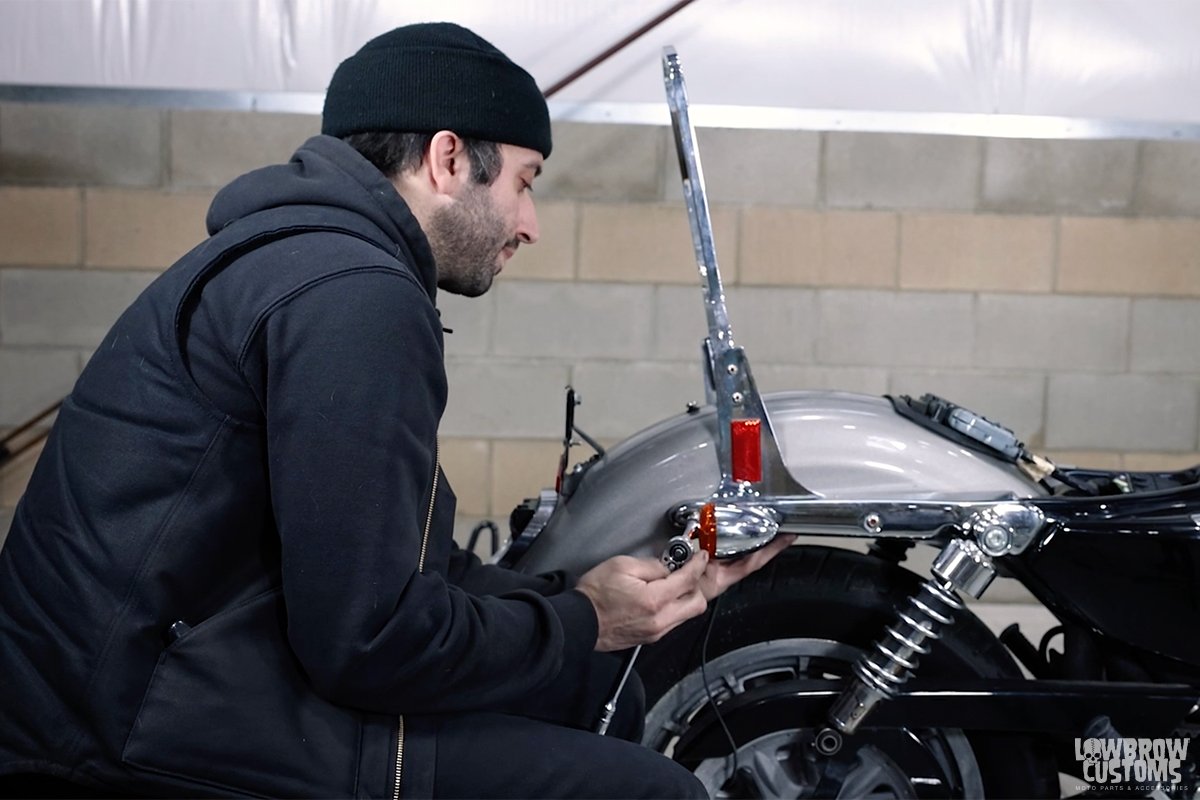
 First things first these turn signals got to go. The Moto Luggage Rack doesn't work with them at all. It helps if you remove your bottom shock bolts with a jack under the bike and then jack it up so you can reach under your rear fender easily.
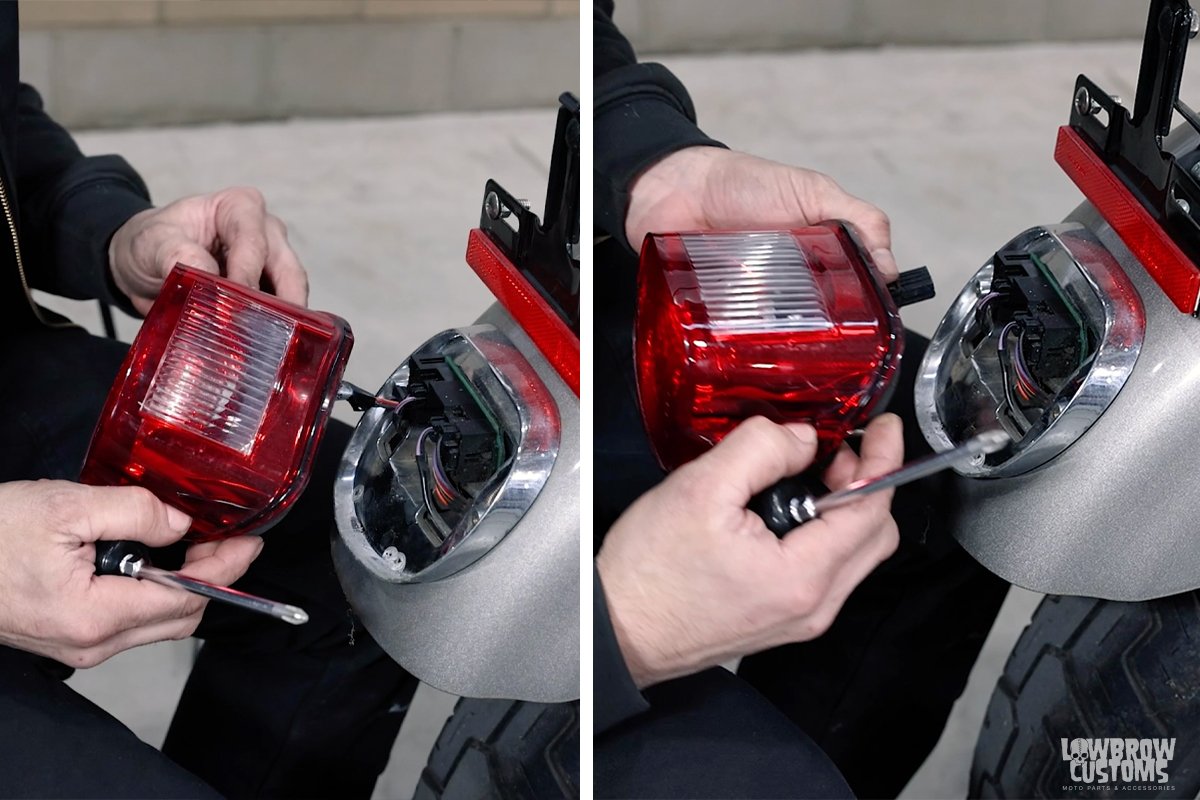
To access the turn signal wires you need to unhook your tail light. There are two small screws on left and right of the tail light. Remove those and pull it away from the housing. There is a cable that is attached to a board in the housing, disconnect it.
Then the two wires that are purple and black on left and right of the board need to be disconnected. push through the fender hole and off the fender clips.
Remove the bolts holding the chrome strut cover.
Remove the chrome strut cover and feed the wiring through the wire hole on the strut.
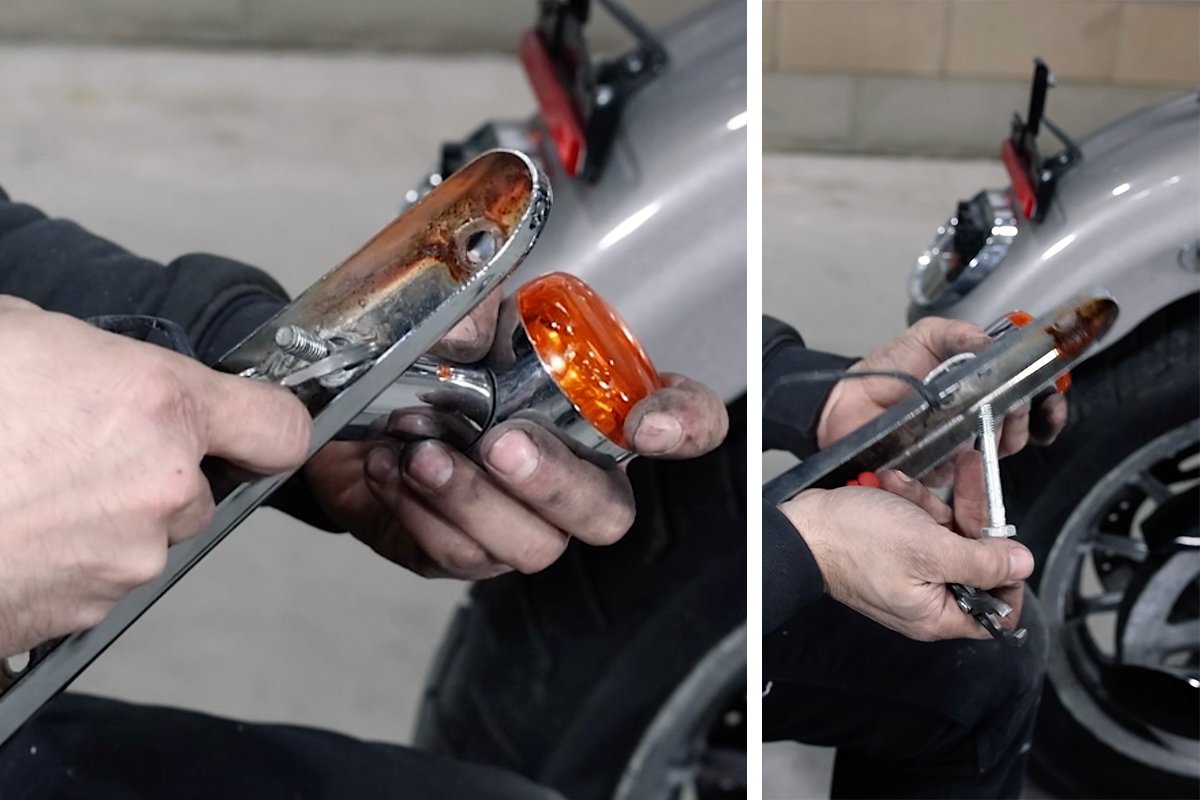
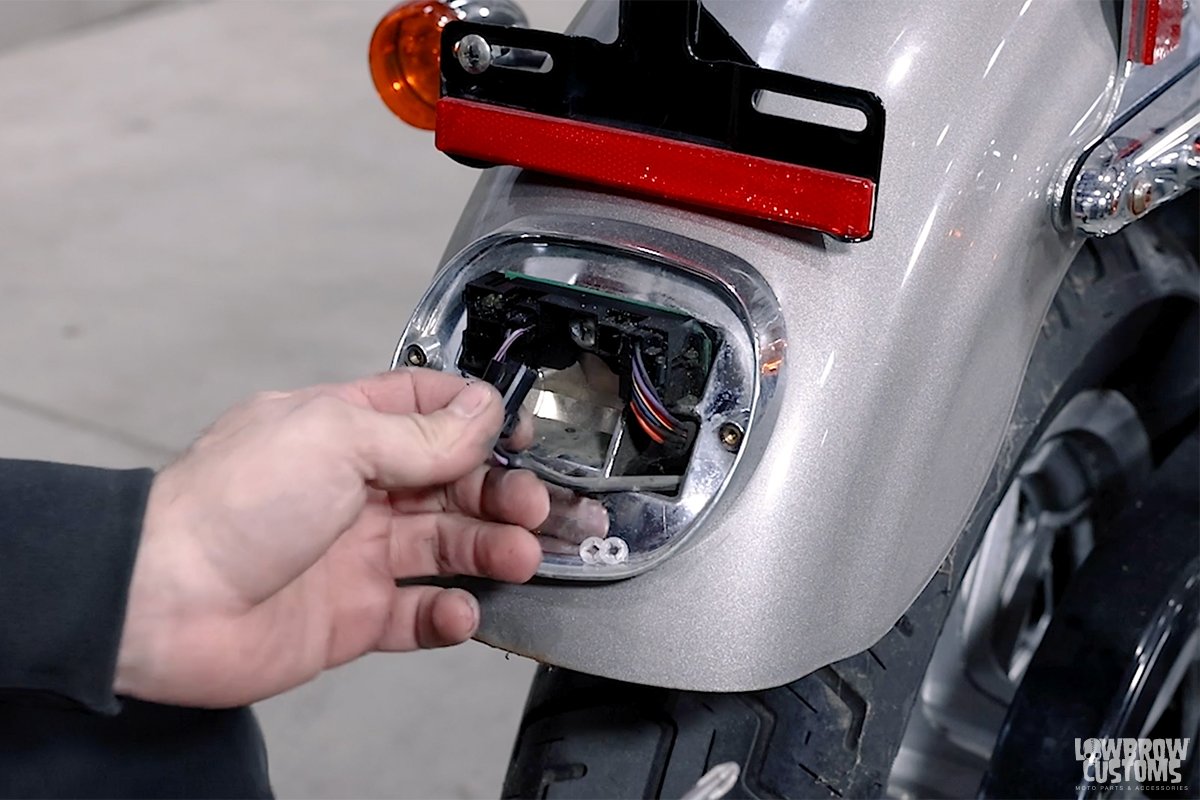
There is a stud that hold the turn signal in place, you need to remove the stud to take off the turn signal. Harley didn't leave a big enough hole for the wires to go through full so you need to next de-pin the plug.

To de-pin the plug you need to first un clip the bottom wire lock. There are two clips on the sides that pull away from the plug and the clip will release.
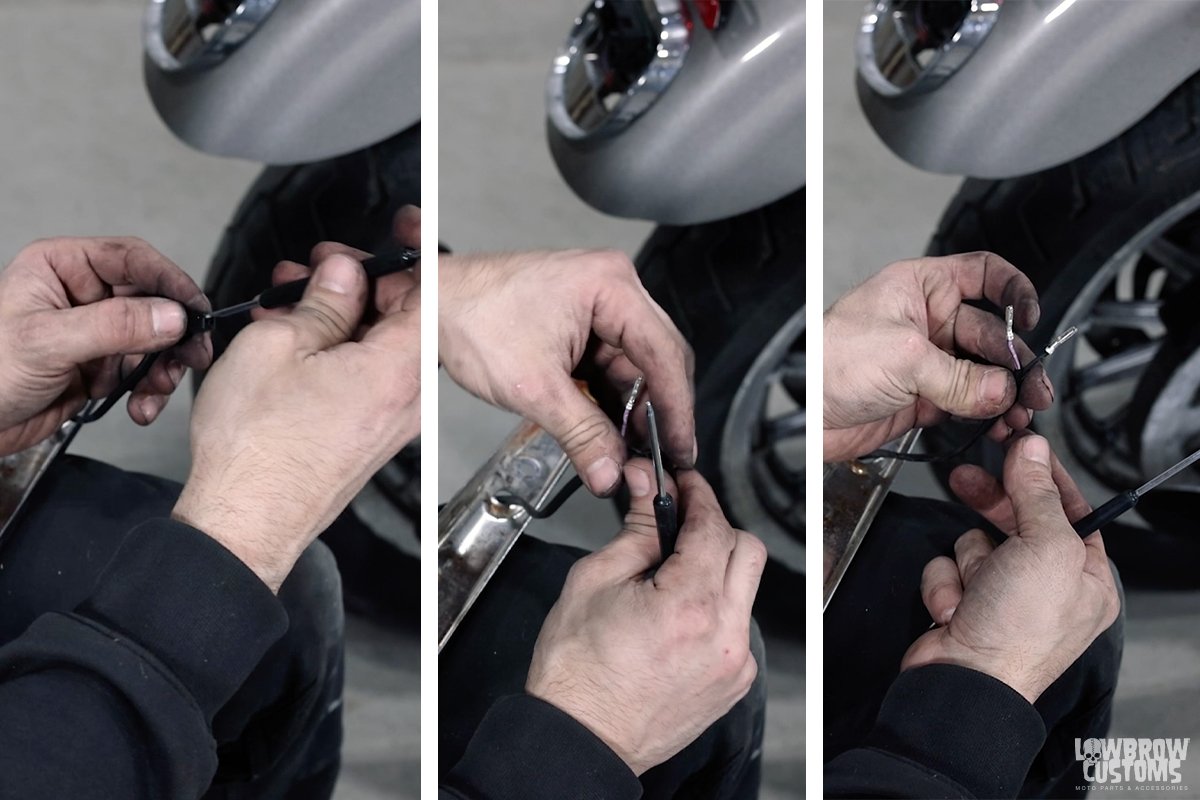
Next you will want to take a piece of wire or a tiny pick and go to the inside of the front of the plug. This can be a bit tricky but what you want to do is go in at an angle. Point the pick down at an angle so that it slides under the pin lock, then pry upward at an opposite angle and pull the wire from the other side. Use a flash light and look in to the plug to see how the pin locks sit.
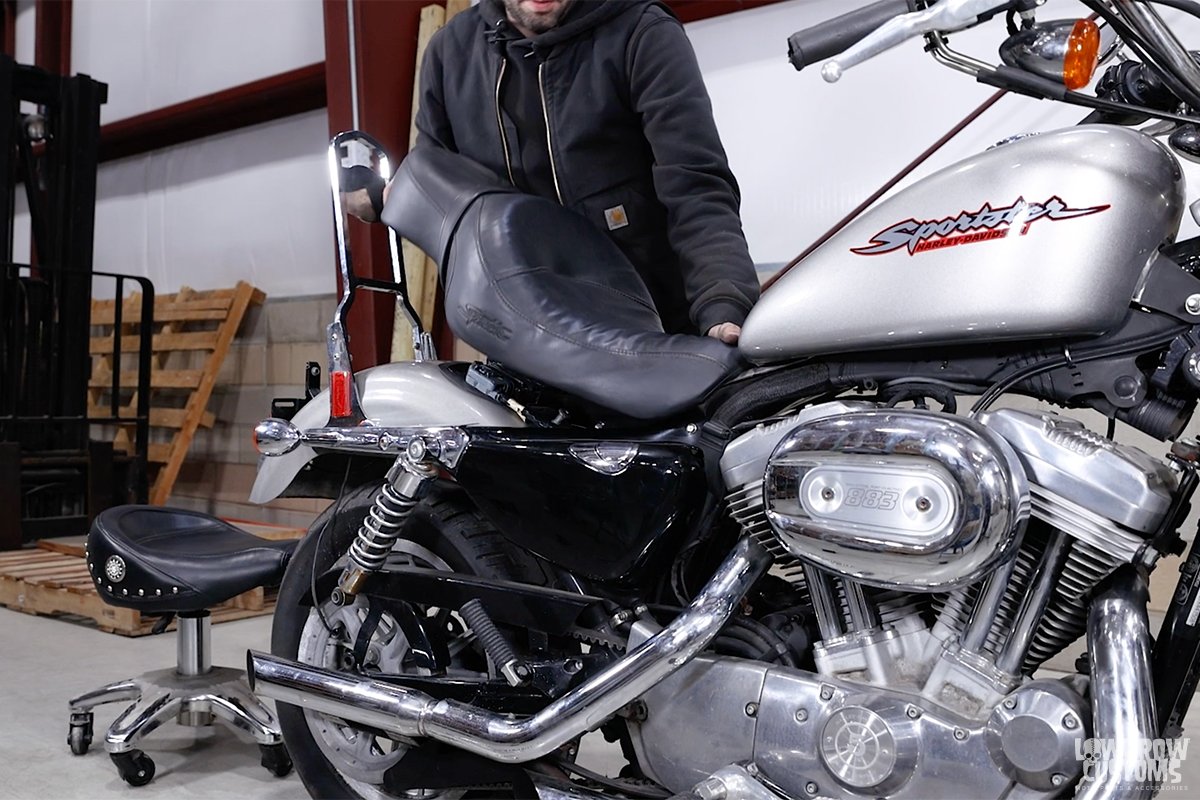
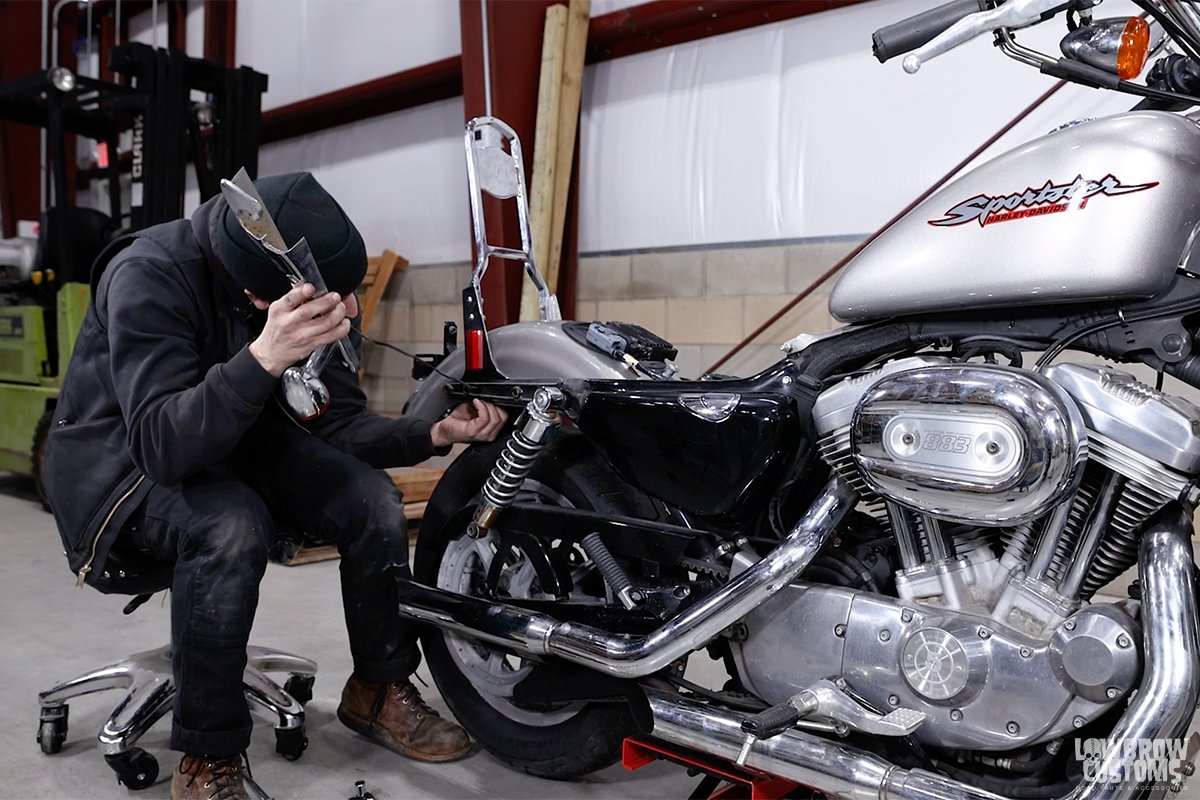
Remove the stock seat.
Remove the stock sissy bar.
STEP 2: INSTALL THE MOTOR LUGGAGE RACK ONTO THE MOTORCYCLE
There are a few different ways you can mount this Moto Luggage Rack to your motorcycle and we supply hardware to accommodate those different ways.
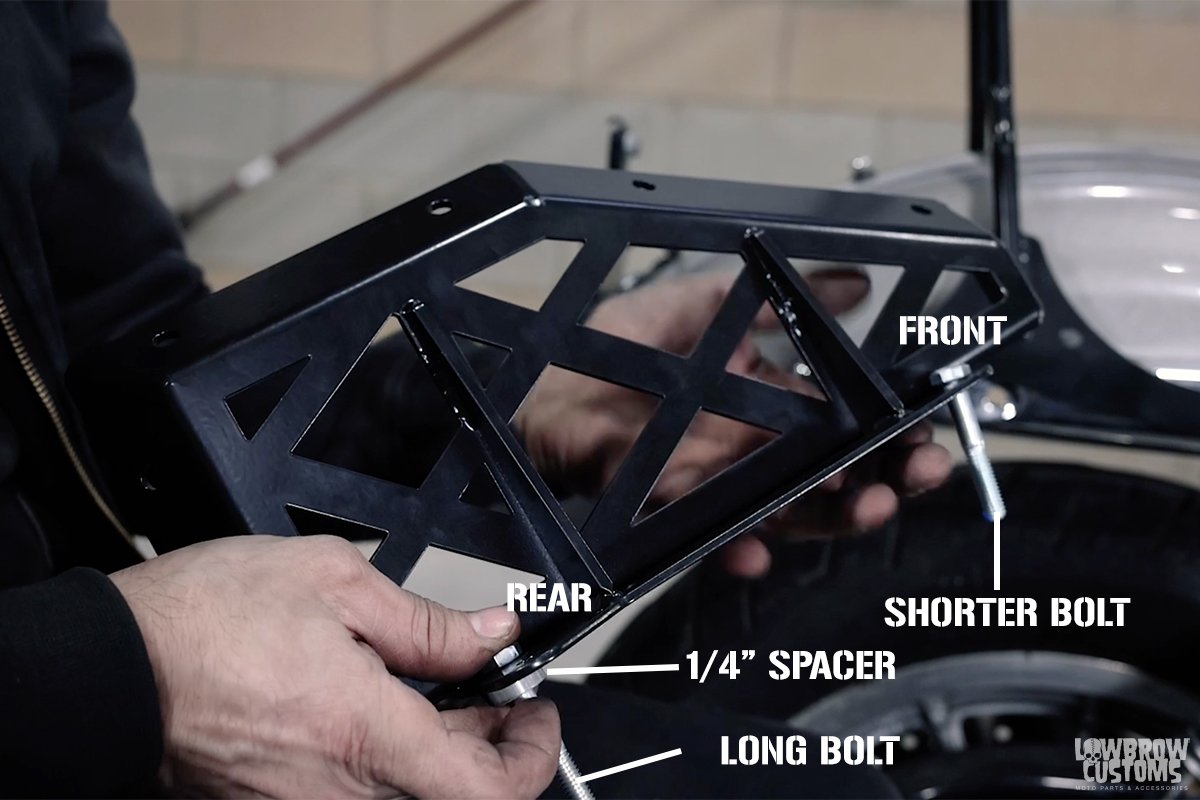
The 1st way, you can install this straight onto the bare steel strut with no sissy bar. You will use the 1/4" spacer on the rear hole location with the long bolt. Put the long bolt in the rear hole of the rack then spacer on the bolt which will lye between the Moto Rack and the strut. The short bolt goes by itself in the front hole location
The 2nd way, you can install it over a gasbox sissy bar, again same install as the 1st way whether using the chrome strut covers or not.
The 3rd way, you can install it over the chrome strut covers with no sissy bar or stock sissy bar. In the kit you will find two thin spacers. Those need to go on both bolts last before installing the Moto Rack onto the chrome strut cover. The rest of process is the same on the 1st way. again 1/4" spacer goes on the rear long bolt, and short bolt goes in the front. If you are running a gasbox sissy bar, no need for those thin washers.
*Important Note* Which ever way you decide to install this Moto Luggage Rack to you bike. You need to make sure there is ample bolt clearance on the inside of your fender and that it wont rub against your tire. A good rule of thumb is to feel the nut, if the bolt is past you may want to add a spacer or two to make it flush with the nut.
 We decided we were going to run the chrome strut covers so we fished those back on.

We are putting the Gasbox Chopper Sissy Bar on from 04- up sportsters. These have welded spacers on the inside of the mounting plates that take up the space on the chrome strut covers.
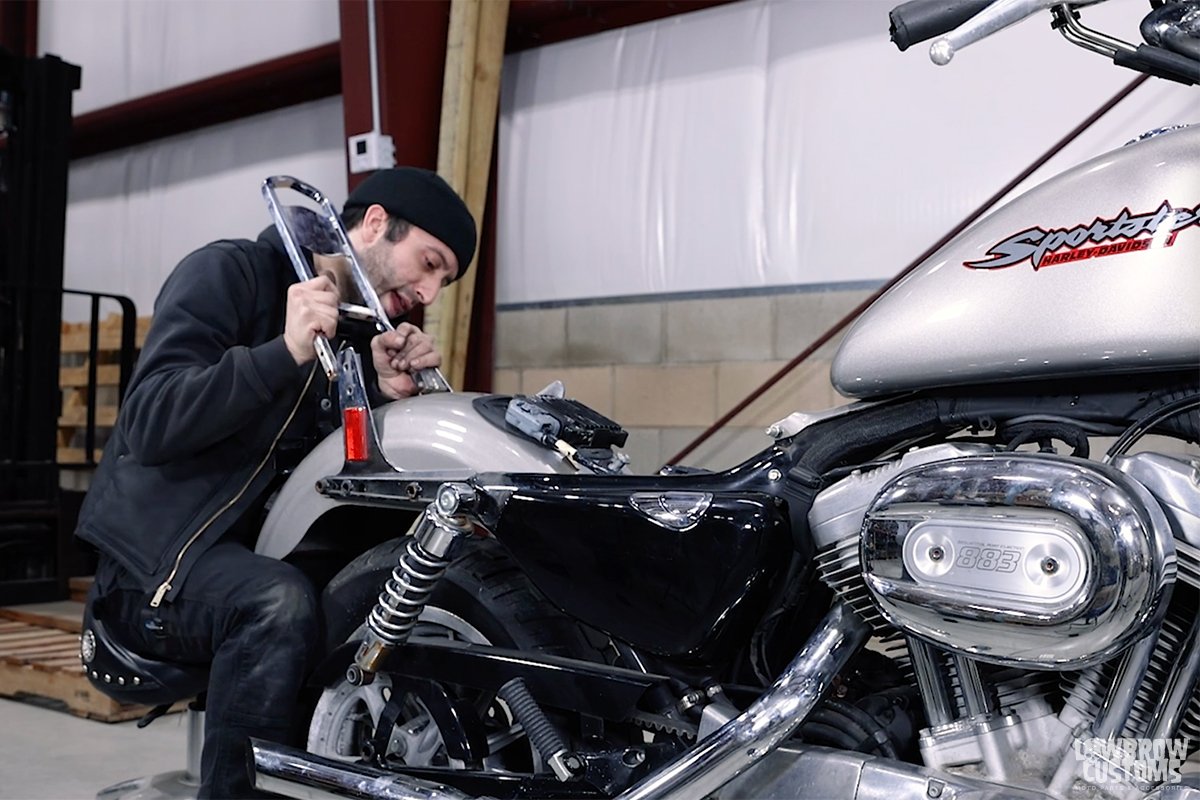
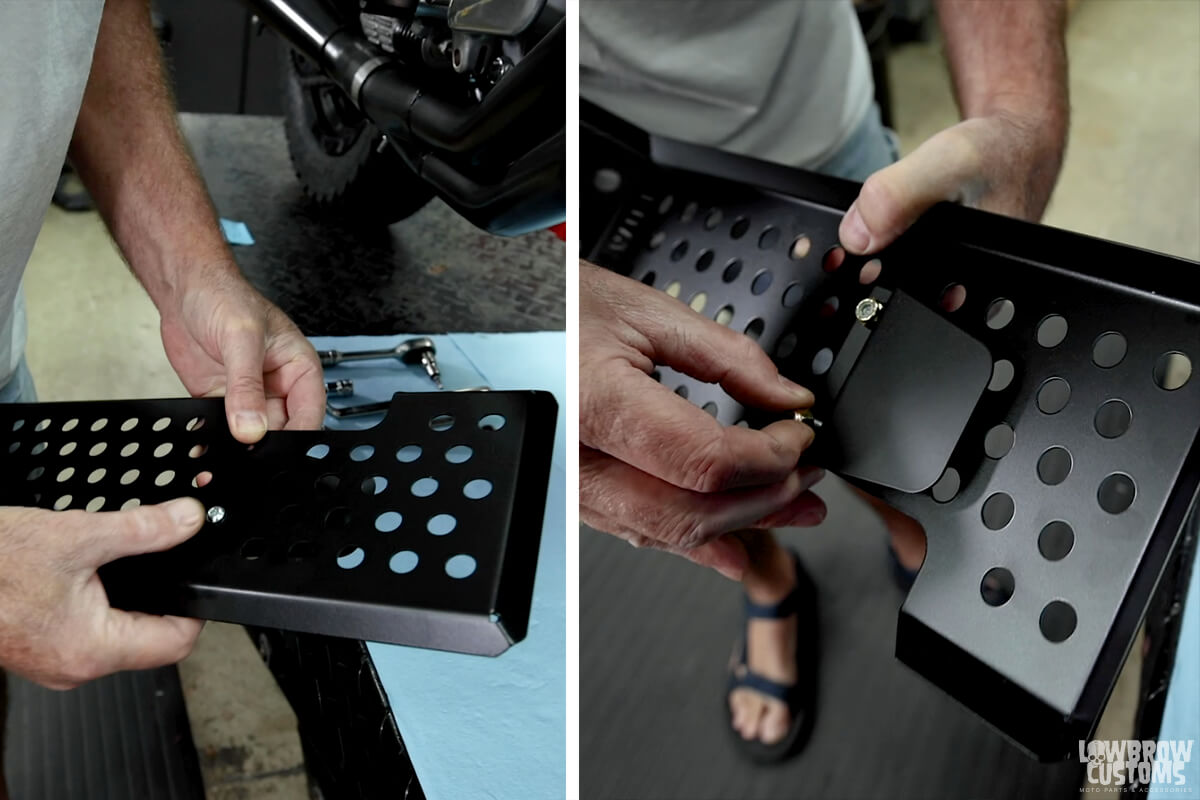
 Tim showing how the chrome strut covers are indented a bit where the bolts go in. If you are not running a Gasbox sissy bar and are running those strut covers, you want to use the thin supplied spacers from the kit to take up that area.

Make sure to use blue loctite.
How you are going to use the bolts and 1/4" washer.
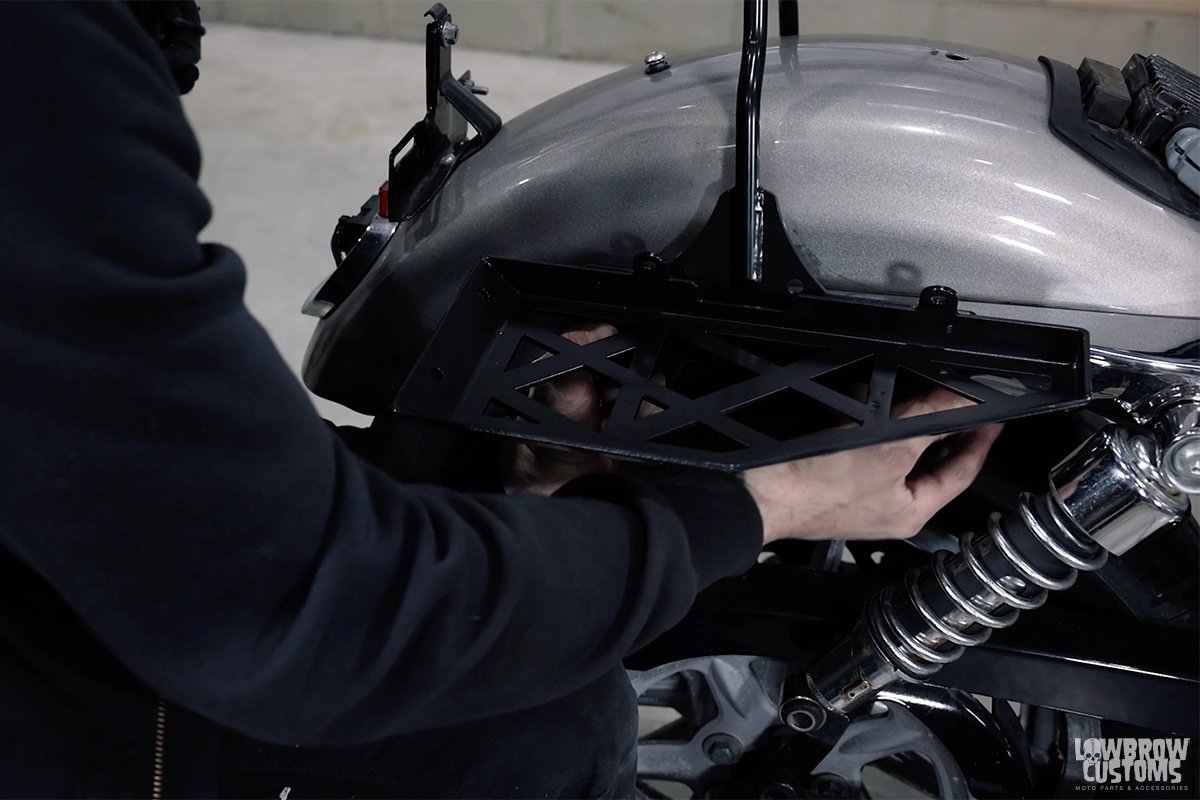
Install rack onto the strut.
Use original nuts from previous set up and tighten down firmly.
 Ensure after install the inside of your fender has ample clearance for the bolts you just installed. On the left you don't want it to look like that. For sure your bolt is going to rub or puncture your tire. You want it to look like the one on the right, flush to your nut.
STEP 3: IF YOU ARE WANTING TO RUN AFTERMARKET TURN SIGNALS HOOK THEM UP.
 A little diagram of how the bottom plate works for your aftermarket turn signals.
STEP 4: GO FOR A RIDE!
 Make sure to put your seat back on and button up your tail light.. but other than that its time to go for a ride... well clearly in this photo Tims gotta put back those lower shock mount bolts. Then its time to ride!
SEE PHOTOS ON 2007 HD SPORTSTER
 Right side moto rack
 Right side moto rack
 Skateboard rack and right side moto rack
Left side moto rack
Dual Racks

Left side moto rack
WATCH VIDEO: HOW TO INSTALL MOTO LUGGAGE RACK ON 2006-2017 HARLEY DYNAS
INSTALLING MOTO LUGGAGE RACK ON 2006-2017 HARLEY-DAVIDSON DYNAS IN 4 EASY STEPS
 Mikey Revolt is taking y'all on a little journey to moto rack install land.
STEP 1: REMOVE TURN SIGNALS, SADDLE BAG RACKS AND OR STOCK SISY BAR
First things first the Lowbrow Customs Moto Luggage Racks will not work with stock turn signals. Those ugly things gotta go, but don't be scared, theres tons of other options on the market to keep you legal and we even give you a mounting location on the rack if you wanted to utilize that as well. You can use this moto rack with your stock sissy bar but we highly suggest grabbing a Gasbox Sissy Bar instead, just because ascetically its eye pleasing and just gonna make you look waaayyy cooler! Also if you have saddle bag racks those gotta go, they wont work with the Moto Luggage Rack.
 Saving those Saddle Bag Racks for later, With only two bolts, interchanging from the Moto Luggage Rack back to saddle bags is super simple.
STEP 2: INSTALL THE MOTO LUGGAGE RACK ONTO THE BIKE
We supply two new bolts and one 1/4" spacer in the kit with your moto luggage rack. Dyna's struts have a taper to them so you will need to use the 1/4" on the rear bolt to take up the difference from the taper. This allows the rack to be streamline and straight, not cock eyed in the wind. Make sure to use some blue Loctite and you will reuse your nut, or inner fender bracket to secure the moto rack into place.
 You can see the taper in the rear struts.
 The supplied hardware in the kit, two bolts and 1/4" spacer.
 Be sure to put a dab of Blue Loctite on each bolt.
 Put one bolt in the front mounting hole of the rack, put the other bolt in the top rear mounting hole. You will then put the 1/4" spacer on the rear bolt in between the rack and the sissy bar and or strut.
 Introduce the rack to the struts and start the front bolt loosely, then the rear. Don't tighten one first all the way before starting the other bolt. This will help with aligning and getting your bolts started in both front and rear locations.
 Torque those bad bois down.
STEP 3: CHECK TIRE CLEARANCE AND ADD AFTER MARKET TURN SIGNALS IF DESIRED
It's important after the install of the Moto Luggage Rack is complete that you check your tire clearance to the bolts you just installed. A good rule of thumb is the bolt should be flush with the nut and bracket and not go passed. Last thing you want is for your shocks to compress after hitting a large bump in the road and then your bolt sheers your tire leaving you stranded with a flat. Also another thing you can do if you plan on keeping these Moto Luggage Racks on the motorcycle, is install new smaller turn signals if you desire.
 You don't want the inside of your fender to look like this
 It should look like this
 Here is a little diagram showing what each extra hole is for on the Moto Luggage Rack if you are looking to add aftermarket turn signals.
STEP 4: GO FOR A RIDE!
That's it you're all done! Now all thats left to do is GO FOR A RIDE! Oh but wait... if you want to get a Left Side Moto Luggage Rack or a Skateboard Carrier Rack. We have those available too!
 Racks on racks on racks. Get your Left side Moto Luggage Rack or a Skateboard Carrier Rack as well!
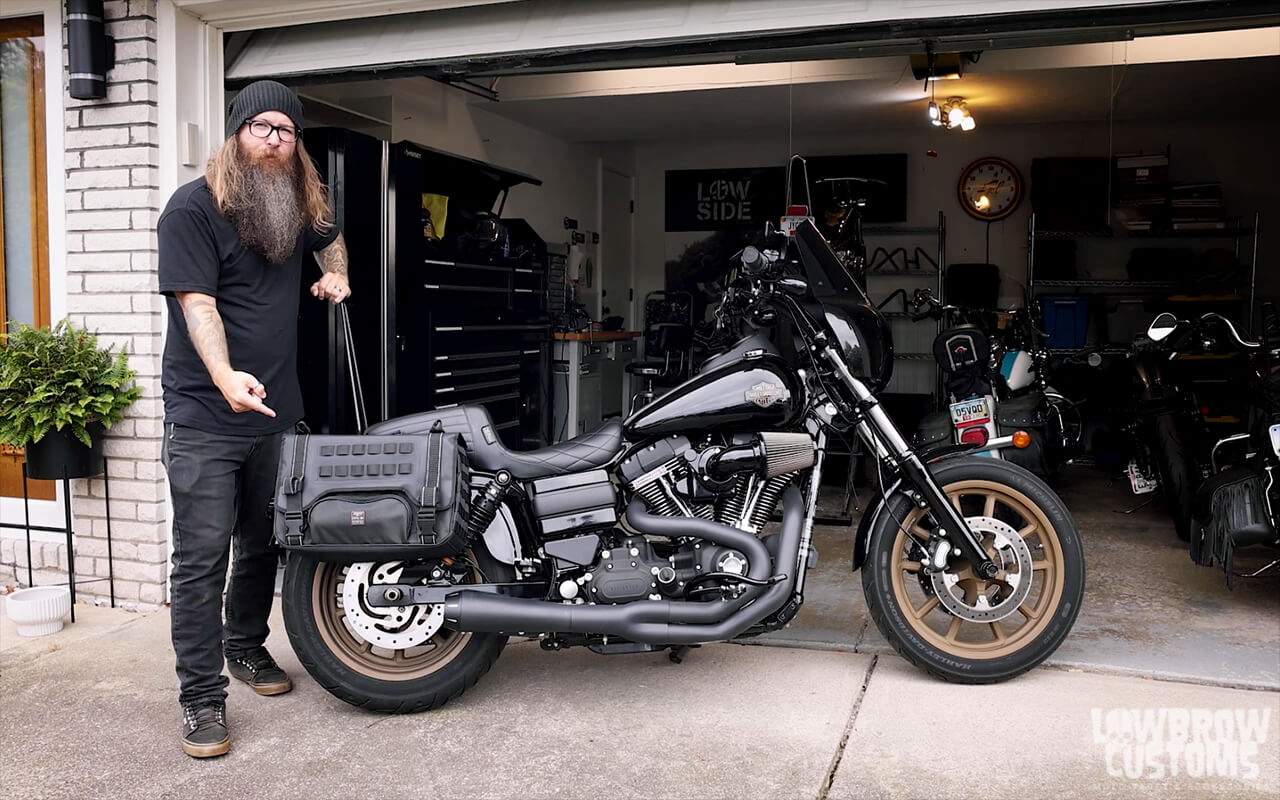
SEE PHOTOS ON A 2017 HD DYNA
 2017 Dyna Lowrider S.
 Looks like it was always supposed to have been there.
 sleek yet sturdy enough to hold whatever you throw on it.
 Looks killer with a Skateboard Carrier Rack.
 You could hold like a six pack..... of soda on there.
 FKG Moto Luggage racks are the coolest, am I right!?
 Pairs really well with that Gasbox Sissy bar.
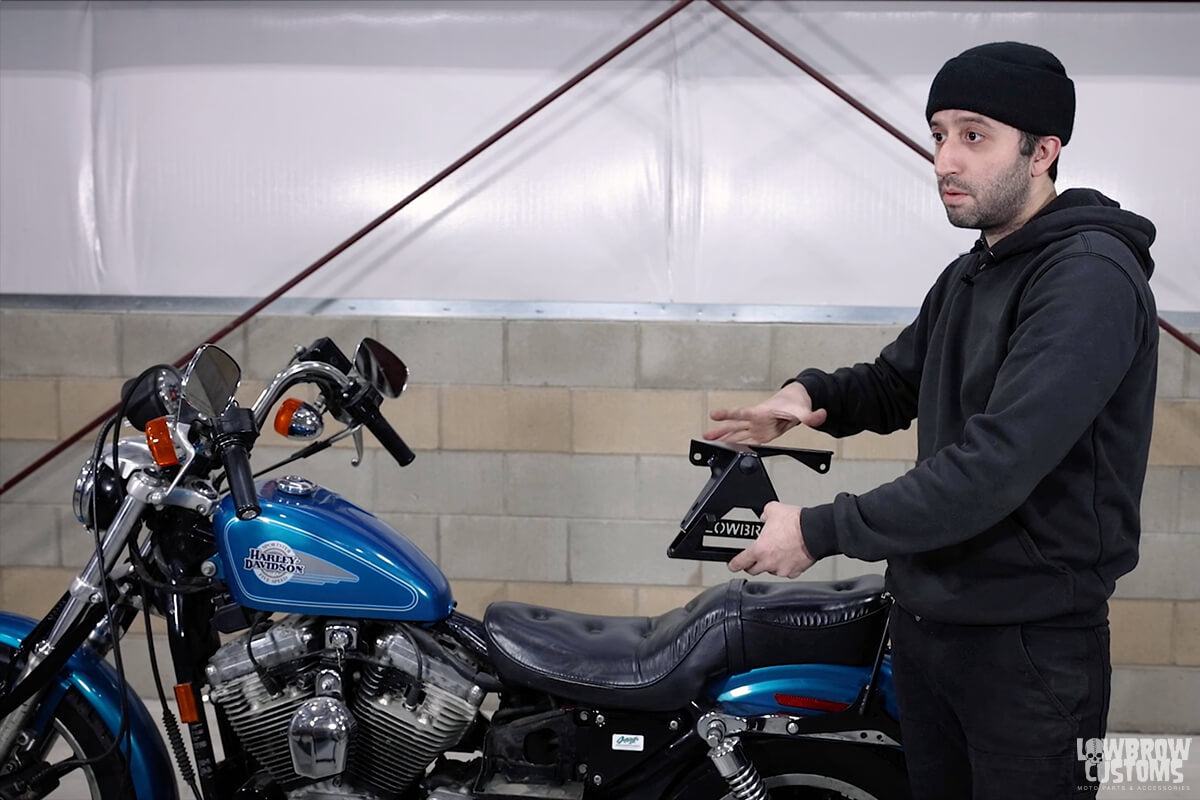 This rack will mount on the left side of your motorcycle.
 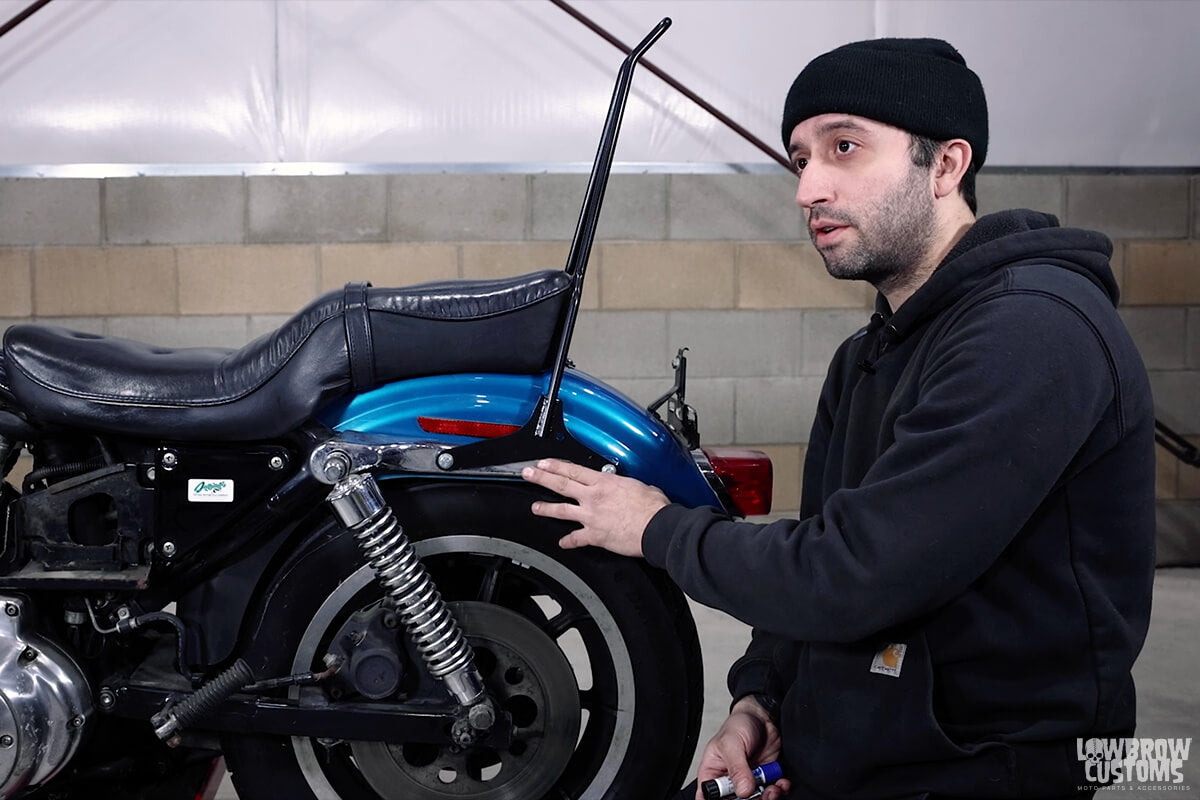 You can run this skateboard rack with your sissy bar, but we suggest removing your turn signals.
 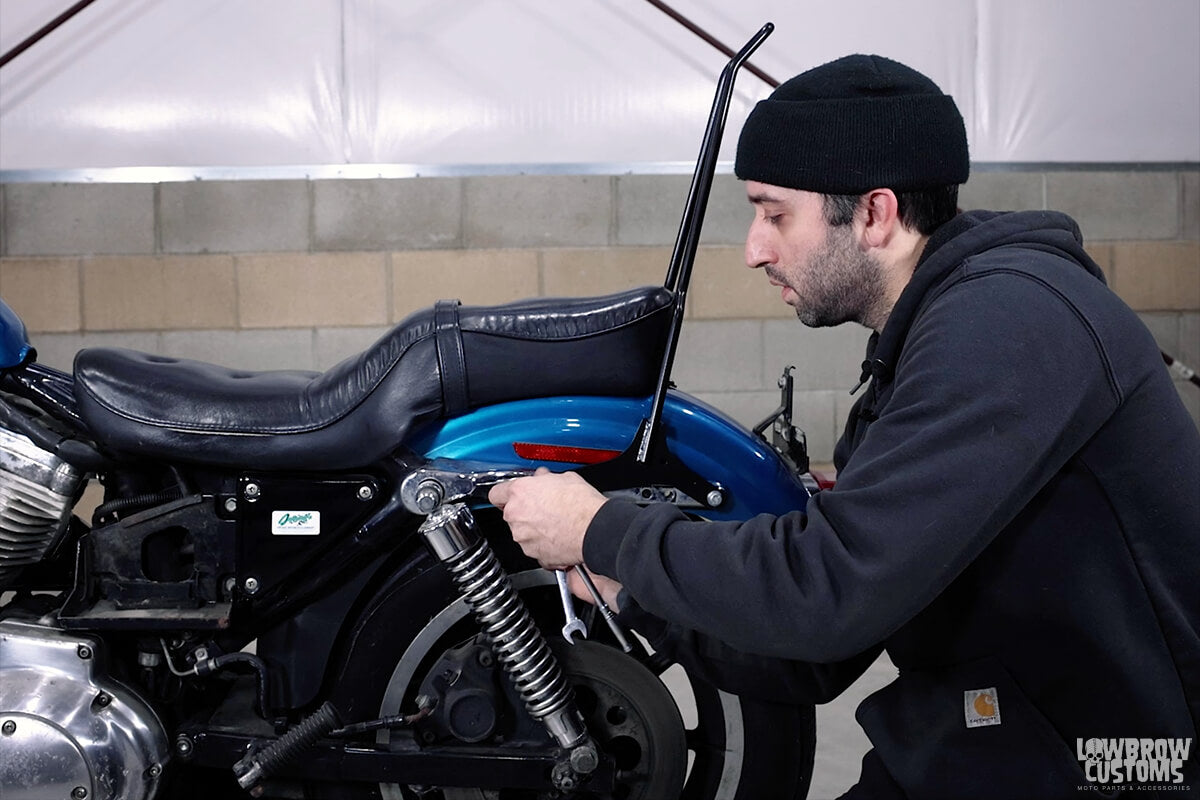 Remove to bolts from strut on fender. Save nuts and or stock back plate with welded nuts and reuse with install.
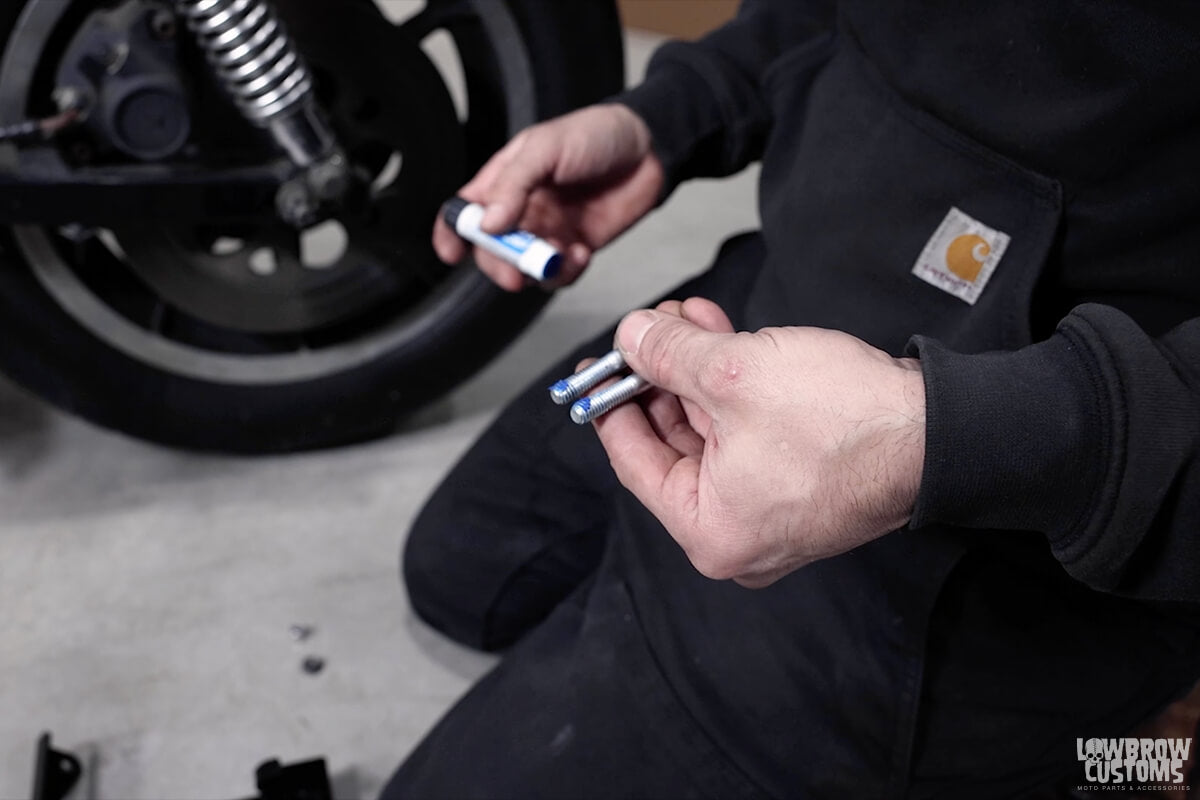 Using supplied hardware in the kit, put blue loctite on both bolts.
 Insert bolts into the skateboard carrier rack.
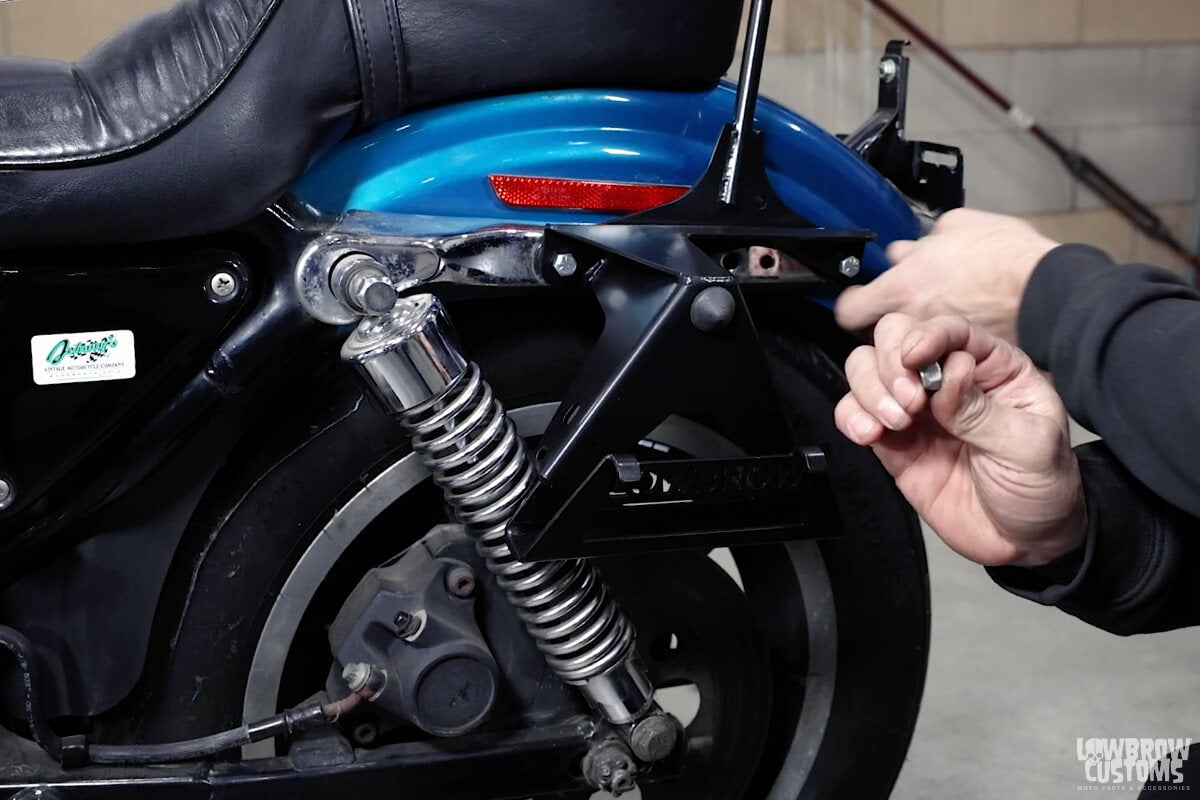 Put bolts into strut mounting holes and used saved nuts or stock backing plate to secure the skateboard rack to the motorcycle.
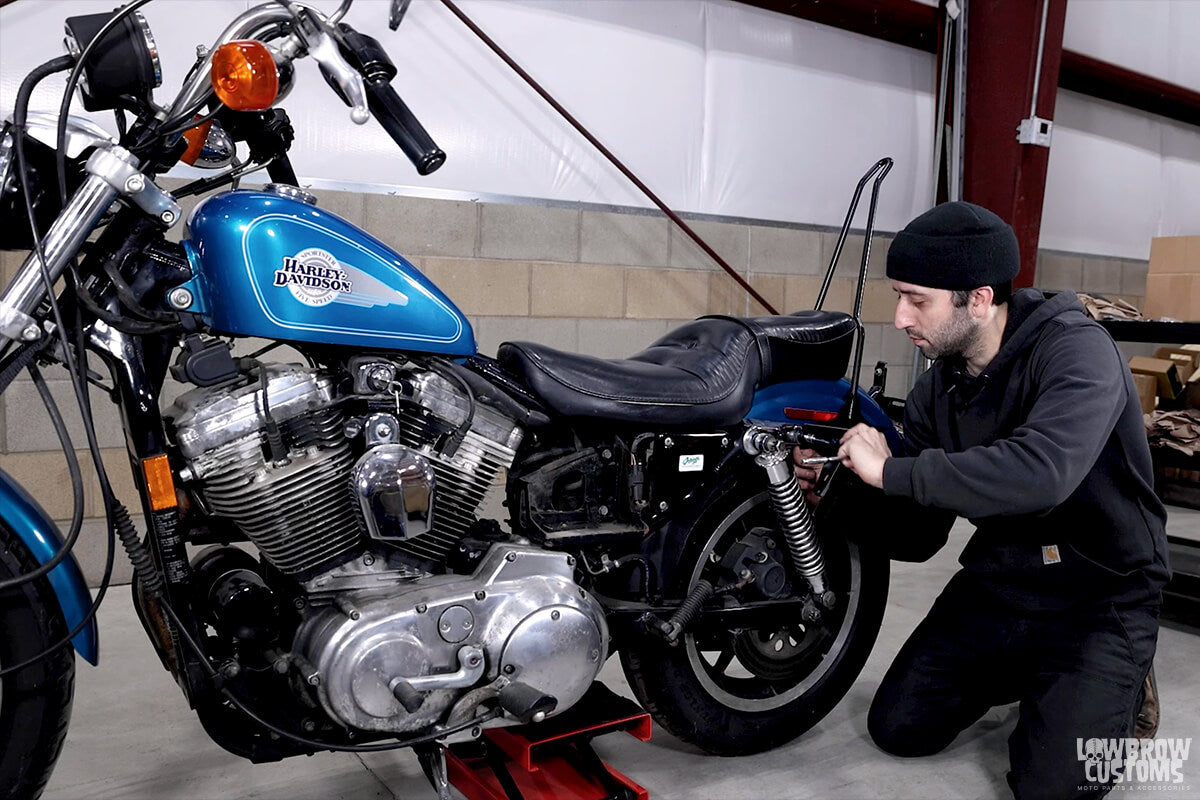 After final tightening of the bolts, Tim checks clearance to the sidewalls of the tire.
 Your rack will have a rubber triangle bumper that comes in the kit, install this onto the top hole as seen above. This bumper allows the board to rest with out making a ton of noise and your grip tape won't rip up the rack.
  With the supplied bungie cord loop the hooks into the side mounts and pull the bungie up, it will kind of look like a bag handle.
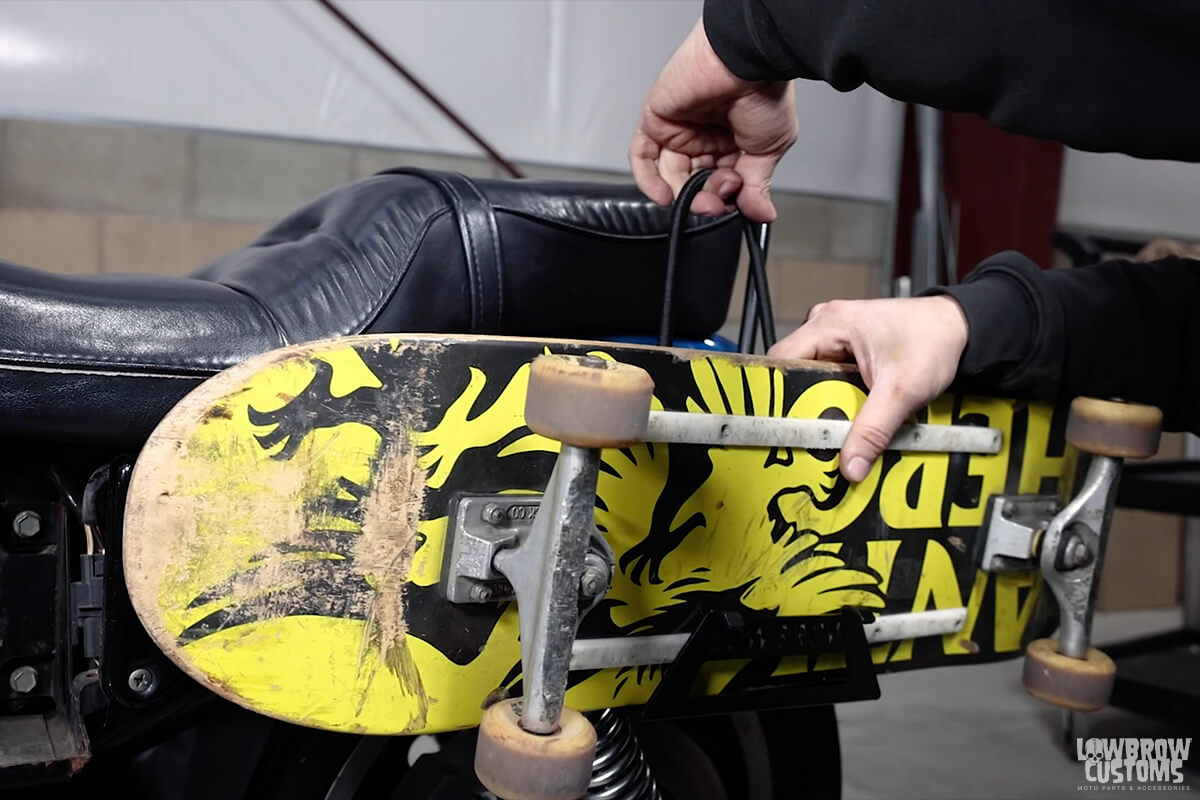 Slide your board into the rack, grip tape side in.
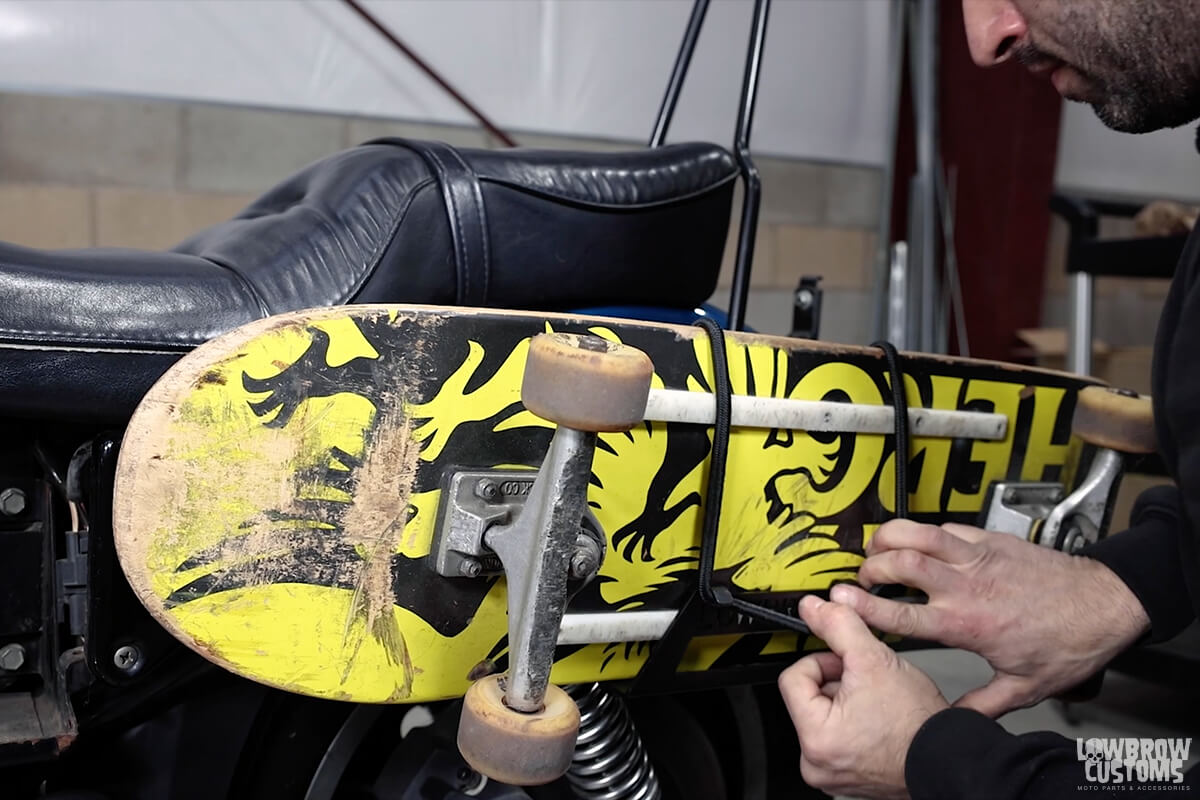 Pull the bungie cord over the top and secure to each mounting point on the bottom of the rack.
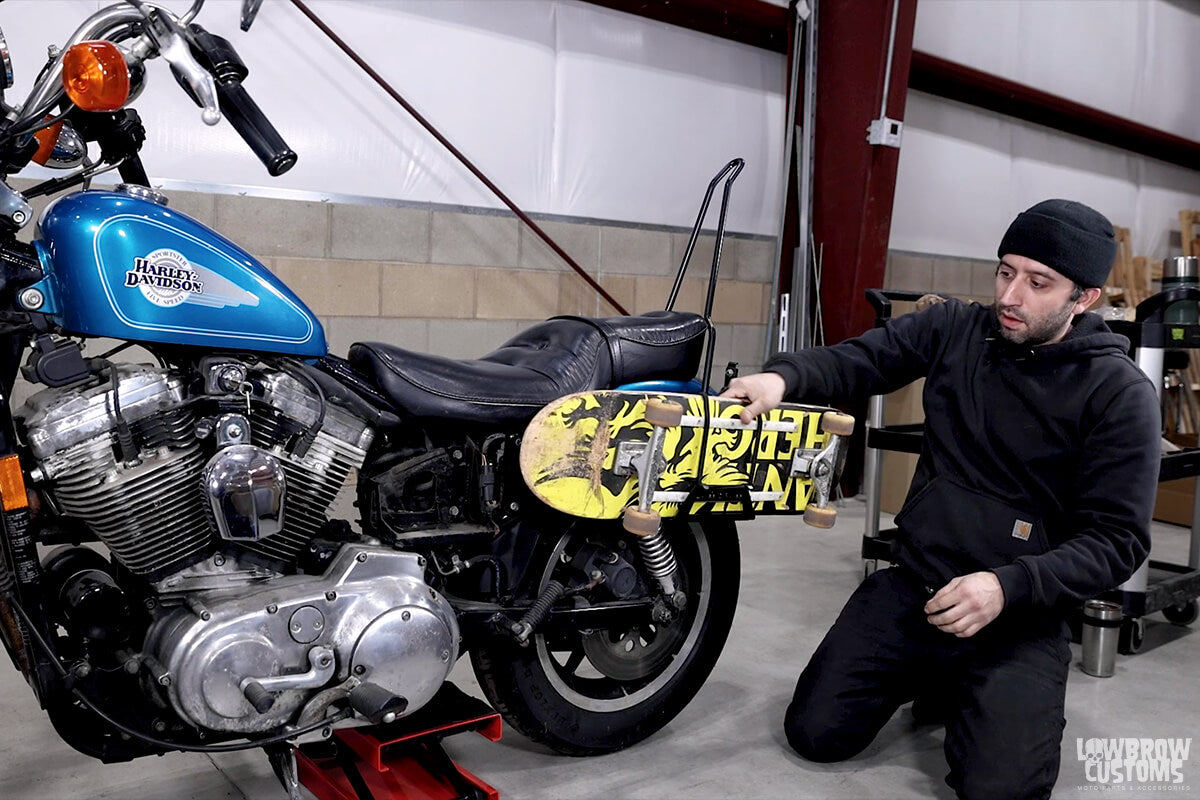 Adjust the board to desired way it sits.
 Tim showing how you can have a passenger and the skateboard is not in the way.
 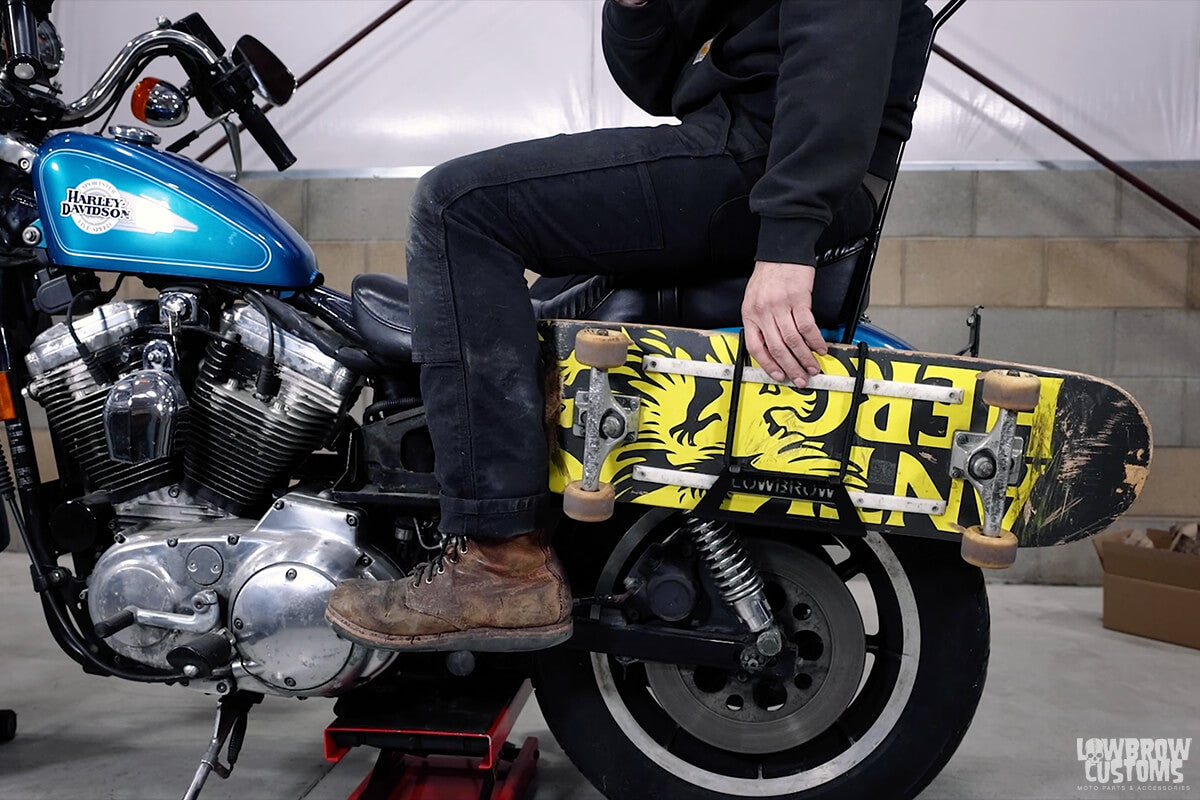 A perfect place to mount a board and still have a bag or passenger on the back.
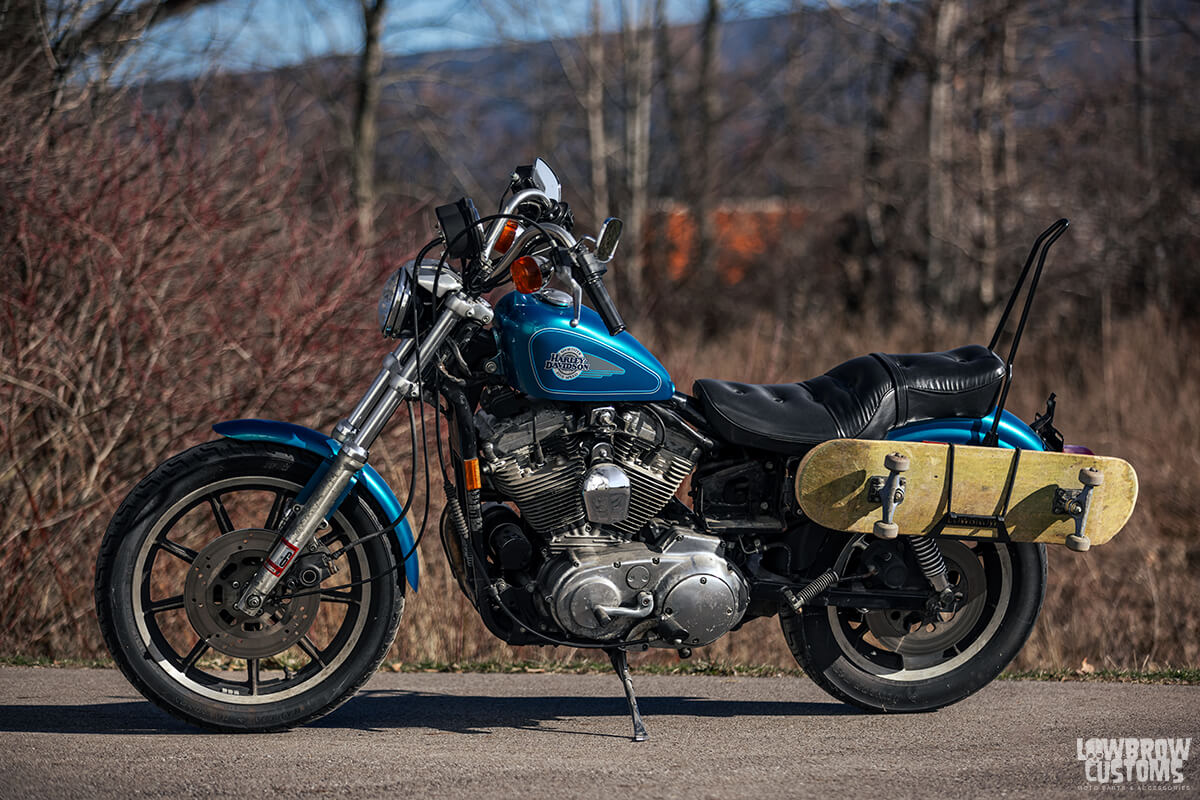 1994 Sportster.
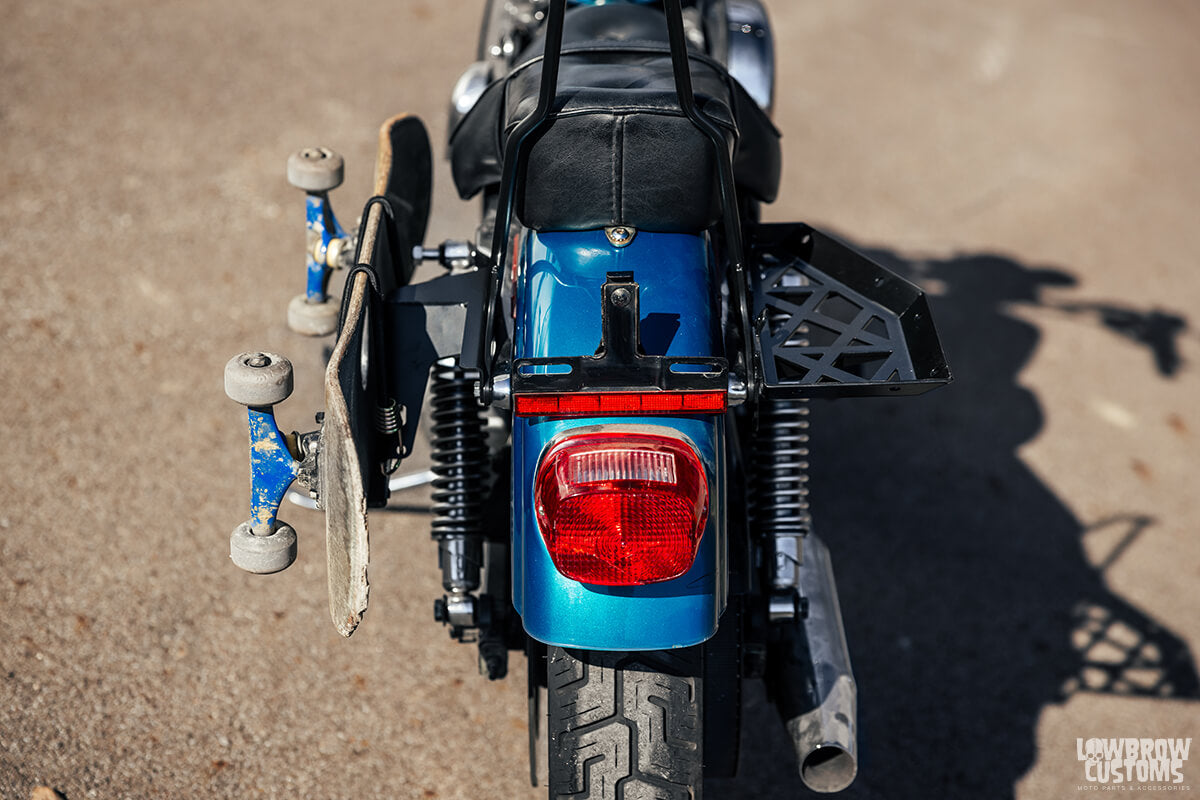 Pairs well with the Moto Luggage Racks.
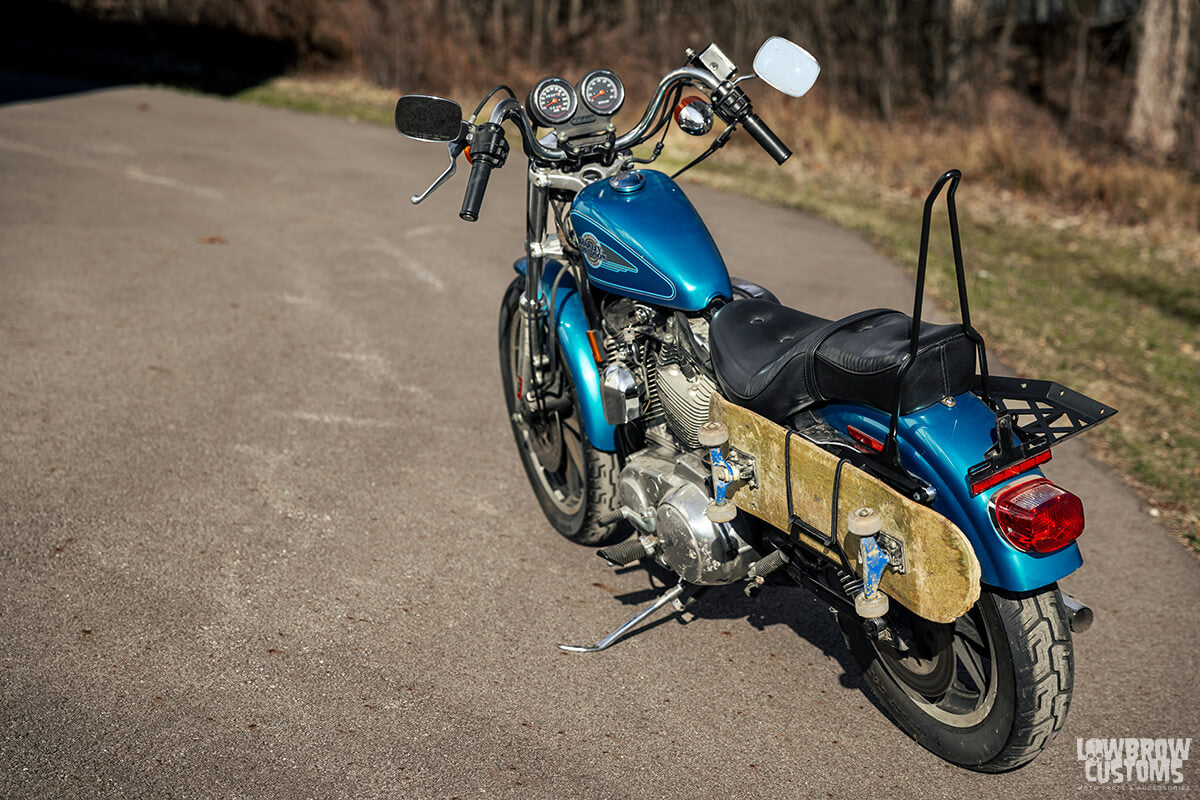 Let's go shred the gnar.
 Lets get this skateboard carrier rack on the bike!
 Those turn signals are out of here!
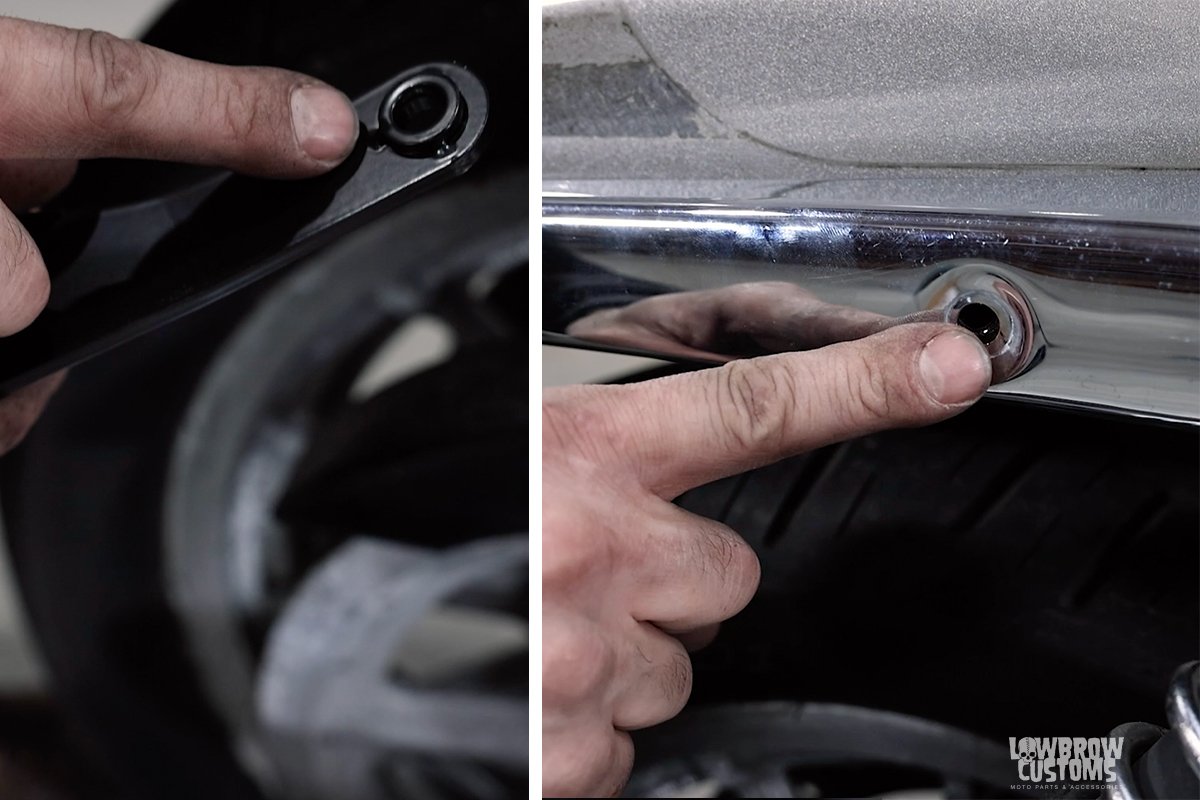 You can see the inside mounting tabs of a gasbox sissy bar has thin washer welded on to take up the space of the chrome stut covers.
 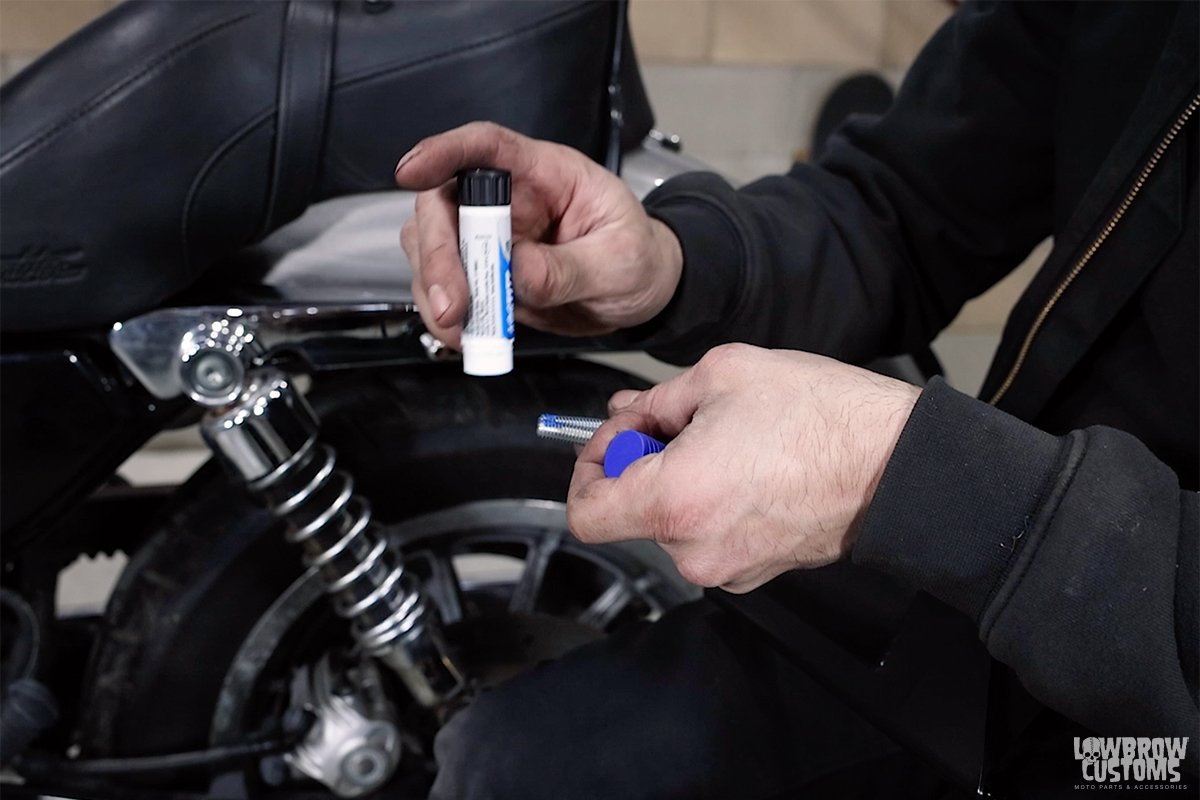 Blue Loctite those bad bois.
 How we used the hardware provided with our set up.
 Make sure to check bolt clearance inside the fender. You don't need to many threads stick out and scraping or puncturing your rear tires. A flush bolt to the nut is what you want.
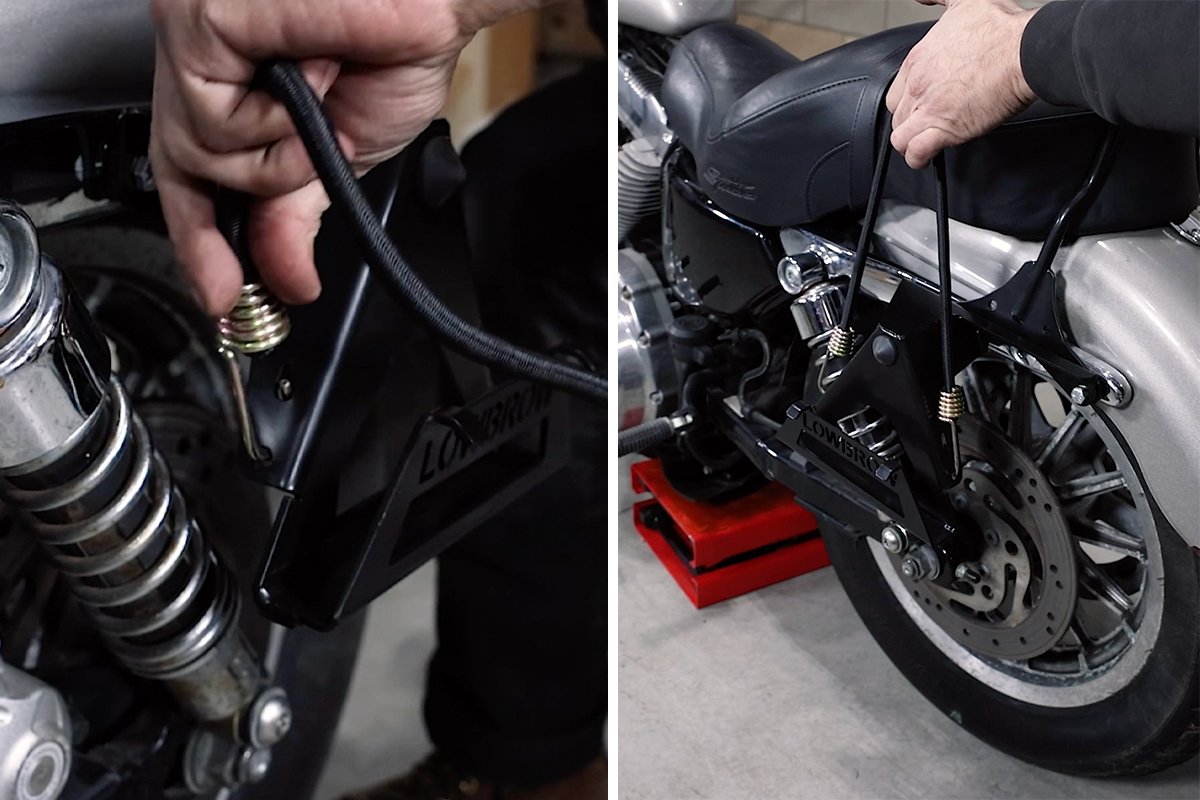 Note how the hooks go into the rack.
 You can comfortably have a passenger and your favorite board with you.
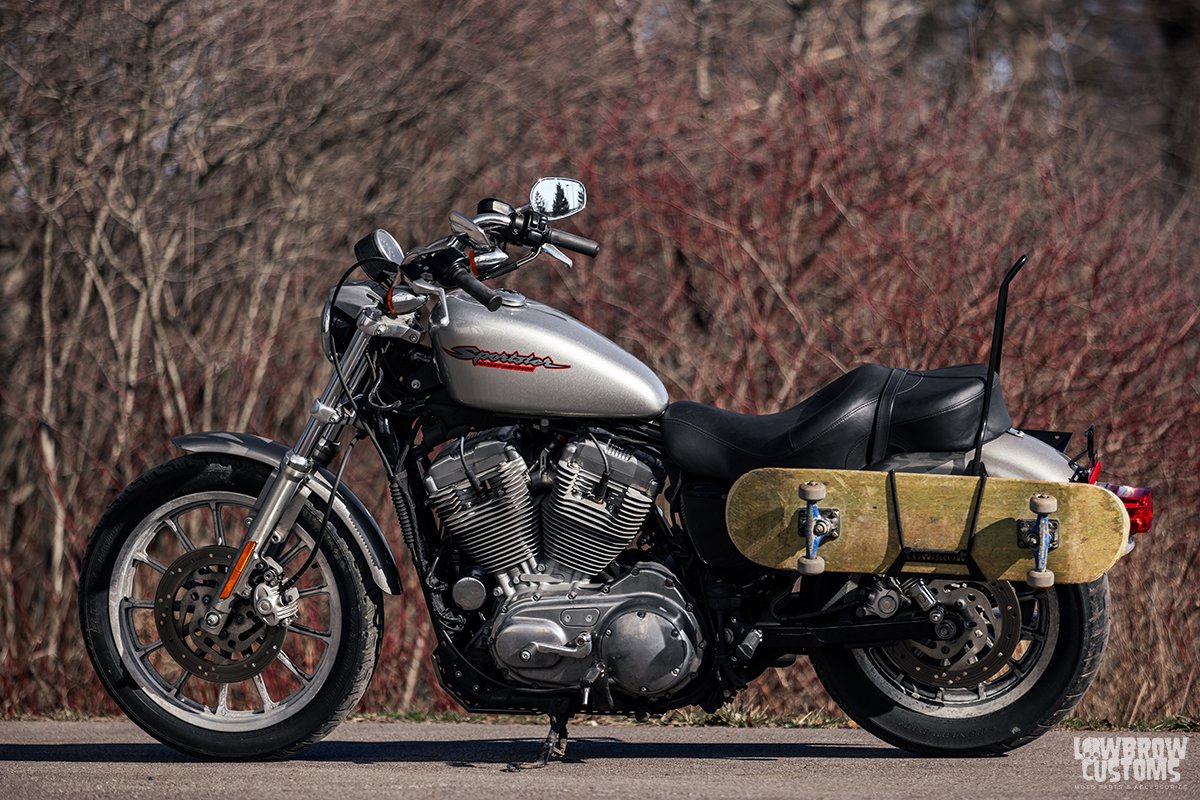 2007 Harley-Davidson Sportster with the Lowbrow Customs Skateboard Carrier Rack.

 LFG!
LFG! Skateboarding and motorcycling do go together.
 This thing is beefy!
 2 bolts and 1/4" spacer come with the kit. You will use the 1/4" spacer on the rear bolt.


 Torque'em down and check'em out.
 Hook the hooks on the bungie cord onto the bottom holes of the sides of the skateboard carrier rack. Pull up on the bungie like you are holding the handles of a tote bag.

 Mind blown.
 Isn't she lovely.
 Lets go skate!
 Goes well with a Moto Luggage Rack.
 Even looks good on the bike with out a board. Like it was ment to be there.
  2017 Harley-Davidson Dyna Lowerider S with Lowbrow Customs Skateboard Carrier Rack.
 Those are some nice looking grips.
 In the box they supply this torx bit wrench.
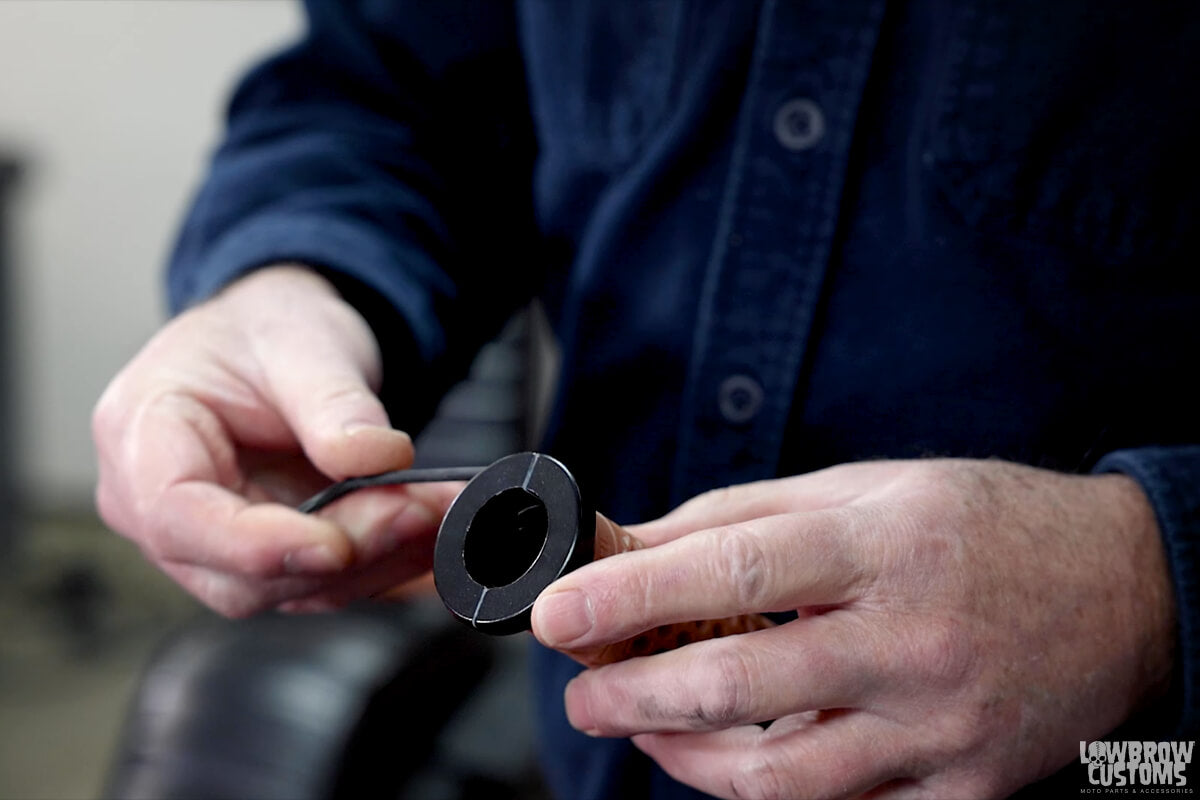 Just loosen the screws, don't remove.
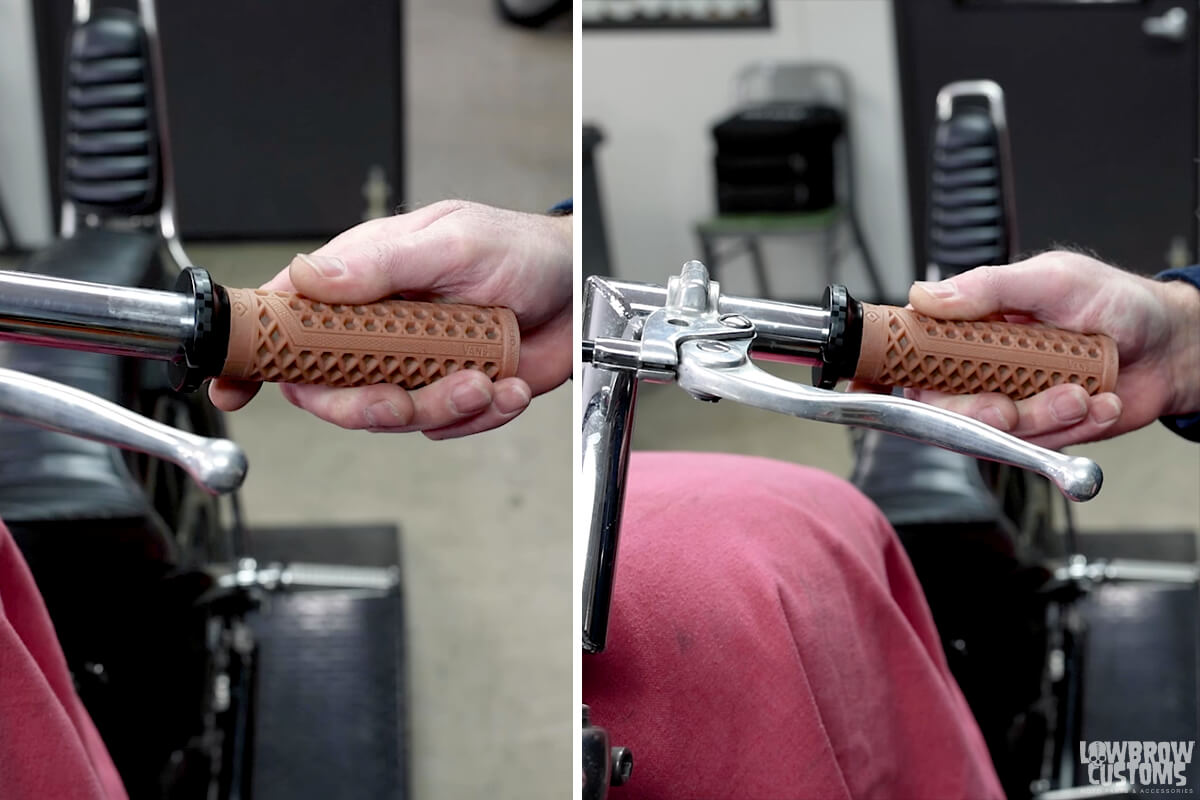 The fit will get firmer and harder to push the farther it slide up the bar.
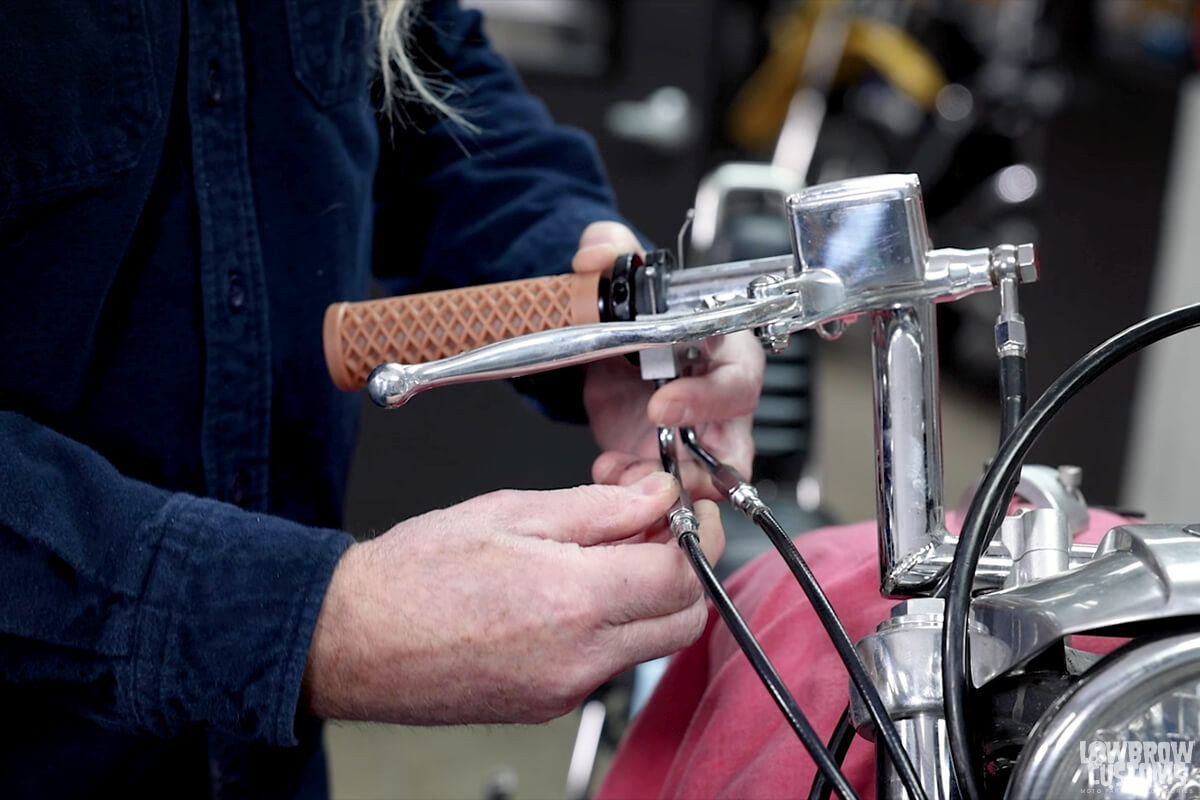 De-adjust your throttle cables. Break the lock nut free and give yourself the most slack on the cables that you can.
 While you have your throttle cables exposed. Give them some lube. You'll thank us later.
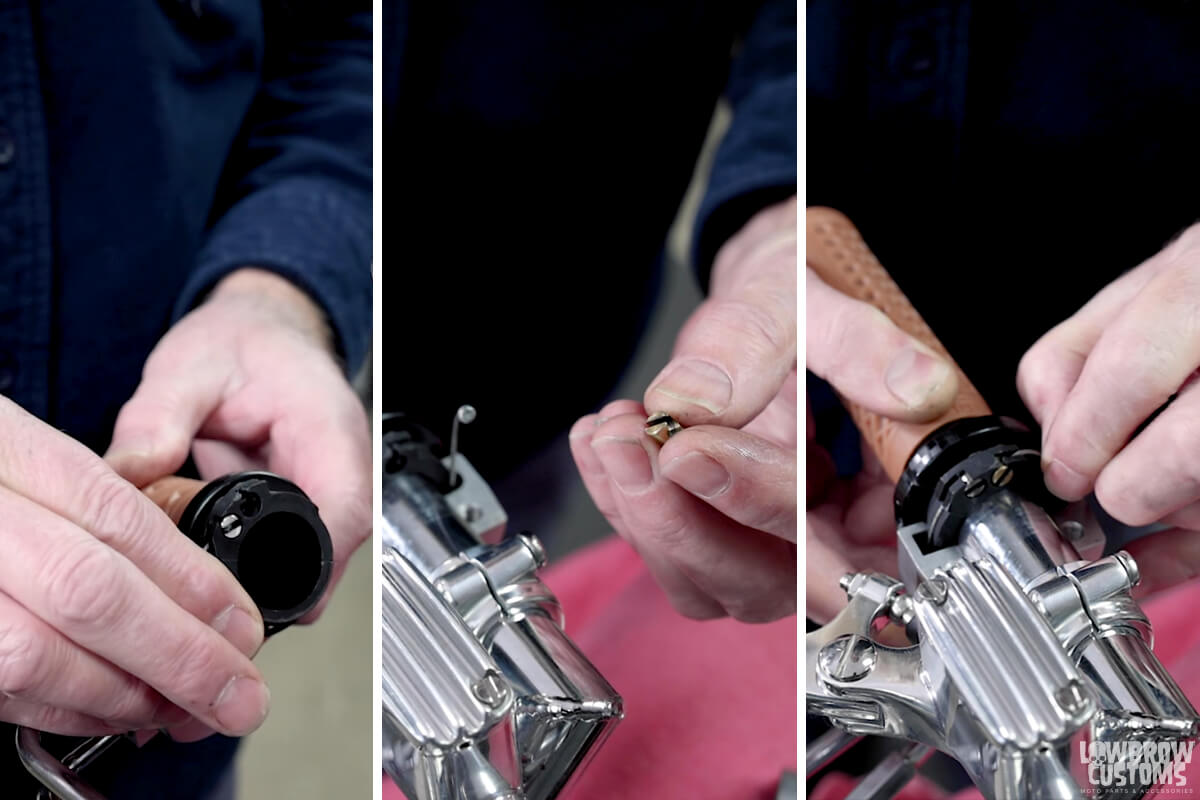 Fit the chinga-dingas on the balls and set in the throttle tube with the throttle wires resting in the groove of the throttle tube.
 Loosely install your throttle housing on top of the throttle tube.
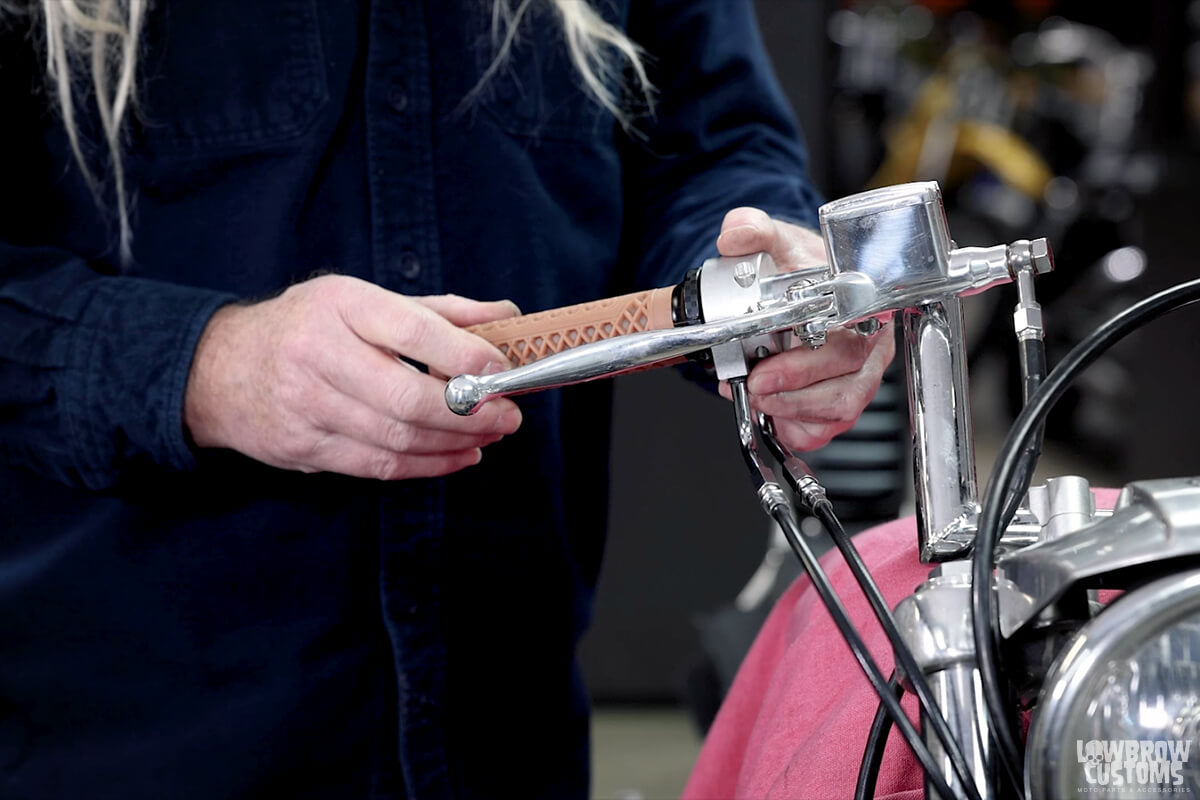 Pulling back the grip after it hit to prevent drag.
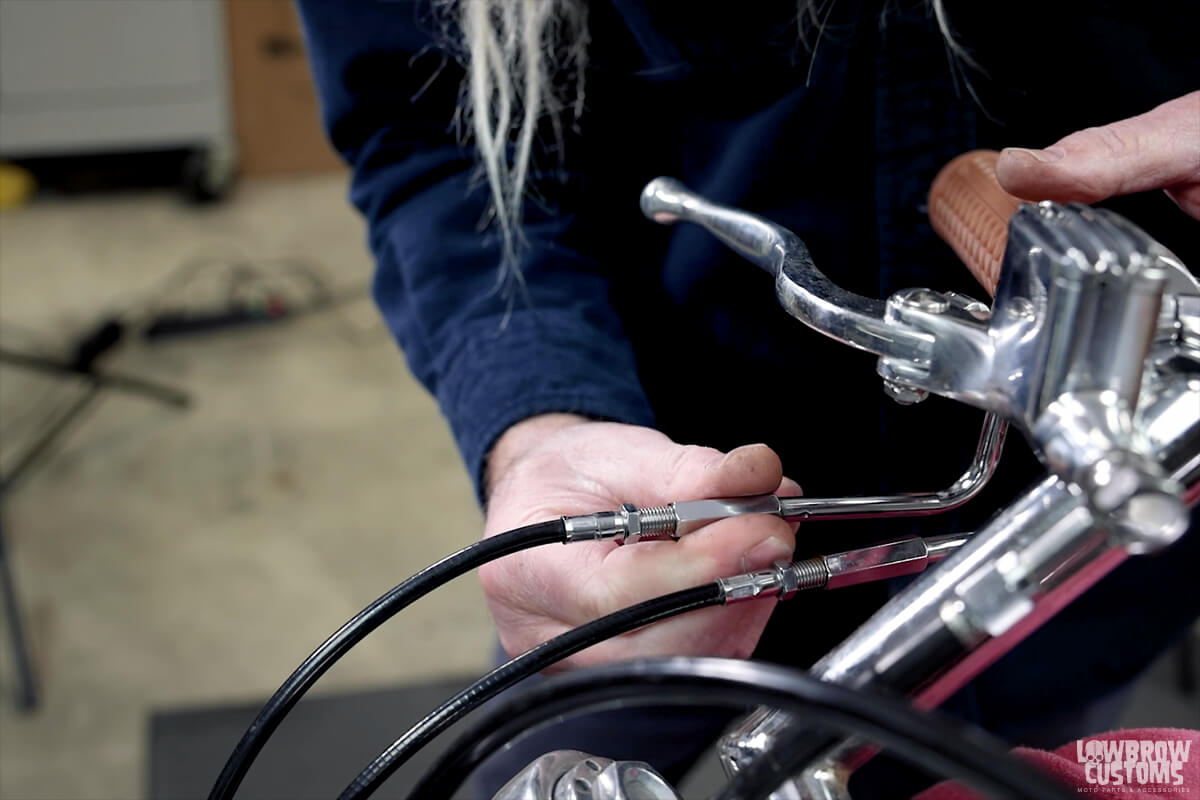 Adjusting the cables. Once you find your adjustment is right make sure to use the locking nuts to keep your settings.
 Don't over crank your throttle housing but make sure its tight!
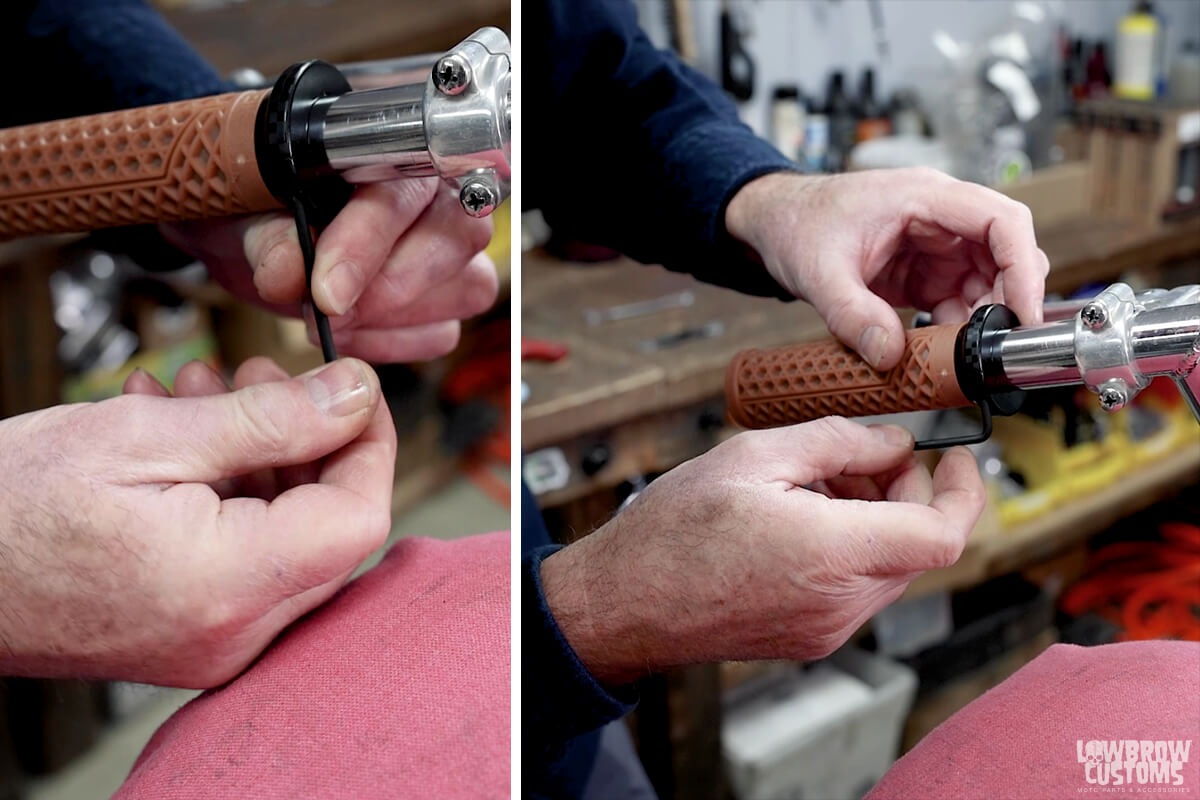 Use the long end of the torx wrench to tighten, use the short end to give the final wammy.
 WOOOOOOO!
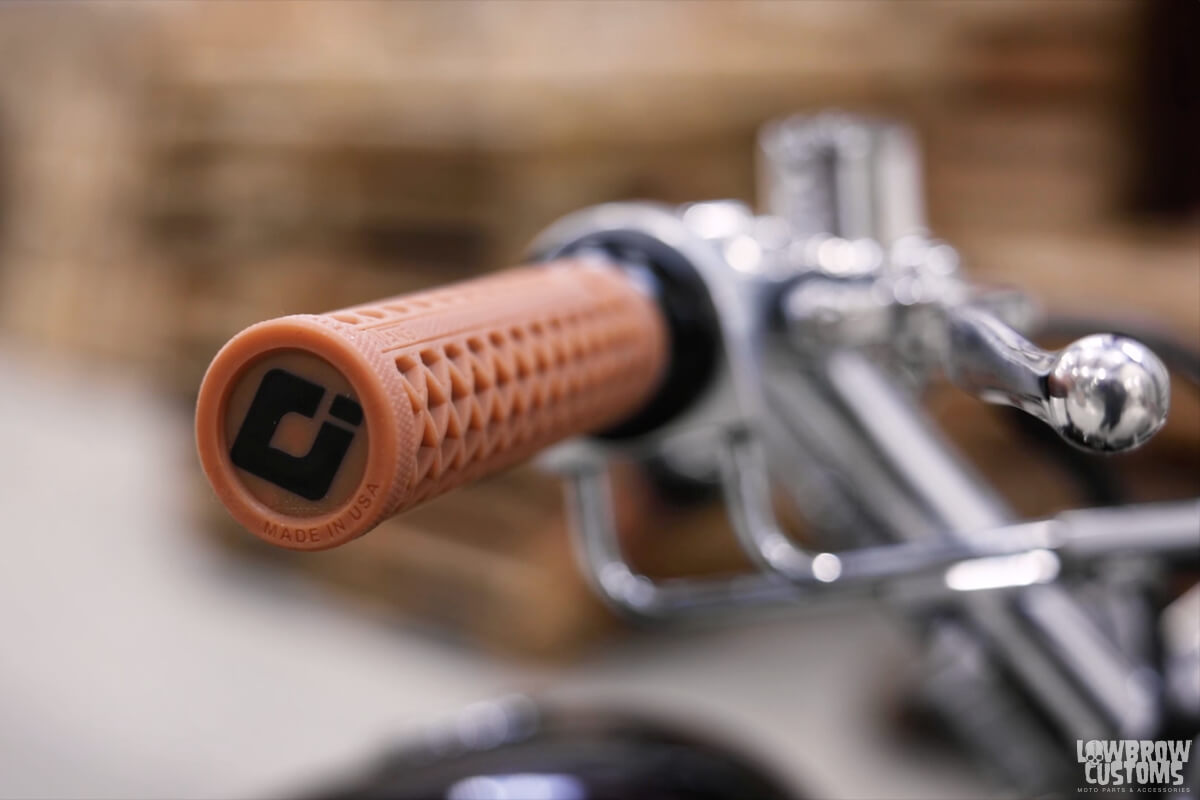 Made in the USA. Awe yeah!
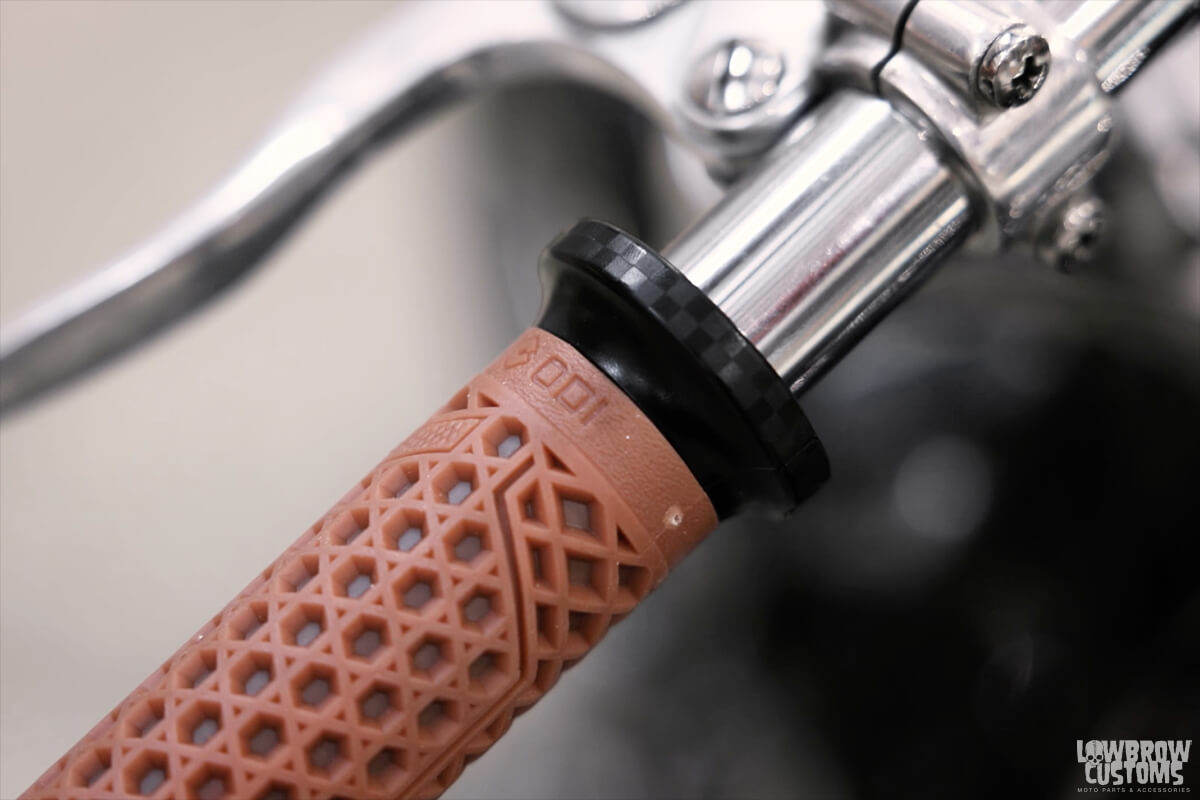 Check out them details. These are super rad!
 Them grips are off the wall! HA!
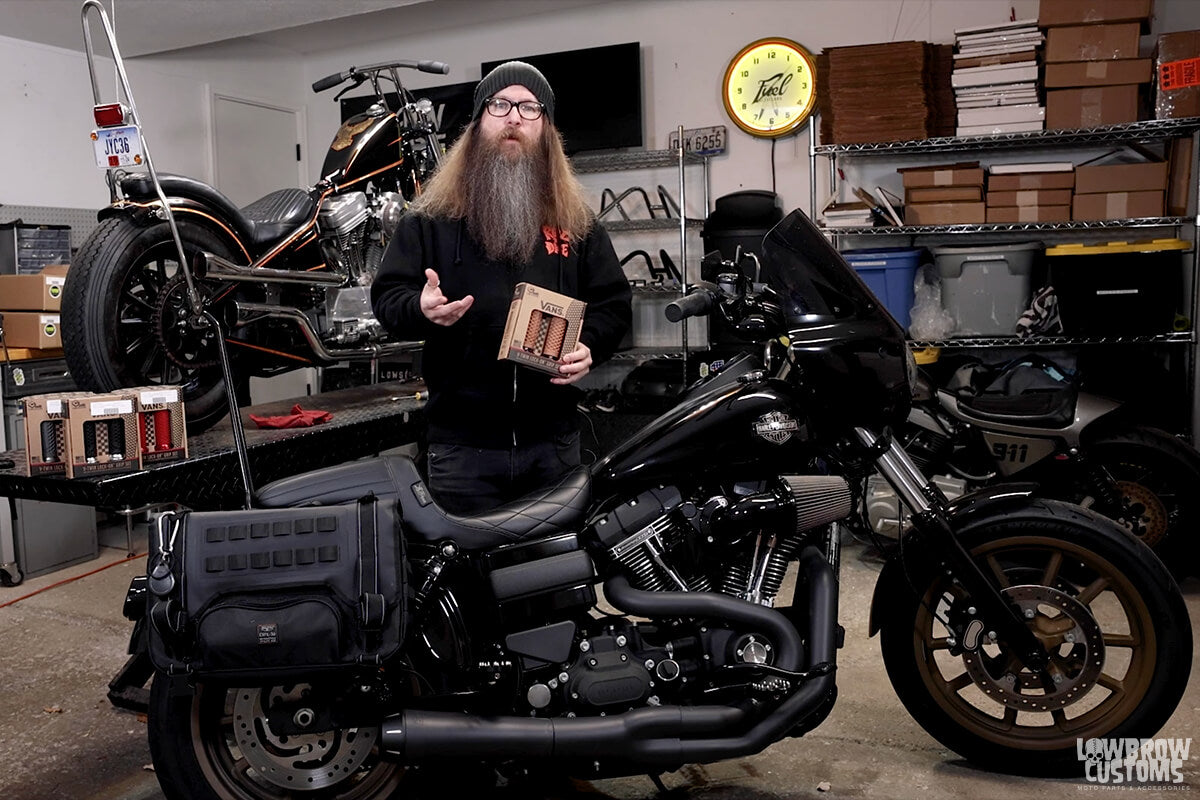 We are going to install these gum color grips on this 2017 Dyna Lowrider S
 Cover your tank with a towel if you want to protect it from possible falling things like bolts or sockets etc.
 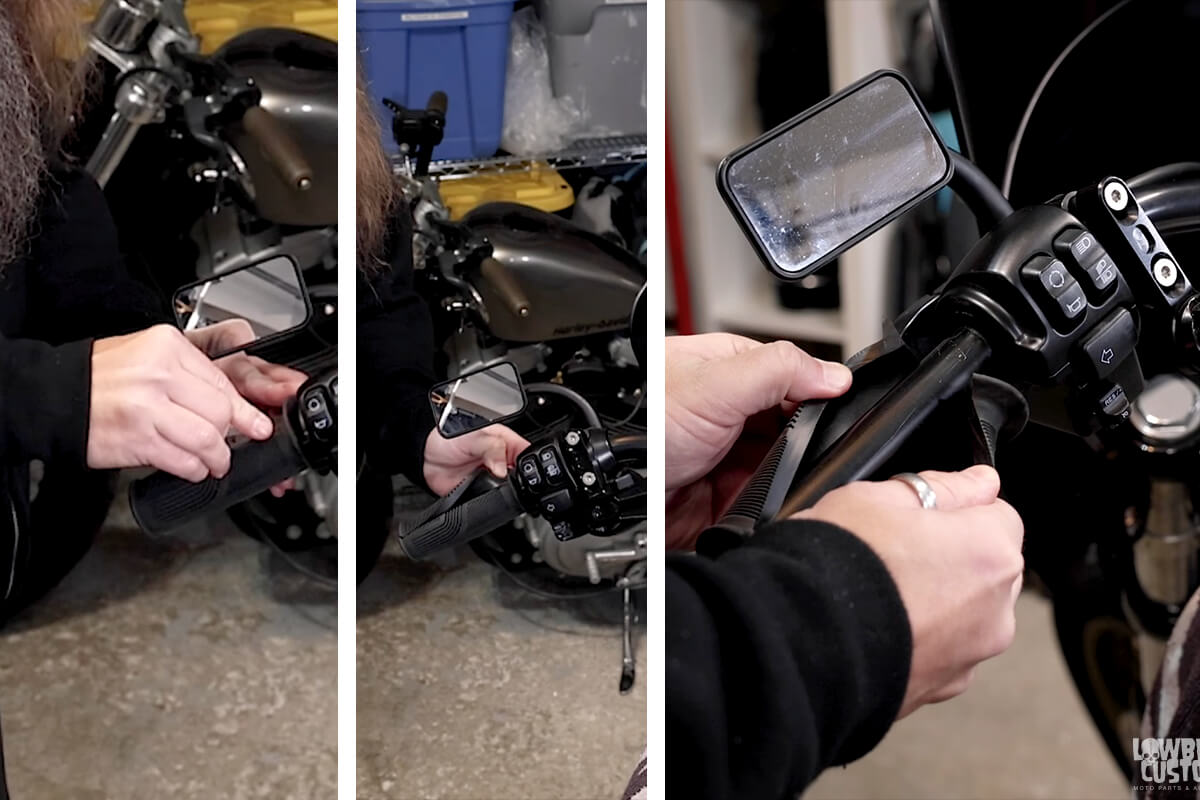 Use a razor blade to cut the throttle side grip off, or you can use air and blow into the grip if its not glued on.
 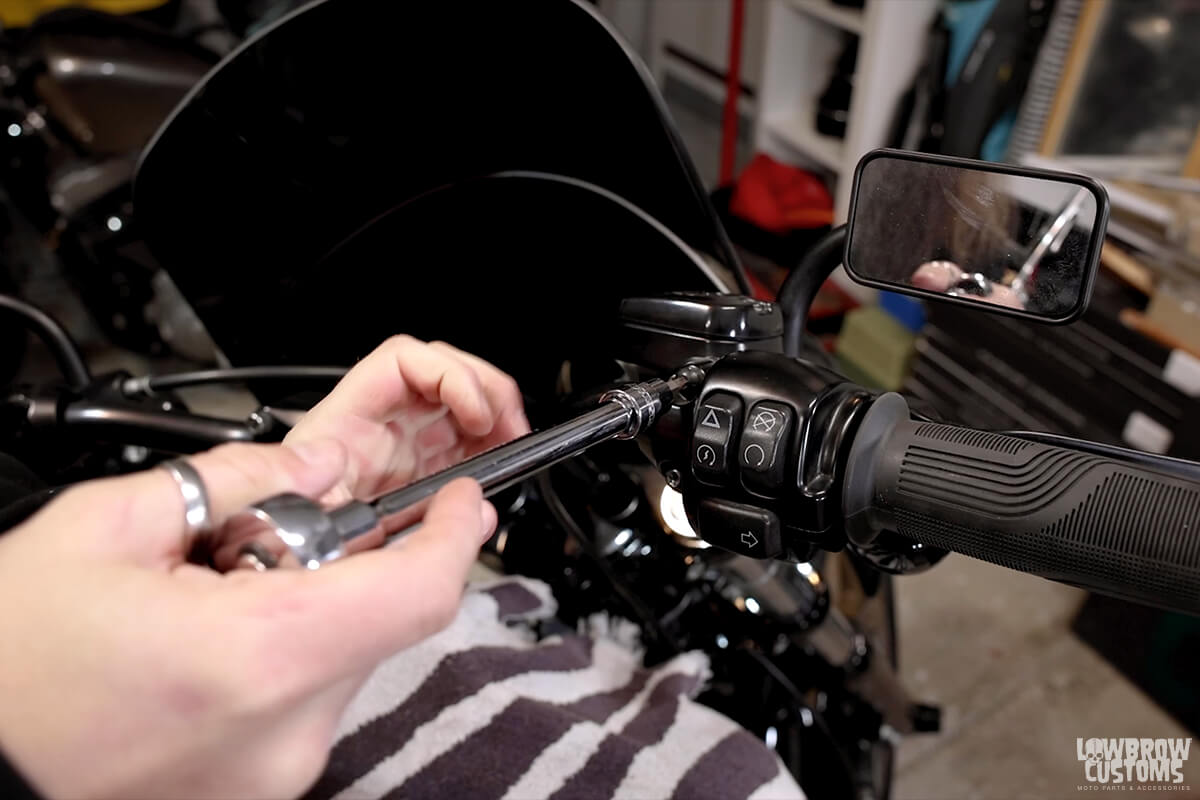 Remove bolts from throttle side housing using a T27 and T25.
 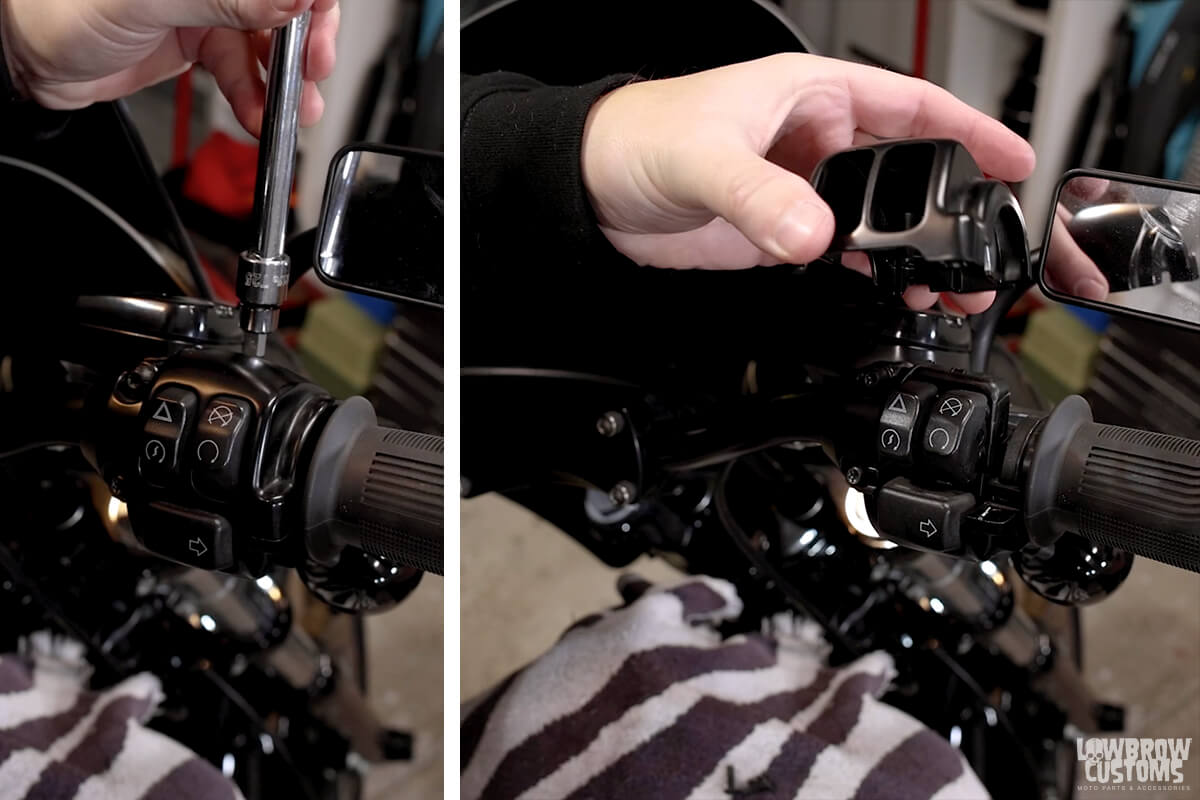 Removing control housing cover.
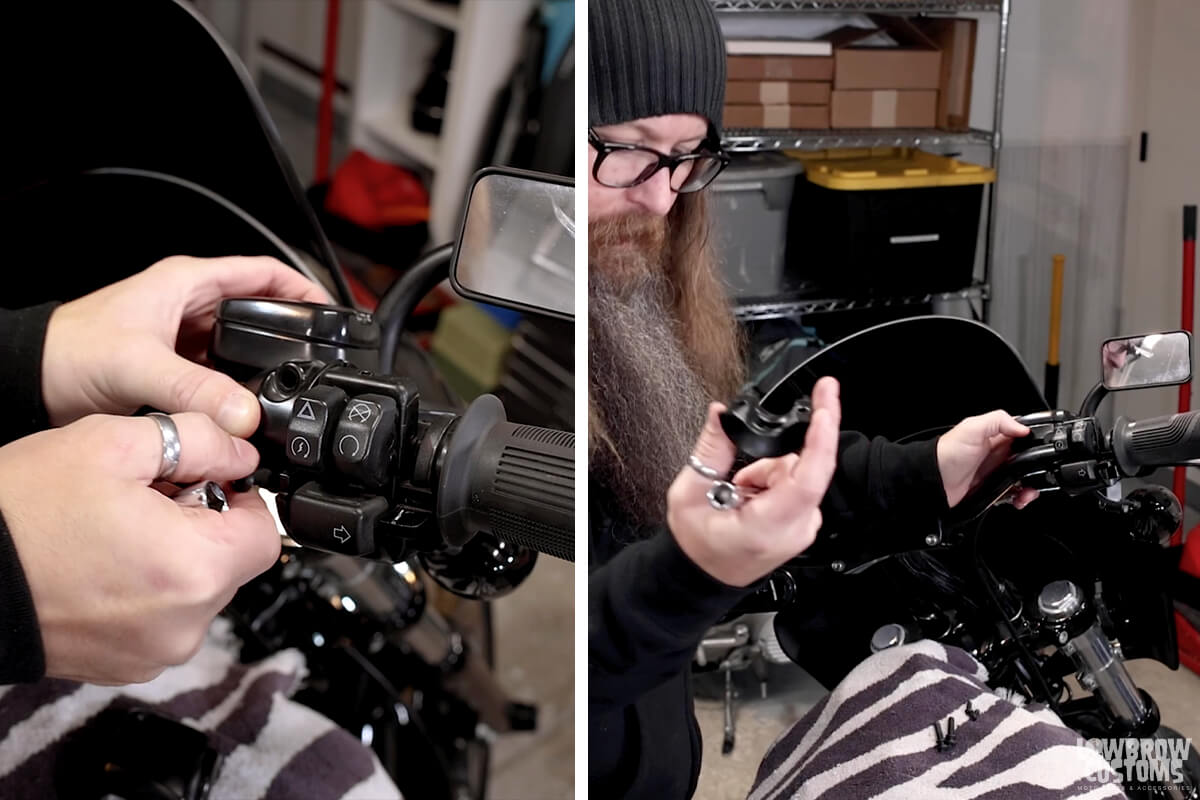 Remove the clamp thats holding on the brake lever.
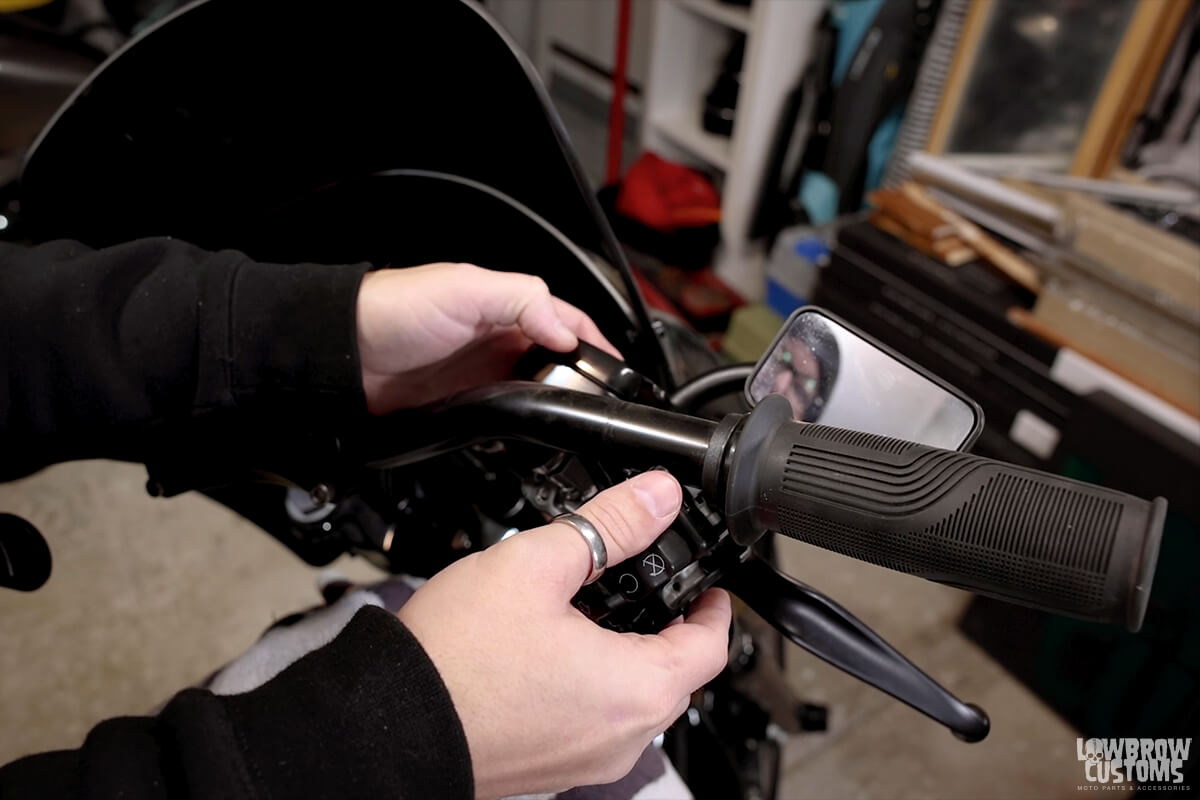 Pull housing and brake lever away from throttle tube.
 Slide your throttle tube off.
 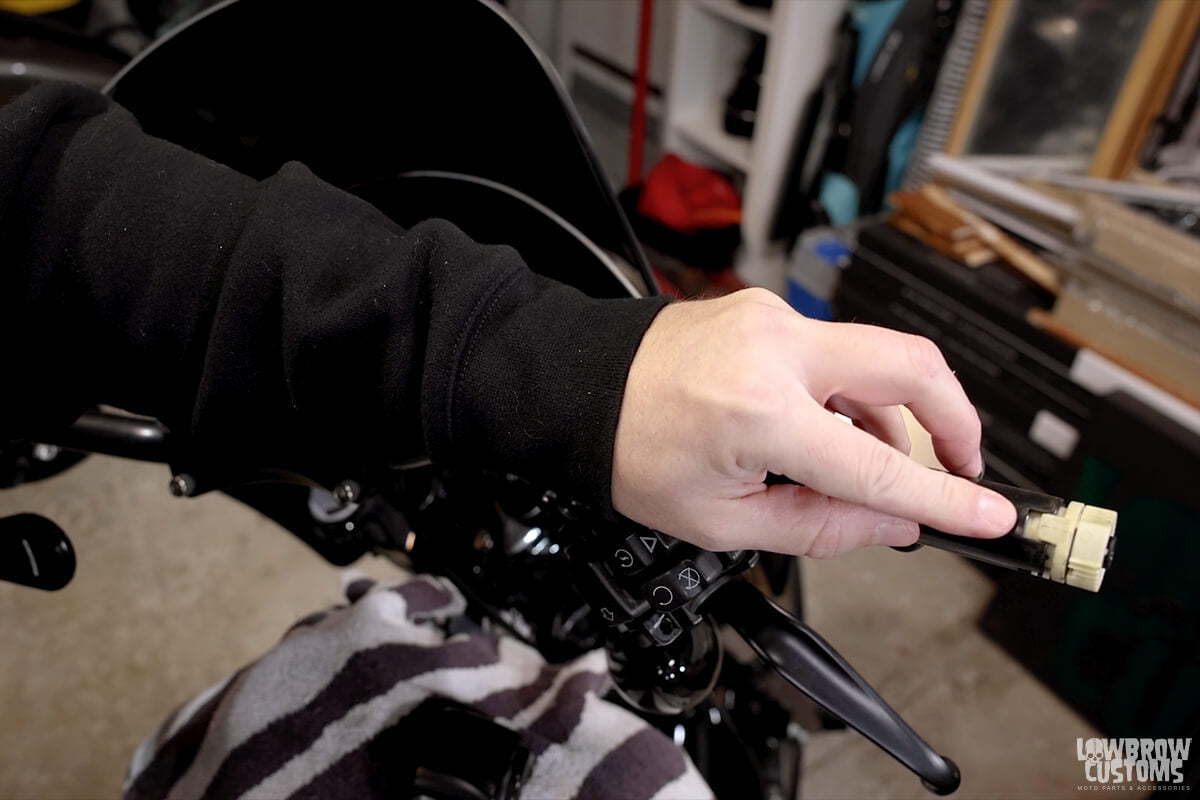 Make sure your TBW control stays in the bar and not with the throttle tube. The tooth should line up with the notch on the bar.
 If the two bolts on the lock-on grip are tight, loosen them up first before sliding onto the handlebar.
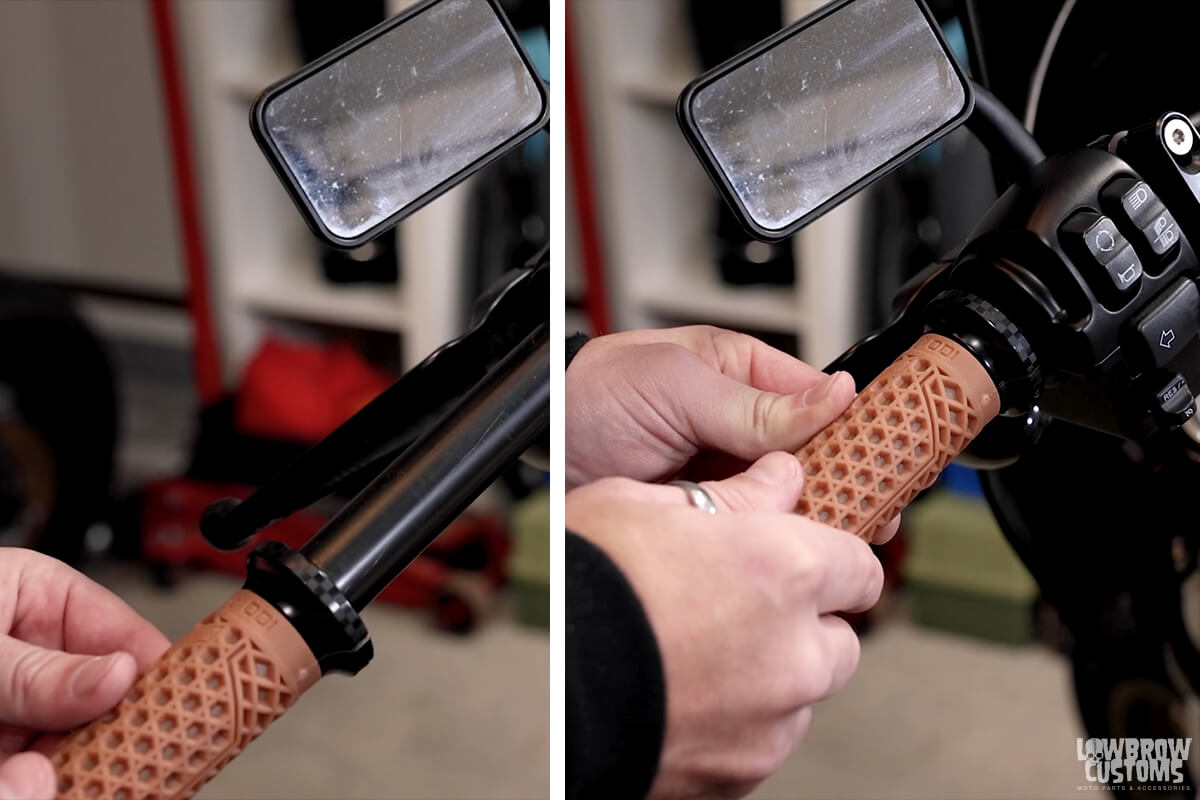 Slide the Vans V-twin Lock-on Grip onto the bars. As it gets further up the bar you will feel it getting firmer and harder to push.
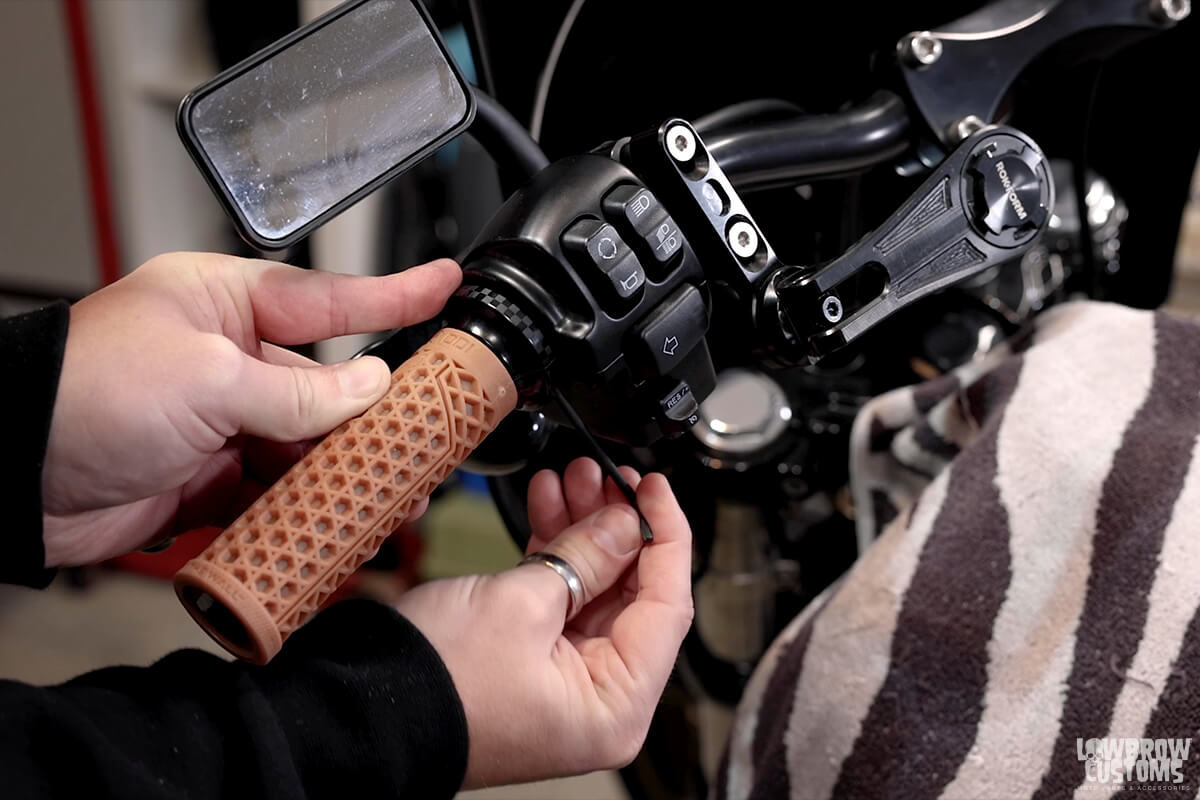 Use the supplied T15 Torx wrench to tighten down the clamp on the grips for a secure fit.
 Make sure your clamp is secure on the throttle tube before sliding on the bars. Mine was a little loose.
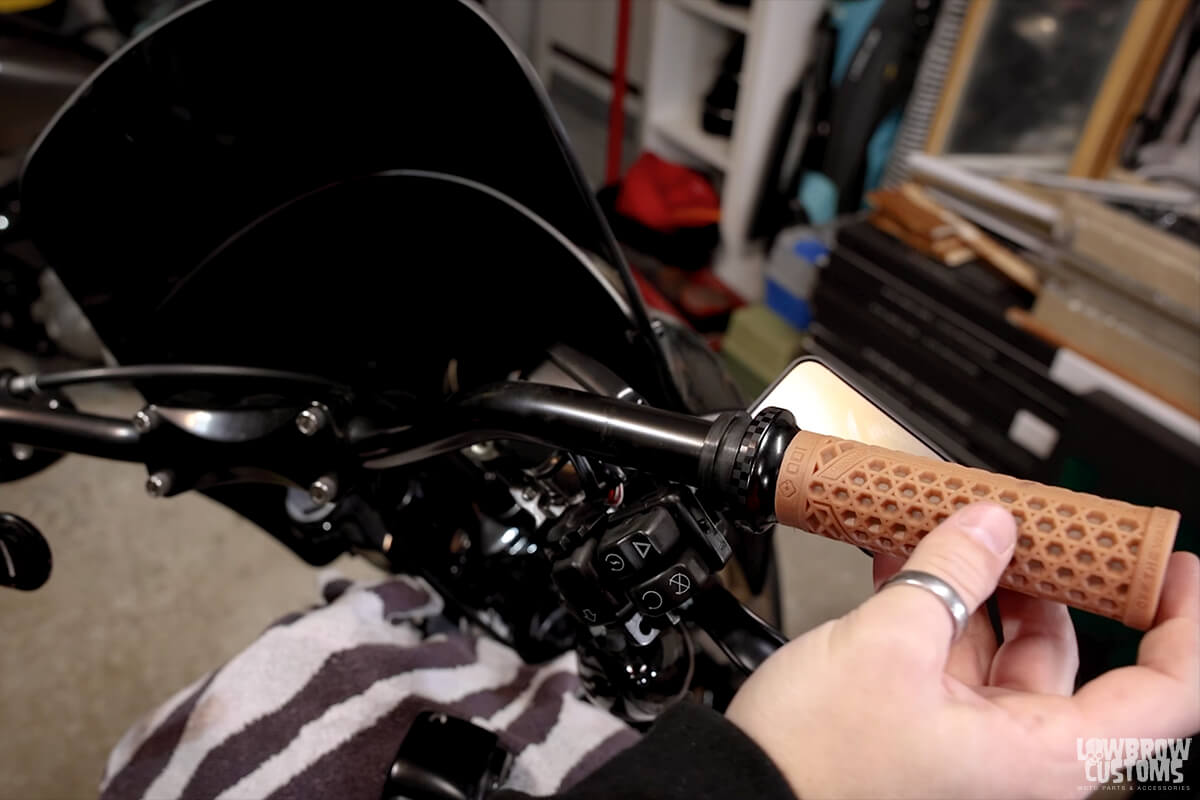 Slide the throttle tube onto the handlebars and feel it hit the end and lock into the throttle by wire control, give it a wick or two to make sure it is sitting properly on the bars.
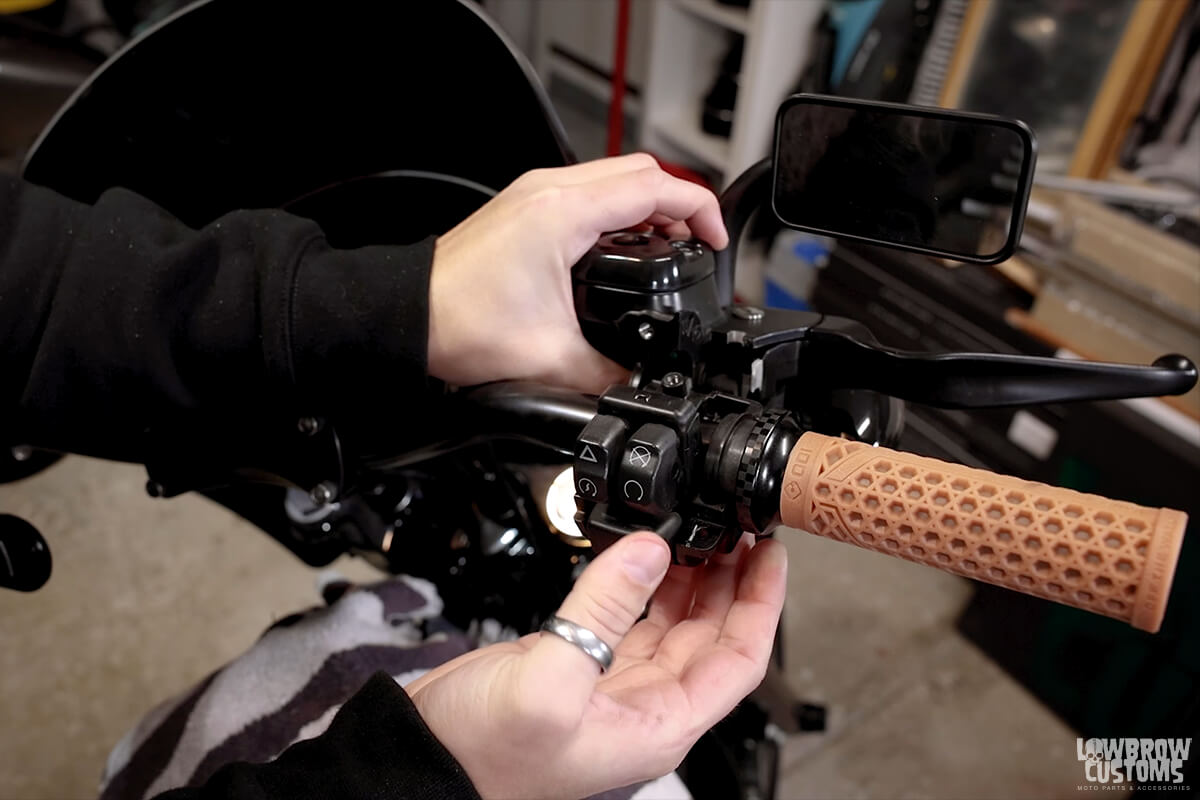 Introduce the control housing and brake lever to the new throttle tube.
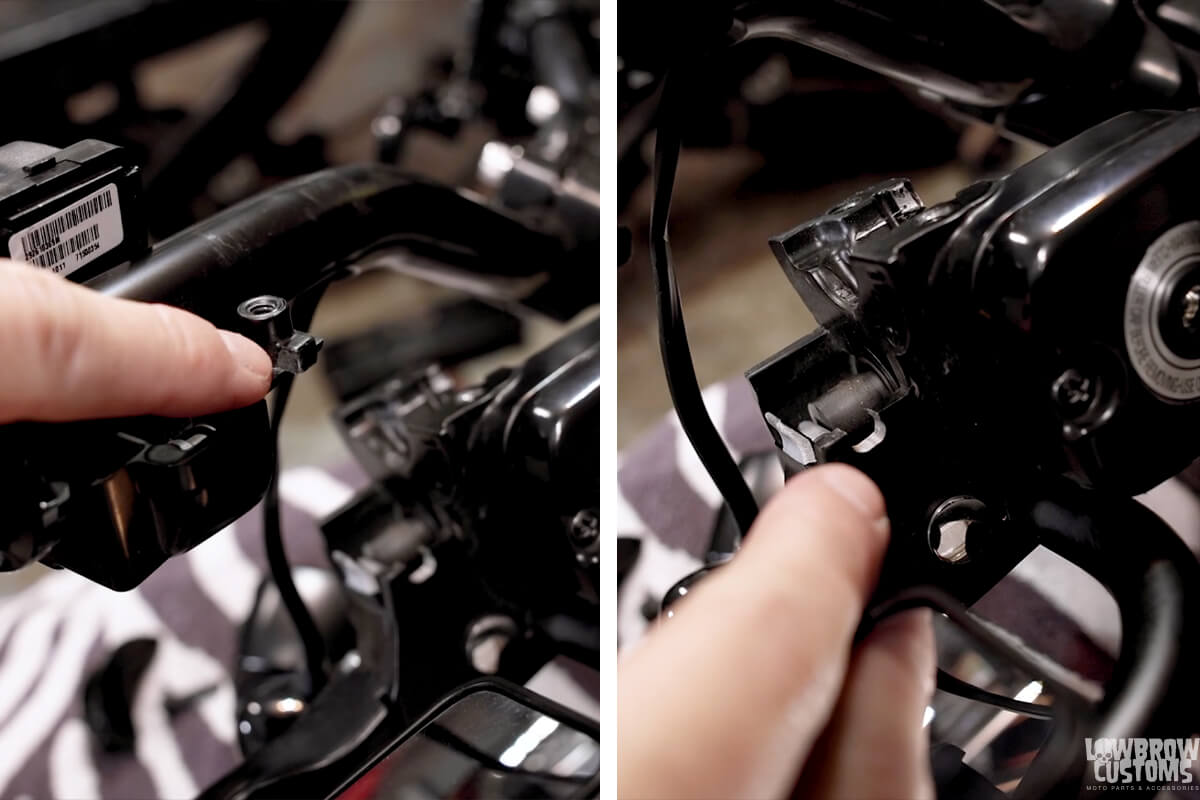 There is a small tank on the control housing that meets up with a notch on the brake lever, these must line up to be put together correctly.
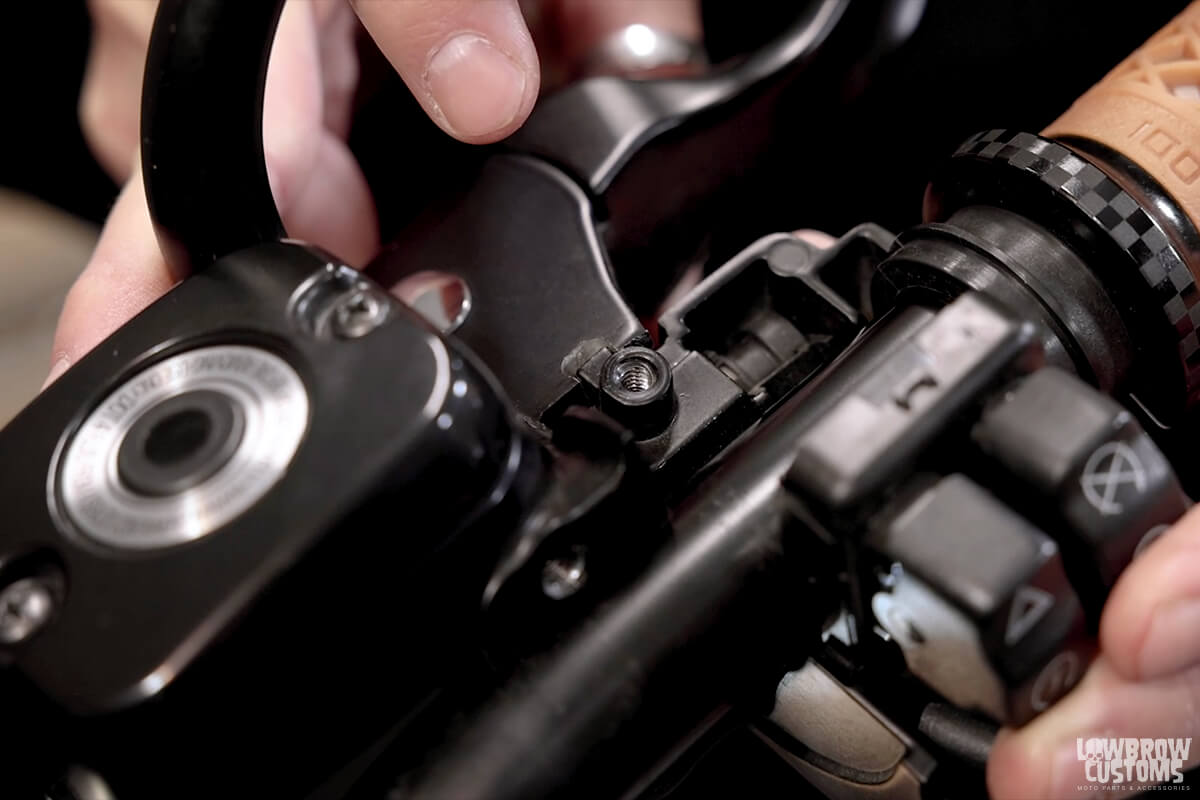 And it should look like this.
 Put your clamp that holds the brake lever back on loosely.
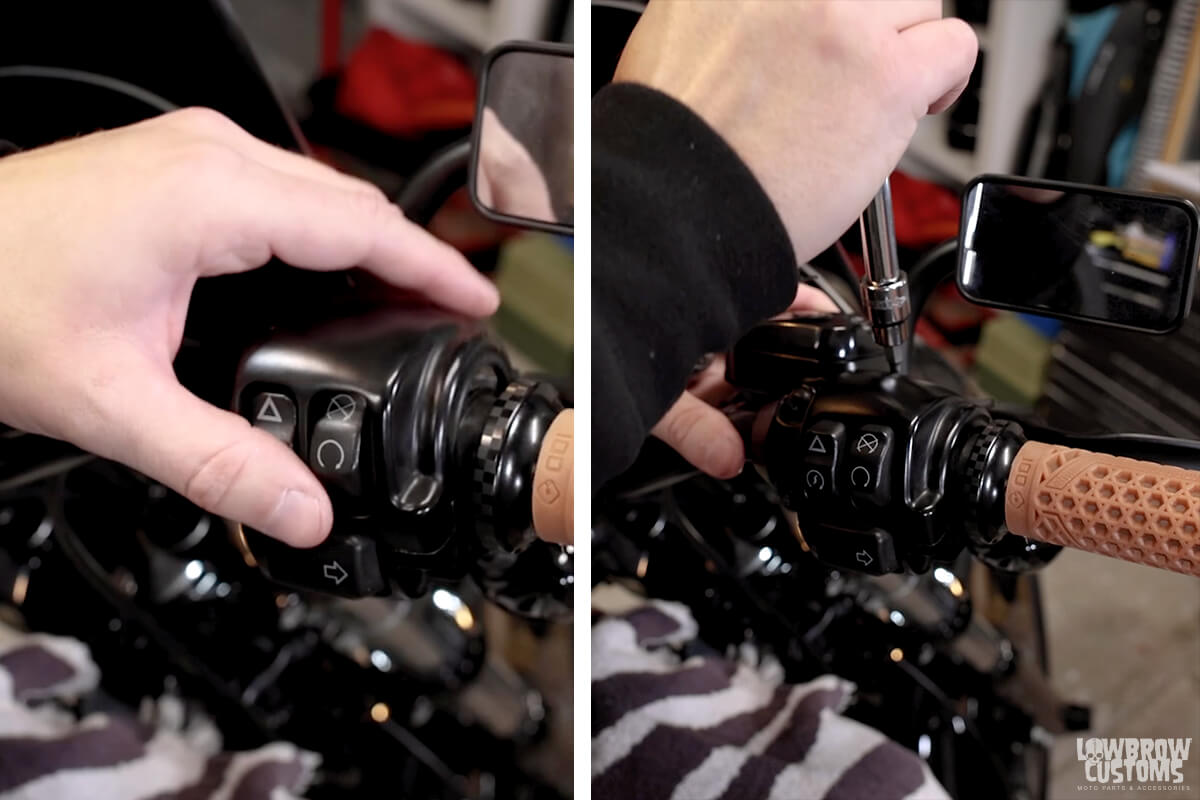 Then secure your cover for your housing.
 Then torque everything down.
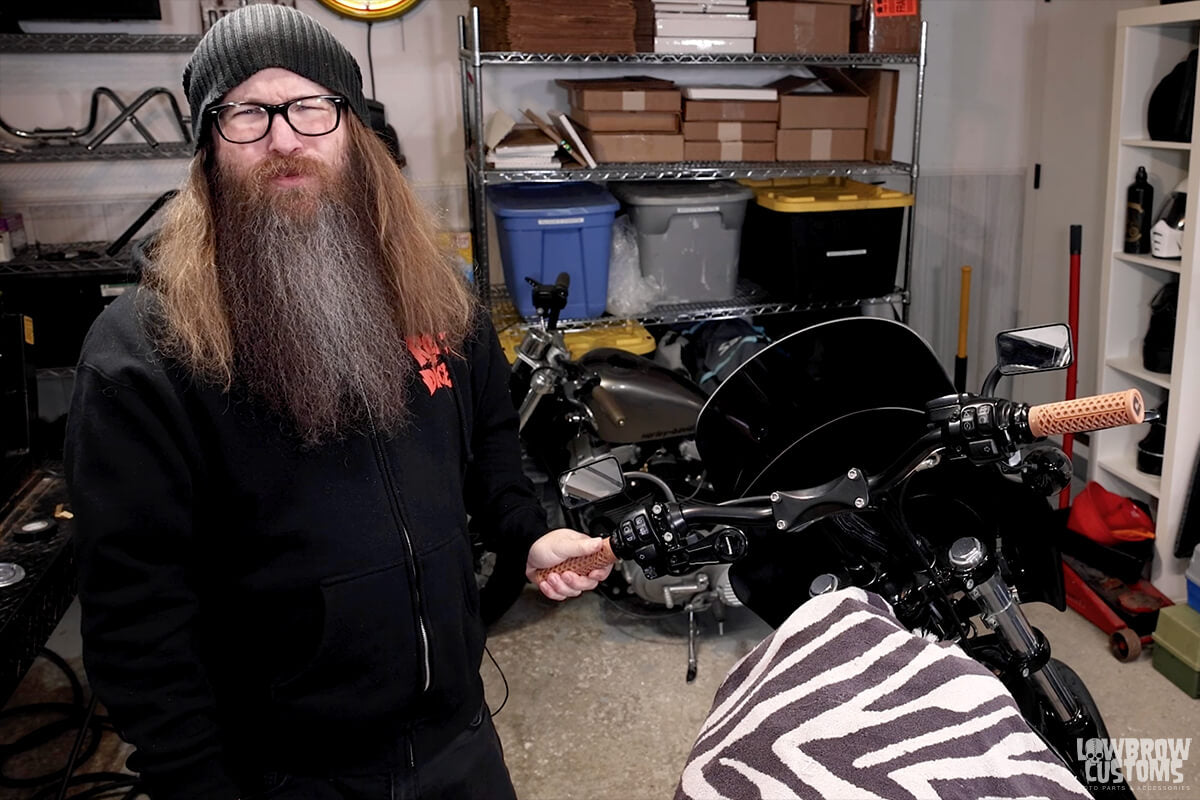 "OOOoooOOooo Guuurlll, those feel nice"
 As Todd always says GO FOR A RIDE!
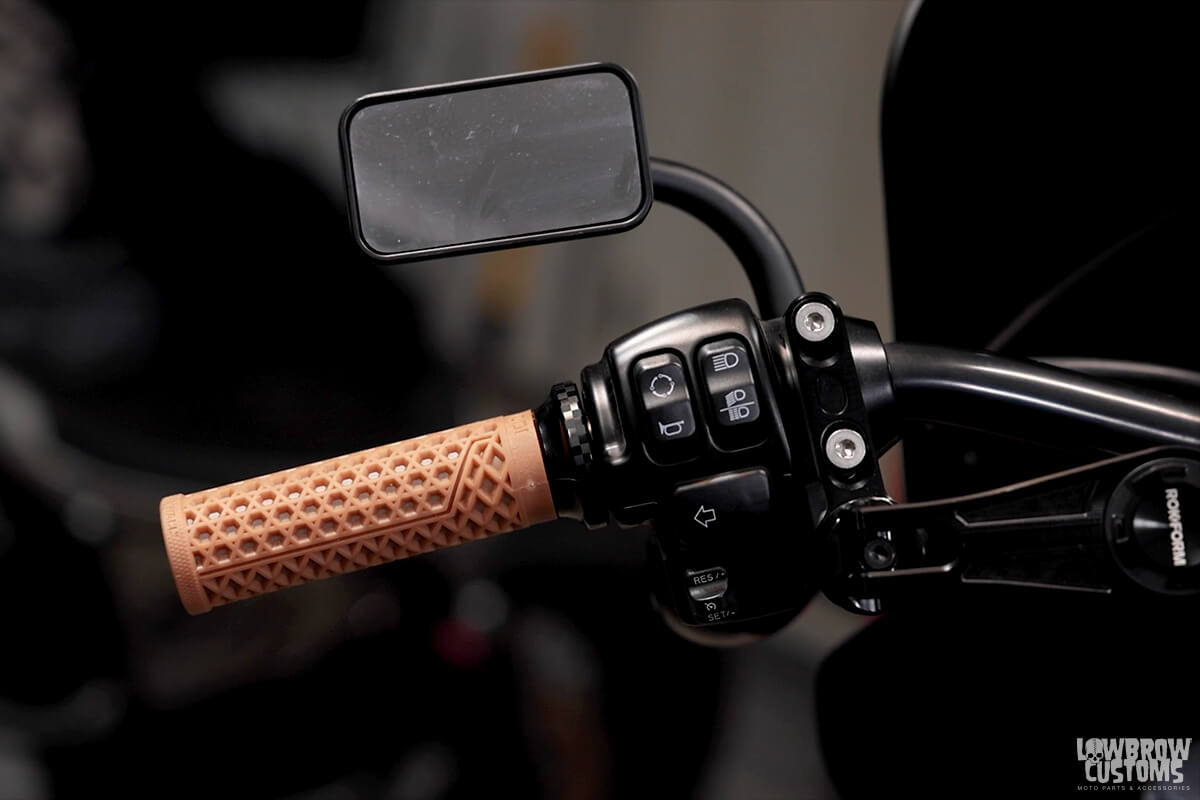 Hella dope.
 Snow snow go away so I can rip these bad bois on the road!


 Here is where your shock bolt is located and behind that is the first strut mount that will need removed.
 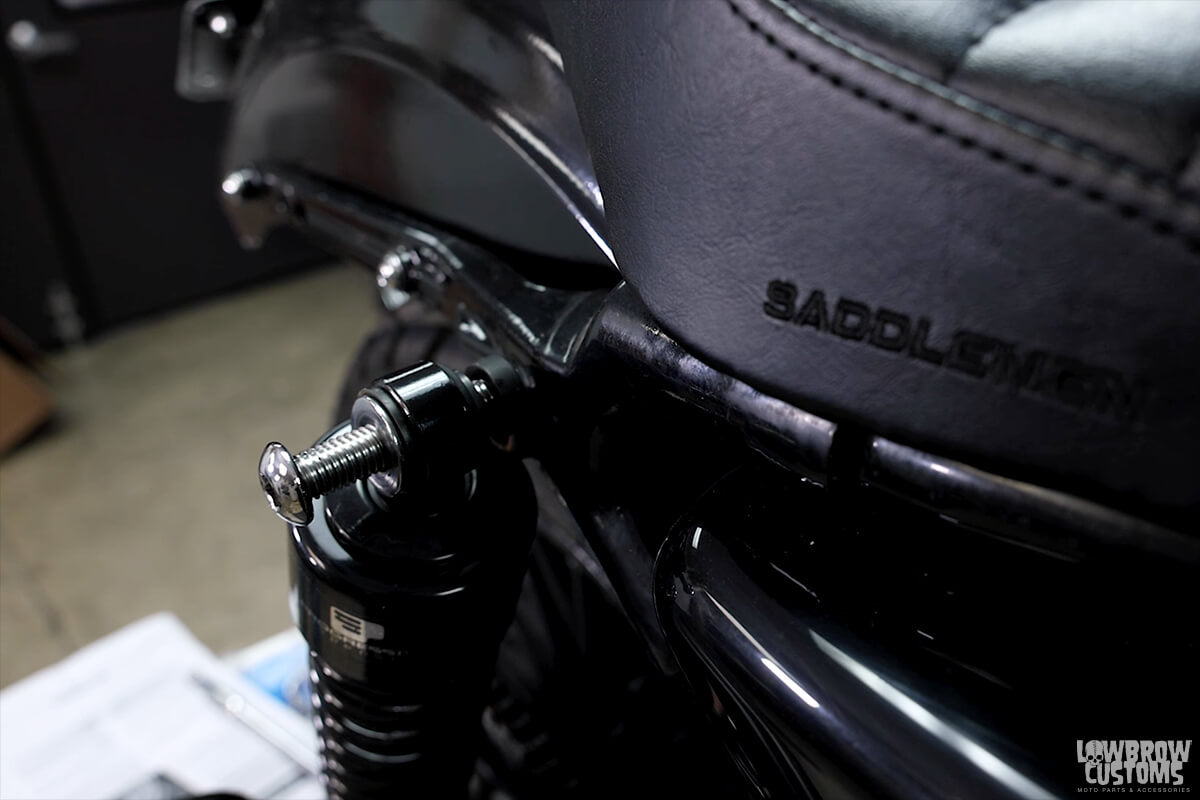 Note how the shock is not lined up to the hole of the strut.
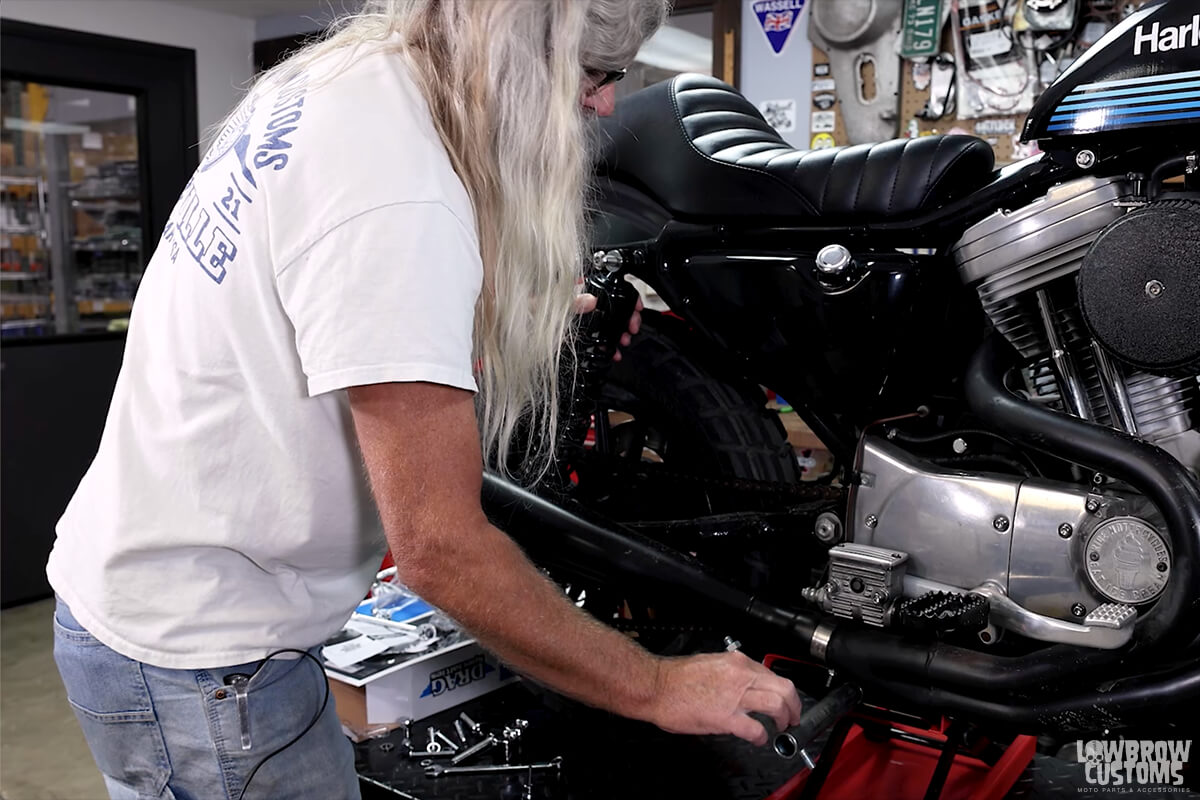
 Todd's removing the front strut mounting bolt.
 Red loctite those shock bolts.
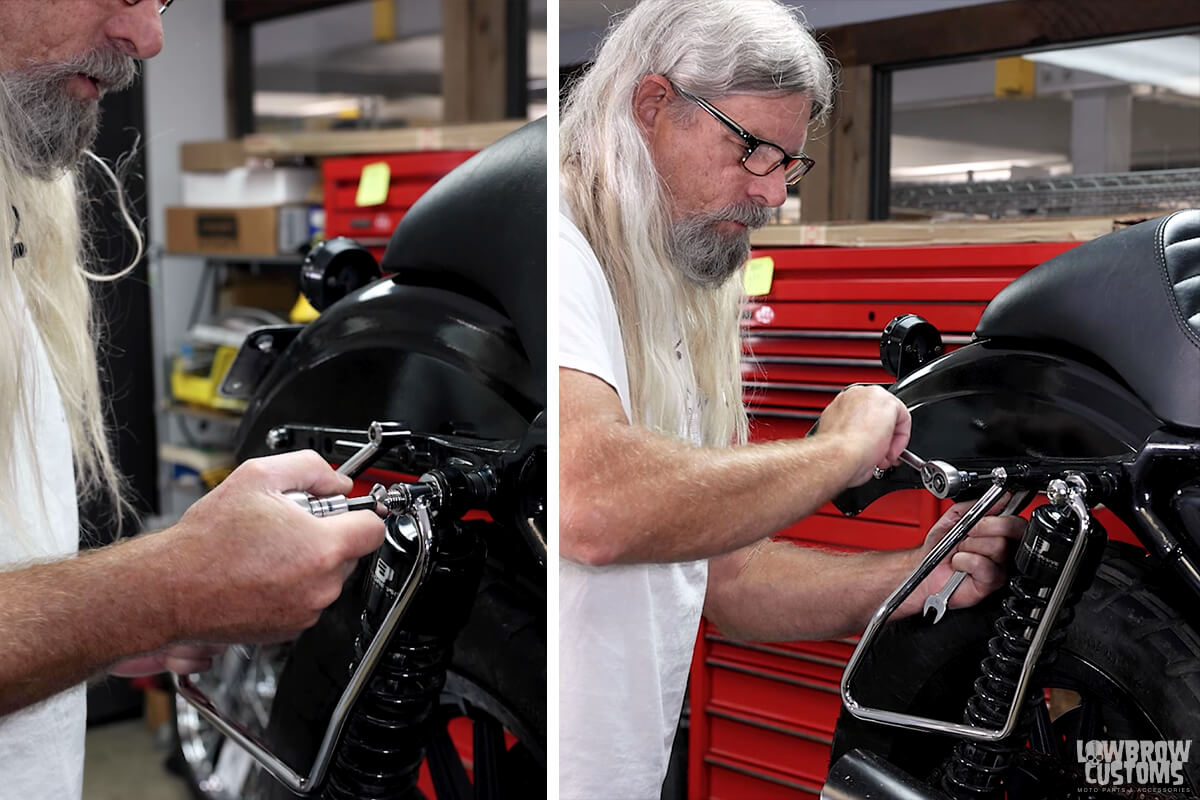 After both bolts are loosely tightened make sure to torque them to spec that your workshop manual for your model recommends.
 Install velcro straps onto the bags. Then separate the middle velcro larger strap from the bag to get ready to put on the brackets.
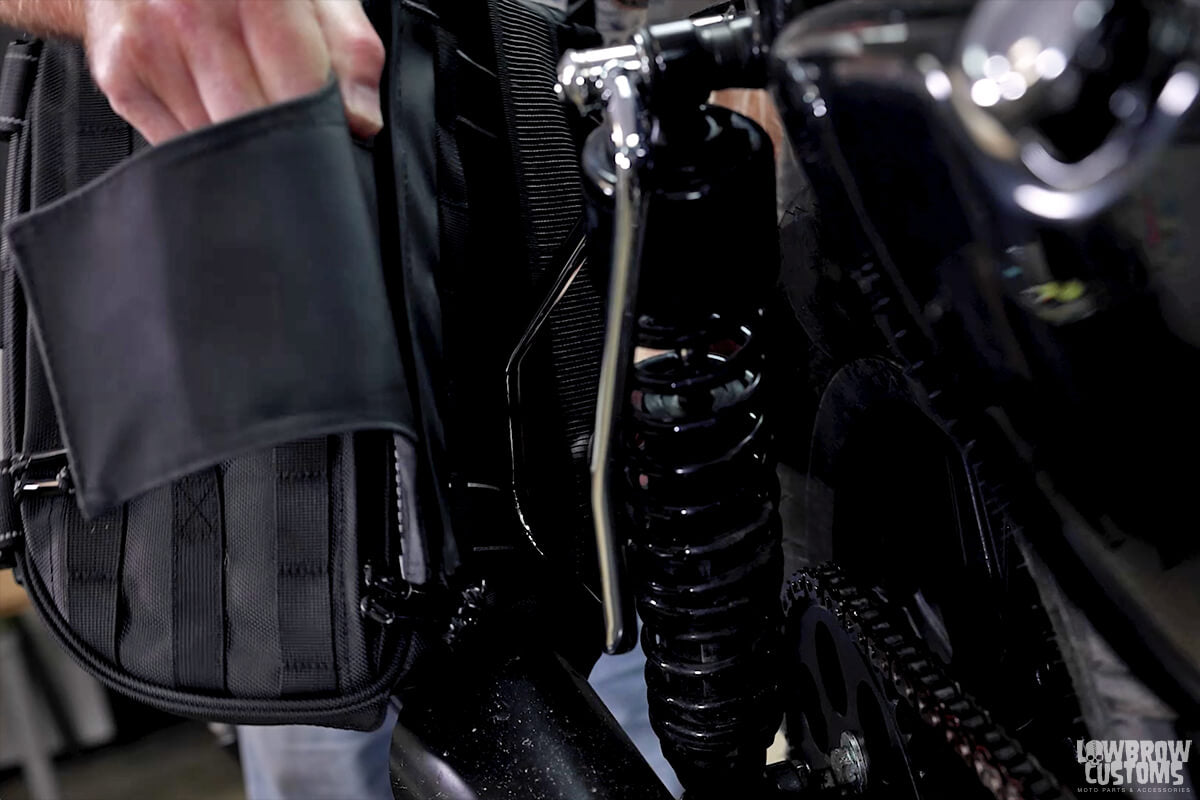 Install bags onto the saddlebag mounts. Once slipped over, press firmly on the middle of the back to connect the large strips velcro.
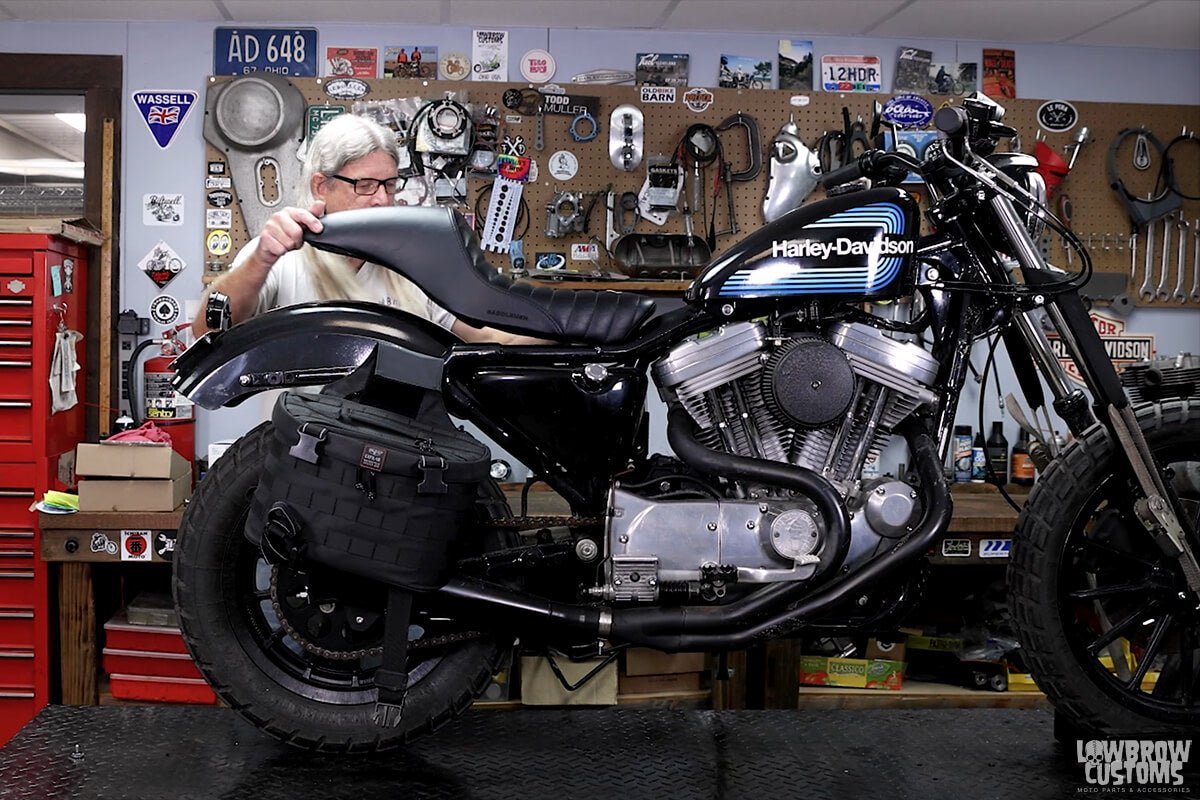 Remove the seat.
 Pull the right middle bag strap up then the left bag strap overtop and secure how you would like. Here's the time to step back from the bike and make sure it looks pleasing to your eye.
 Reinstall your seat.
 Fasten all four bottom velcro straps to the saddlebag support bracket. you can roll them around to hide the connections and keep a snug fit.
 "I'm going to show you how easy it ist to install Biltwell's EXFIL-36 Motorcycle Utility Bags" Say that five times fast.
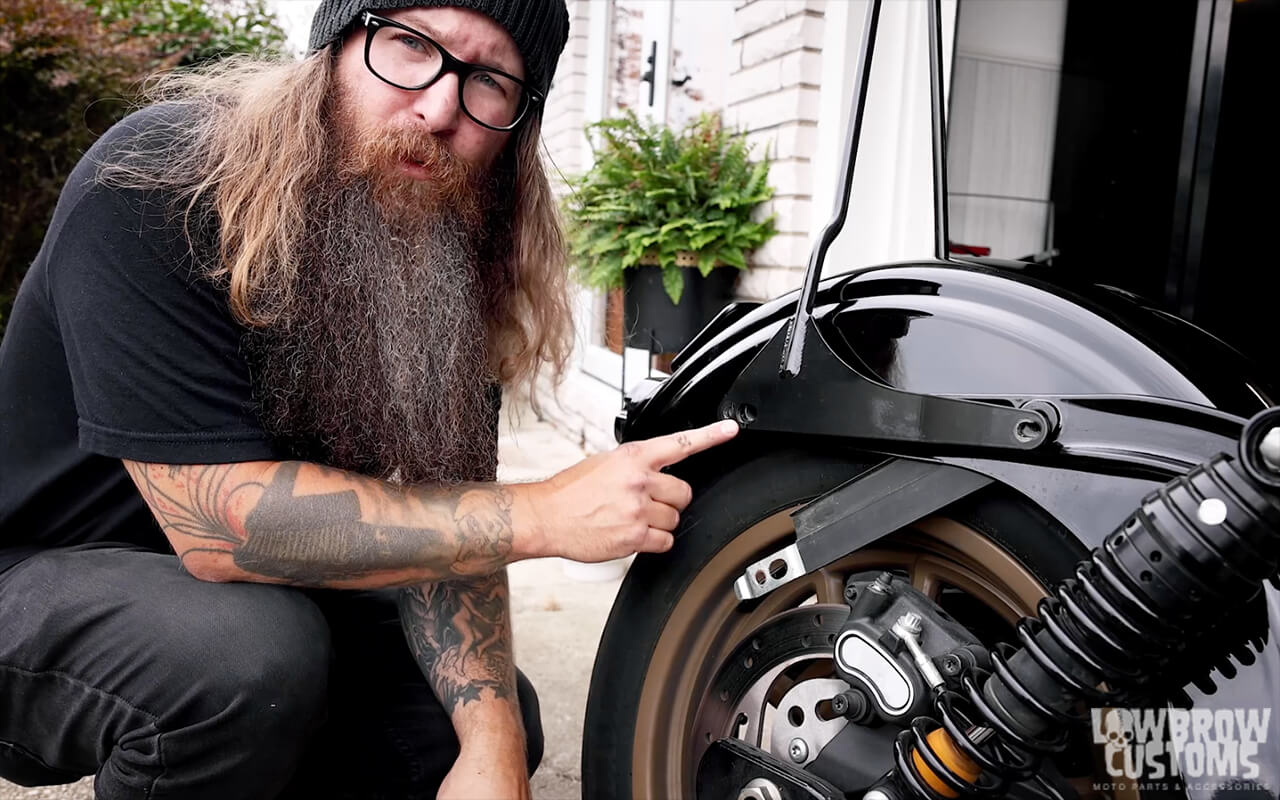 Remove your fender strut bolts.
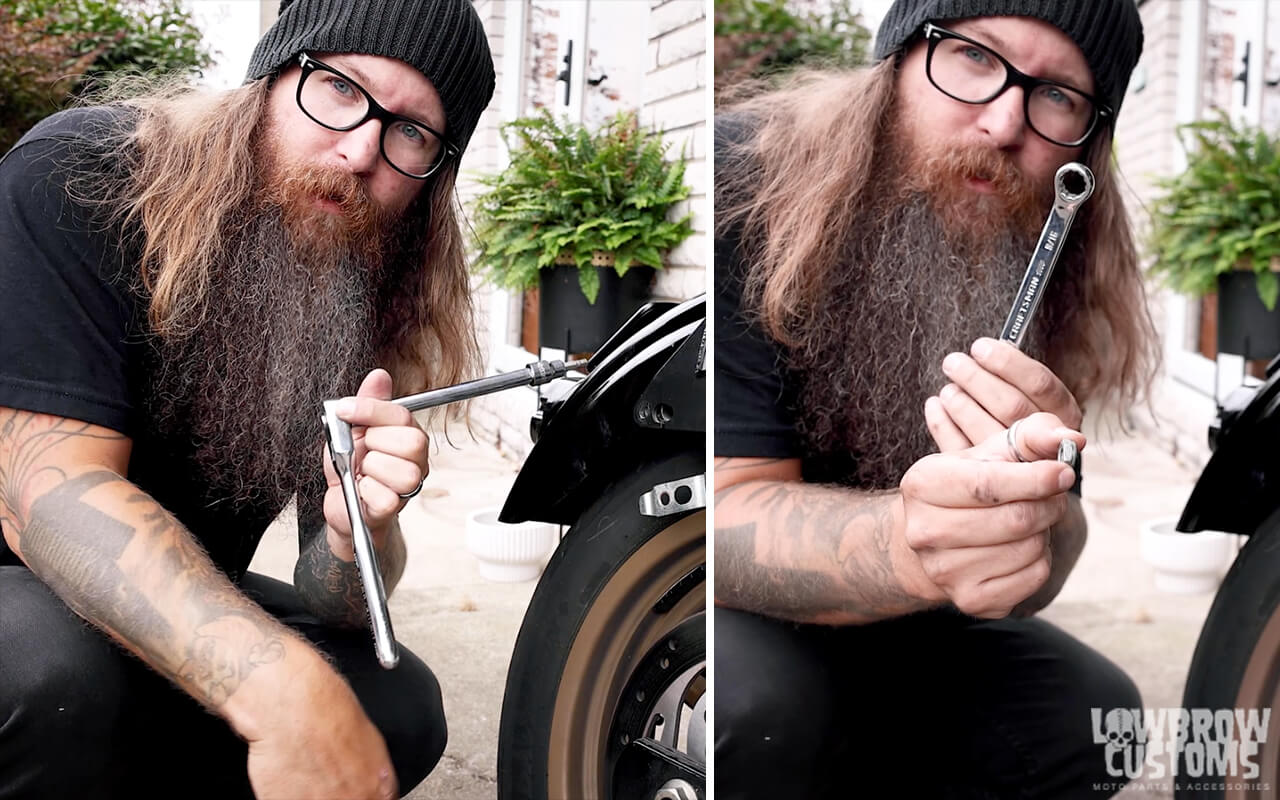 7/32" Allen wrench for the bolts. 9/16" wrench on the nyloc nut.
 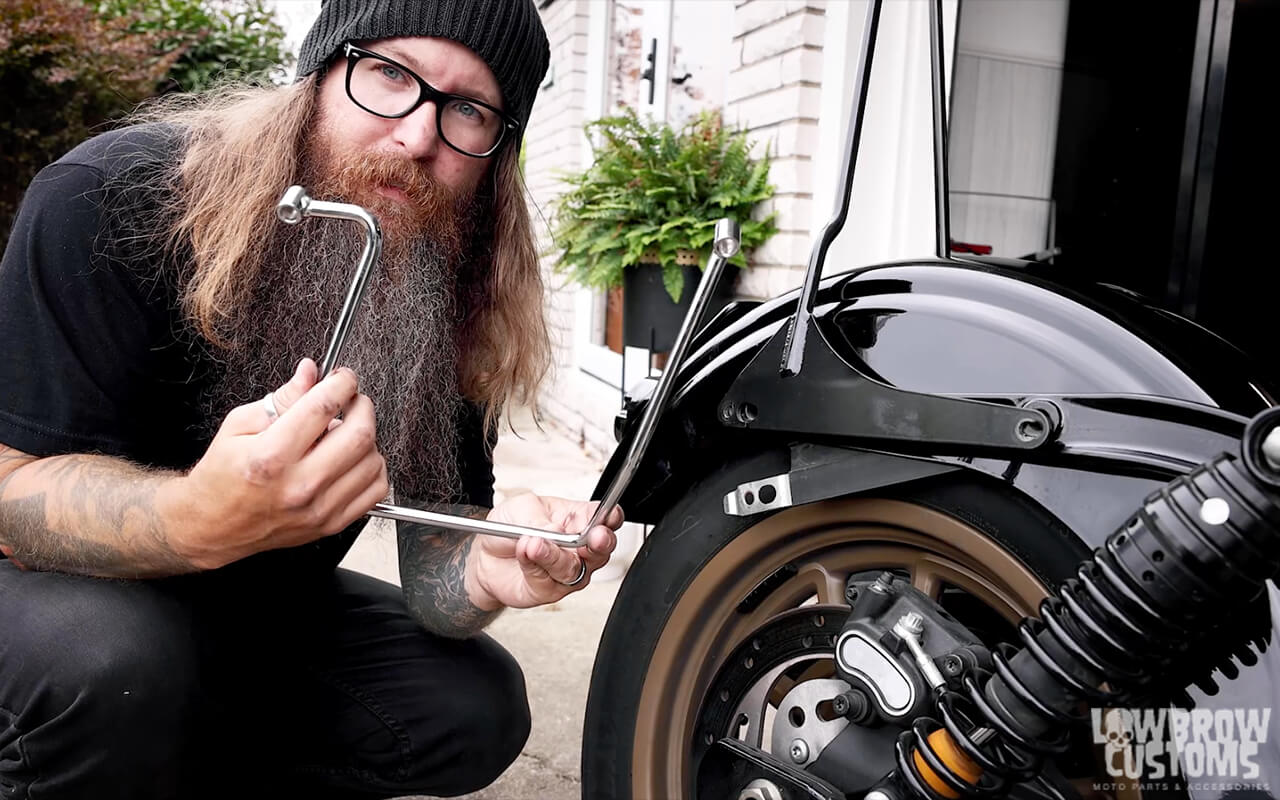 Here is the Drag Specialties 1991-2017 Dyna saddlebag bracket that you need to purchase separately from the bags.
 Use blue Loctite on the front boi because it goes into the bung on the thing inside fender bracket that keeps the turn signal wires off the tire.
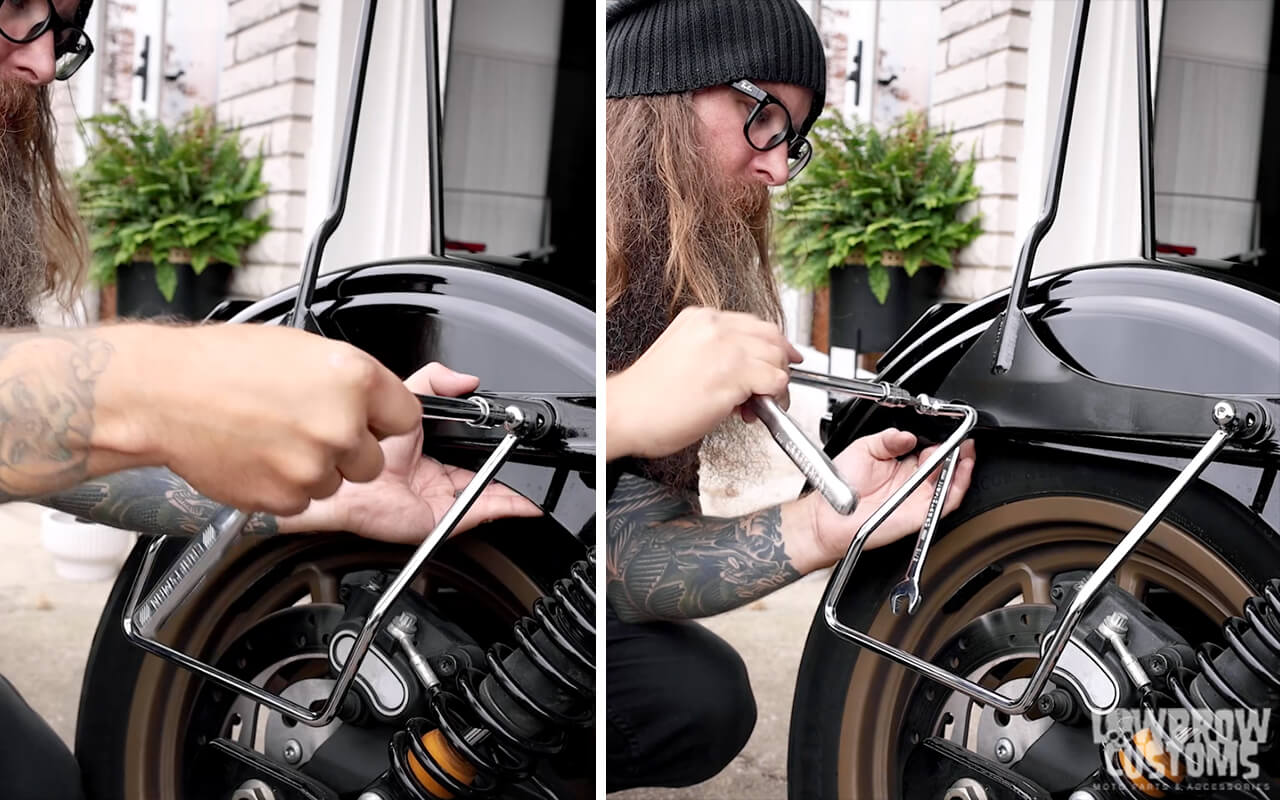 Installing the saddlebag bracket.
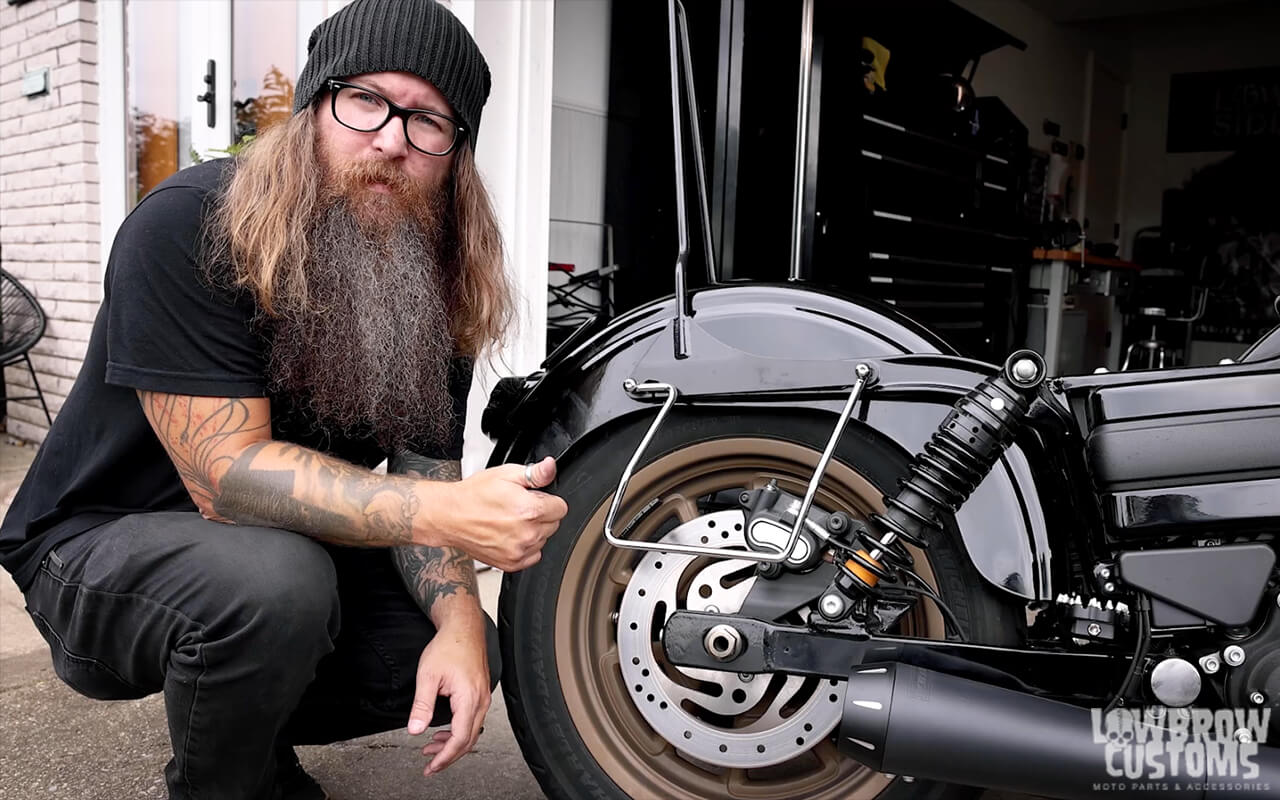 Bam side one bracket installed! Now repeat this step on the other side of the motorcycle...
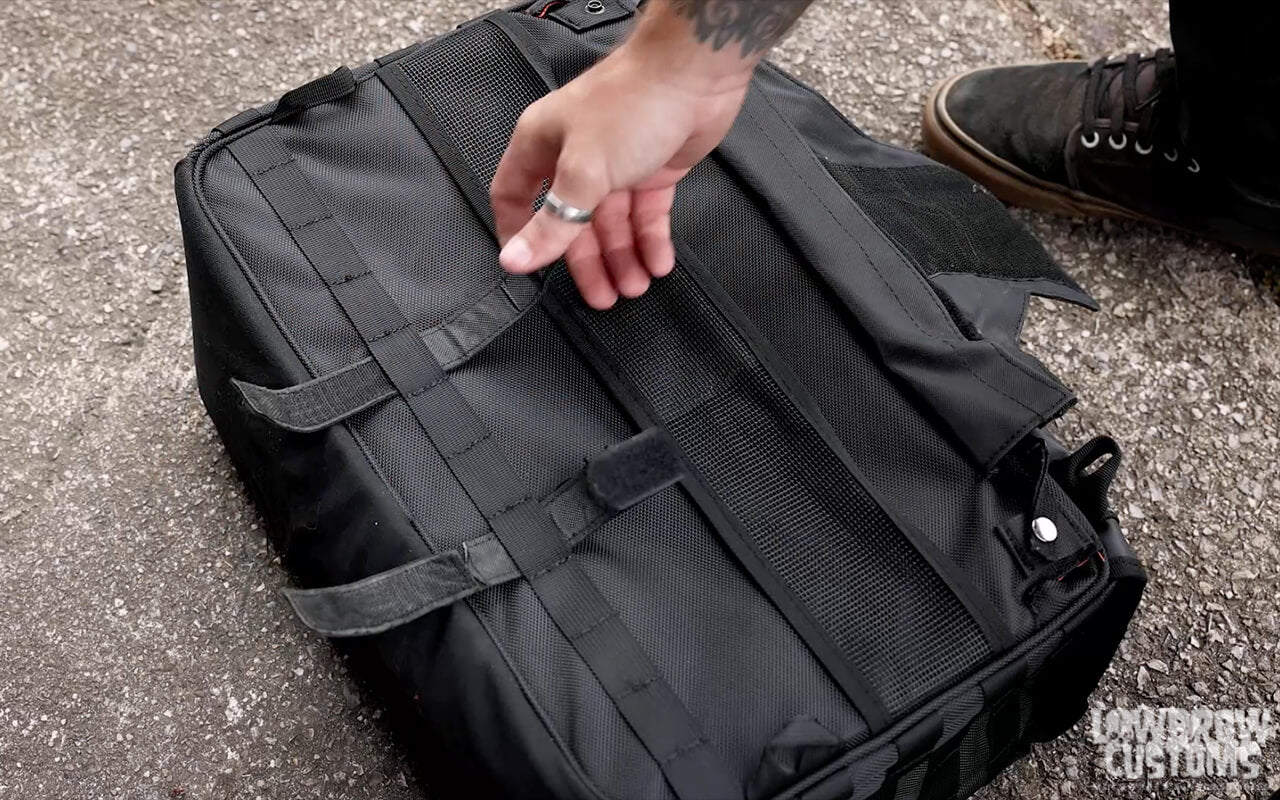 These two areas on the bottom of the bags work best for the saddlebag brackets on this bike for me. There are multiple options and you can utilize these in many ways.
 Do this on both sides.
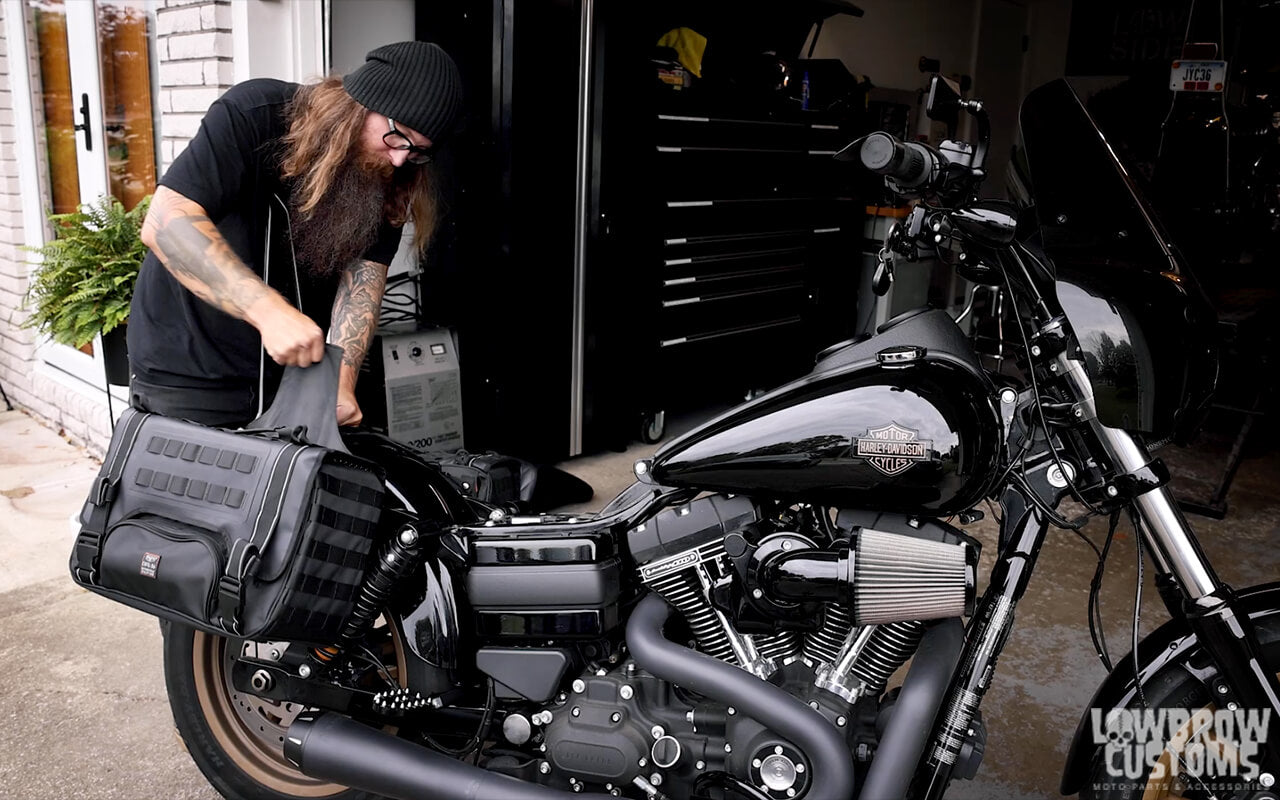 Pulling up from the left bag then the right bag.
 Move left or right and or adjust the middle velcro strap to lower or raise the bags do desired position. It helps to take a few steps back and really look at the angle of the bags to the bike.
 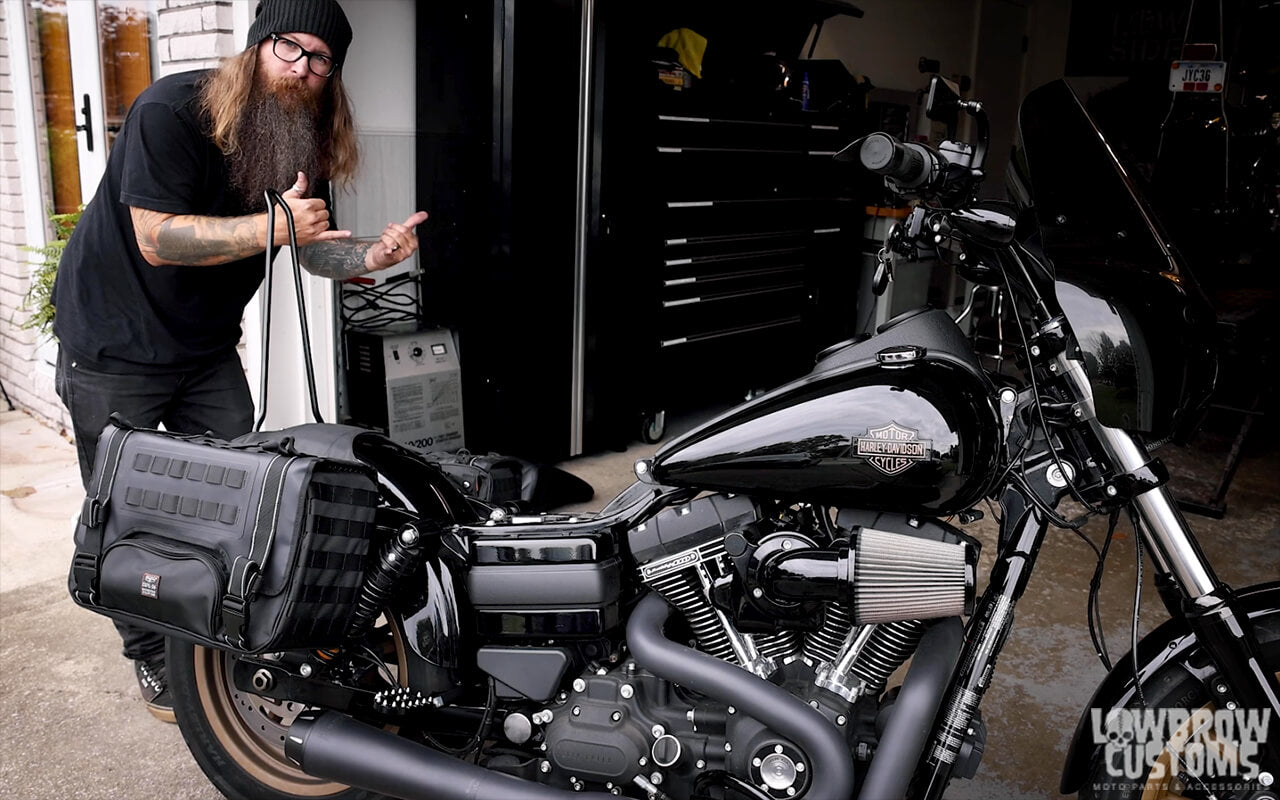 These bags are rad!
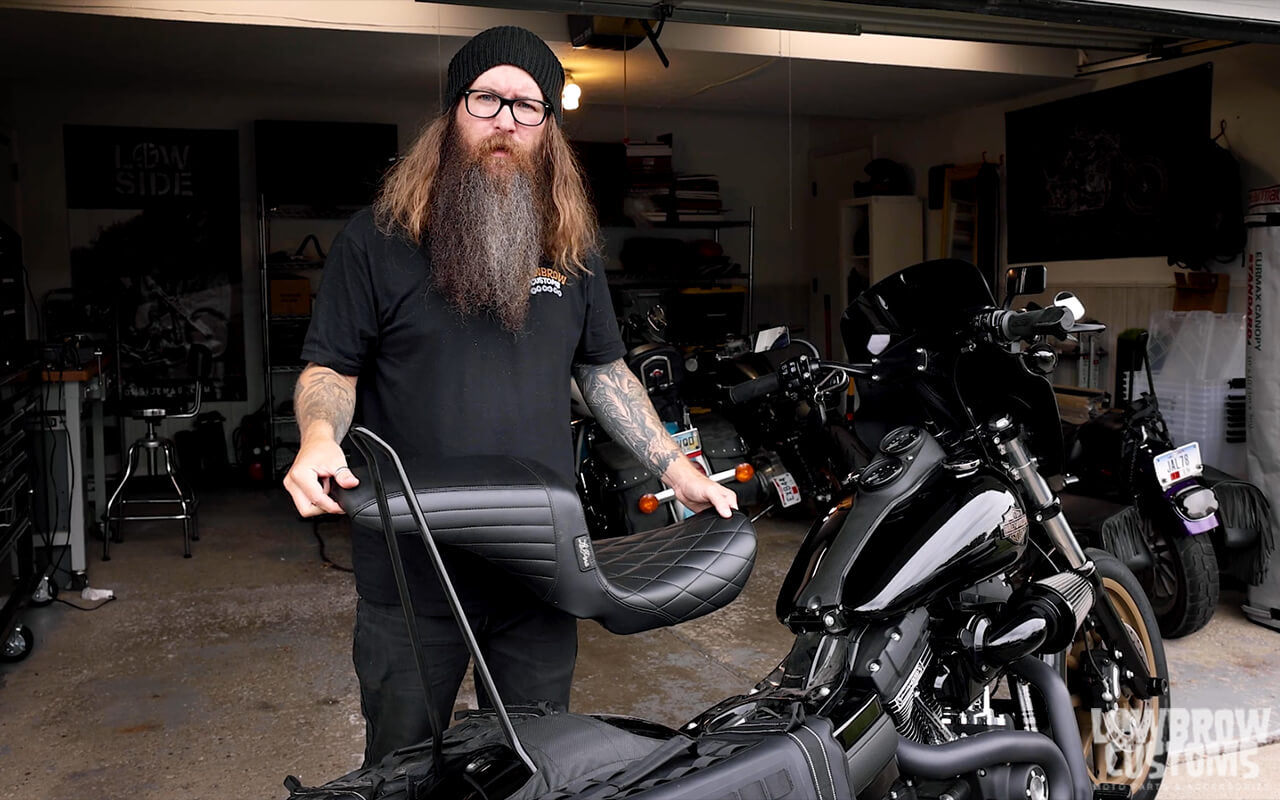 Check out that Lepera Kickflip seat. Super comfy on the hiney.
  Bam we are ready to rock and roll.
 Cutting off the cable guide leaving the bottom part of the bracket.
  Cutting off the back bracket on the left side of the frame from the battery box.
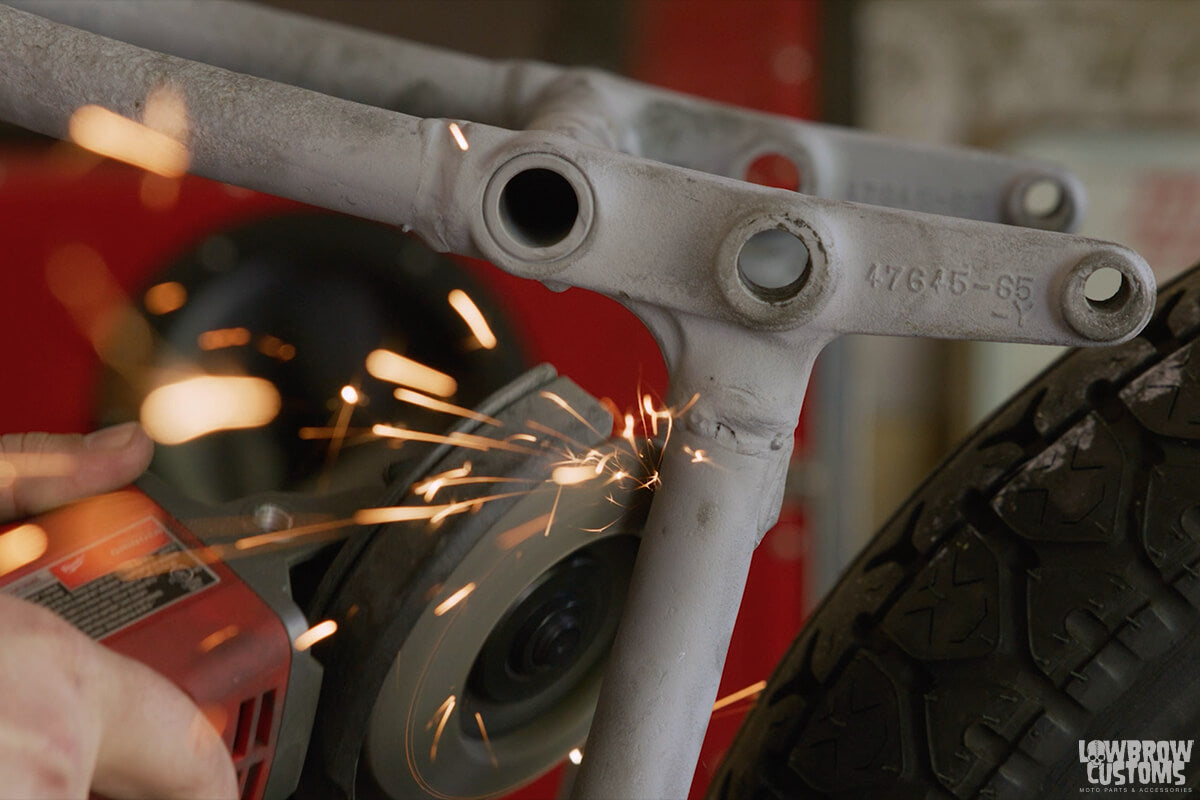 Smoothing it out.
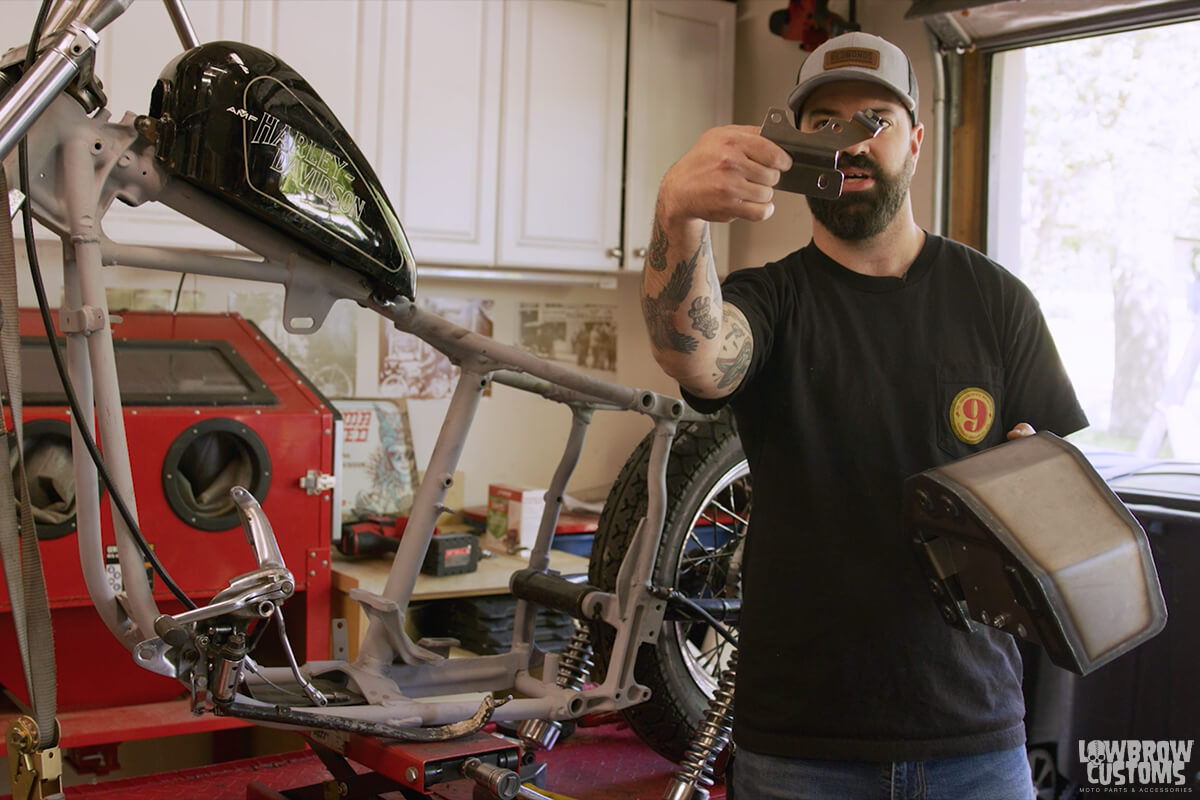 Take the cable guide bracket and mount it to the bottom of the oil tank.
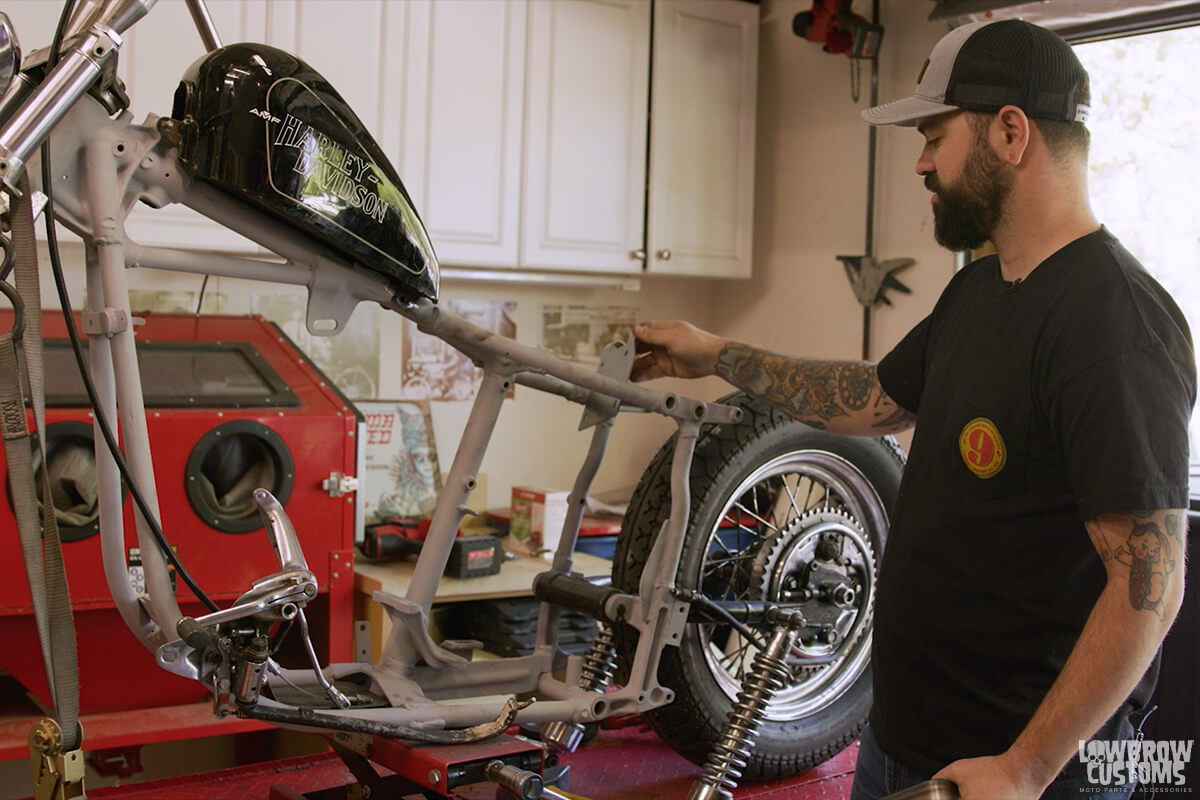 Place the back bracket on the cross tube. It just hangs.
 Mount the tank on down tube bracket and hanging bracket.
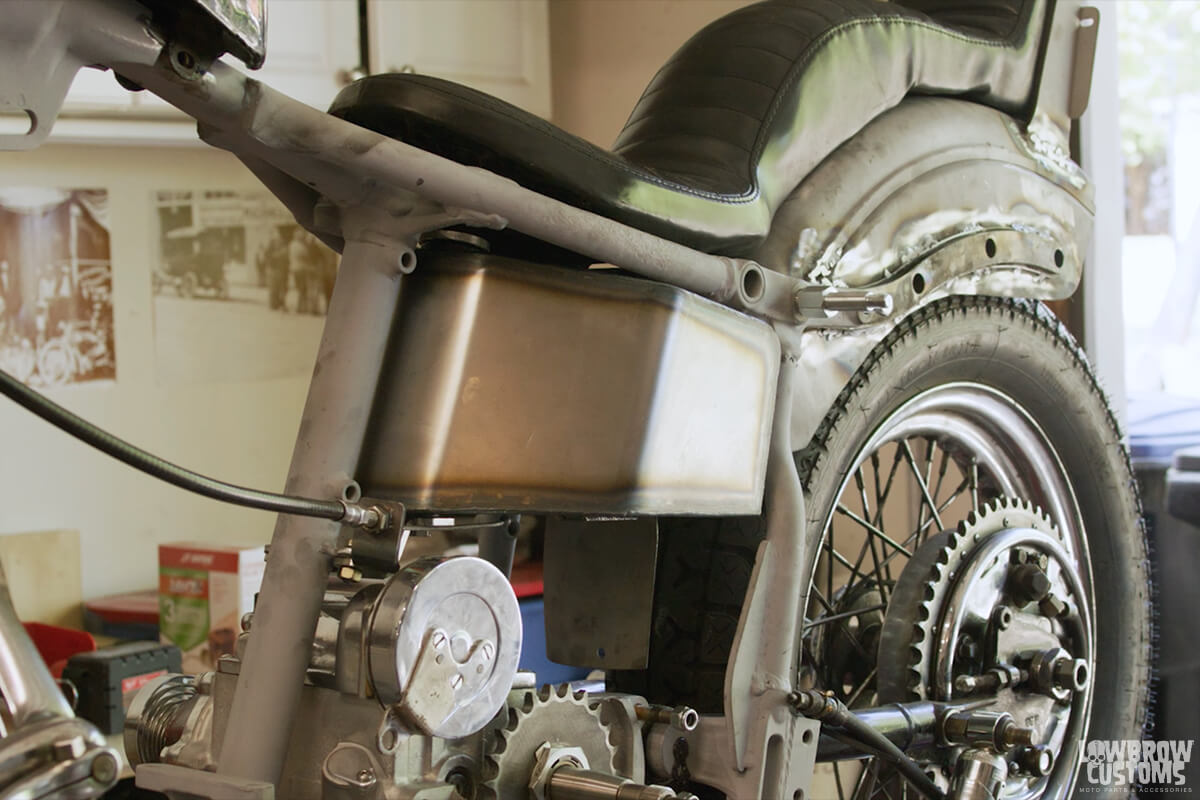 Bam!
Bam! Here's another frame with the tank mounted in as well from the other side.
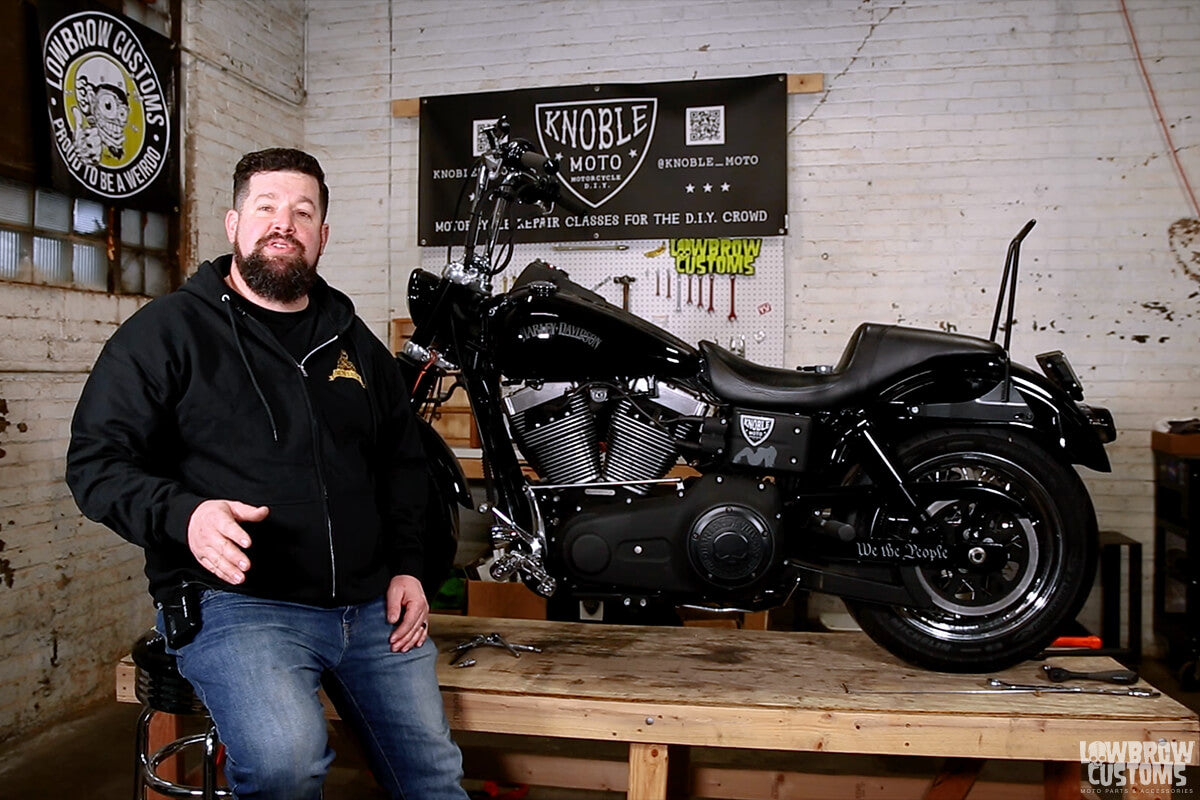 Welcome to another Knoble Tech Tip with Steve Knoble.
 This special tool helps you determine your deflection of the belt with 10lbs of pressure added to it.
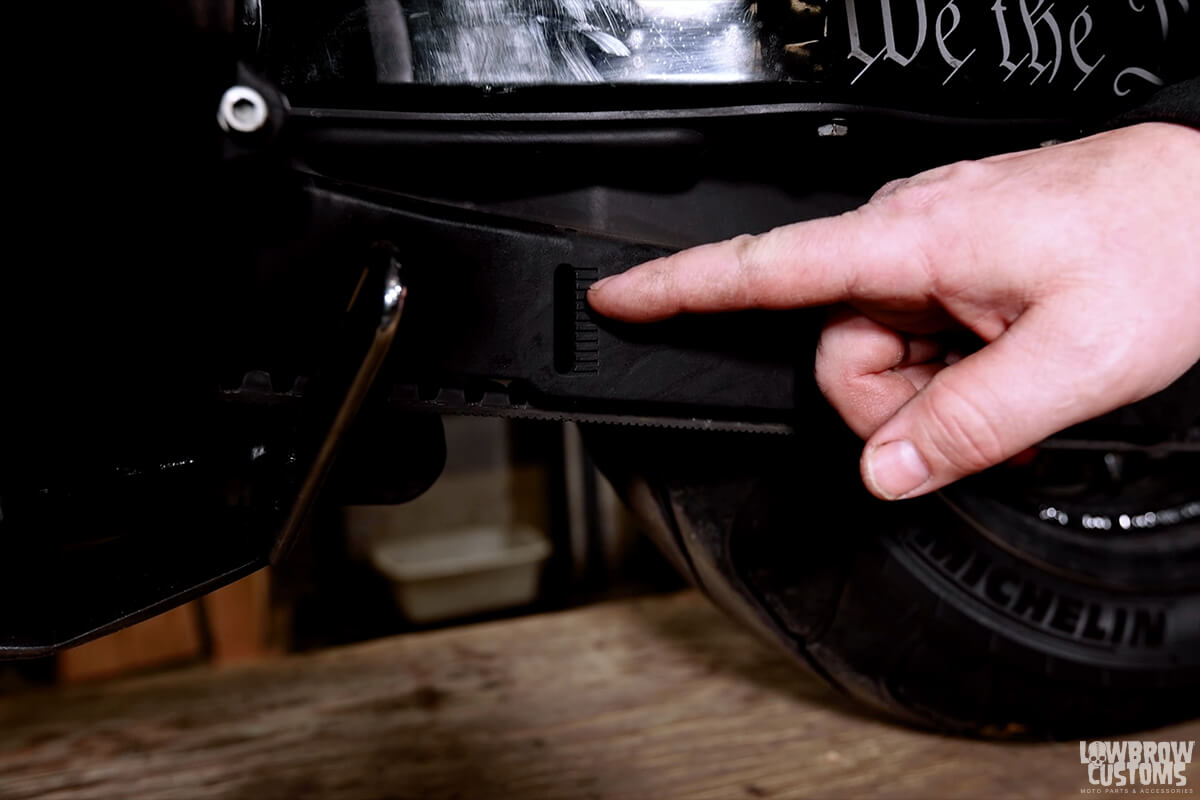 Most newer Harley's have a belt guard on the bottom of the belt with a window where you can measure the deflection. If you took it off or dont have one you can use a tape measure.
 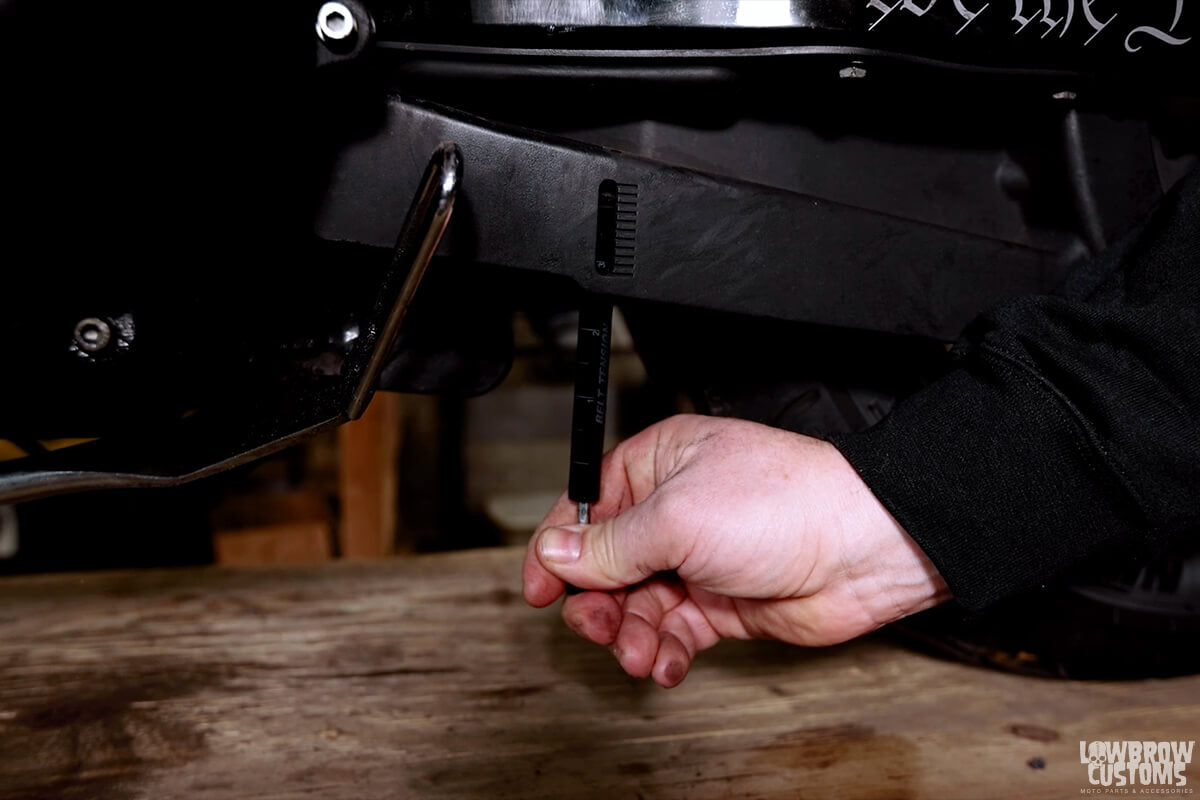 Applying 10lbs of pressure to the belt in the window of the lower belt guard you can determine if the belt is within spec for your model. Check your service manual for this specification!
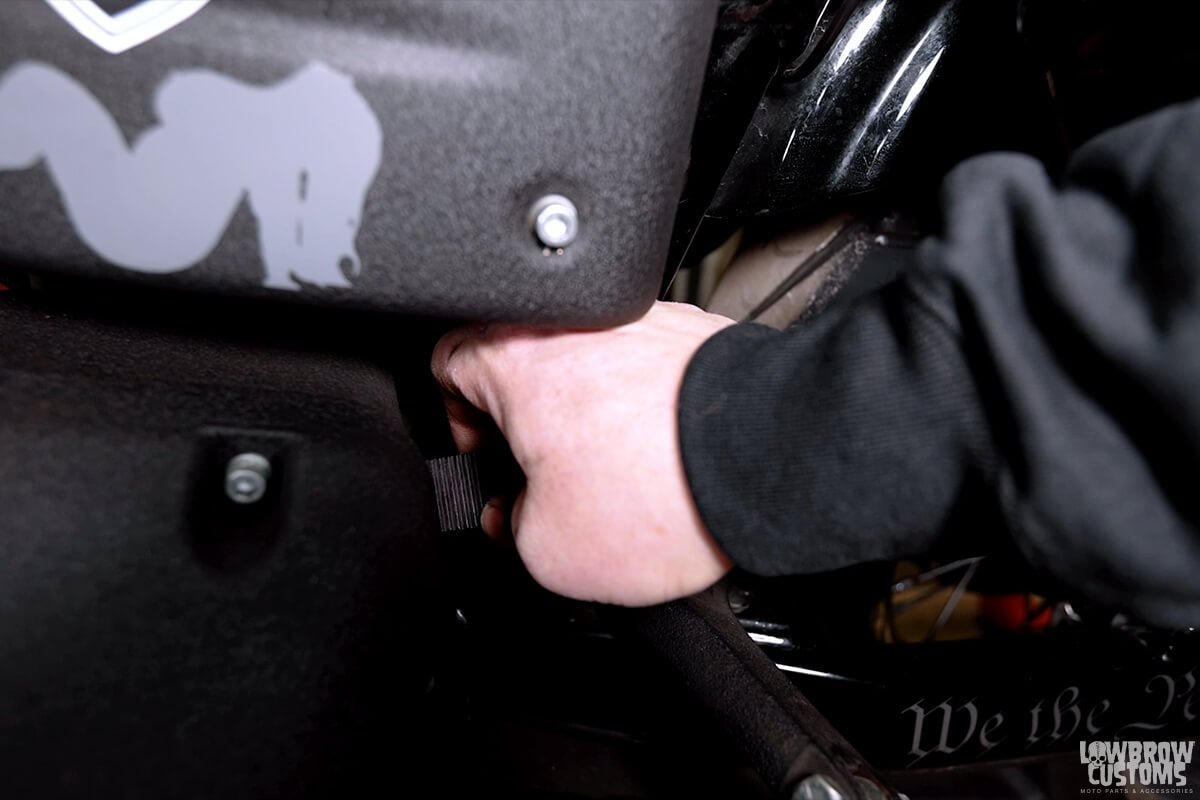 If you don't have a 10lb deflection tool another way to determine if your belt is loose is seeing if goes passed 45 degrees when pulling up on it left or right.
  To adjust your belt you will have to loosen your axle nuts first.
 There is an axle adjuster bolt on each end of your swing arm.
 When tightening the axle adjuster it will pull the wheel back towards you. Think of your wrench as a clock. Start from the bottom at 6 o'clock and tighten to 9 o'clock that is a 1/4 turn. Then do that same thing on the other side. If a pipe is in the way you may have to do to 1/8ths of a turn to equal 1/4 turn.
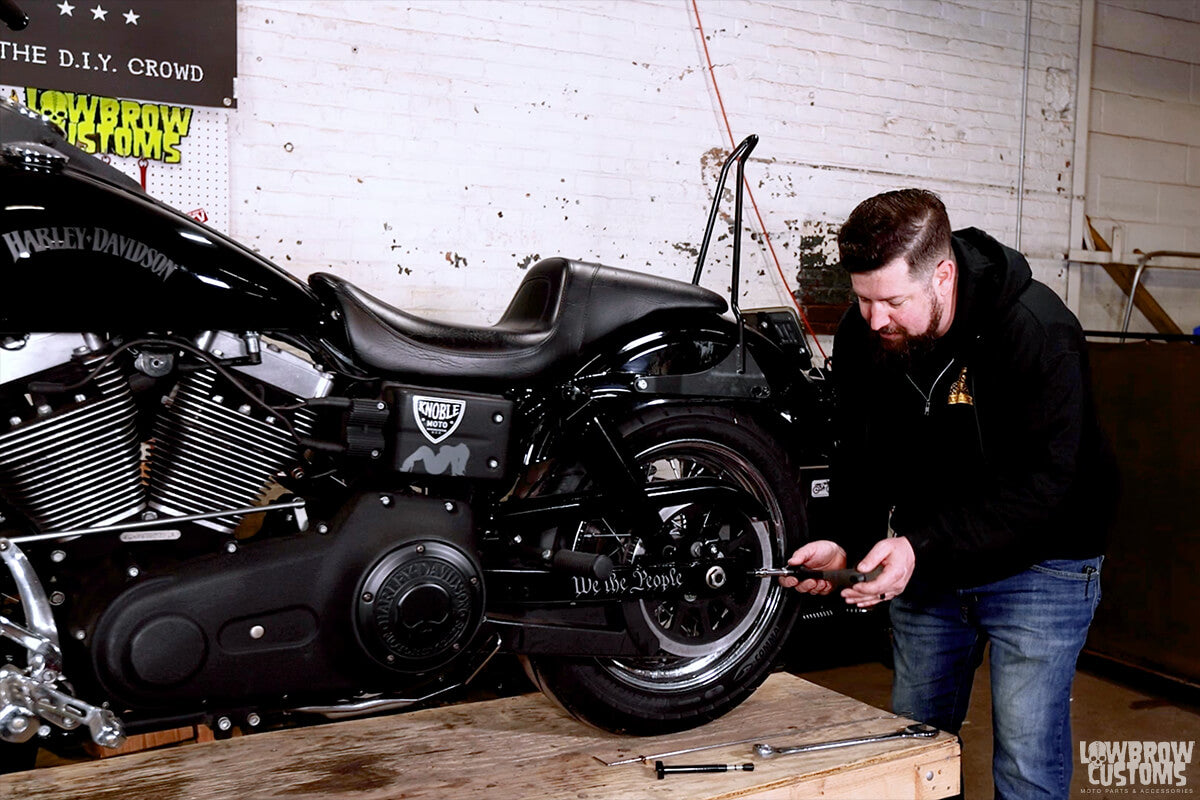 You can see here Steve stopping at 9 o'clock equaling a 1/4 turn.
 After tightening each side evenly and checking your belt tension is to the spec you need. Use a coat hanger and a zip tie or get a fancy tool on line that you can stick in your swing arm holes and measure your axle on each side. You can also use a tape measure. Measure from the hole in the swing arm to the center of the axle bolt on each side and make sure they are the same.
 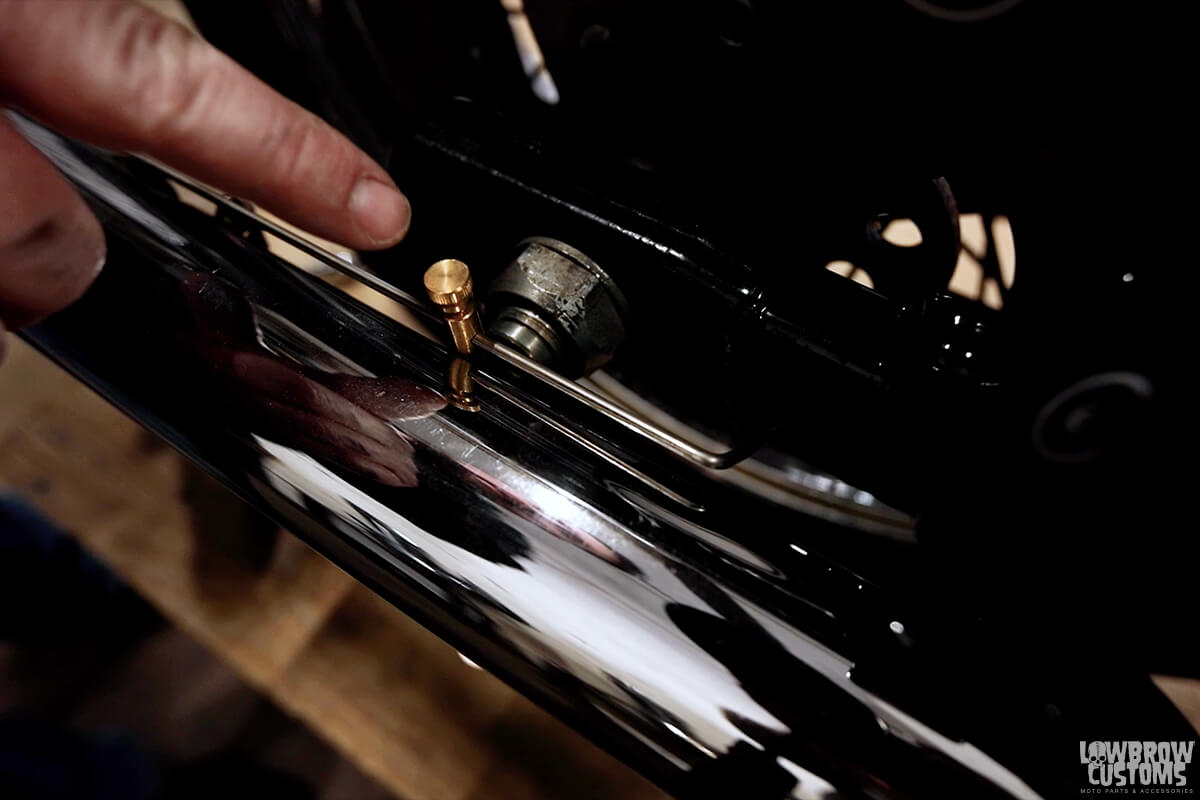 Measuring the other side with the locked in brass piece. Looks like Steve did a spot on job.
 Check the deflection again if you had to adjust your alignment of your axle.
 Torque down your axle nut, add on your axle clip or safety wire and you are ready to ride!
 Dirt, grit, grime, and cloudy paint are all signs your bike needs washed.
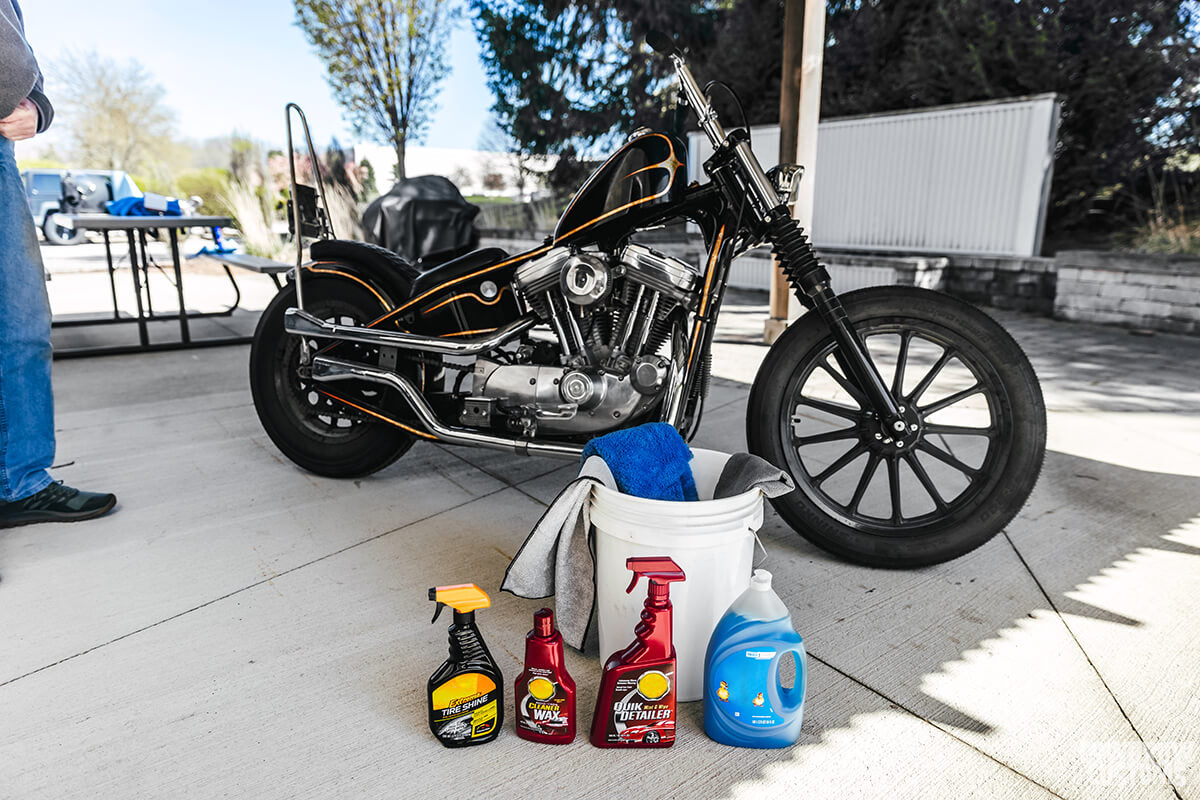 Gather your supplies and make sure your drying and waxing cloths are clean. Put your bike in a shady area.
 Pre-washing, give your bike a good rinse. Use a hose with a nozzle or just open and push your finger on it. DON'T USE A PRESURE WASHER!
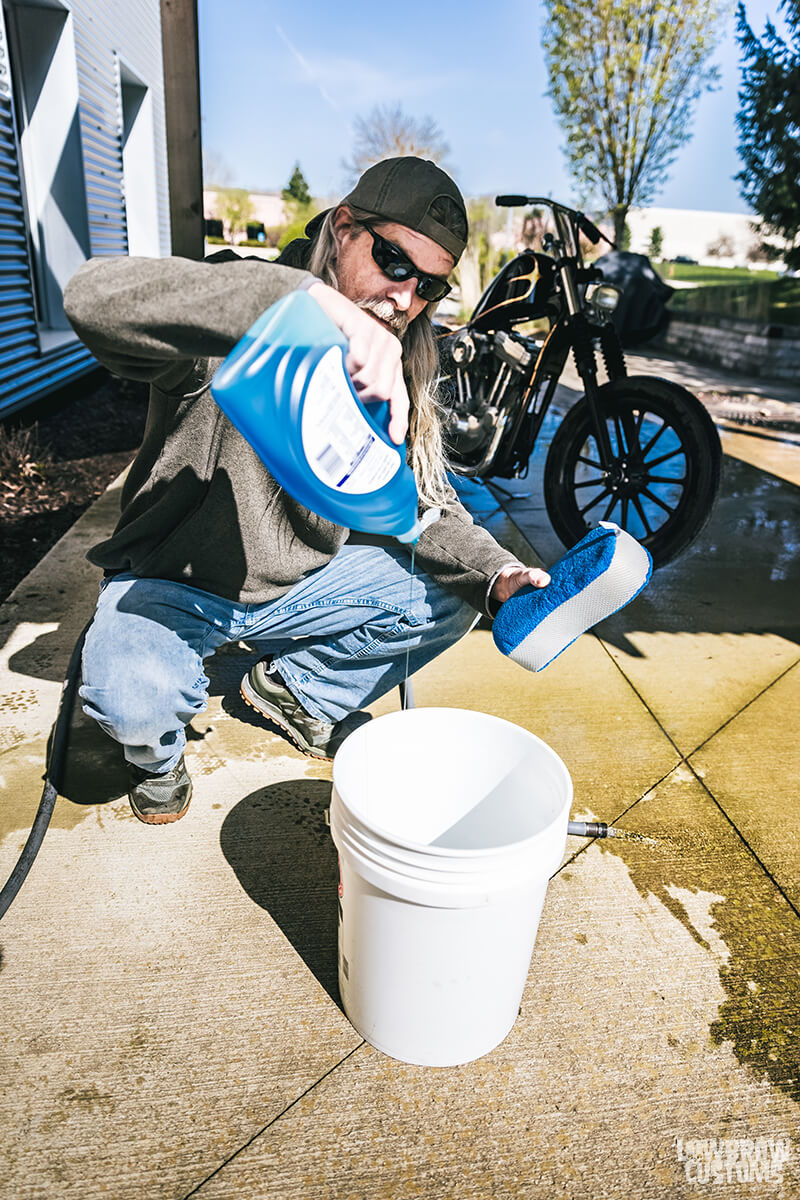 Fill your bucket with soap and add water. Get a nice soft sponge for the job.
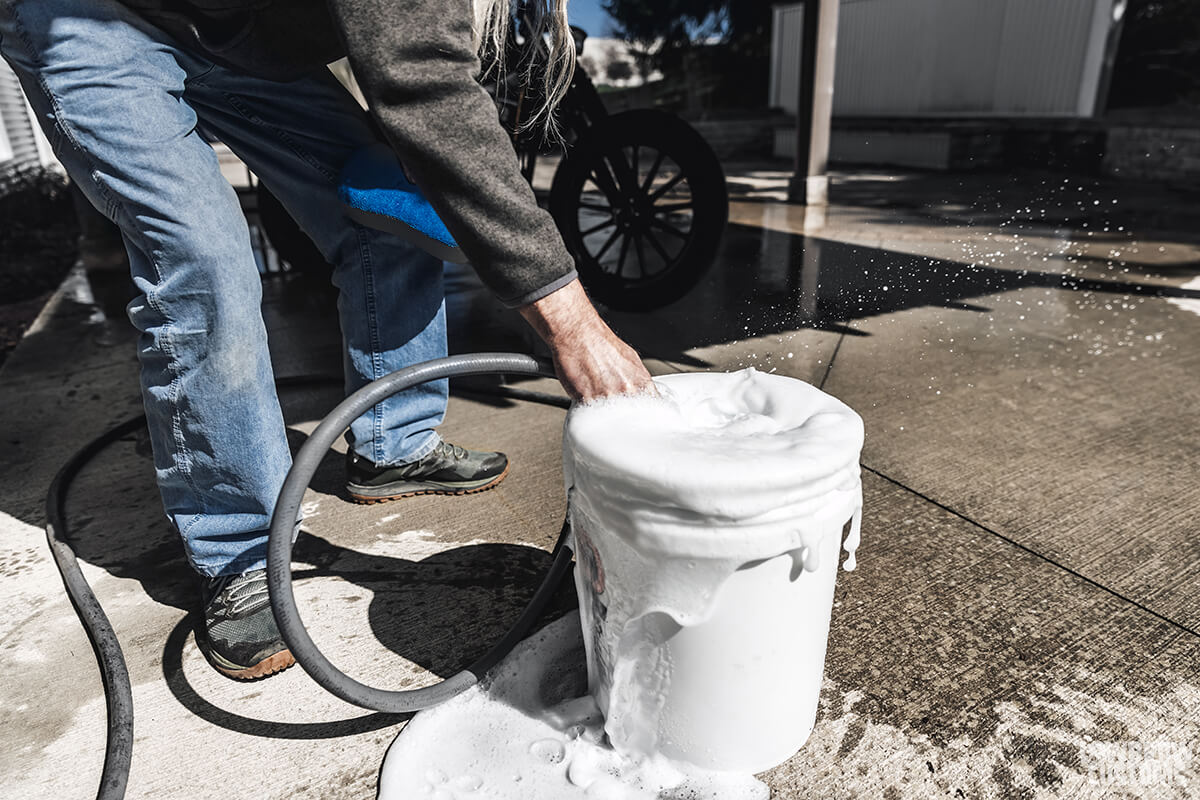 Fill that bucket and get it real soapy!
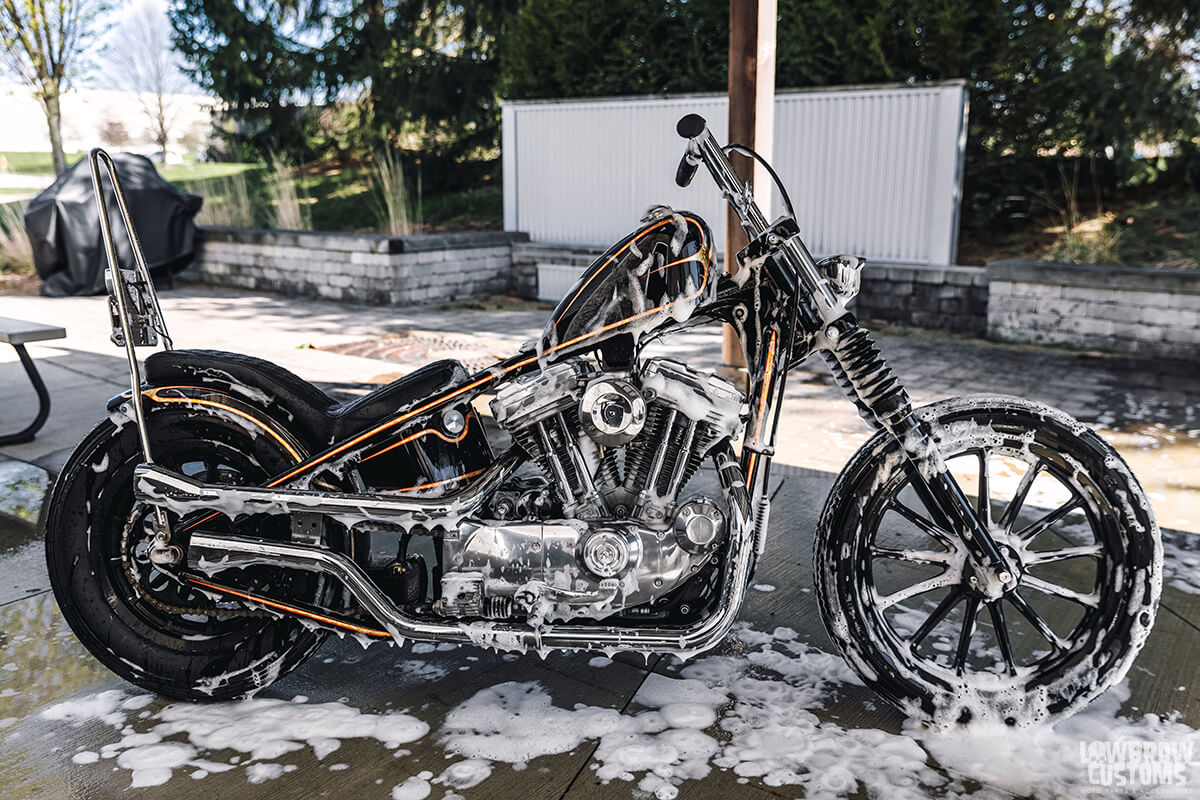 Be diligent but soft handed and scrub everywhere with your sponge.
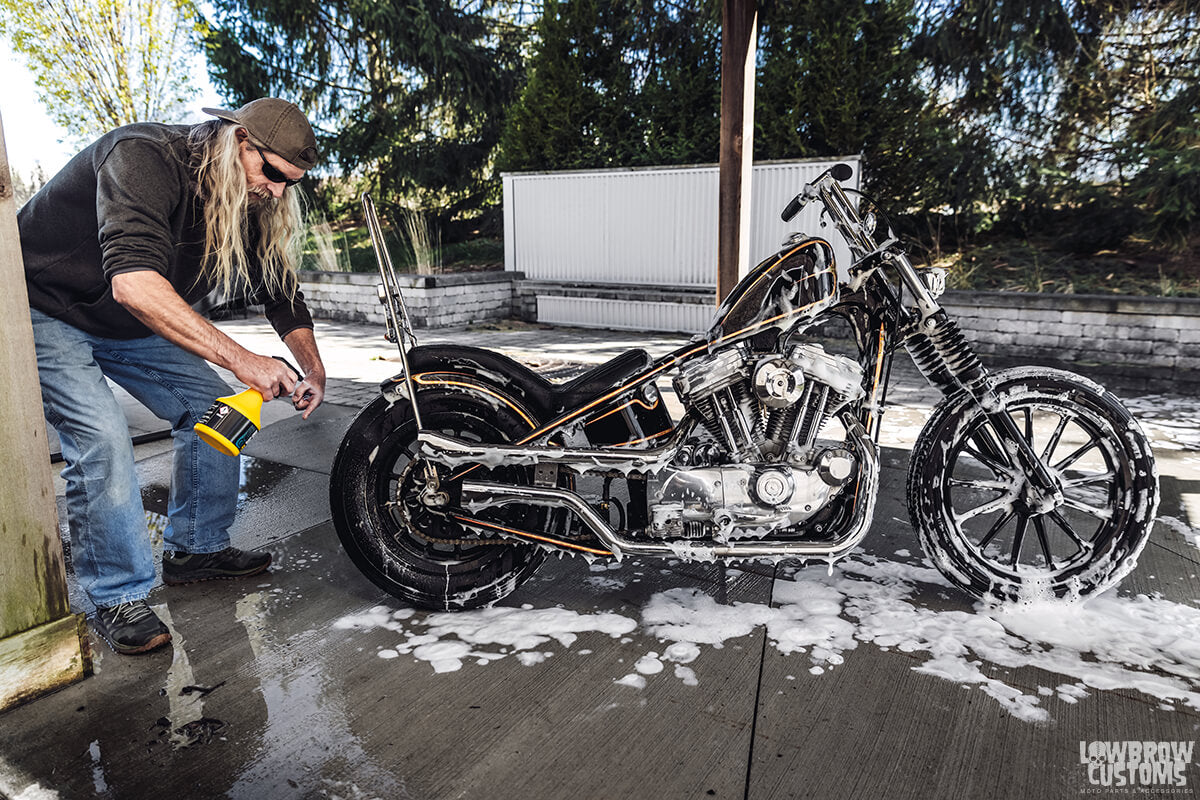 Spray additional cleaner in areas that are tougher to get into like wheels and or under the bike.
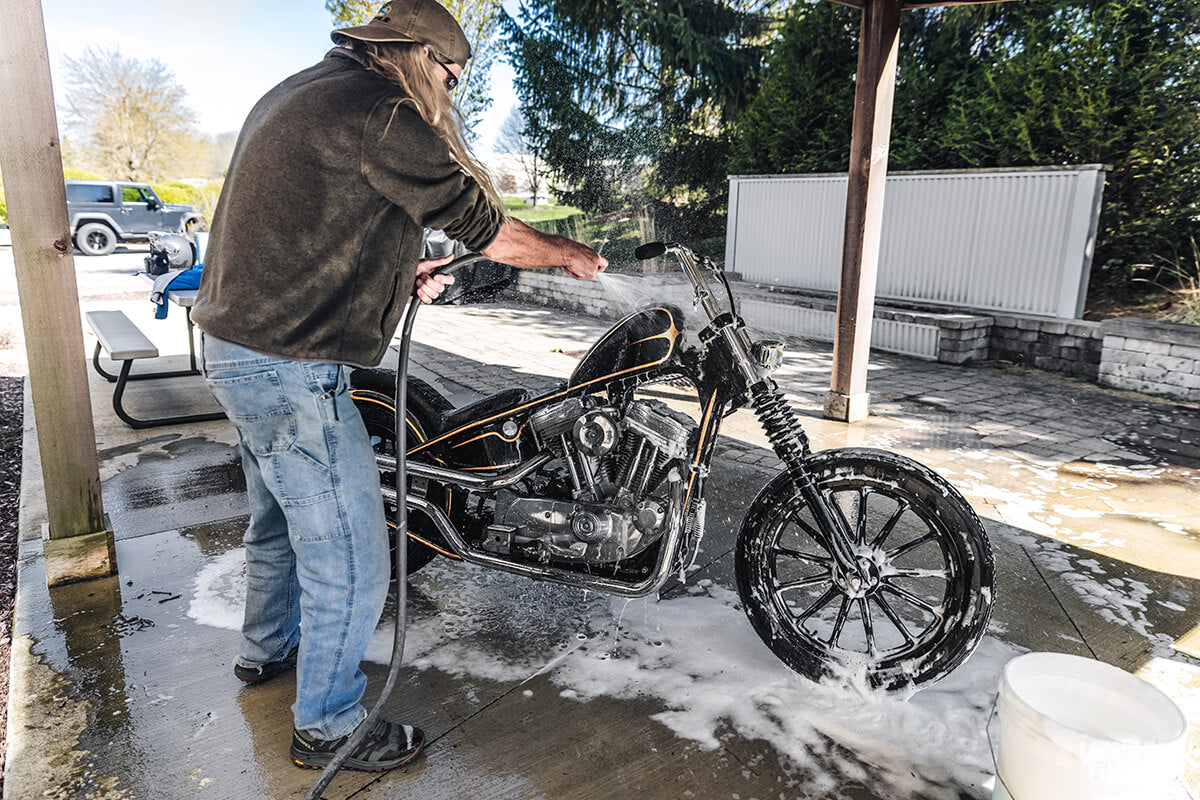 Rinse her off baby! Get all the soap off from all areas and sides.
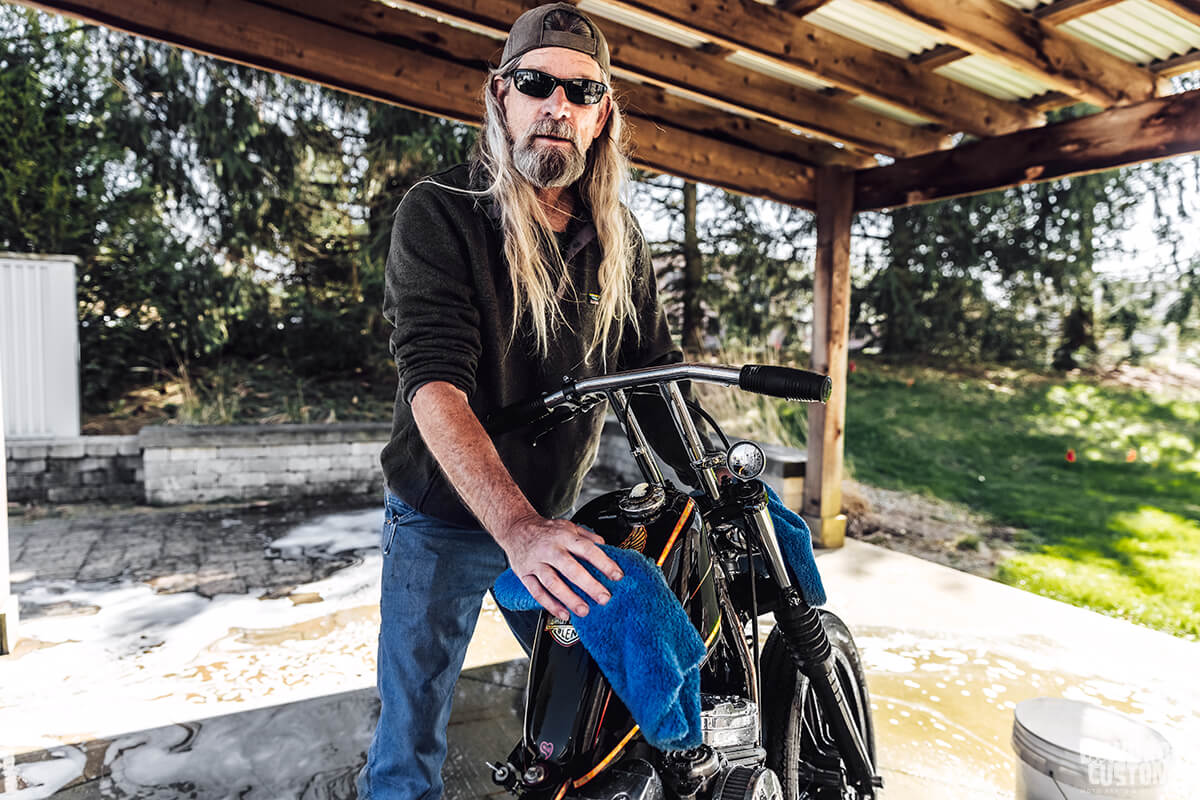 Use a puffy micro fiber cloth that soaks up water to dry off your bike.
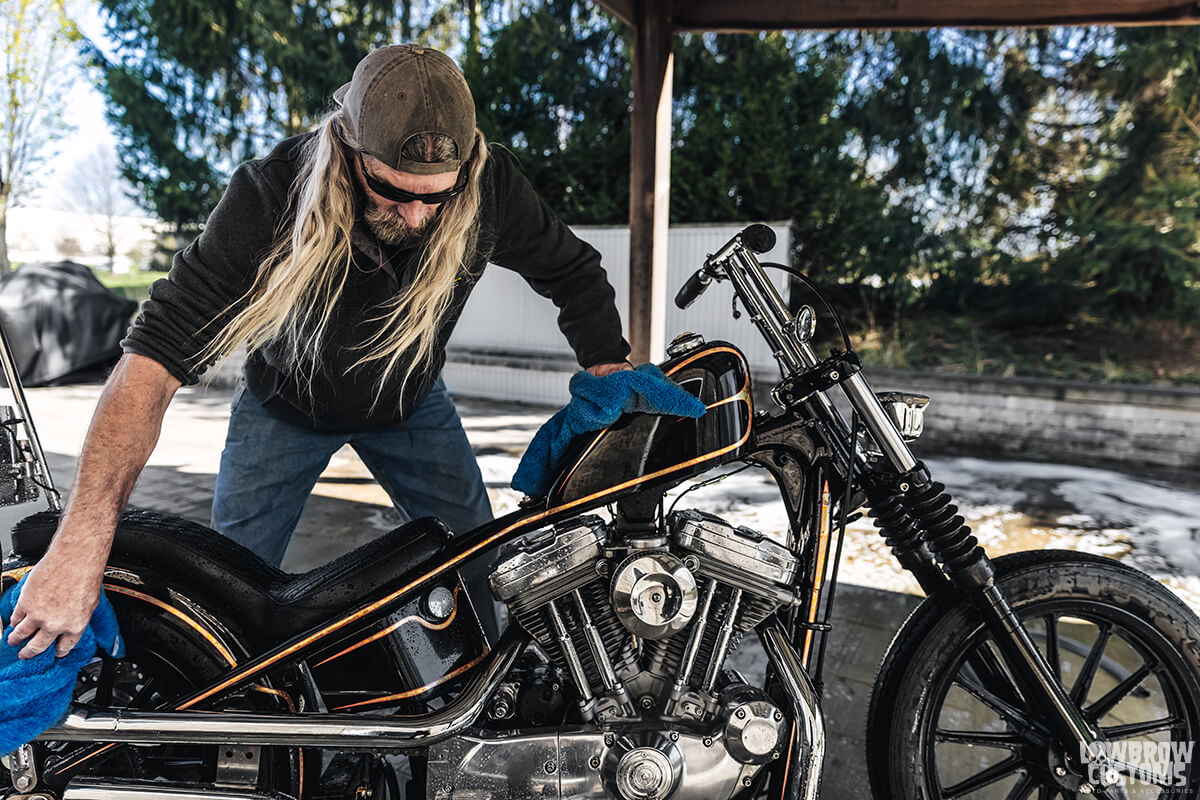 Having multiple towels or an extra set of hands can help make sure you get all the water dried up to avoid spots.
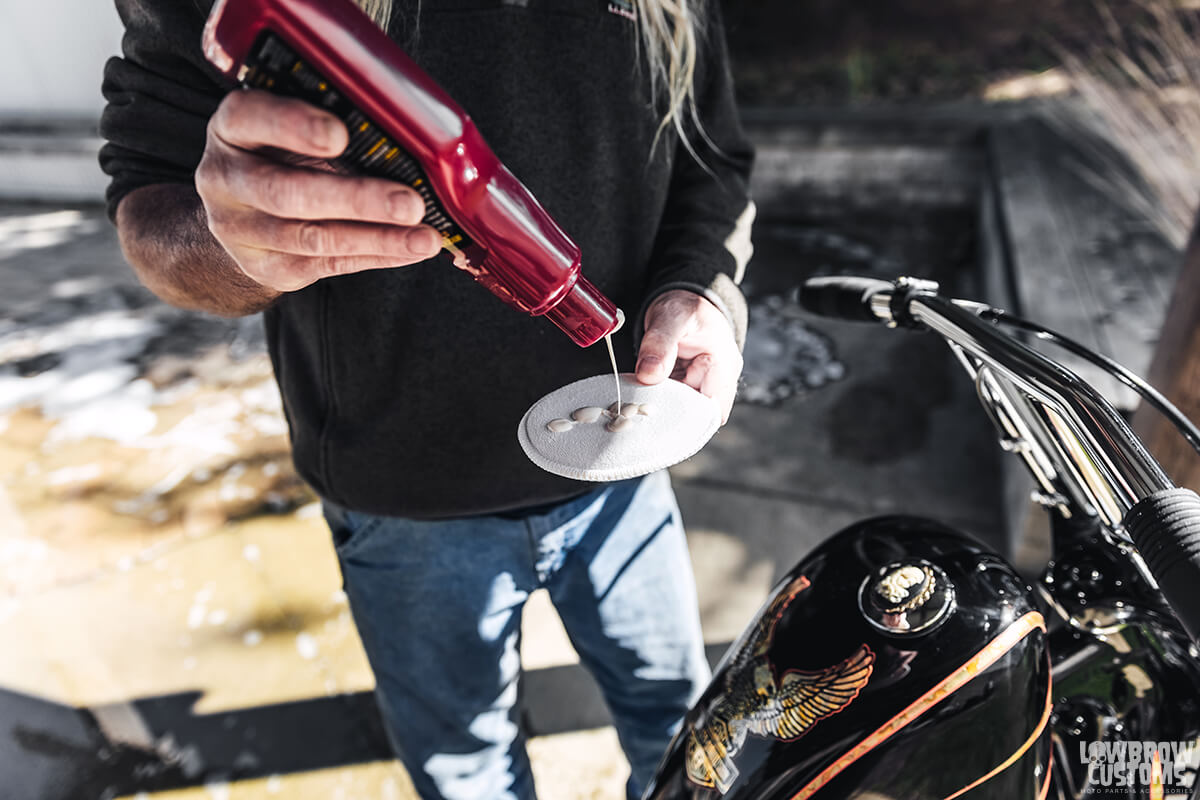 After the bike is dry, use a microfiber wax applicator and high end car wax is clutch.
 Ever see Karate kid, just remember "Wax on, wax off!" Apply the wax in painted areas you want to protect and let the wax dry for a few minutes.
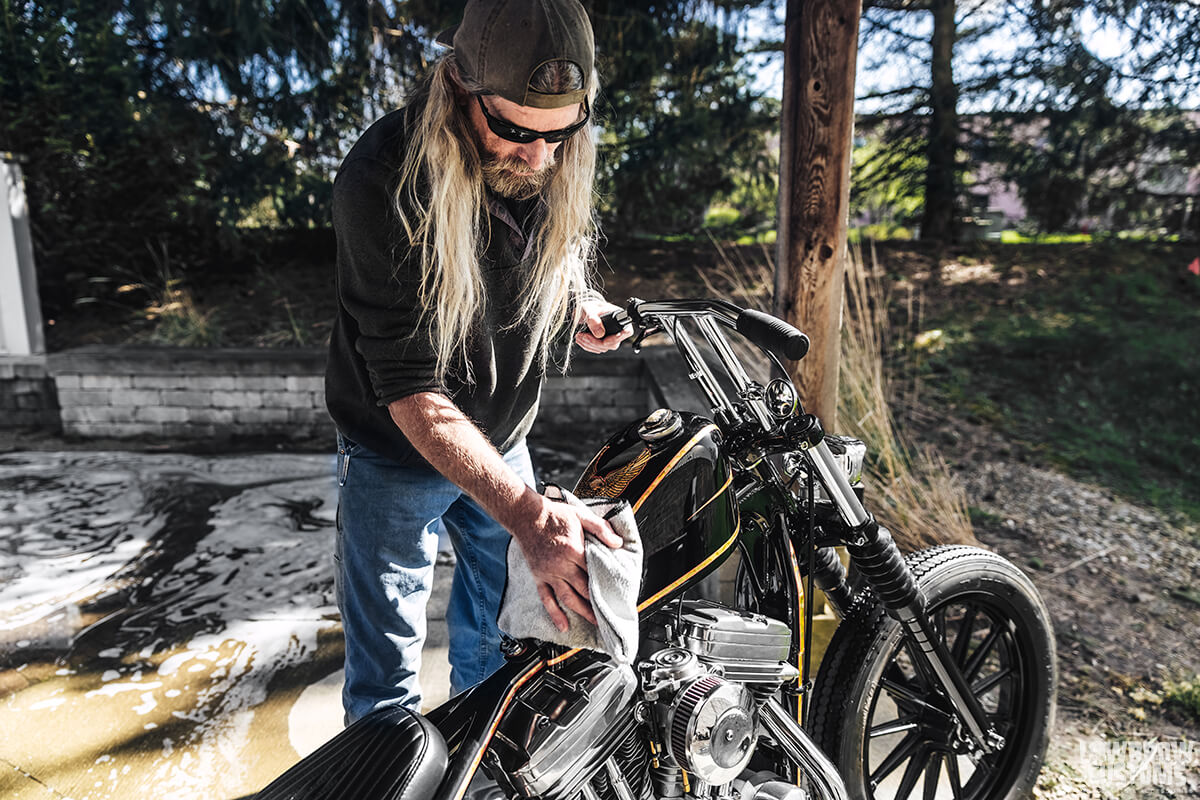 Oooo shiny... WAX OFF!
 Don't let the soap dry!
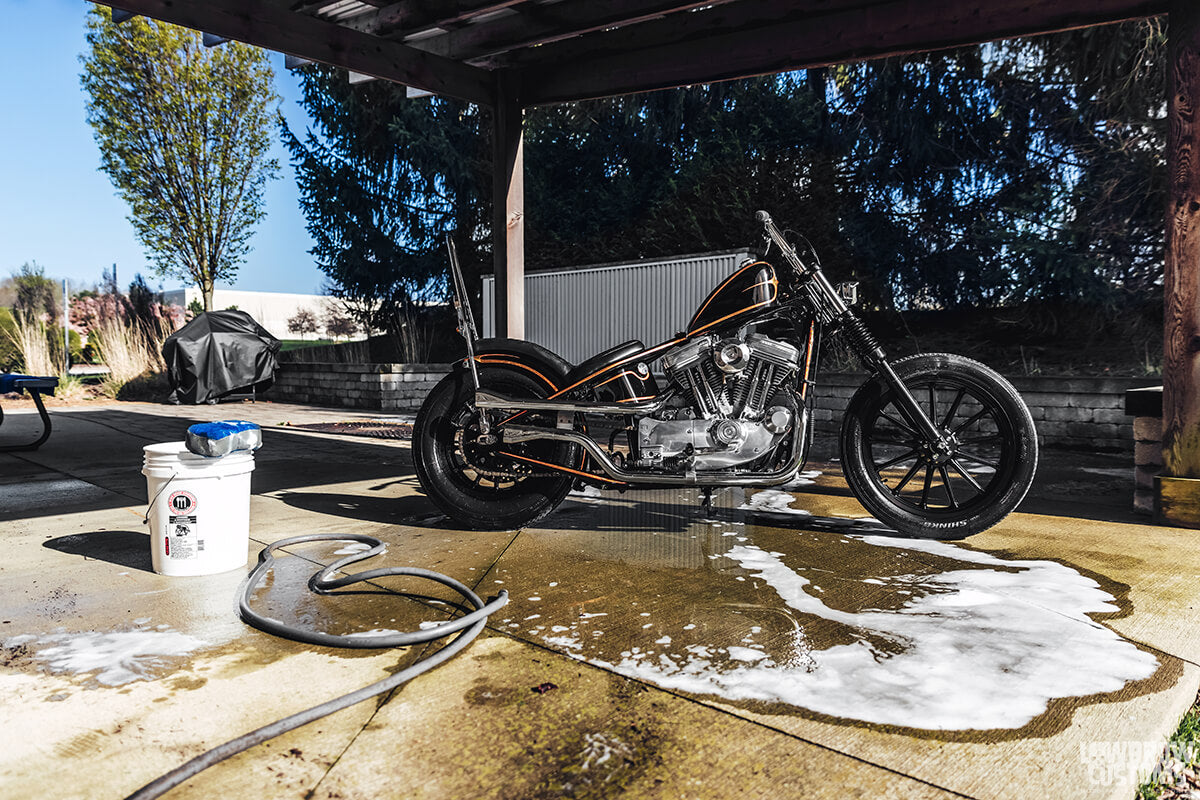 Your bike too, can look as good as this if you take the time and do it right with no shortcuts!
 1969 Harley-Davidson XLCH Sportster Ironhead 900cc
 Axed Alien tank, Gasbox Dogdish Air cleaner, Fork Co handlebars and risers, 4 1/2" headlight, 35mm frontend
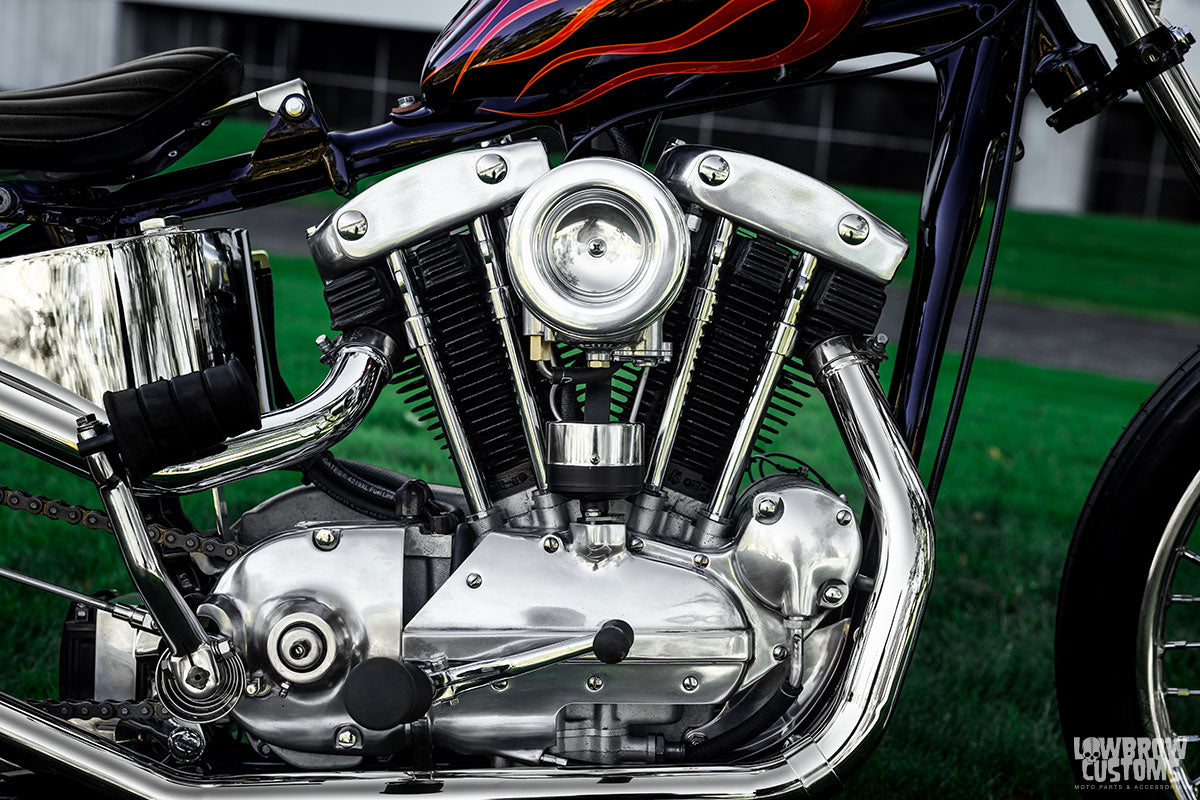 900cc Ironhead motor, S&S Super E Carb, Gasbox Dogdish Air cleaner.
 Fully custom made exhaust pipes, River Seat Co seat, Gasbox DIY Sissybar kit.
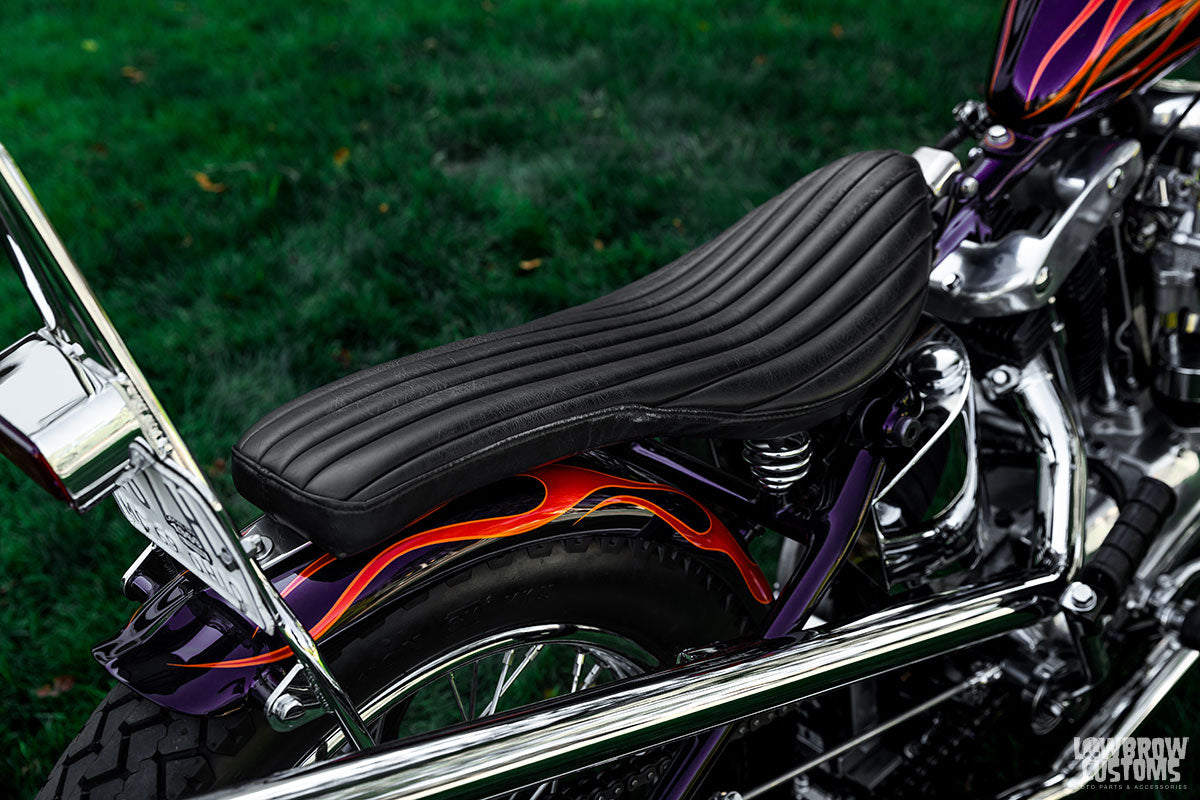 River Seat Co. seat
 Axed tank with molding and paint done by Angel Dust Cycle Paint Joe Koenigsmark.
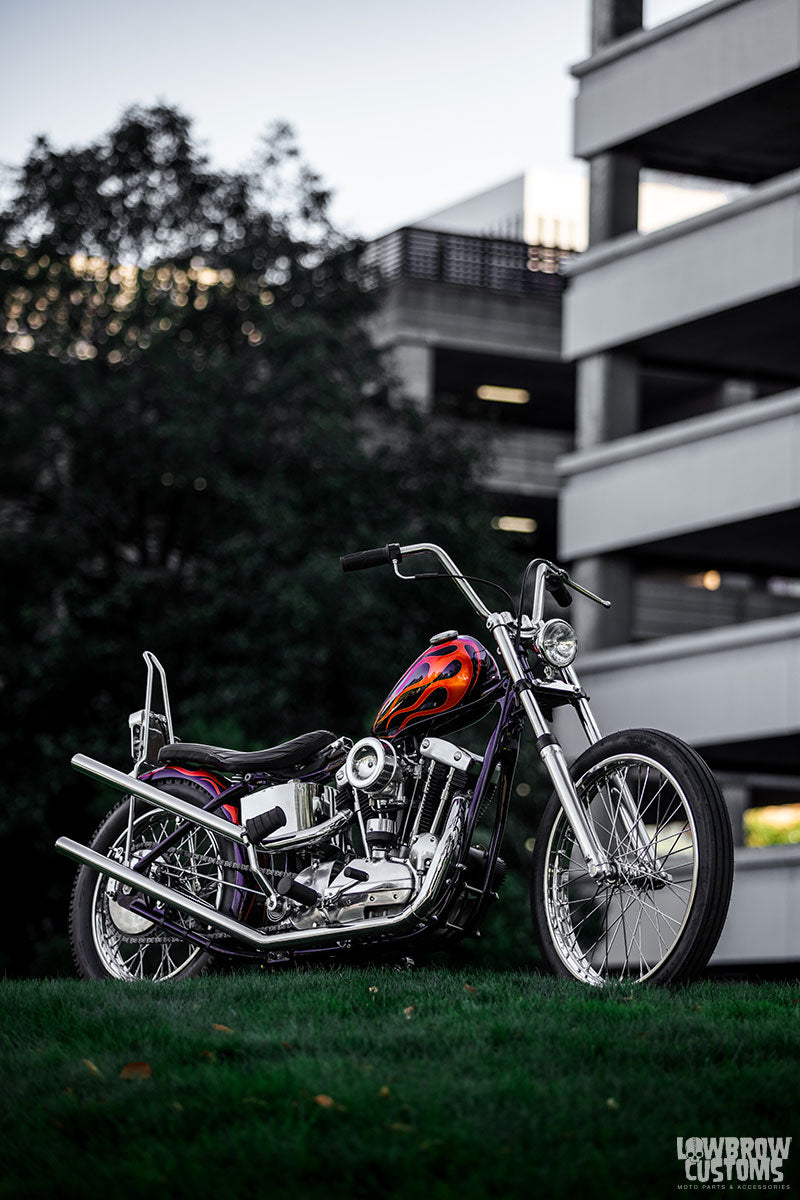 Saturday Sportster Saturday Sportster 2
 Vintage 1969 license plate
 B-side of the 1969 Sportster
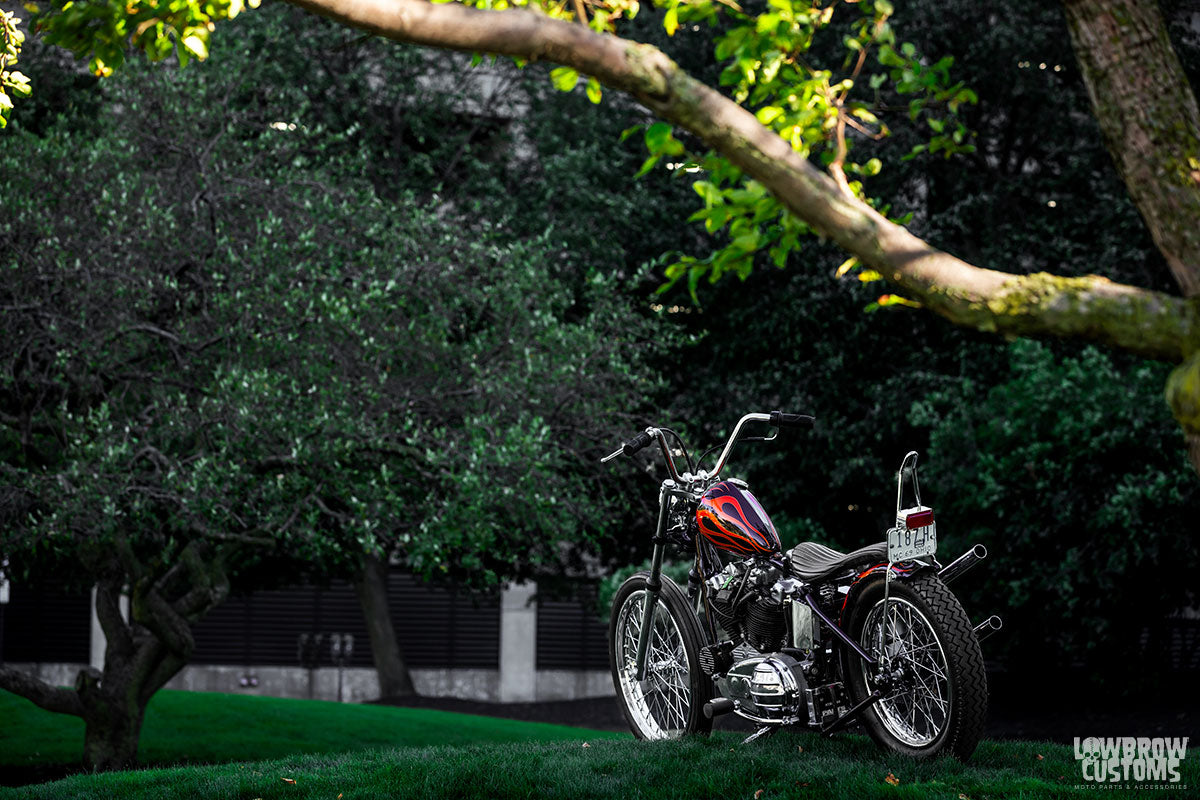 Looks good from all angles.
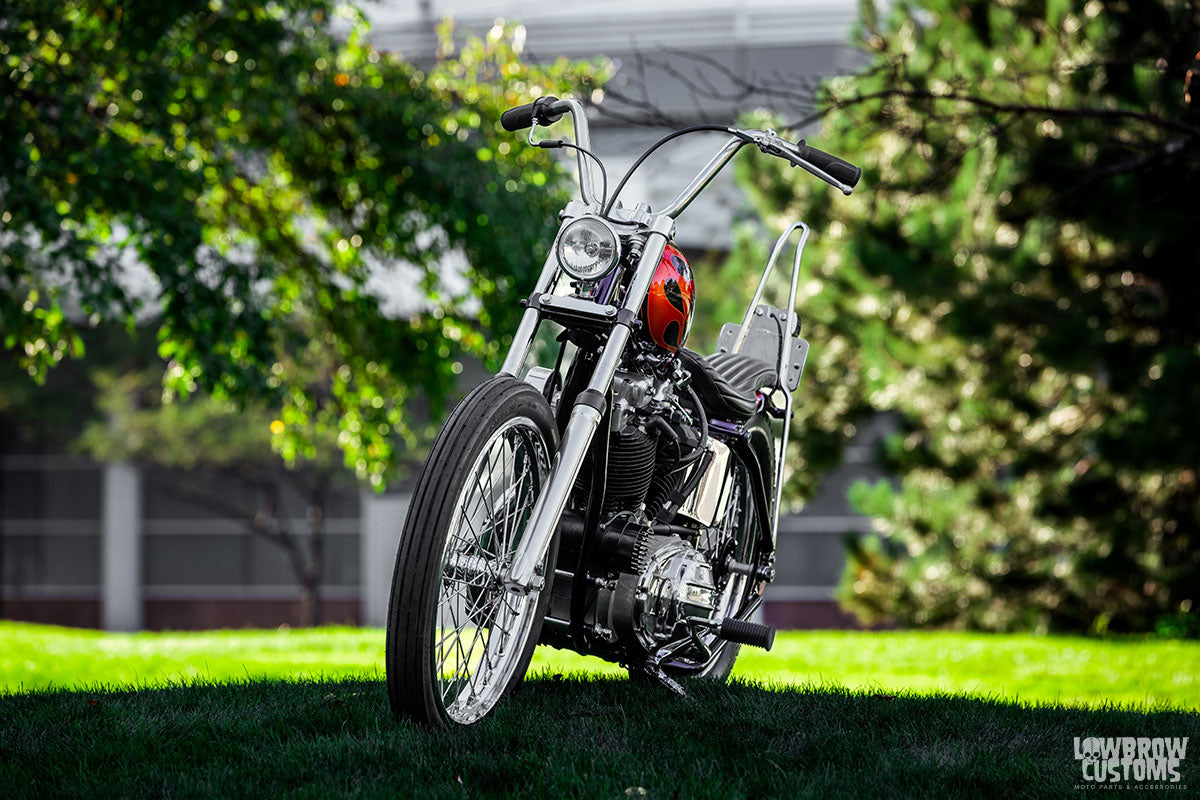 Skinny lane splitter
 35mm front end 21" wheel, perfect.
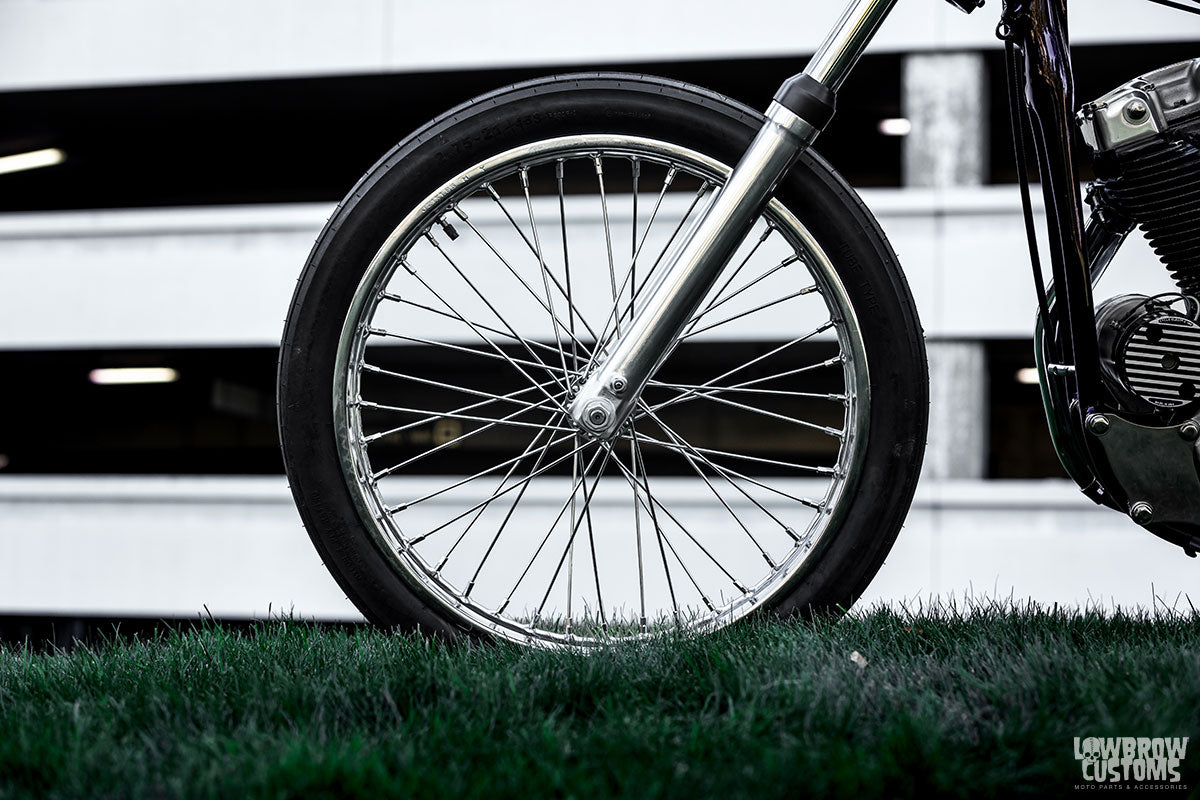 21" Front Lowbrow Customs Wheel with Firestone 21" Board Tracker Tire.
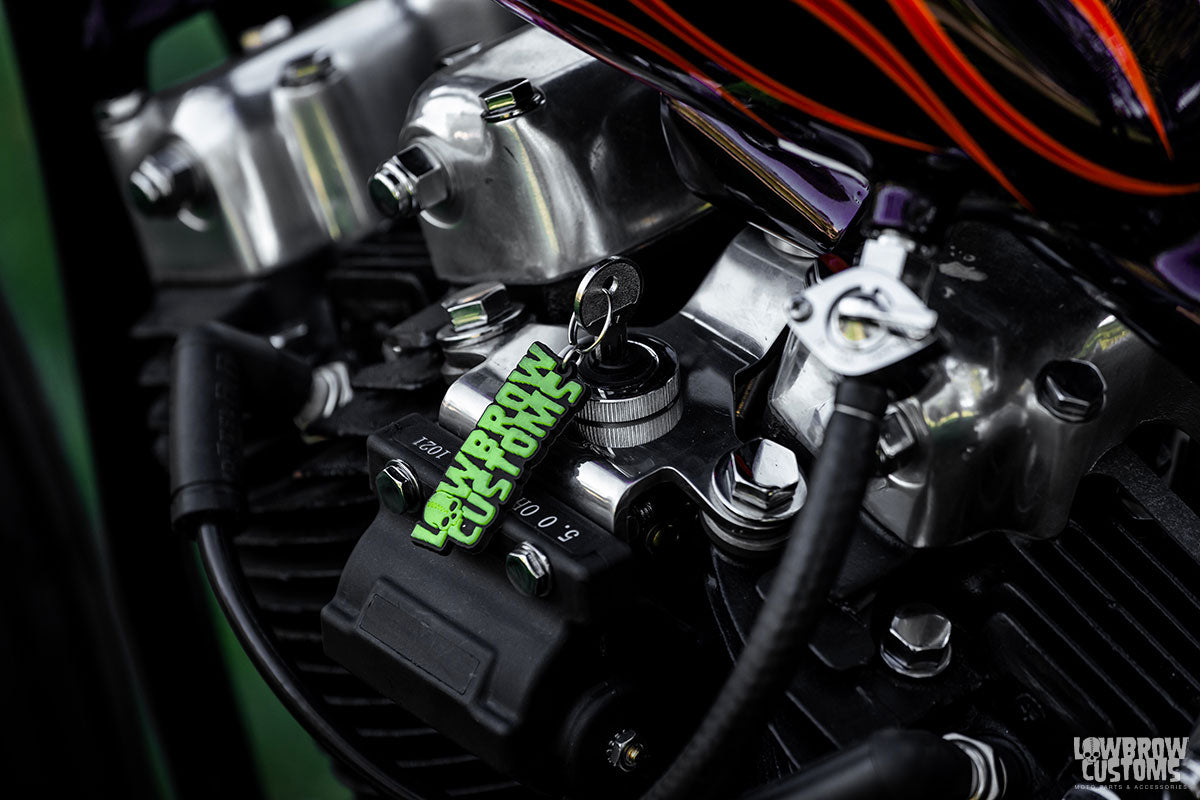 Lowbrow Customs weather proof ignition switch on a Gasbox top motor mount with coil relocation
 A nice angle to get an idea how skinny those Fork Co handlebars really are.
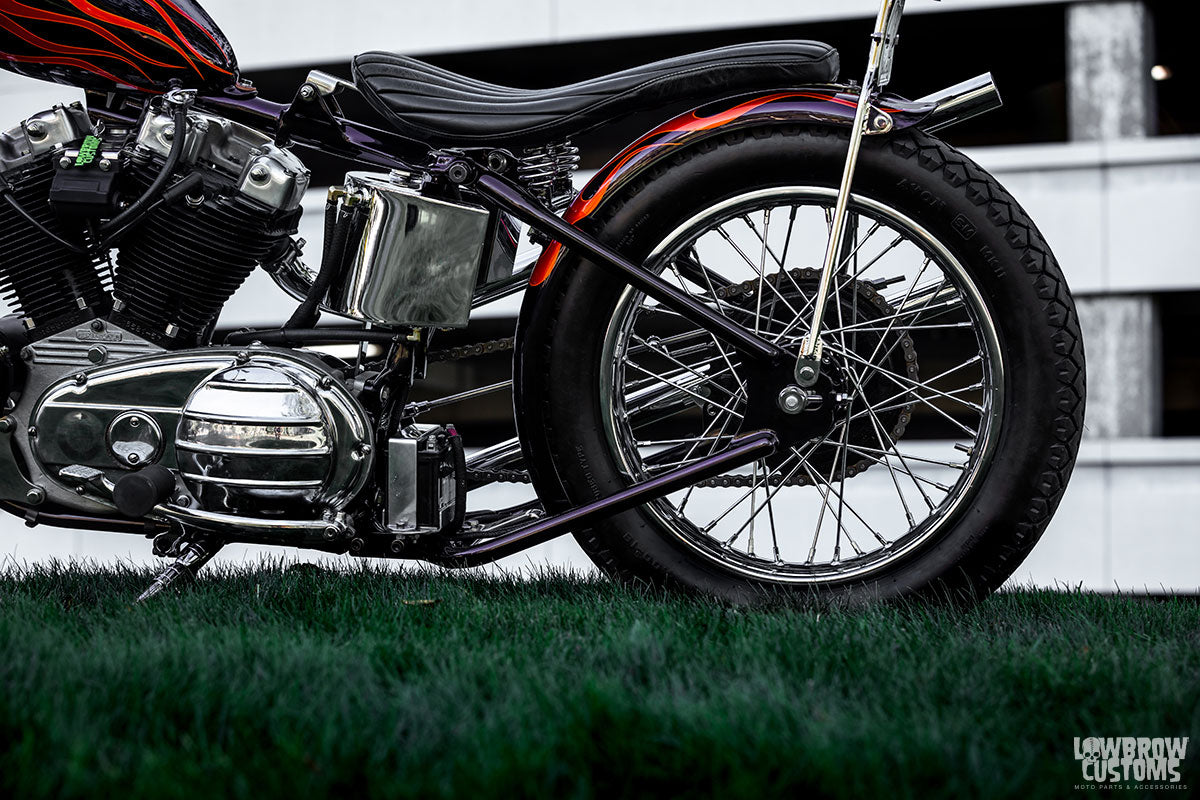 Avon Mark II Safety tire 18" on 18" wheel. Hub rear brake.
 Cycle Electric Generator and Regulator
 Fork Co risers work perfect with their Sixties Narrow bars.
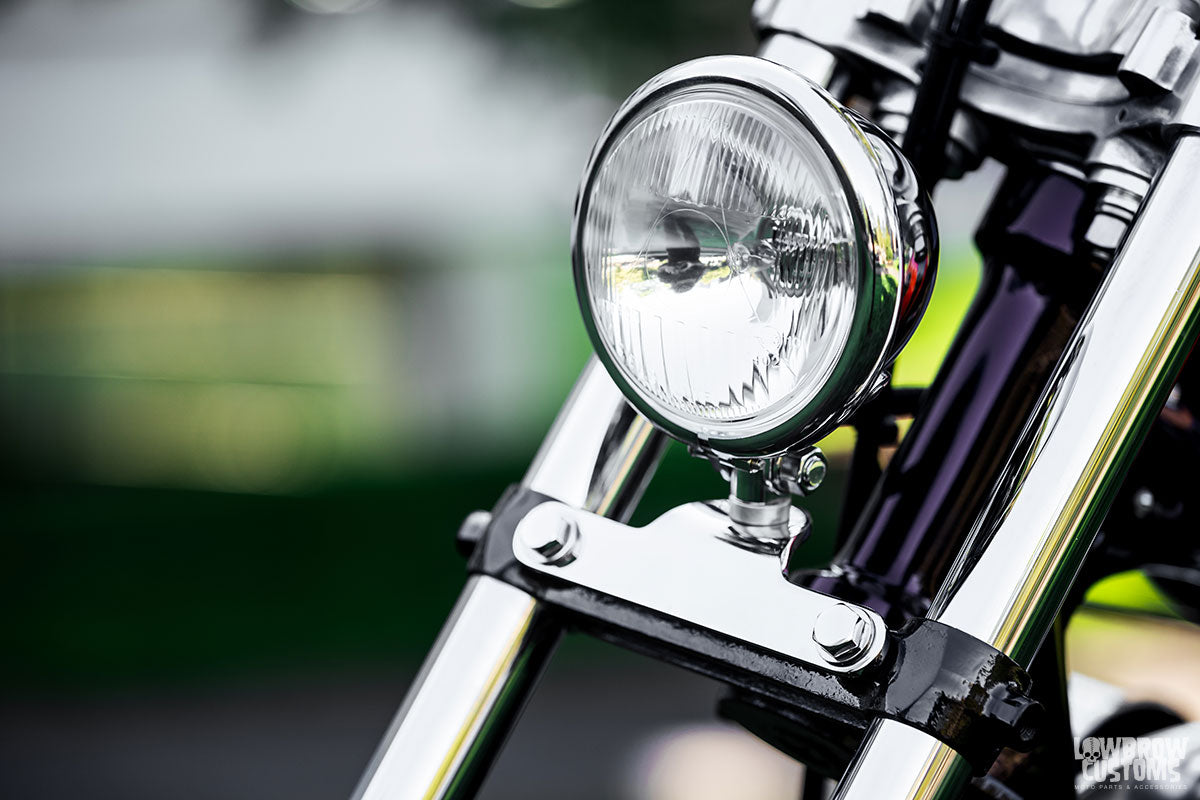 Gasbox Bottom Headlight mounting bracket works with pinch bolts on the 35mm front end.
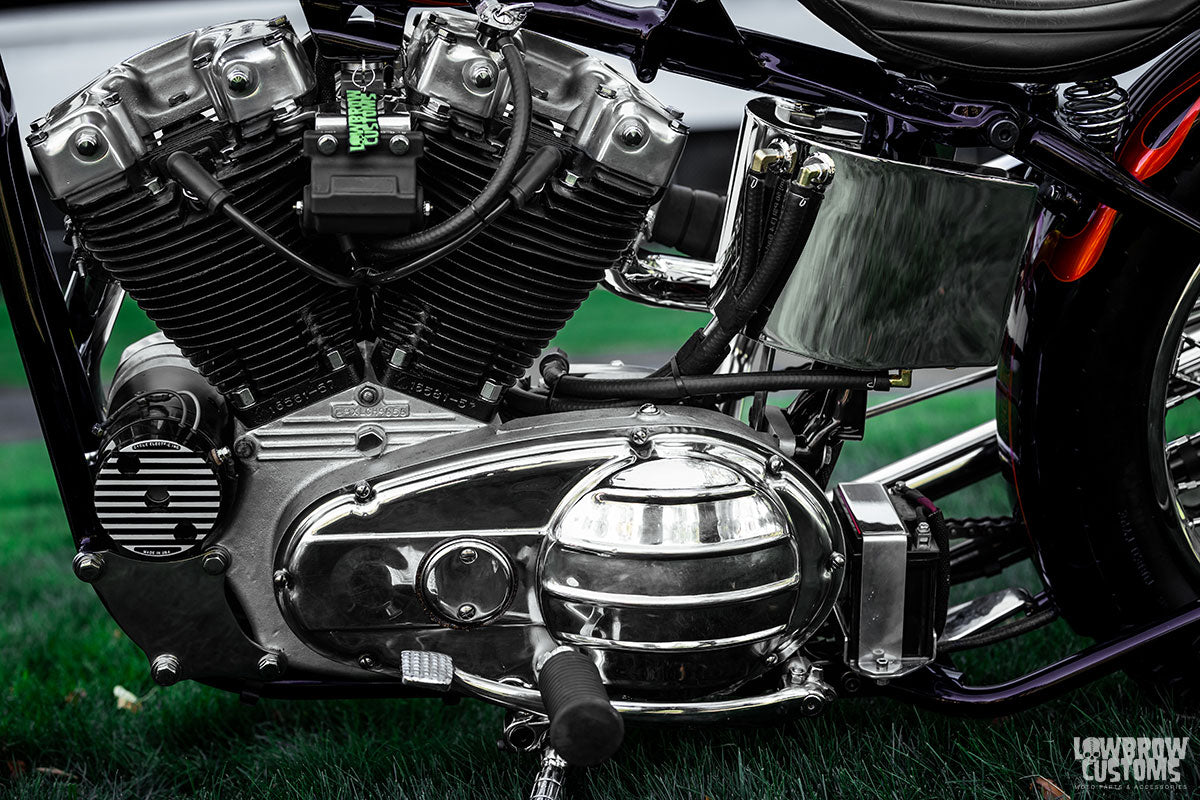 Chromed a Gasbox Horshoe boltp-on oil tank to pop off yet blend into the frame.
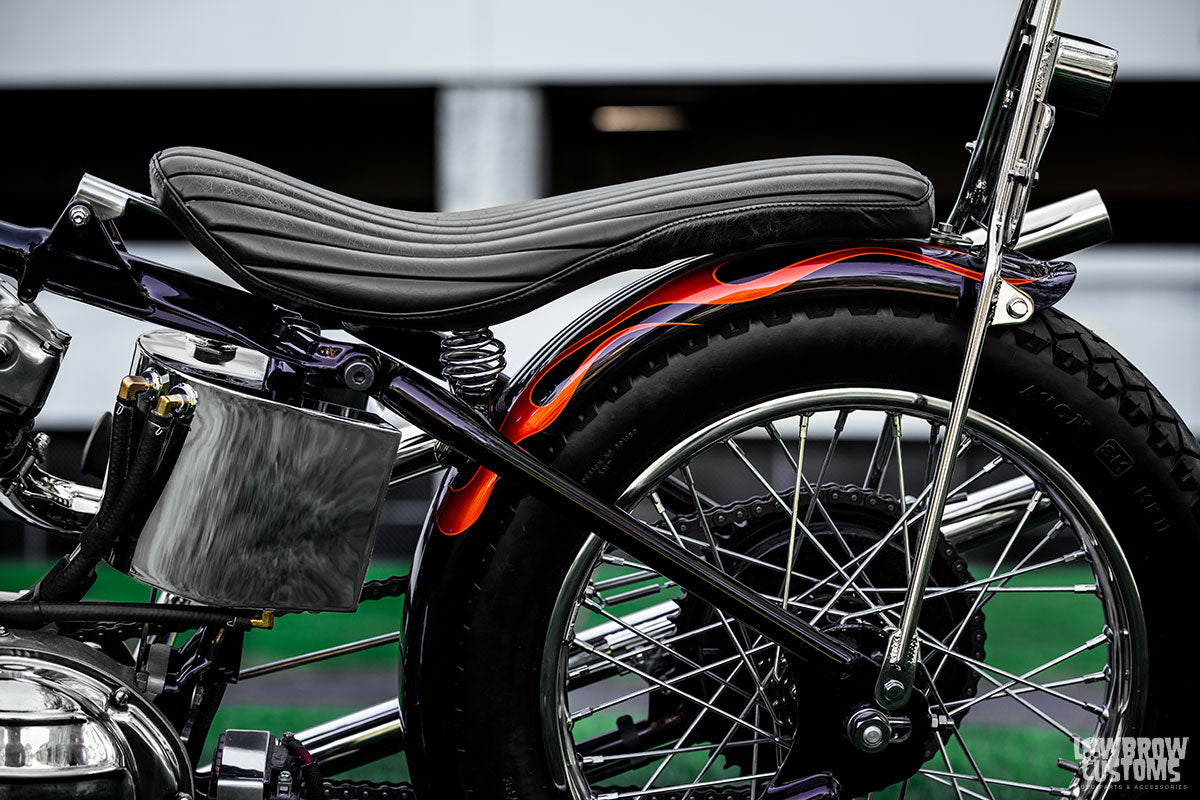 Manta Ray 4 3/4" fender with 18" wheel.
 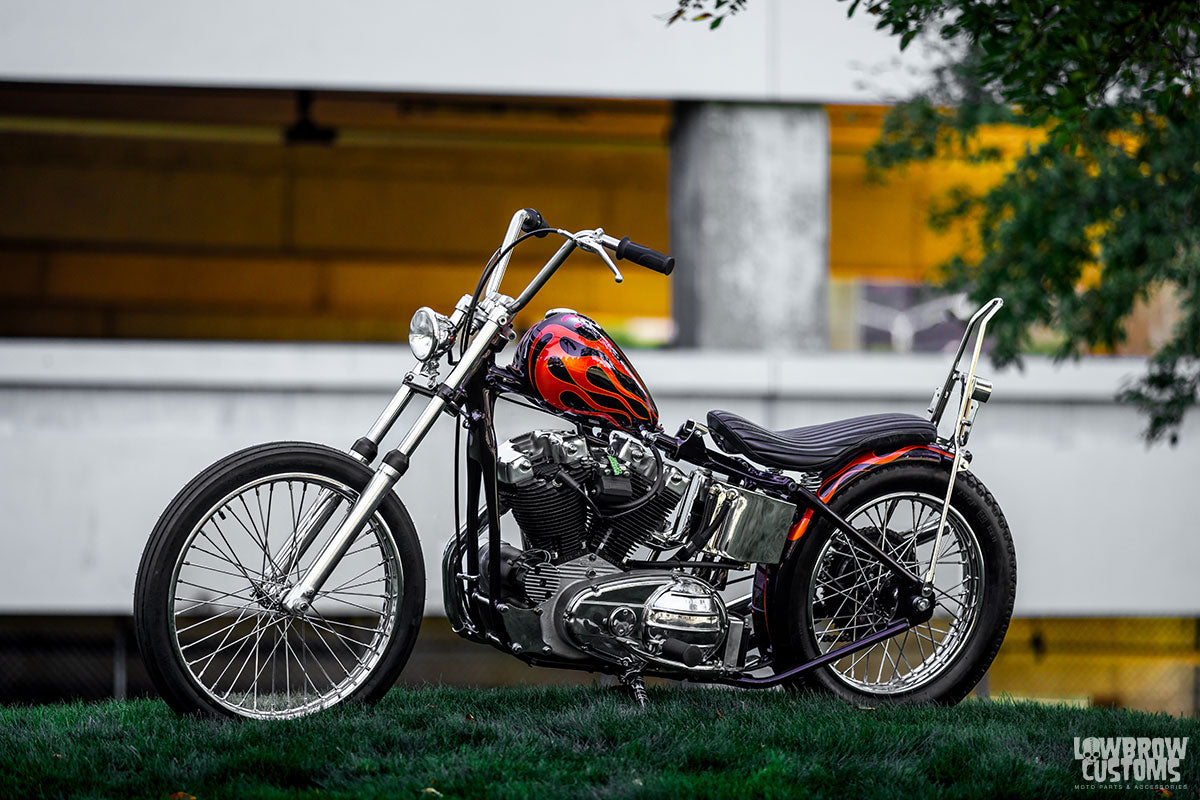 Bolt-on hardtail for Ironheads.
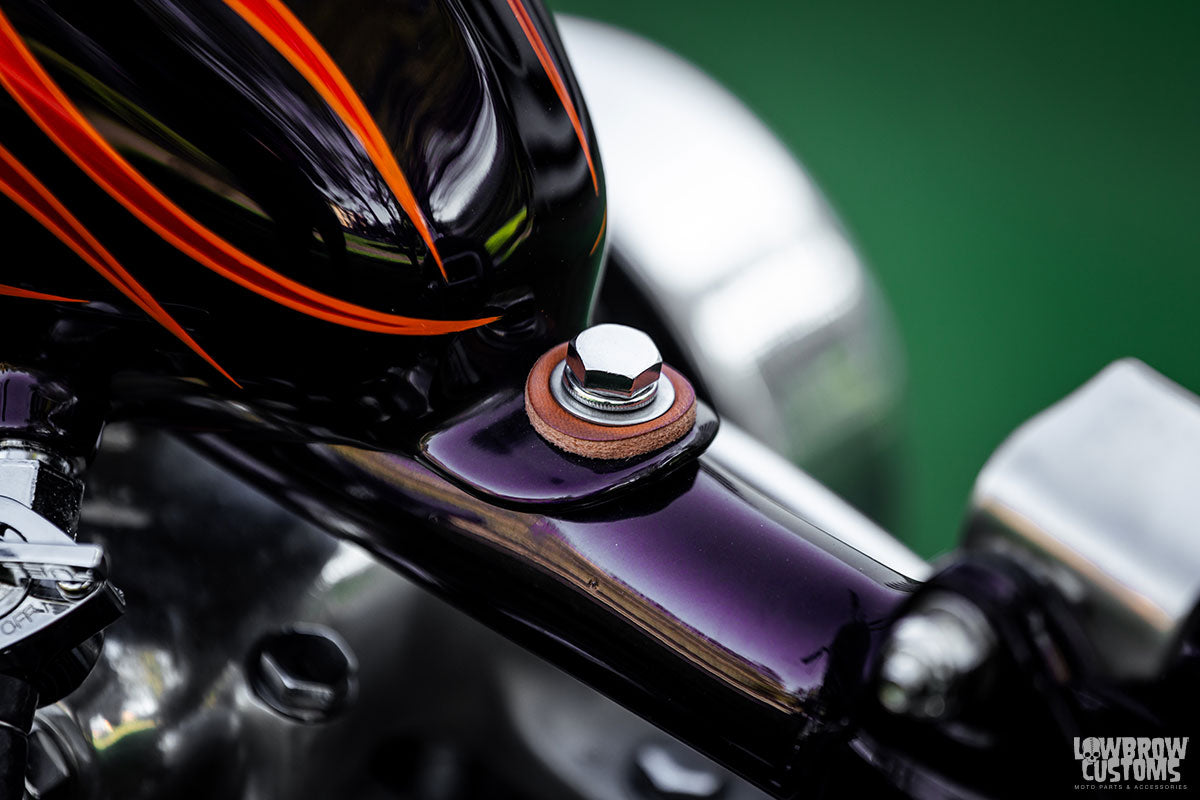 Always a good idea to use leather washers on your gas tank mounts.
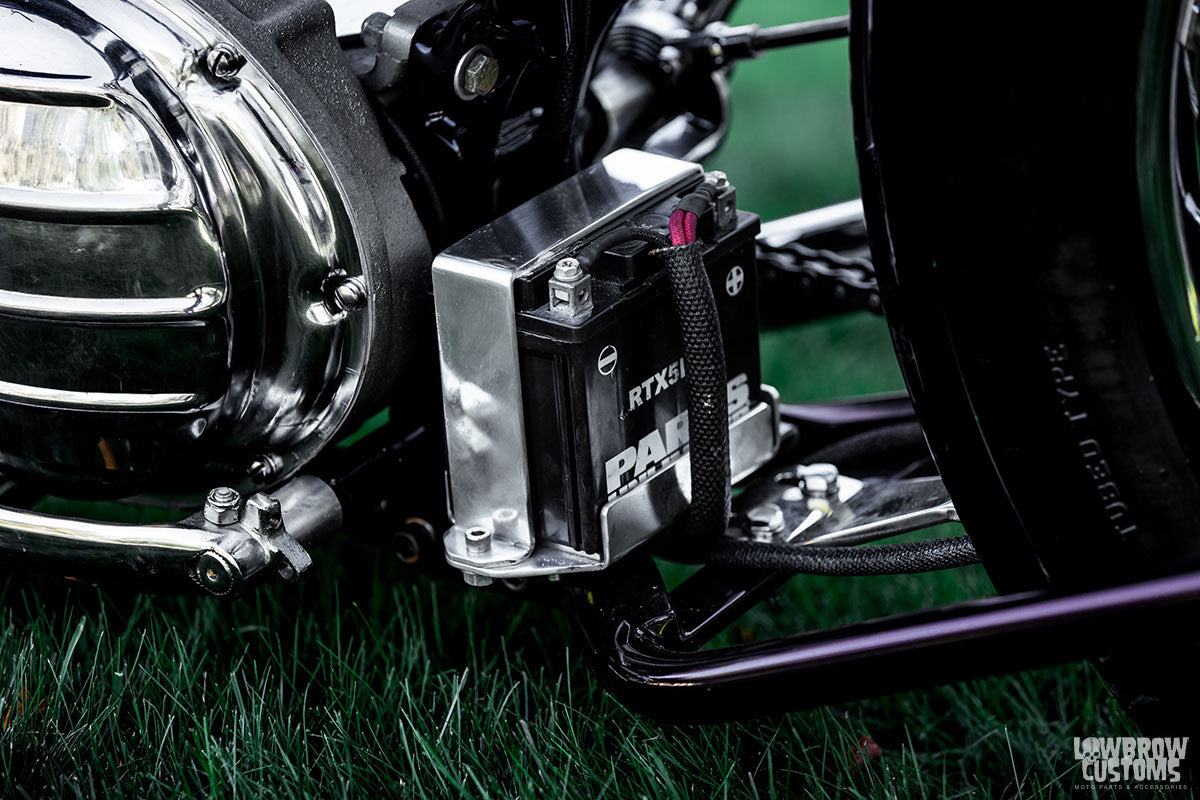 RTX5L-BS battery for kick only bikes in a Gasbox Battery box.
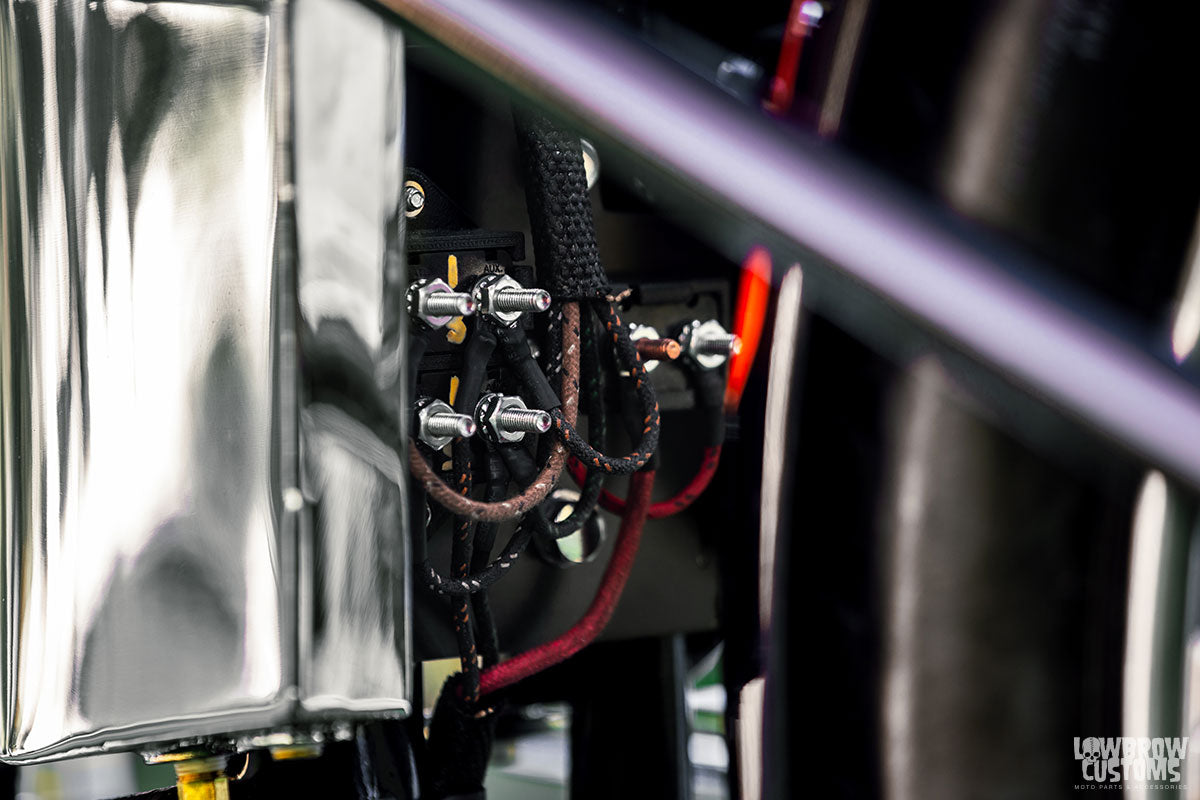 Custom made circuit breaker board mounted on the rear plate of the horseshoe oil tank. Hidden, sleek, organized and functional.
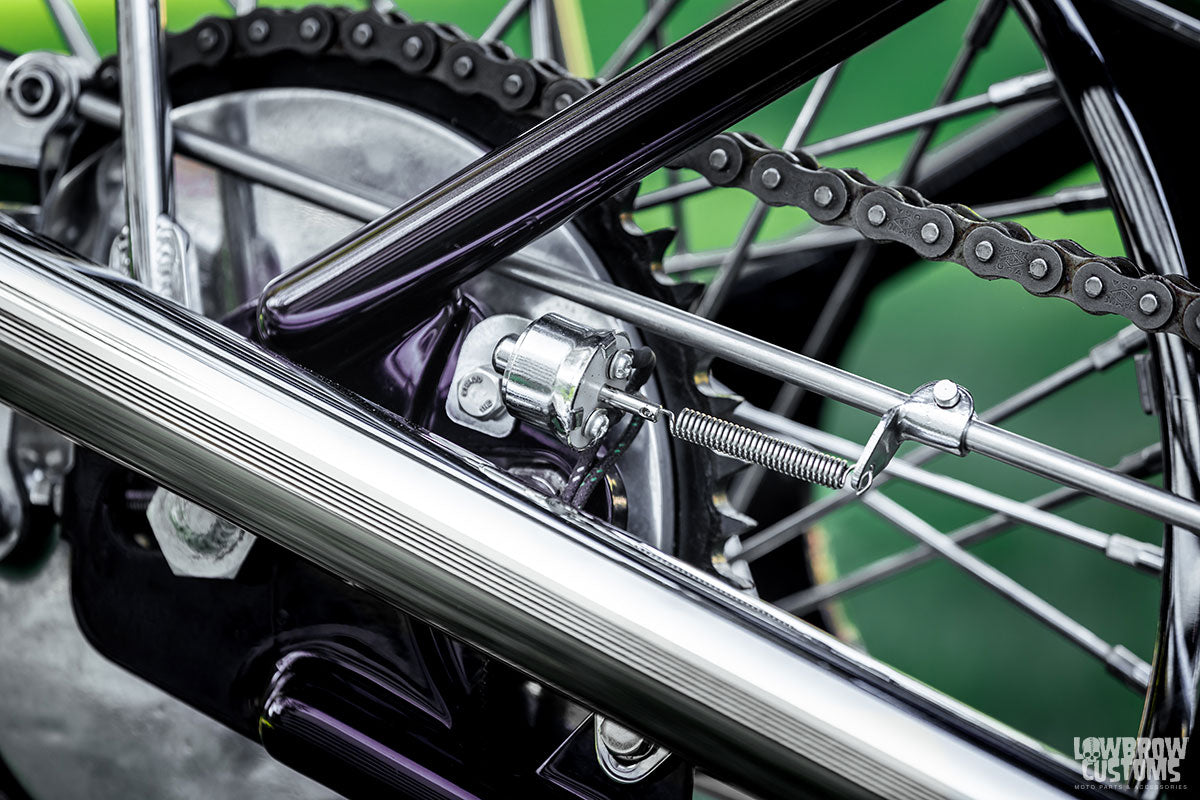 Brake light switch mounted to a custom made brake rod.
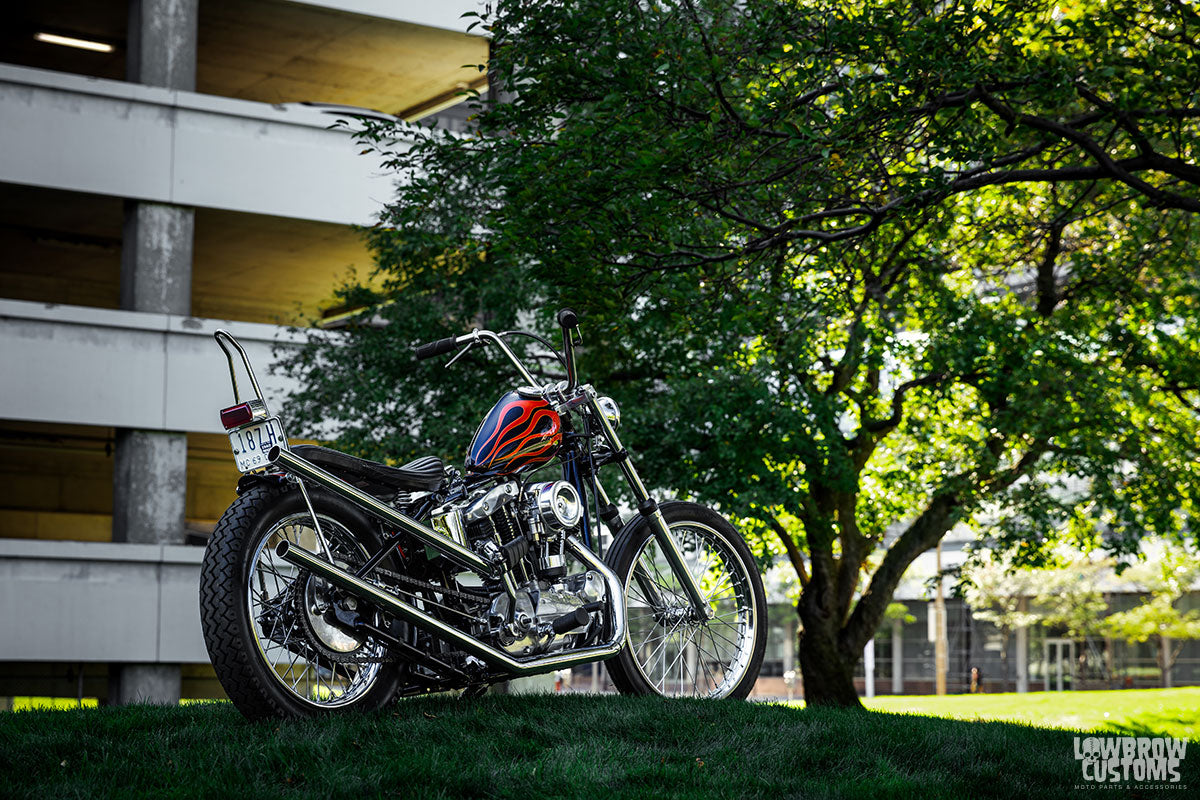 The Saturday Sportster 2 by Tim Fiorucci.
 Most newer Sportsters have these little clip dodads holding the clutc cable to the frame, remove those to get the clutch cable free.
 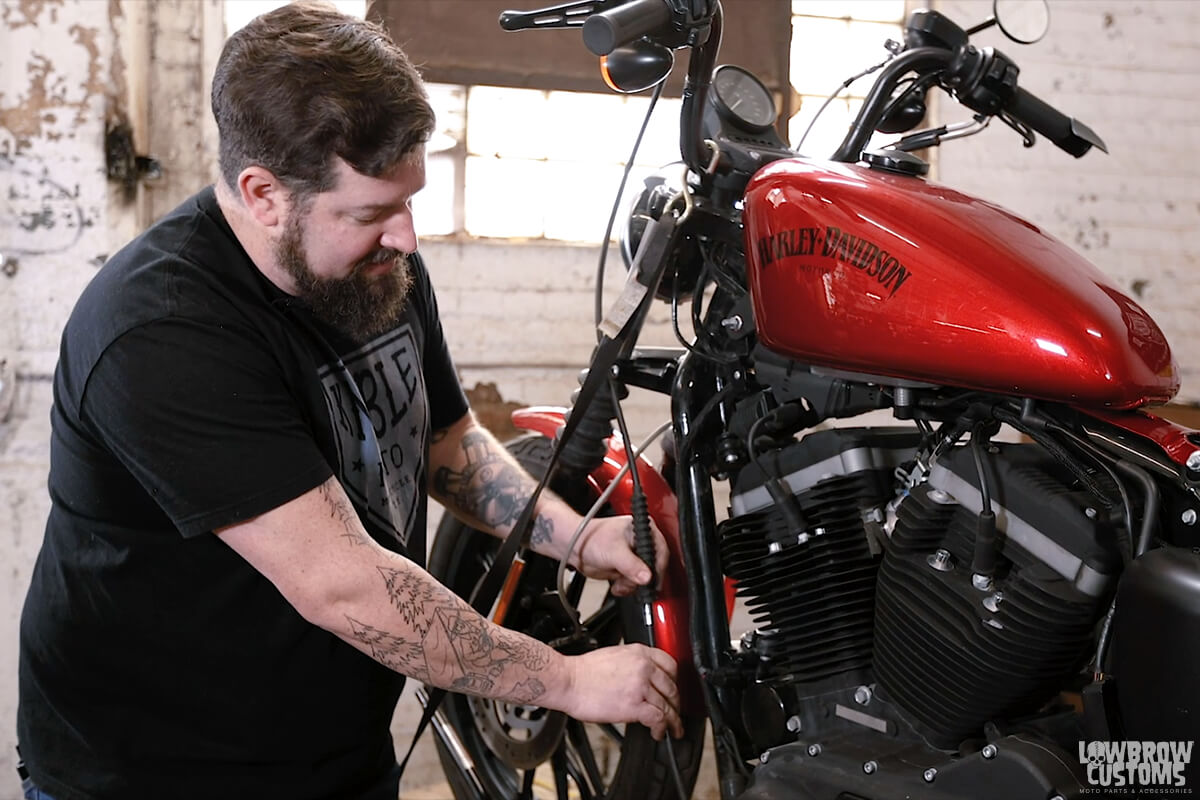 Pull up on the rubber "slinky" boot and expose your adjuster.
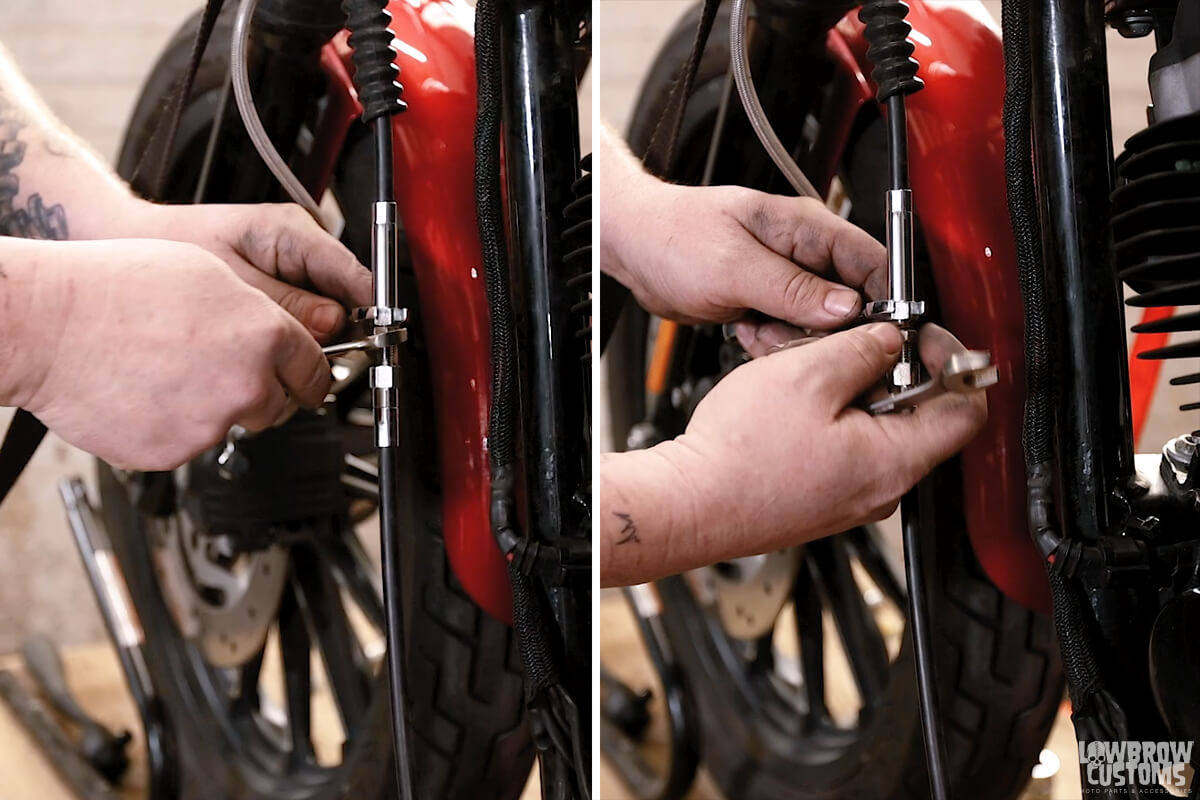 With two wrenches break free the locking nut and move it down to give your self room to adjust the cable.
 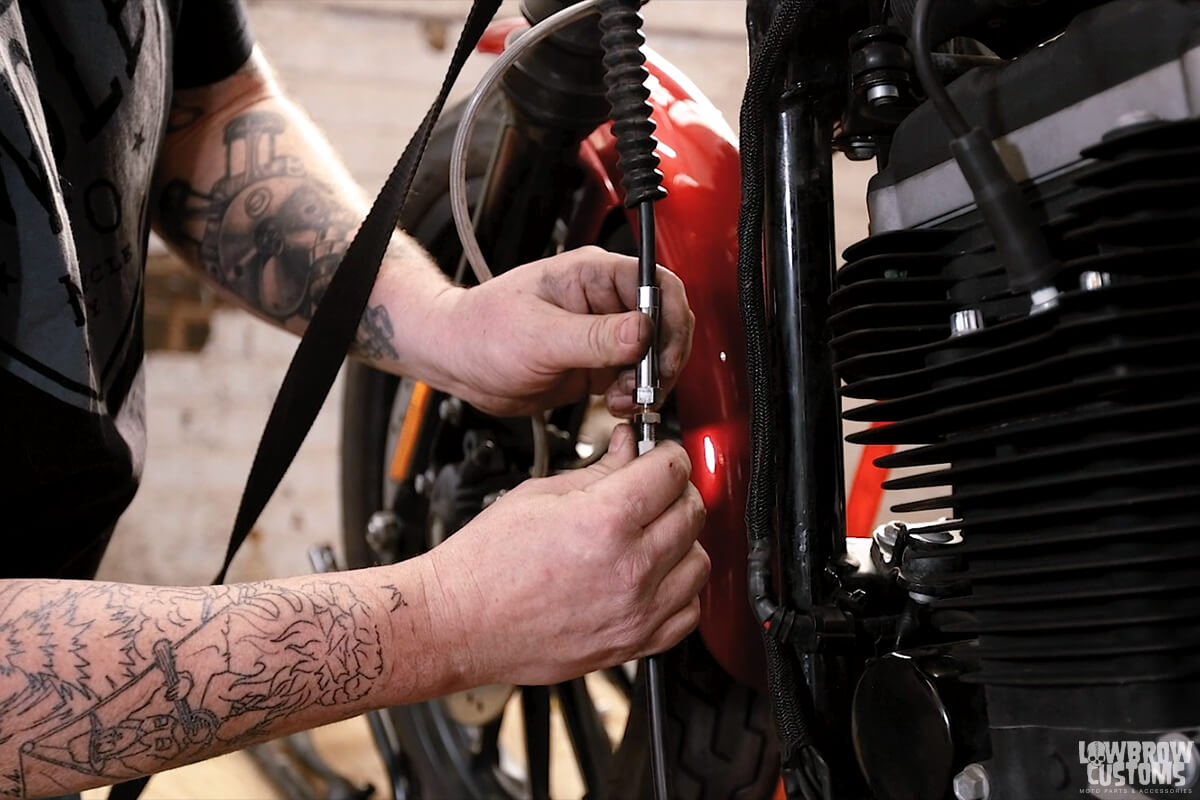 Turning the adjuster clockwise tightens the cable, turning it counterclockwise loosens the cable.
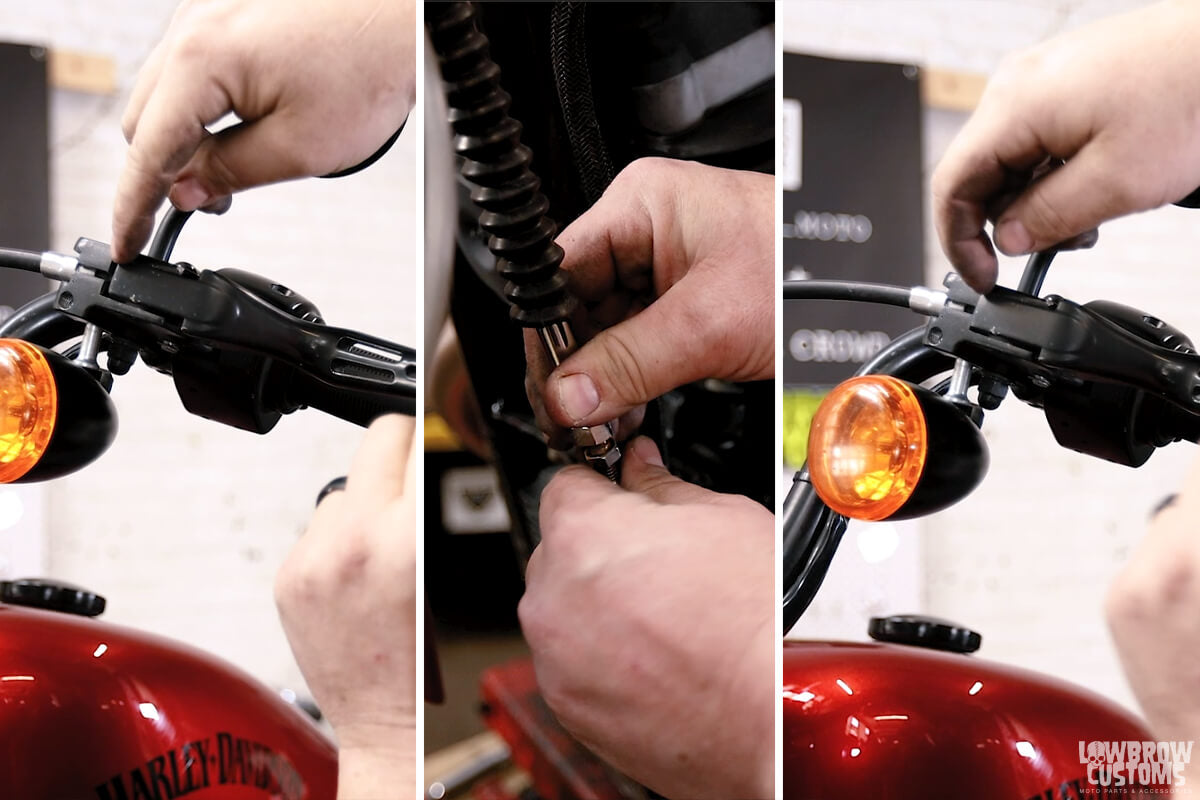 Watch the gap in your clutch lever as you turn the adjuster clockwise. Stop tightening the clutch cable once the clutch lever gap is gone.
 Tighten the lock nut and lock the adjuster without changing your adjustment.
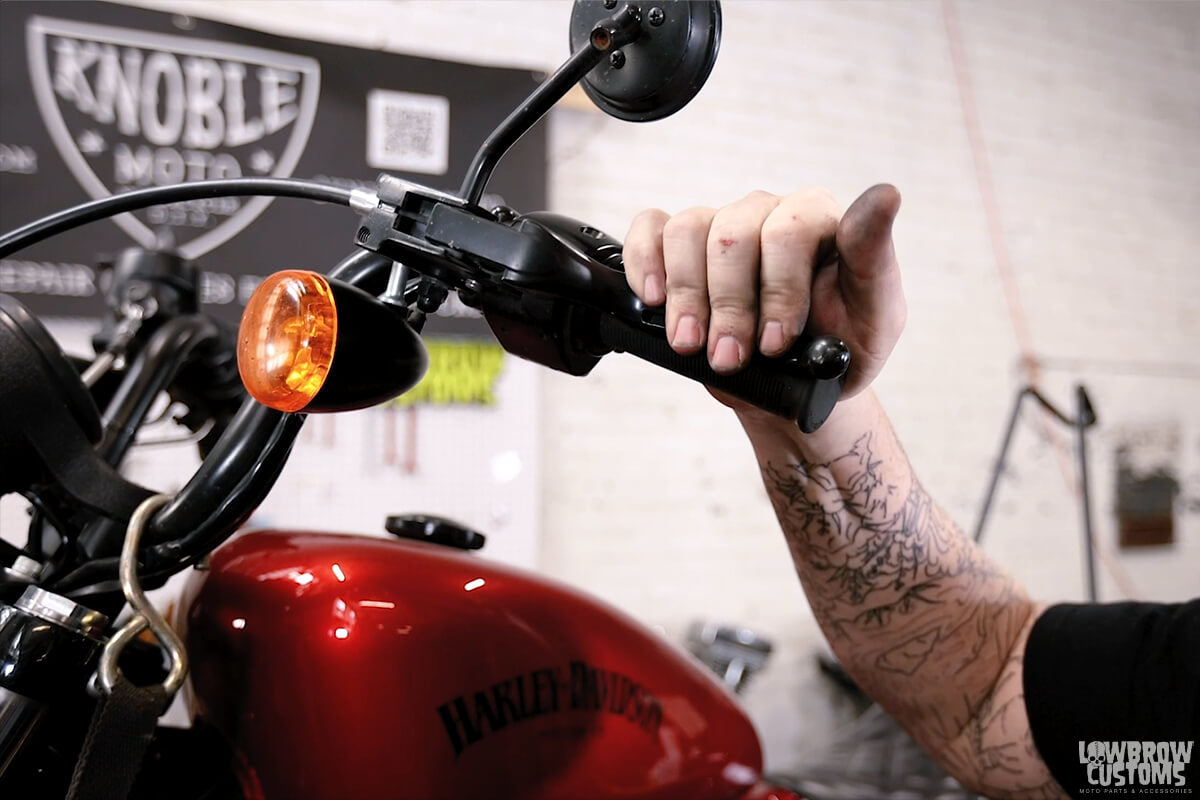 Test your clutch lever and make sure it still has the same play as when you adjusted it. Make sure you didn't mess up your adjustment when you tightened the locknut. If you did, loosen the locknut and readjust, repeating step 2, 3, and 4.
 Slide your "Slinky" boot back over your adjuster and clip your cable back onto the frame and or use zip-ties. That's it you're ready to go for a ride!
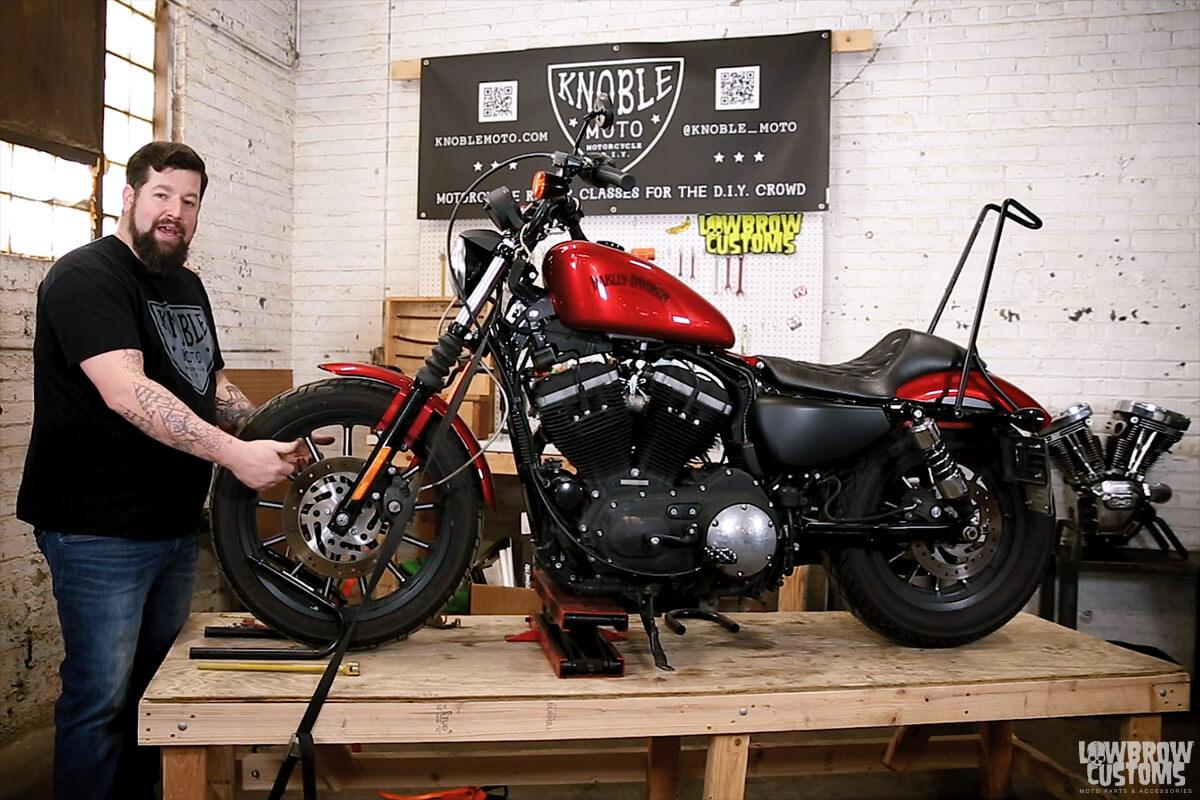 Free wheelie! Make sure it can rotate freely up in the air.
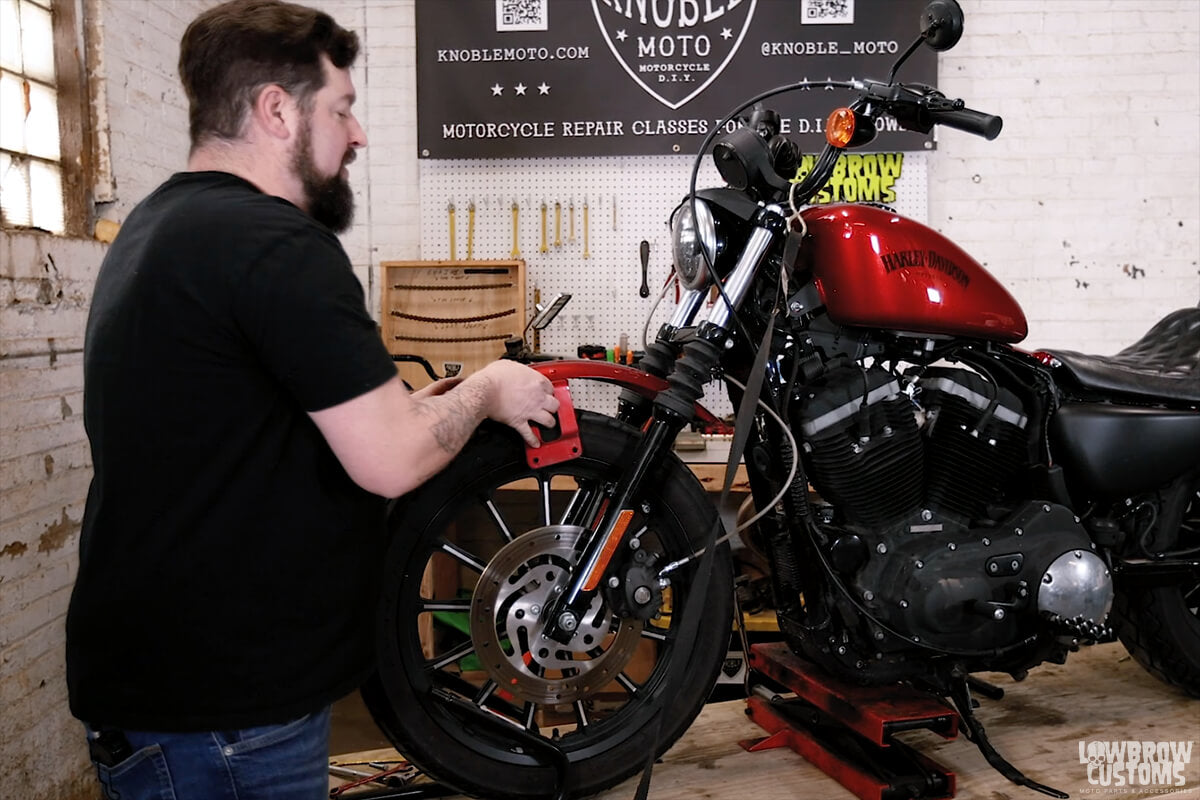 Goodbye old front fender friend, see you when we are done with this tech tip.
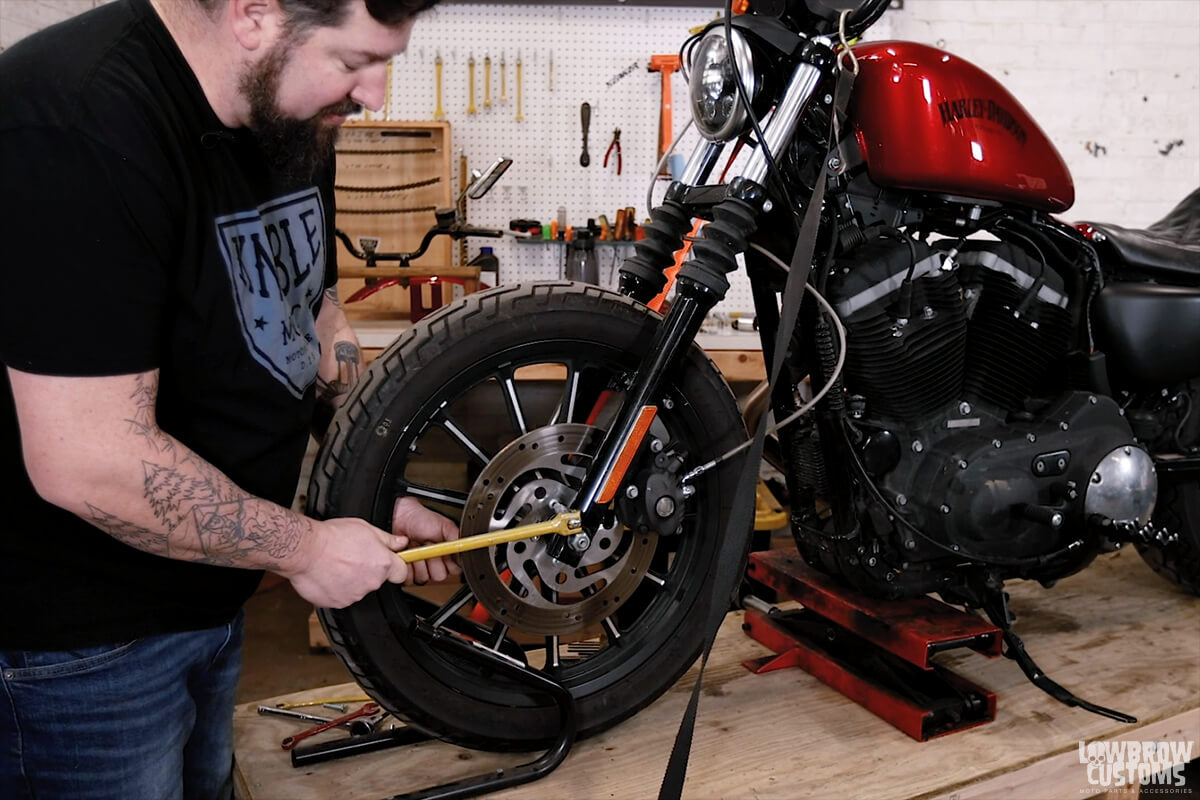 Grip it and rip it. Make sure to loosen all five bolts.
 These are the two bolts that hold on your brake caliper.
 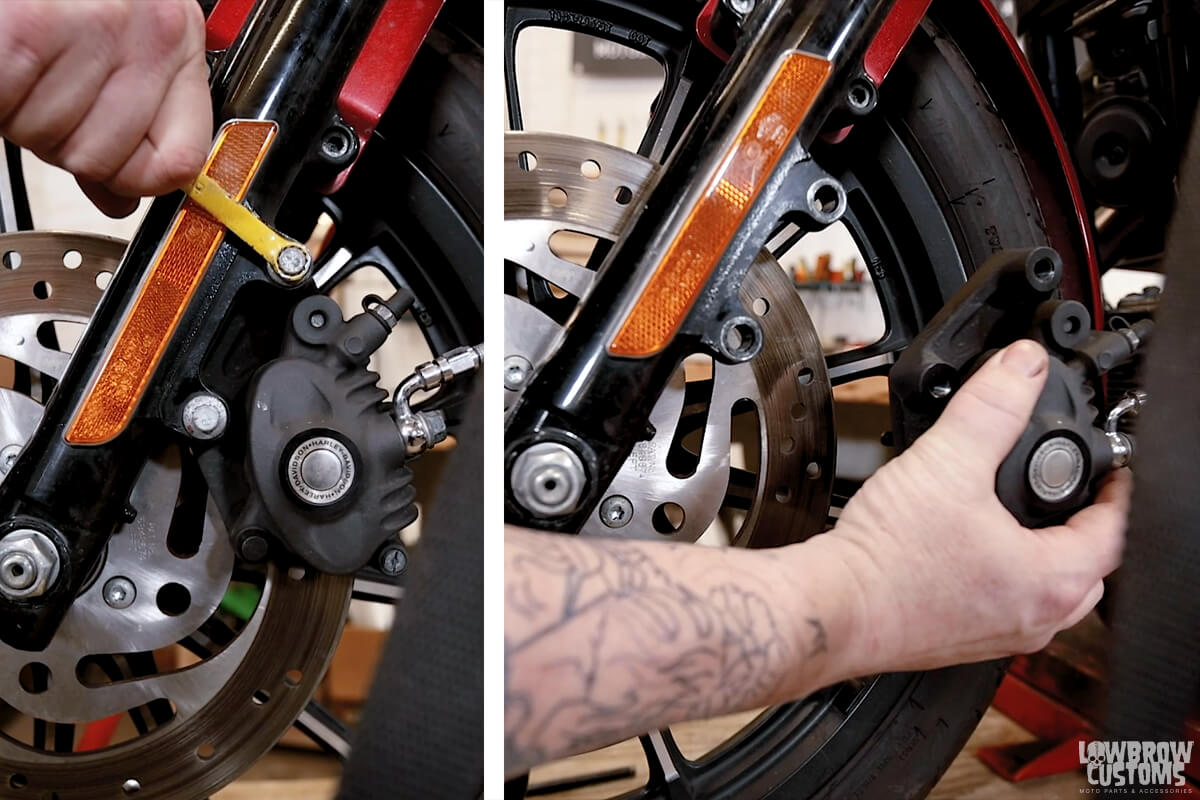 Remove the two bolts and slide the caliper off of the rotor. Place the caliper carefully out of the way.
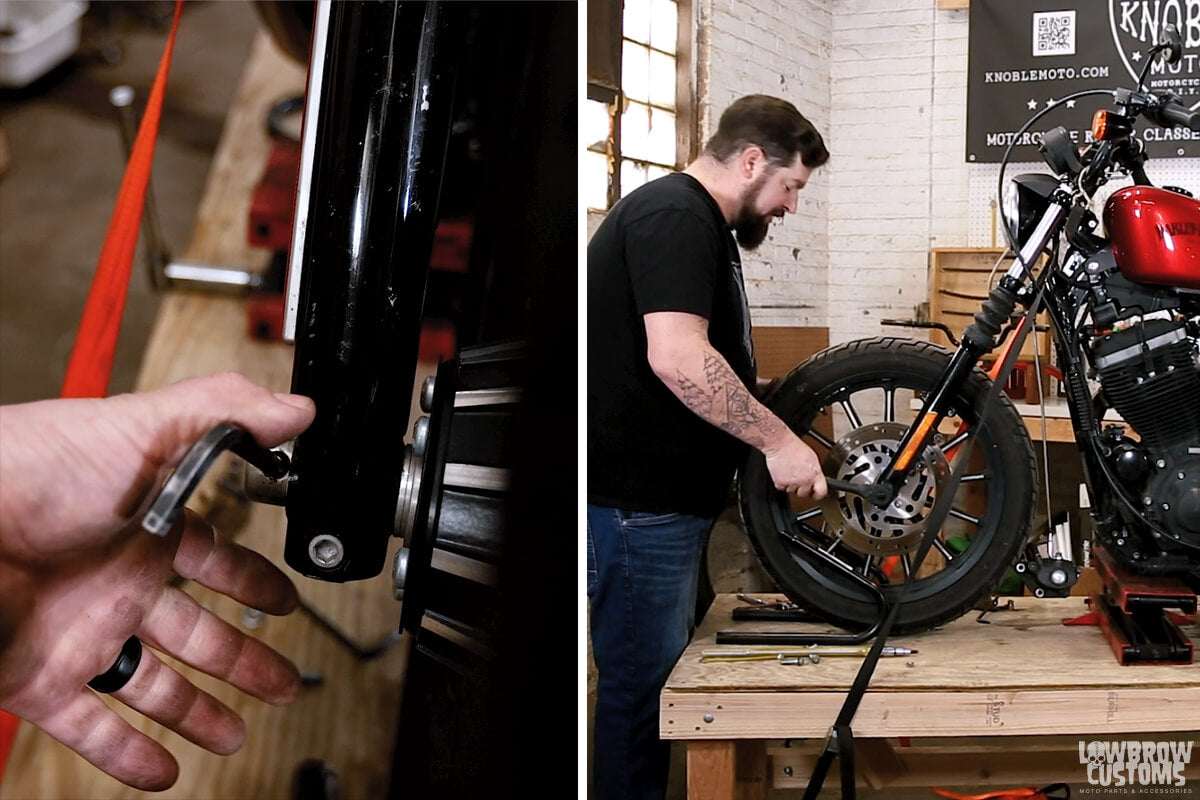 See the hole in the axle, this will help you keep it steady as you break loose the axle nut.
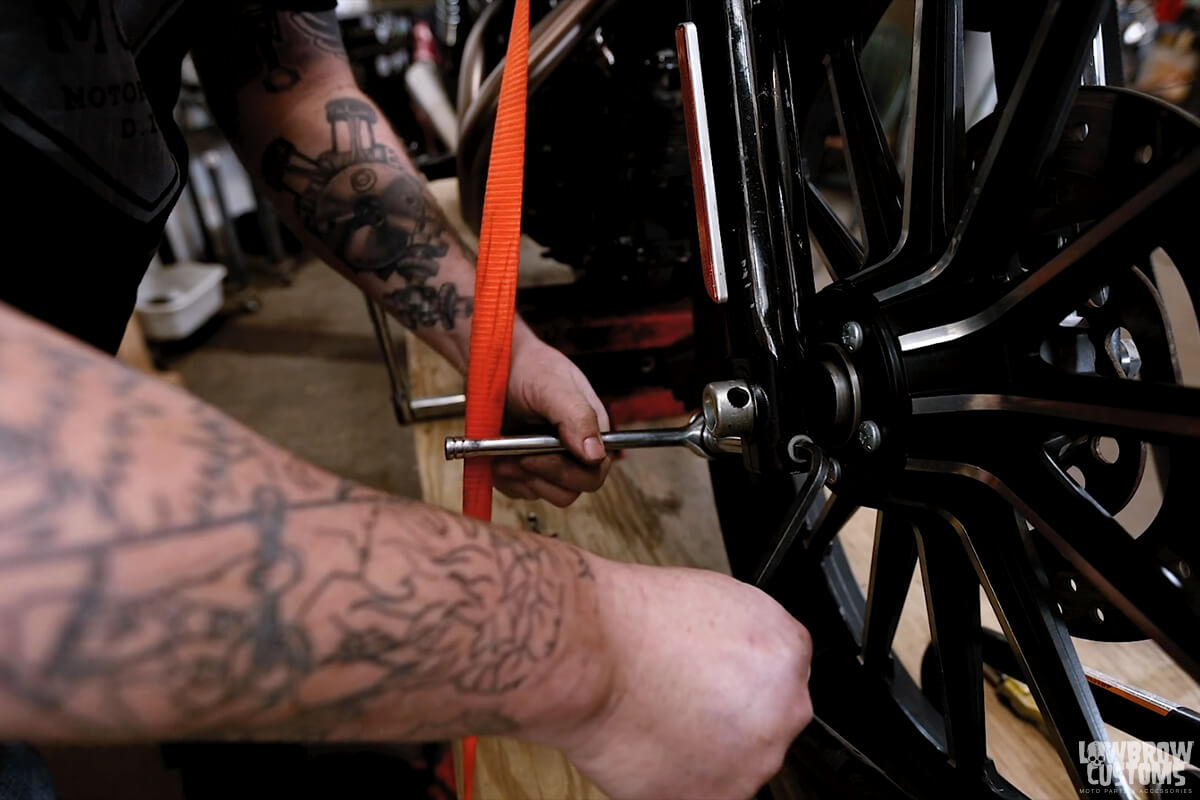 Using a 5/16" allen and a 9/16" socket loosen the pinch bolt.
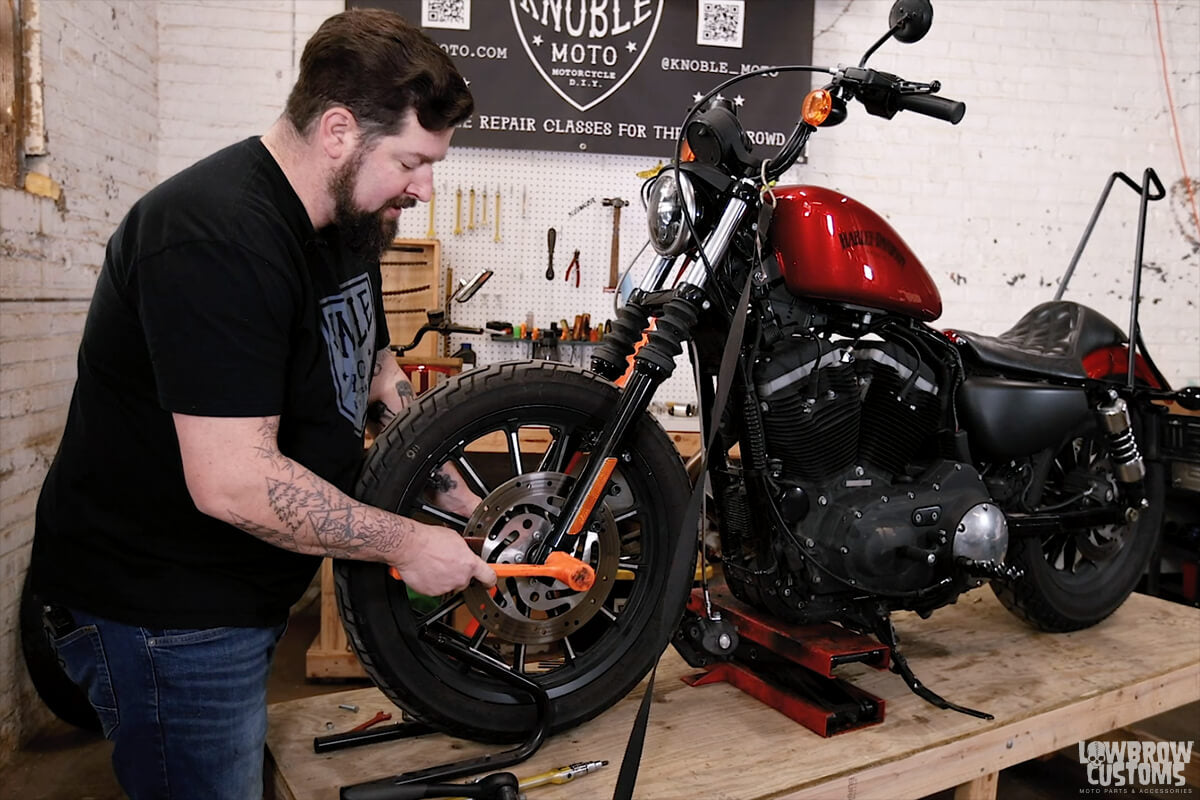 Hitting the axle nut with a dead blow will get the axle moving and not risk damaging the threads.
 Remove the axle nut and spacer and set off to the side.
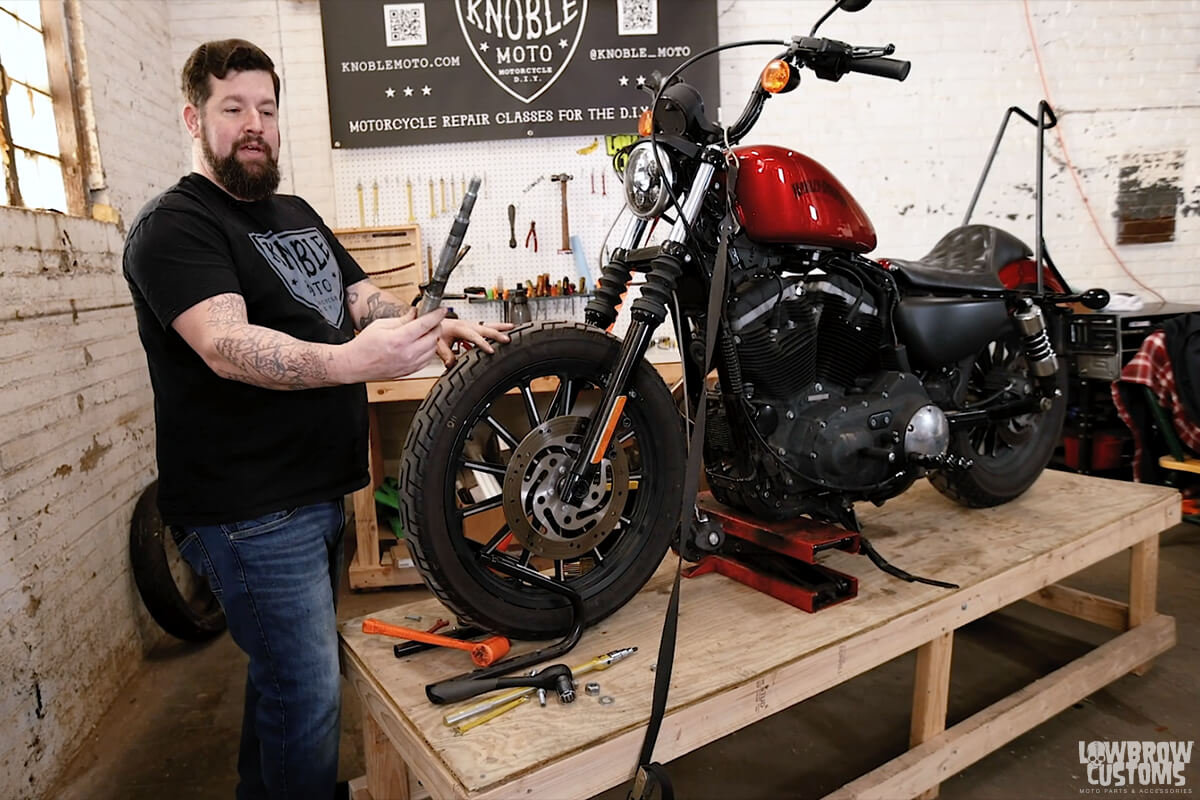 You can tell its an axle cause of the way it is.
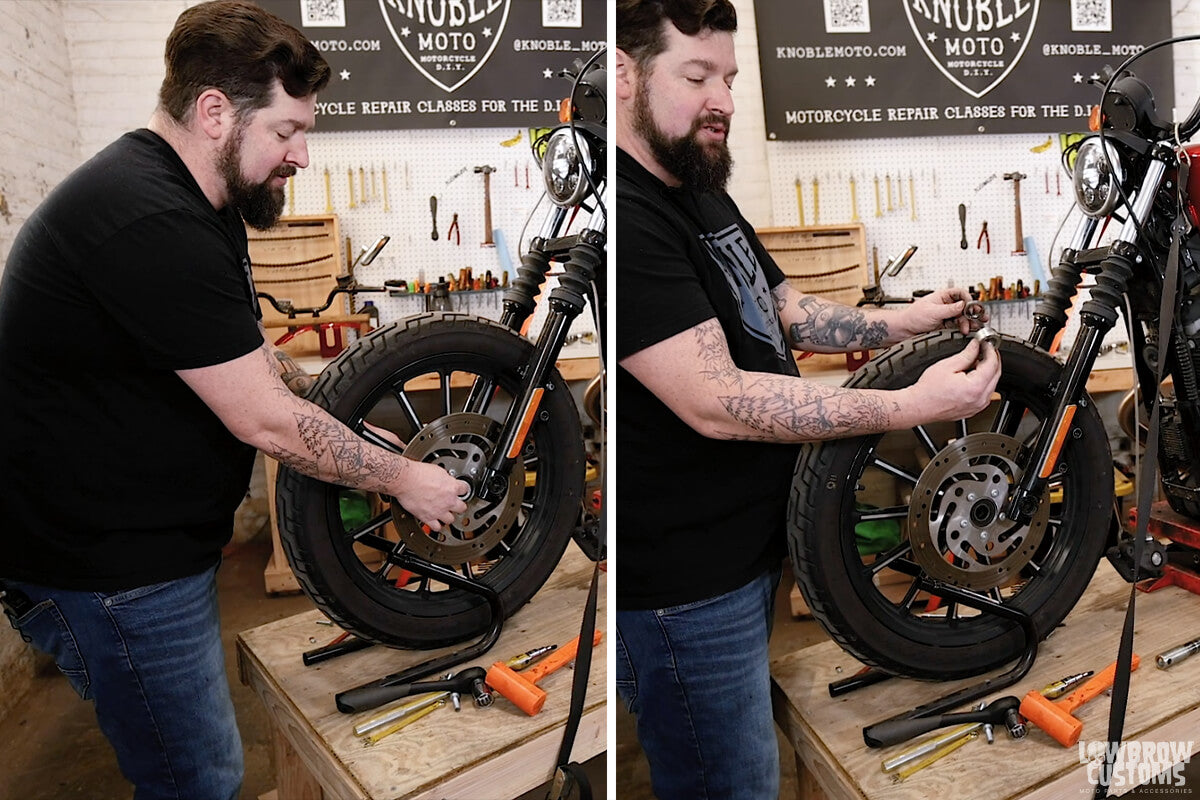 When you pull the wheel hold onto the spacers and note the larger is on the left of the motorcycle the smaller one is on the right of the motorcycle.
  Remove all 5 bolts from the rotor.
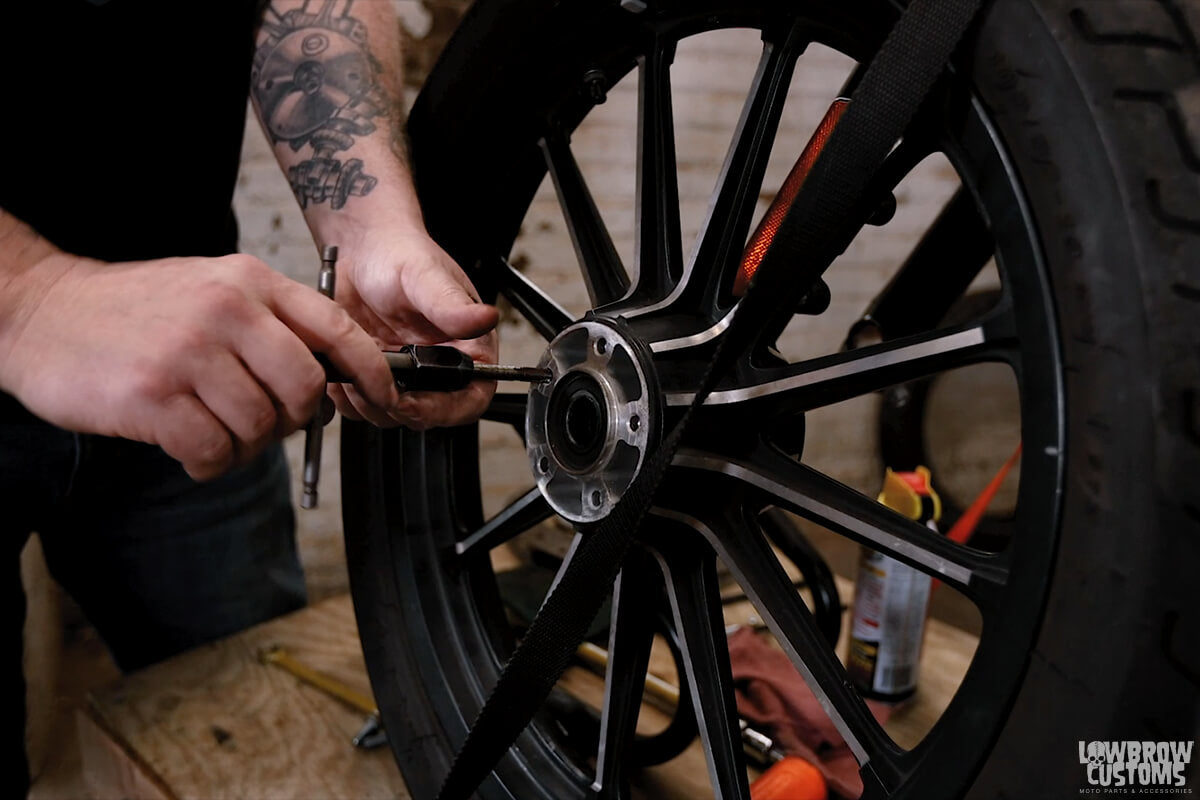 Running in a 5/16 - 18 tap. to clean out any thread locker, rust, corrosion, or residue that could be in the holes.
 Clean off the face of the wheel and the back of the rotor before installing it.
 See the counterbore? That faces out on the wheel.
 Use a blue loctite on your bolts and install them till they are snug. You will torque them when on the motorcycle.
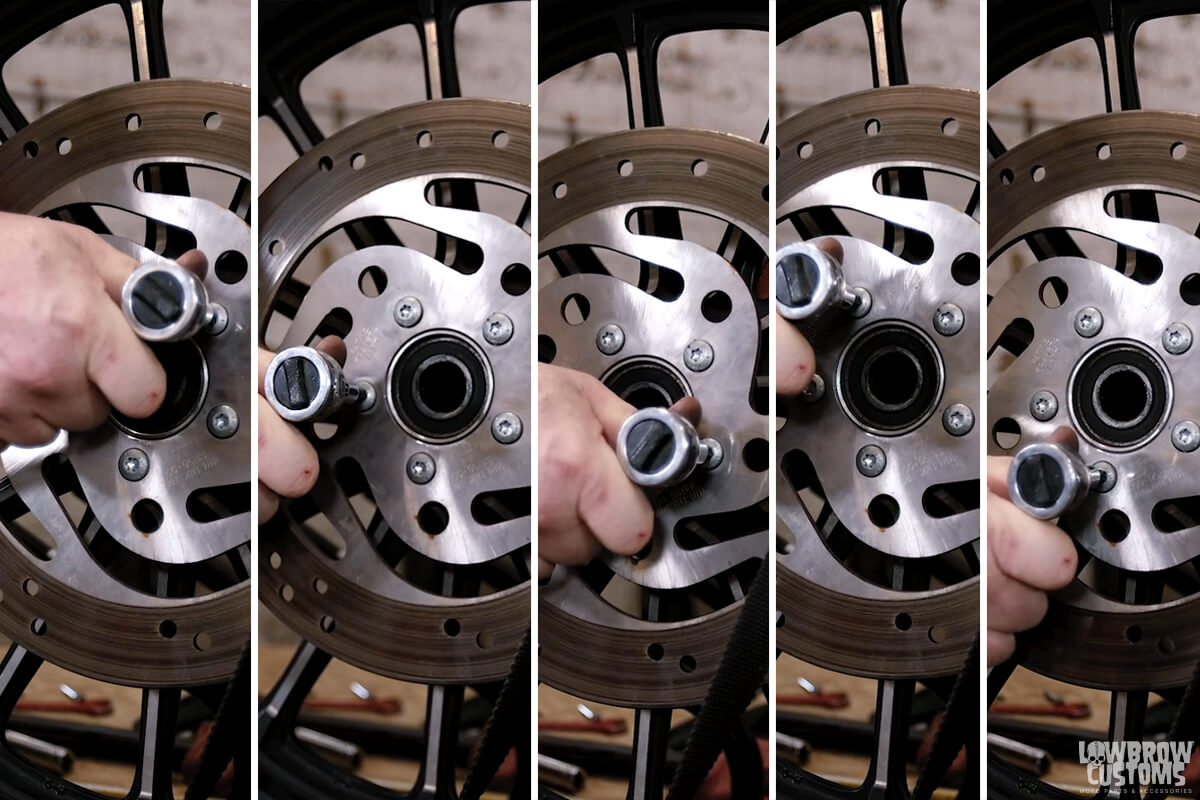 Note the wheel never moves and you can see how to tighten in a cross or star pattern.
 It helps to put the spacers in when moving the wheel into position. Putting a small dab of grease on the spacers and sticking it to the race can help keep them in position.
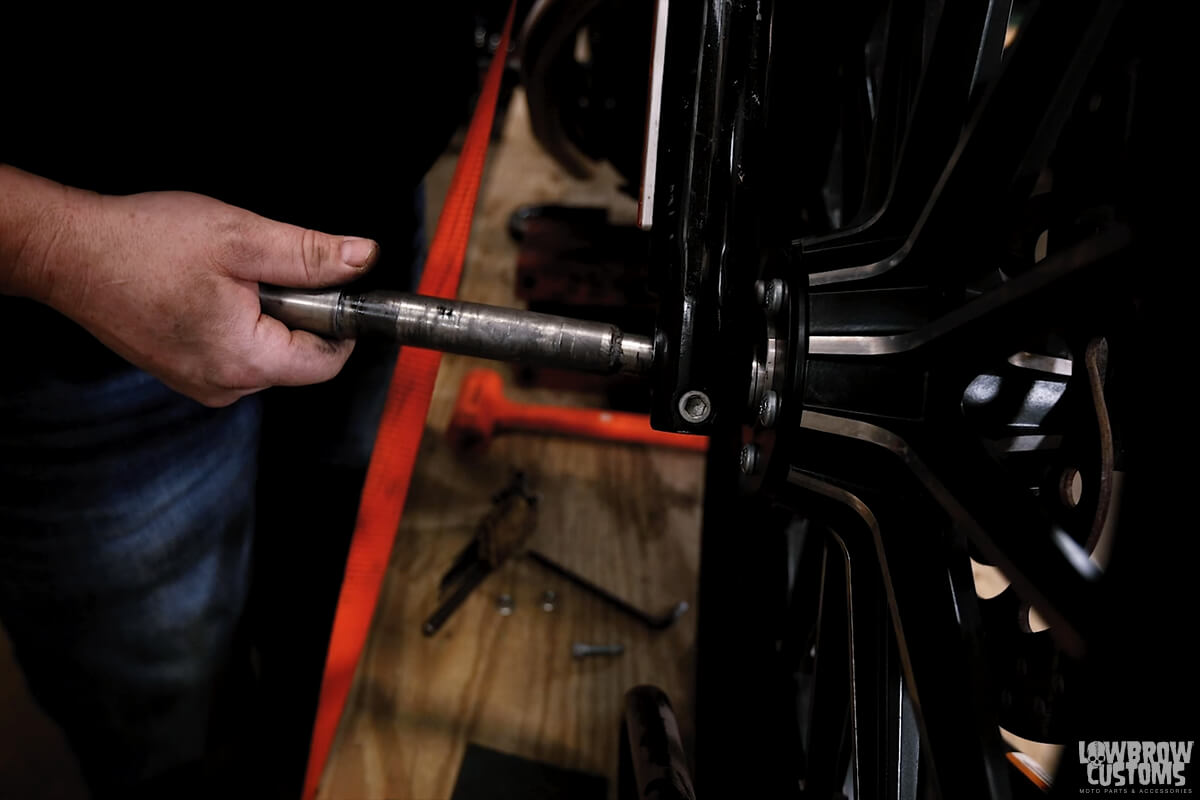 Install the axle from the right side of the motorcycle.
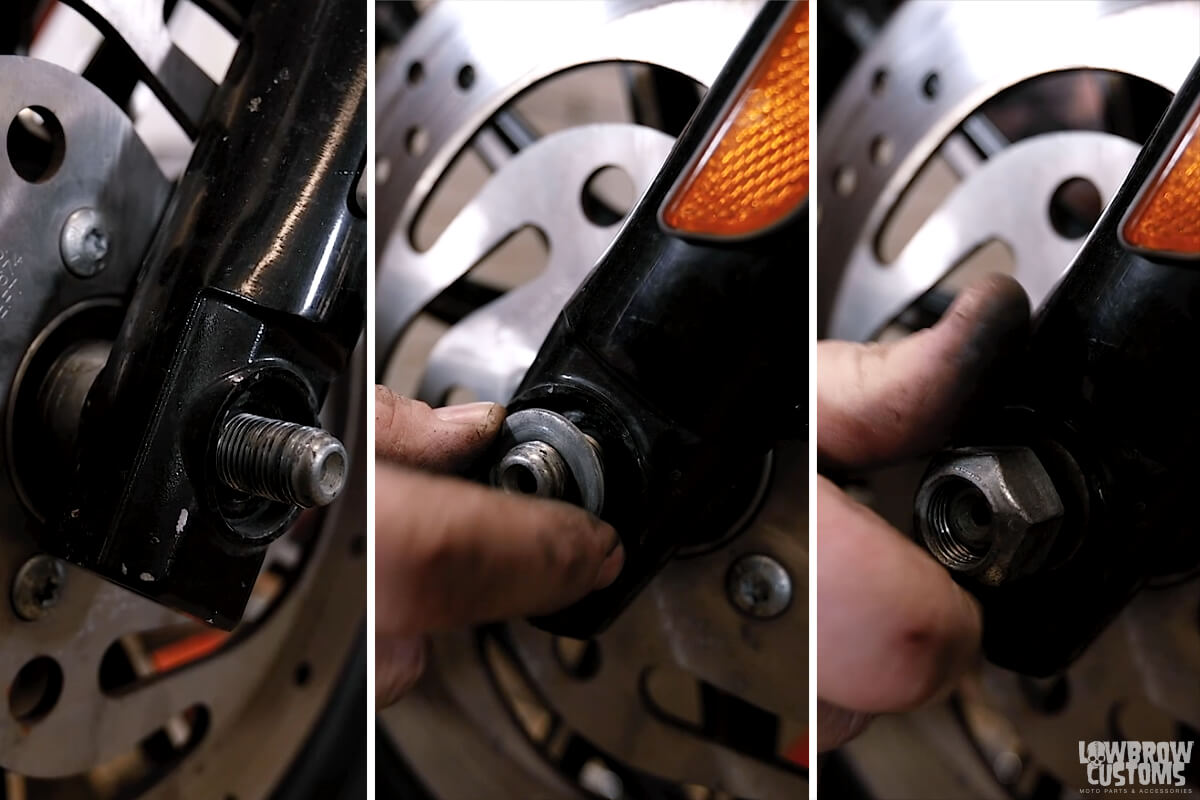 Putting the washer and axle nut on.
 Use an allen wrench or screwdriver in the hole of the axle to hold tight while you torque your axle nut to spec.
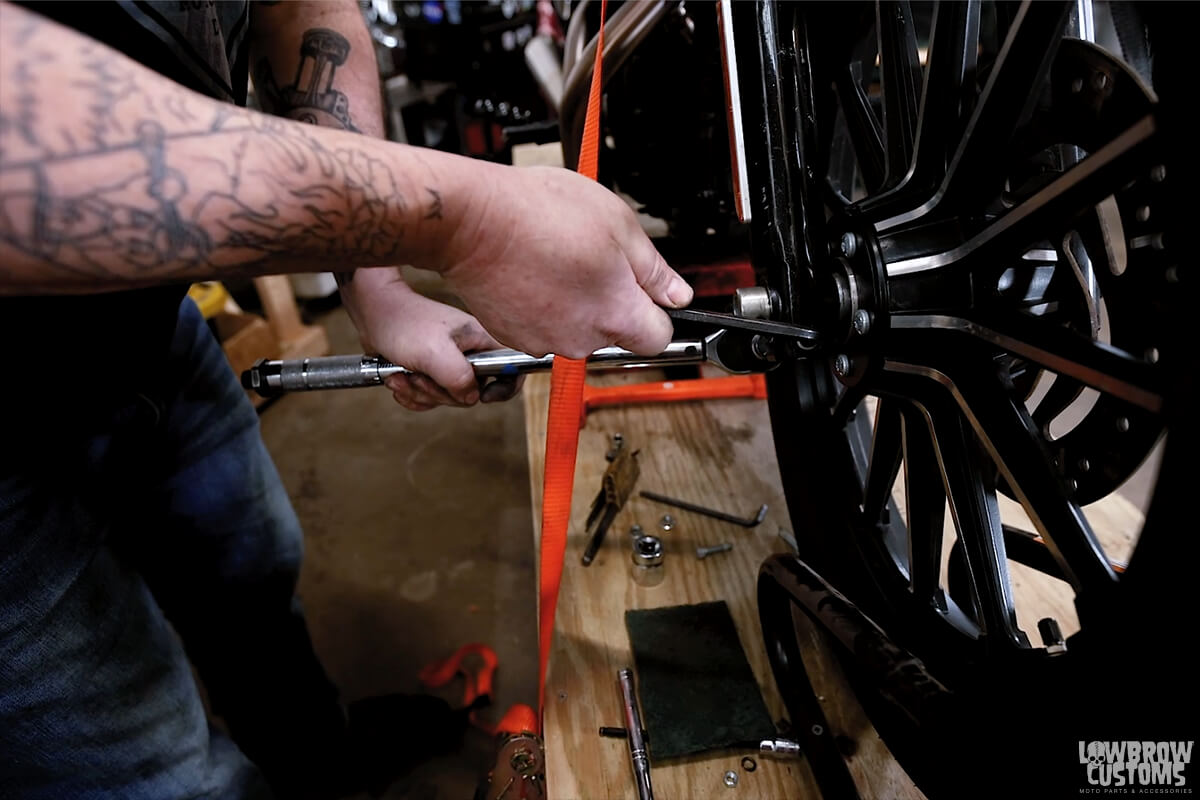 Torquing down the pinch bolt on the right leg that holds the axle in place.
 Remember torque each bolt in a cross or star pattern.
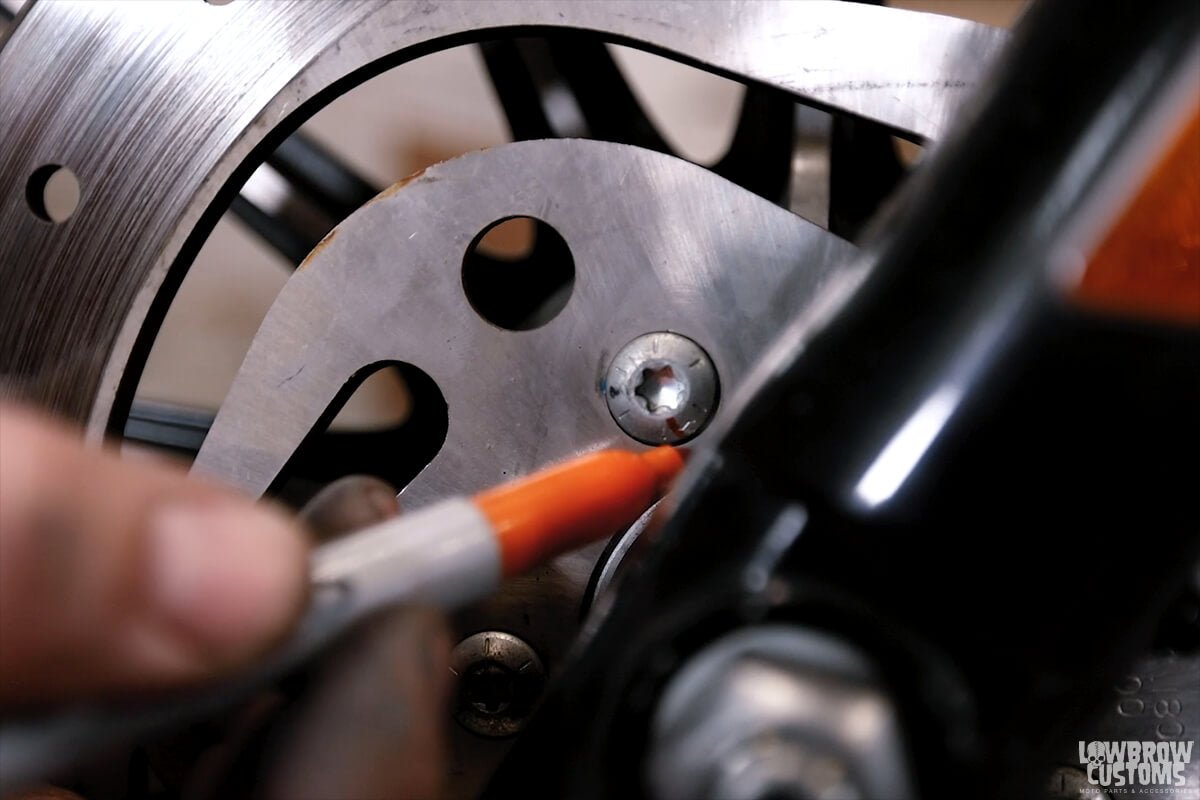 A paint marker or sharpie is good insurance to keep an eye on your torqued bolts.
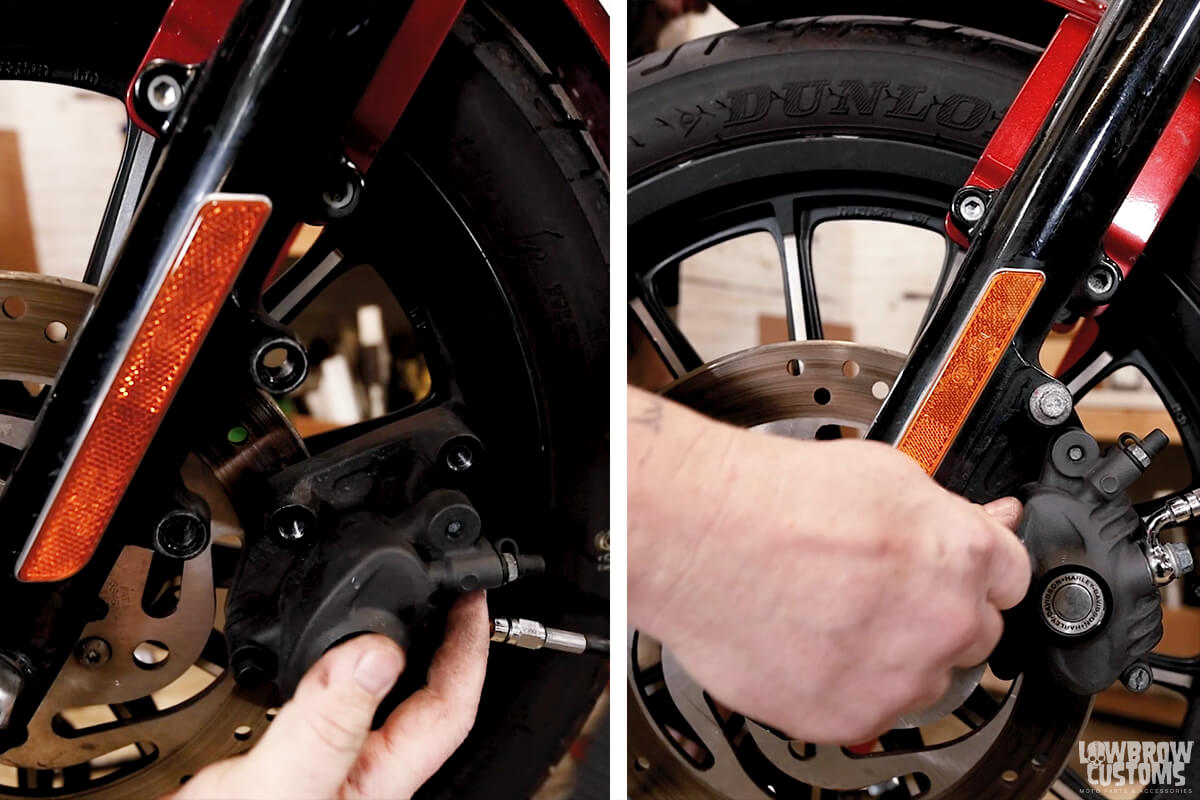 Sliding the caliper over the rotor and installing the bolts.
 Torque the caliper bolts according to your workshop manual specs.
 For nuts and bolts hold on your fender, get that sucker on there.
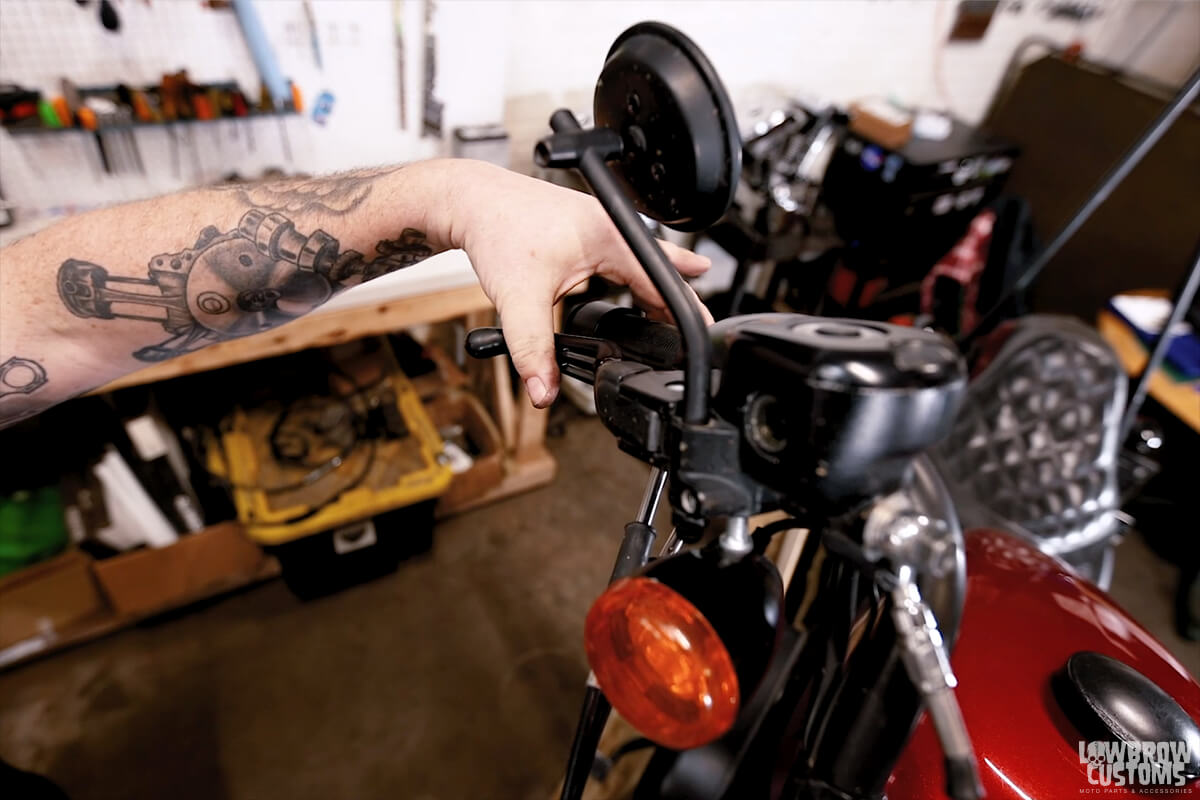 Pump those brakes up!
 Thats all folks! You did it!
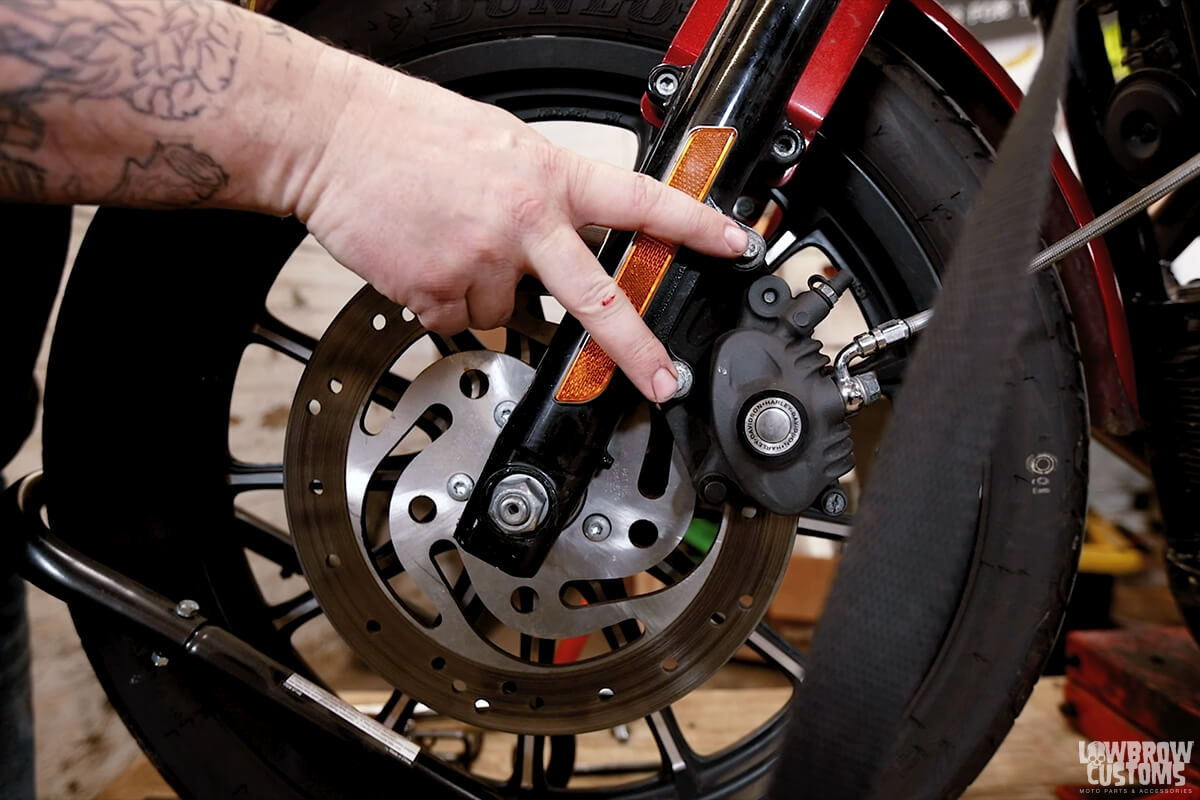 These two bolts hold on your caliper.
 Remove the two bolts holding the caliper and slide it off of the rotor, be careful and don't allow the caliper to fall down and pull on your brake line.
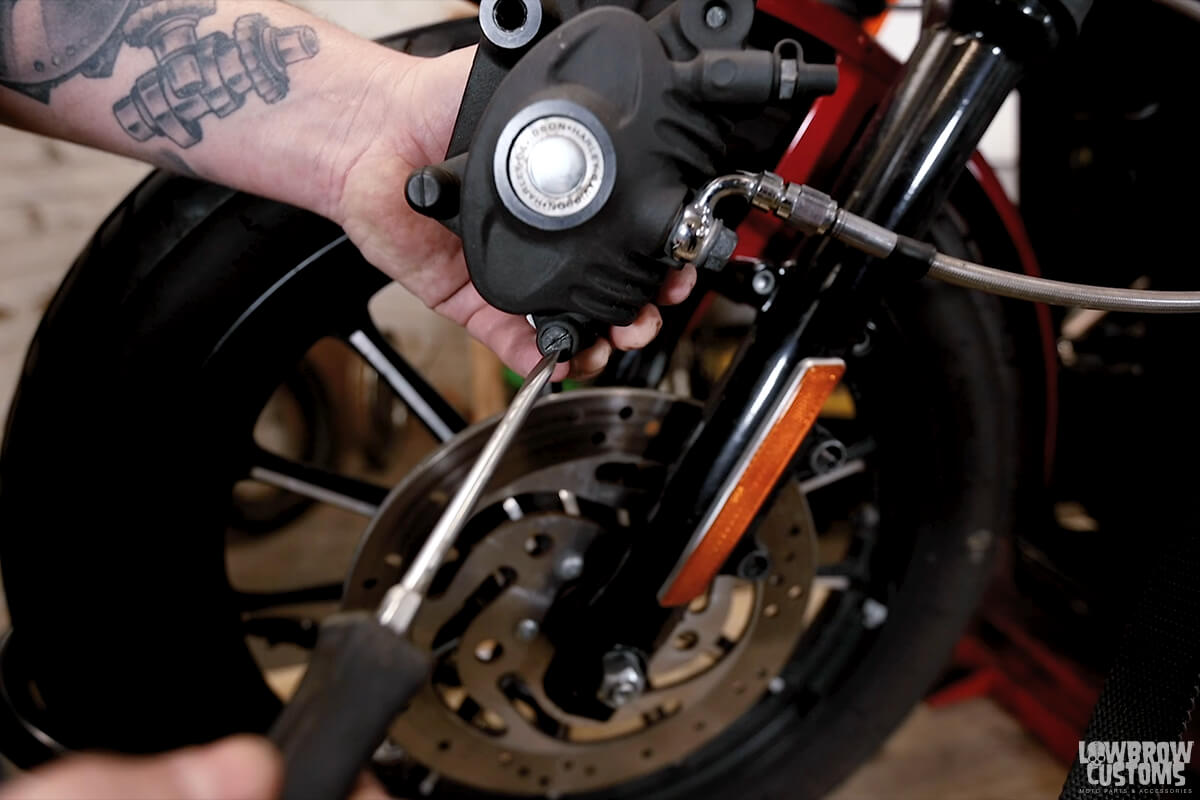

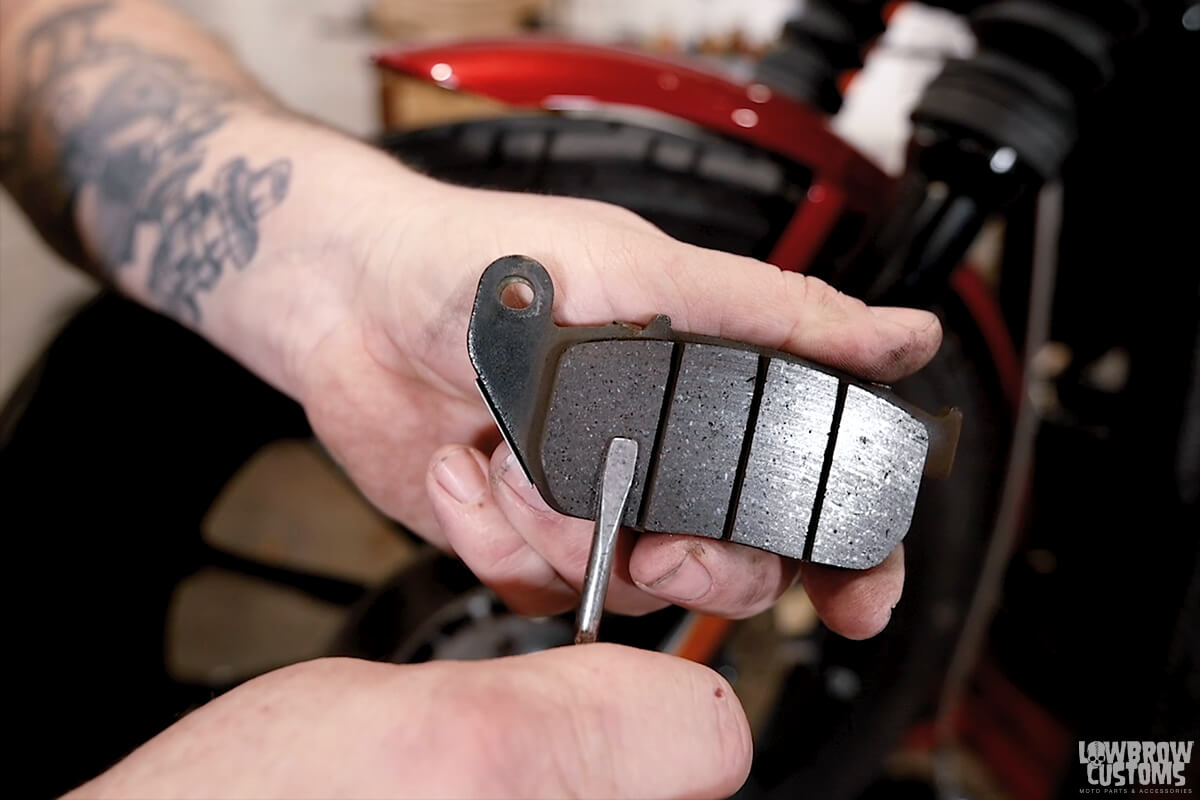 This is what the friction material looks like that you will be inspecting on the brake pads.
 Holding a dime up to the backing plate can help you measure the friction material on your break pads and determine if it is time to change them or not. This one in the photo has lots of meat left and should be good to go for a while.
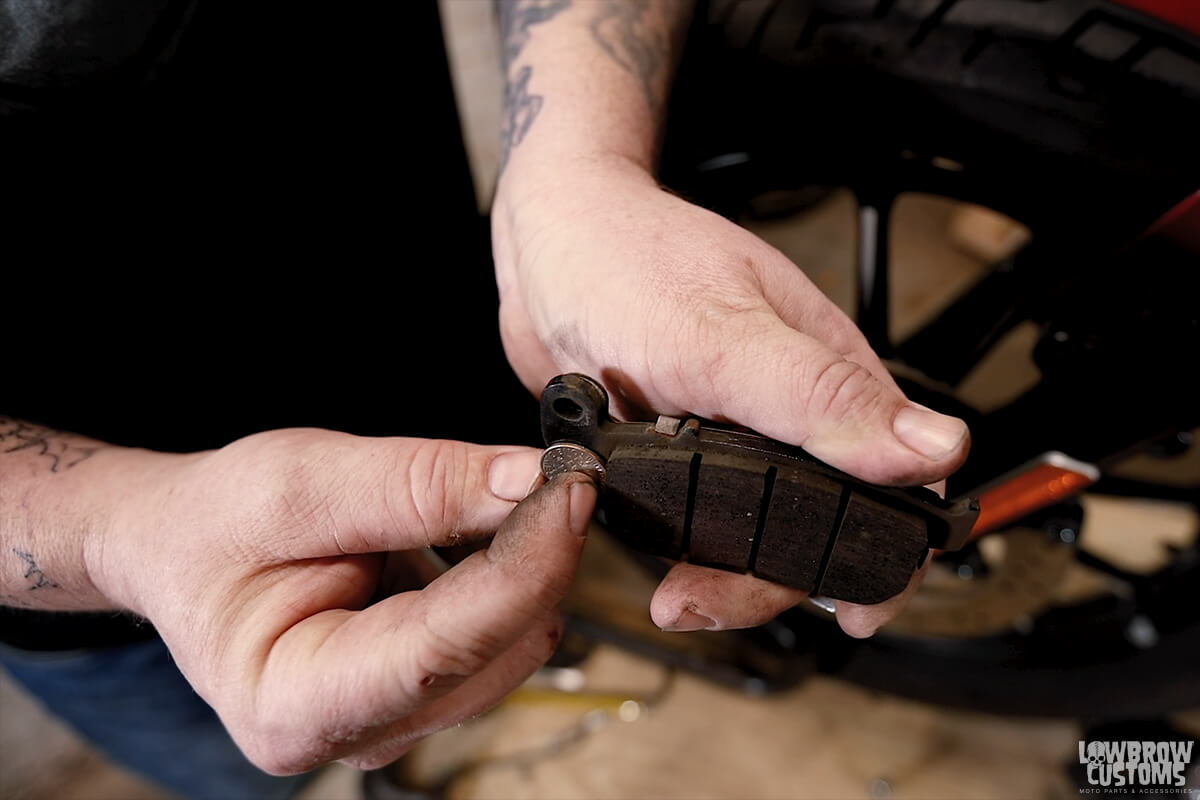 If your brake pad friction material is at or less then the thickness of a dime, its time to change those bad boys!
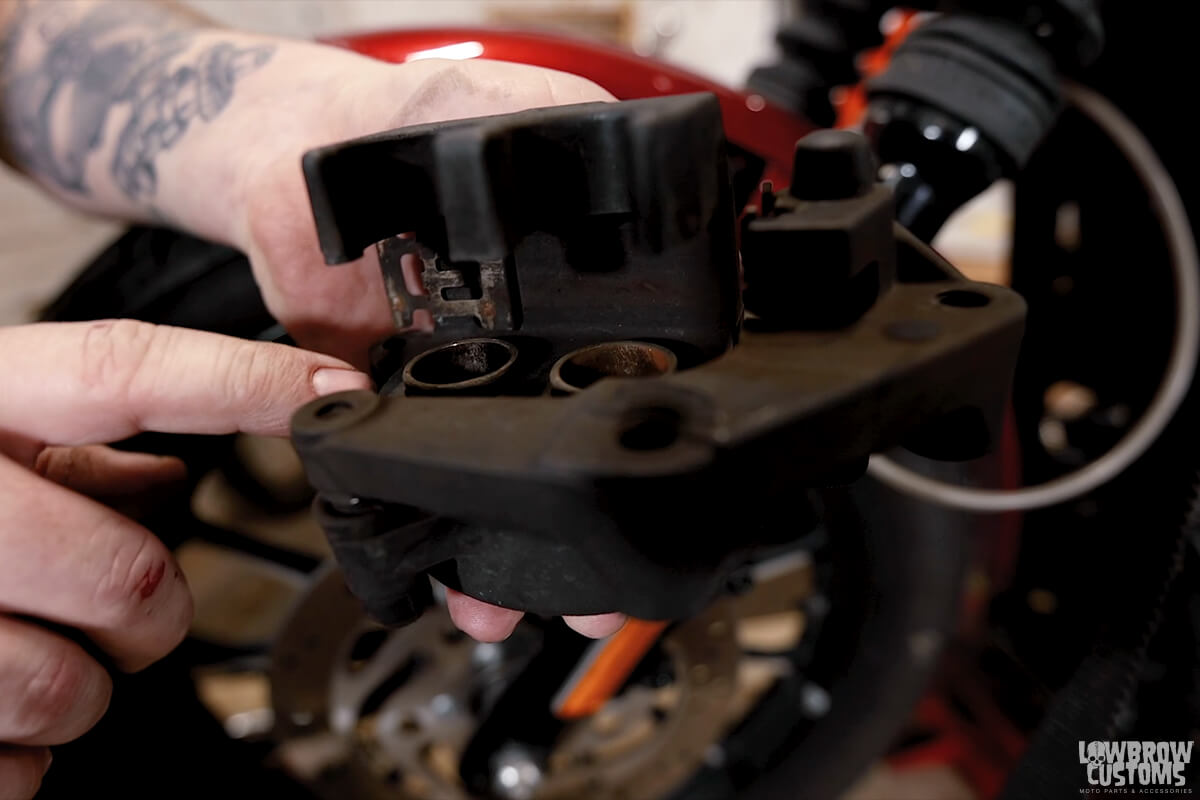 These pistons inside the caliper are what press your brake pads onto the rotor.
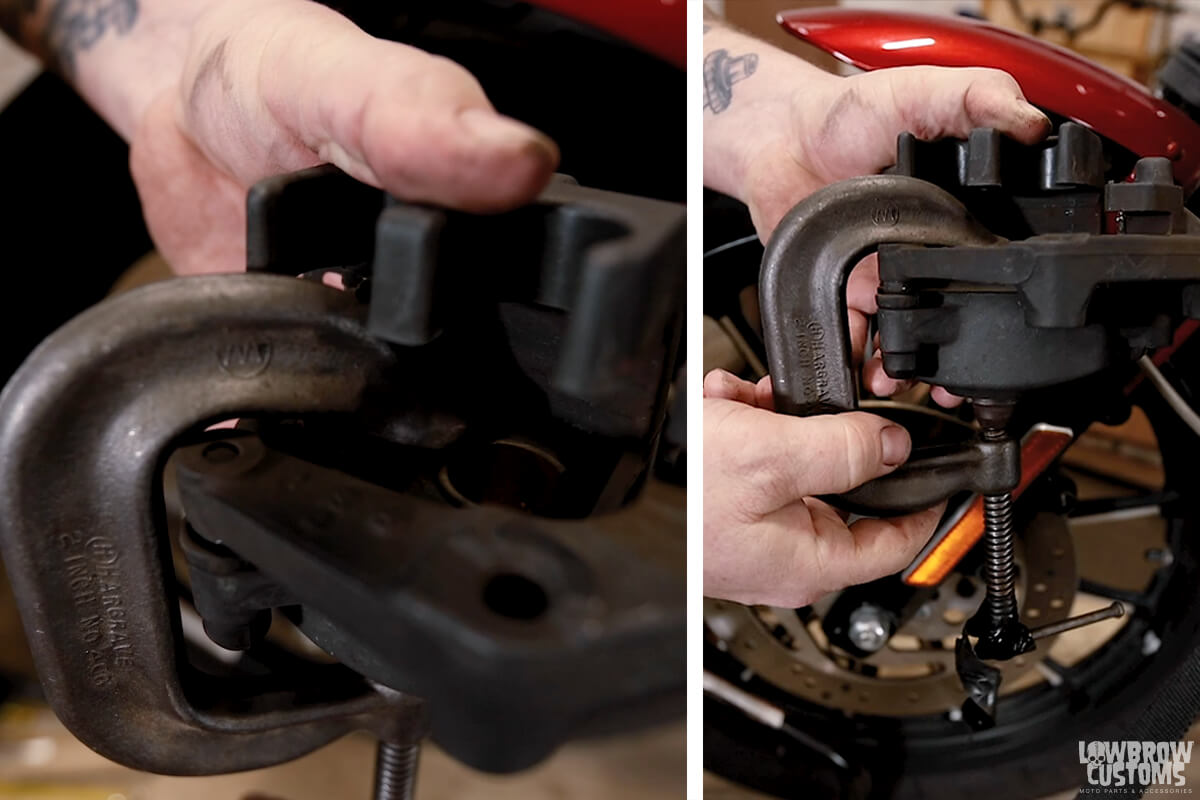 Using a c-clamp you can put the end on both pistons and compress slowly, it doesn't take a ton of force. Watch them compress down and become flush with the wall of the caliper, don't over do it.
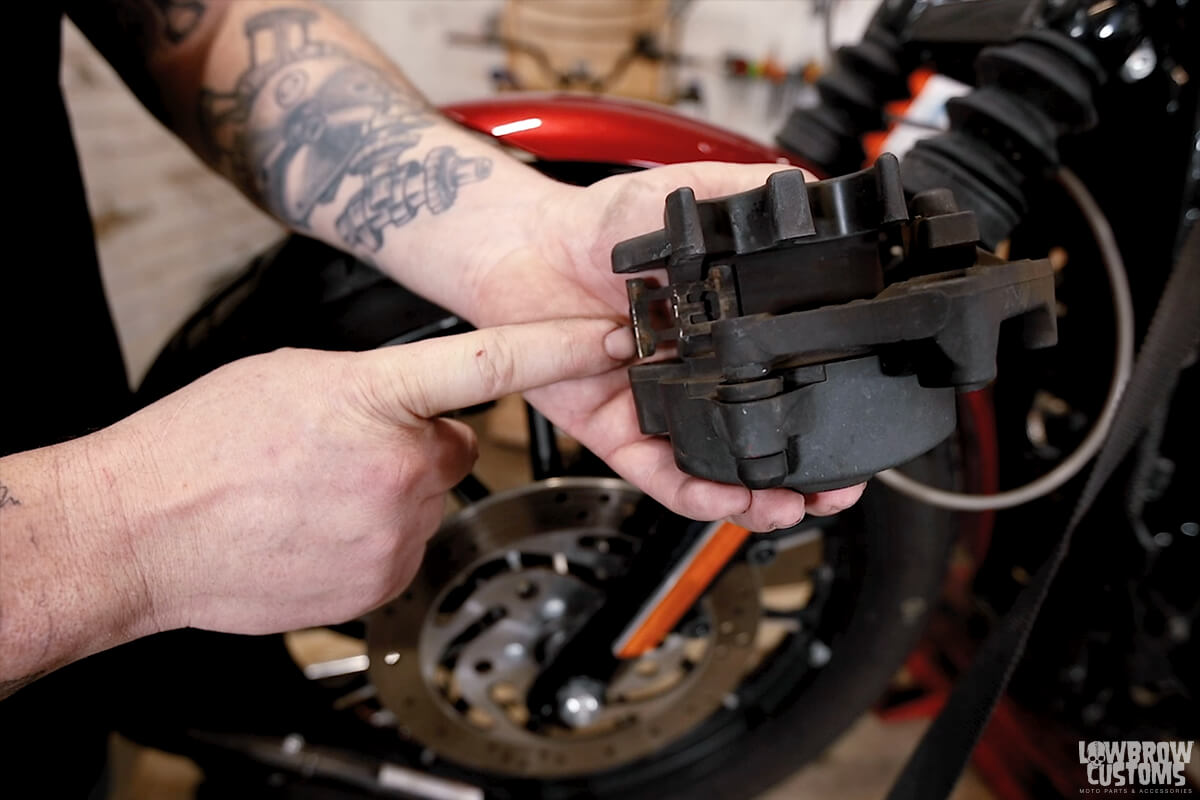 Here is the location of the spring that keeps tension on the brake pads.
 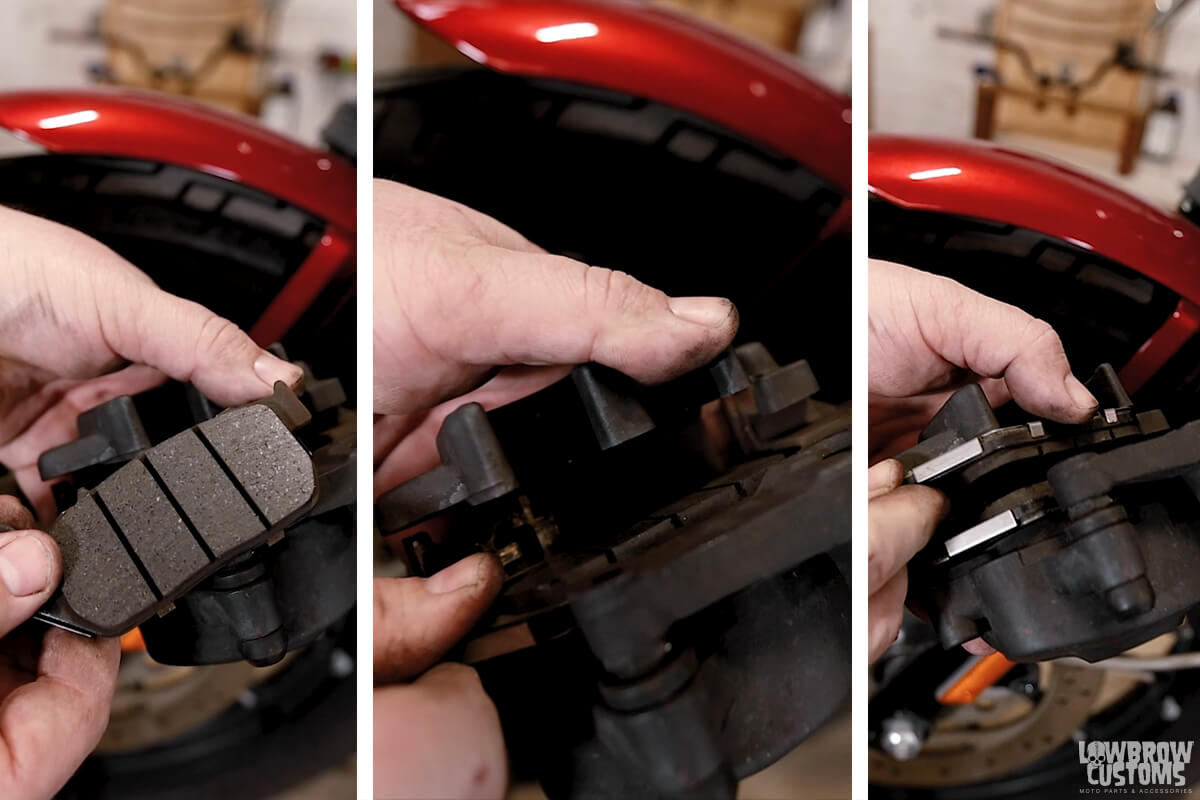 Again the friction material goes on the inside of the caliper. Notice the tang on the top of the pad, that goes on the right and the hole goes on the left of the caliper. Same with the second one. The friction material goes on the inside, the tang to the right and the hole to the left.
 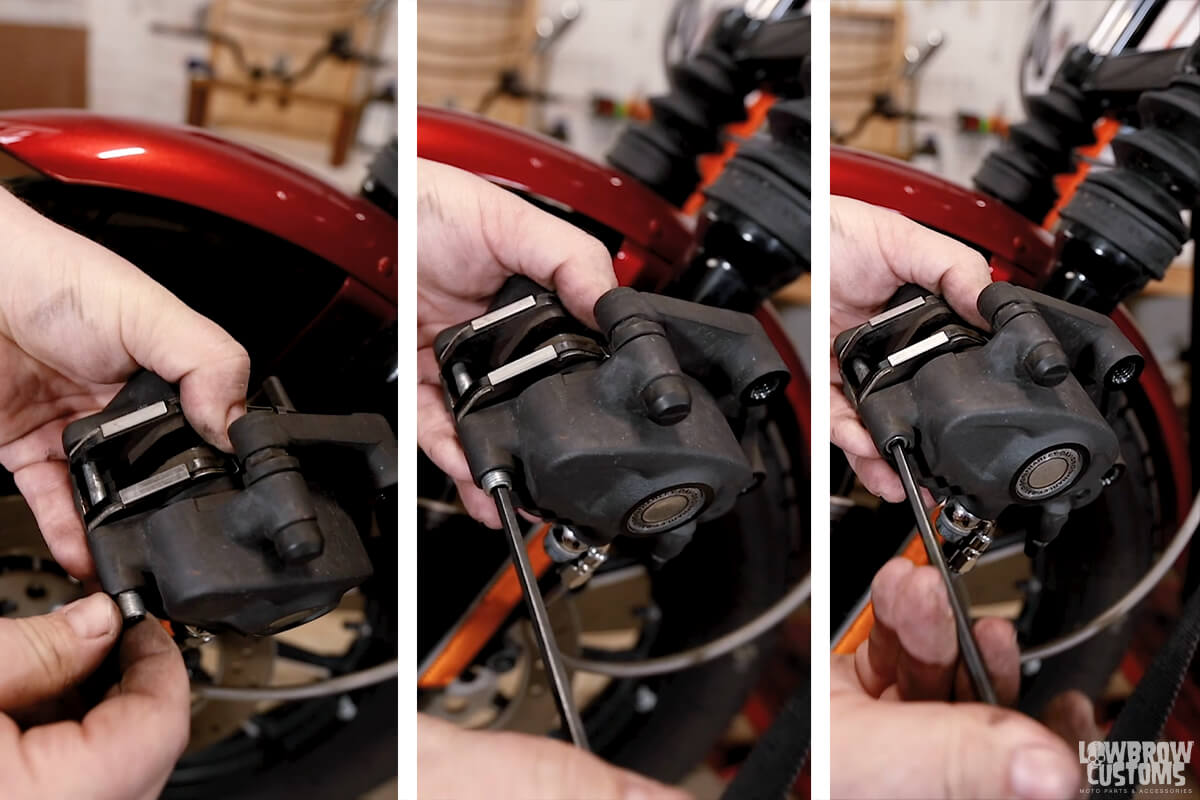 Holding the brake pads open with your one thumb while inserting the pin can help locate the pin in each hole easily. Tighten. You don't have to crank it down excessively.
 Here is the location of where the flat head cap goes.
  If your caliper isn't sliding on to the rotor easily, you need recheck your pistons are pushed in all the way in you caliper.
 Torque to factory specifications stated in your workshop manual. You have a
  Marking your caliper bolts at 12 O'clock is just a reassurance on making sure your bolts stay in the same place
 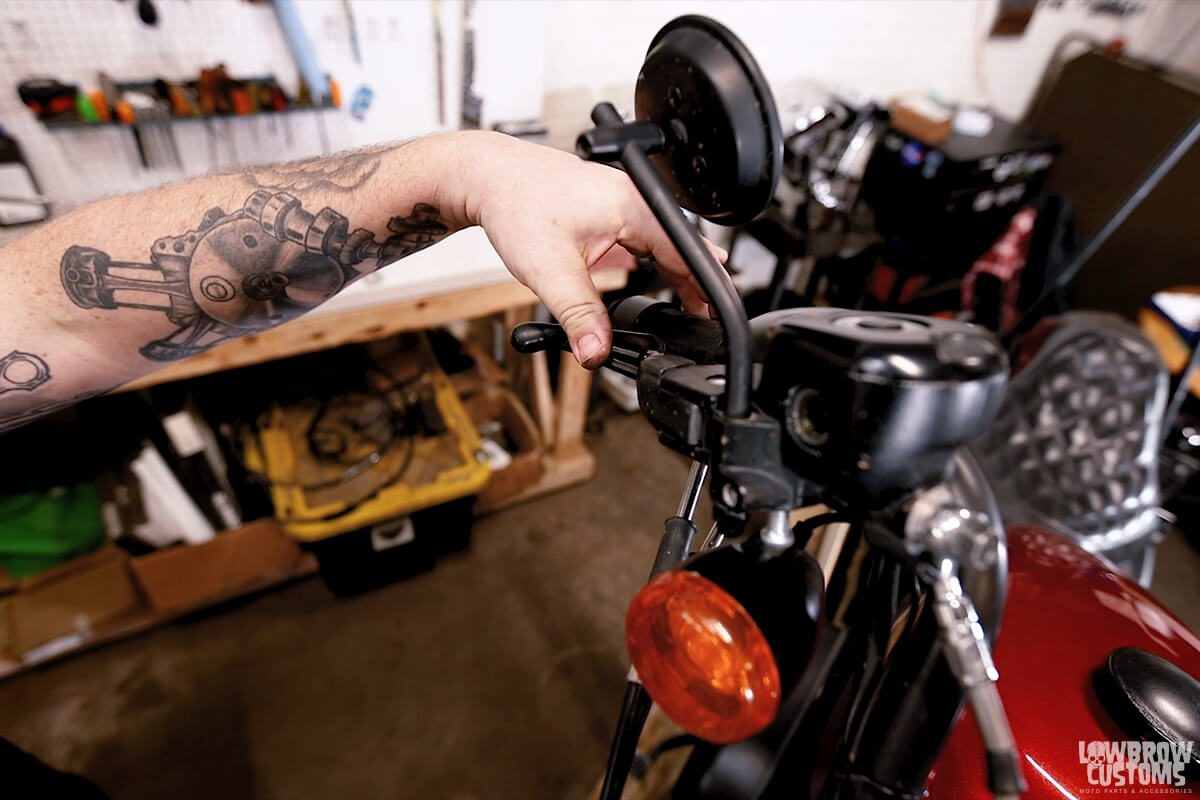 Pump up the jams, pump it up, keep on pumpin!
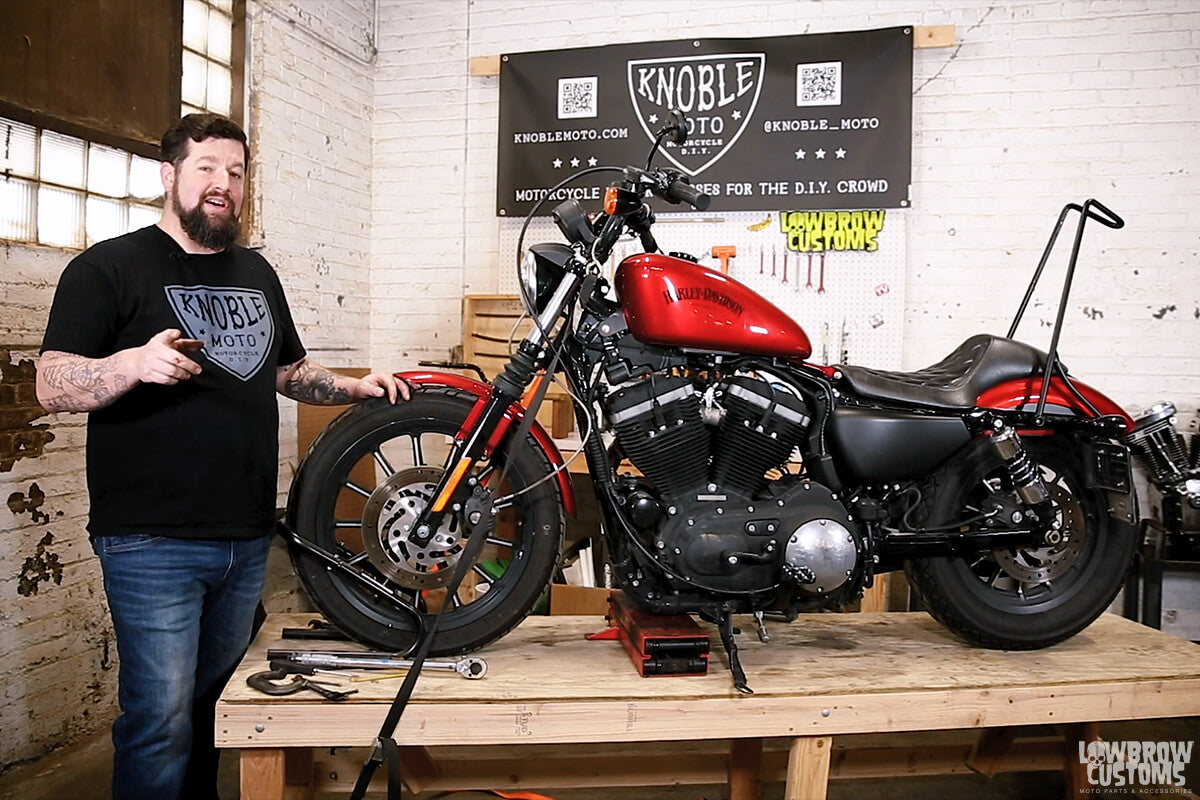 Now you are ready to get out there and ride!
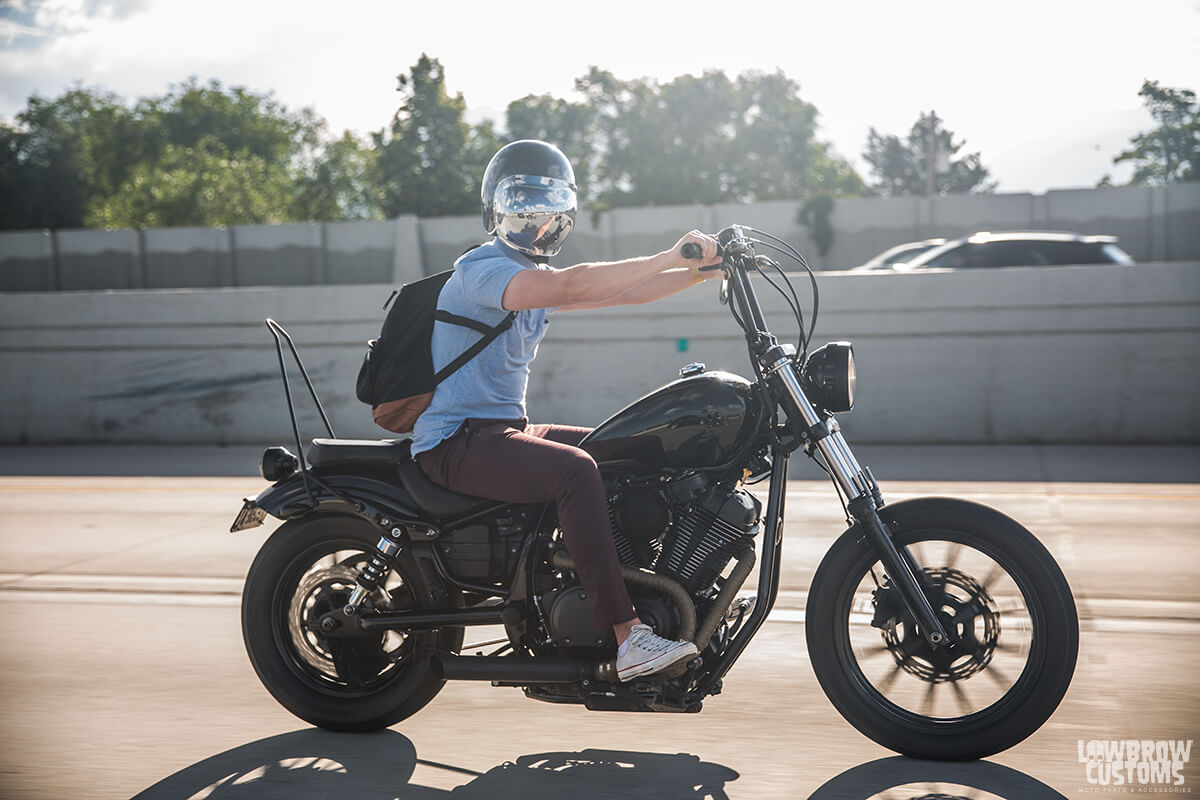 Yamaha Bolt can be a really inexpensive and nice first bike
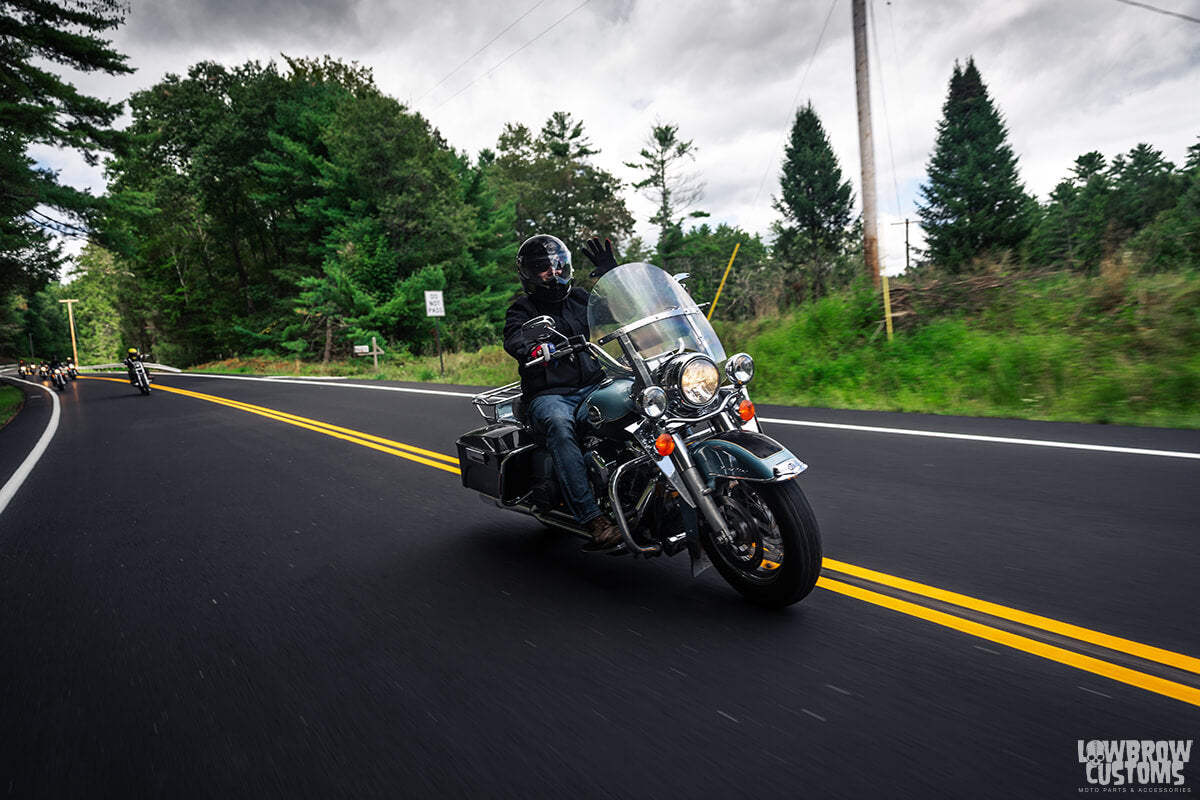 Some Harley's are a big comfy couch with two wheels.
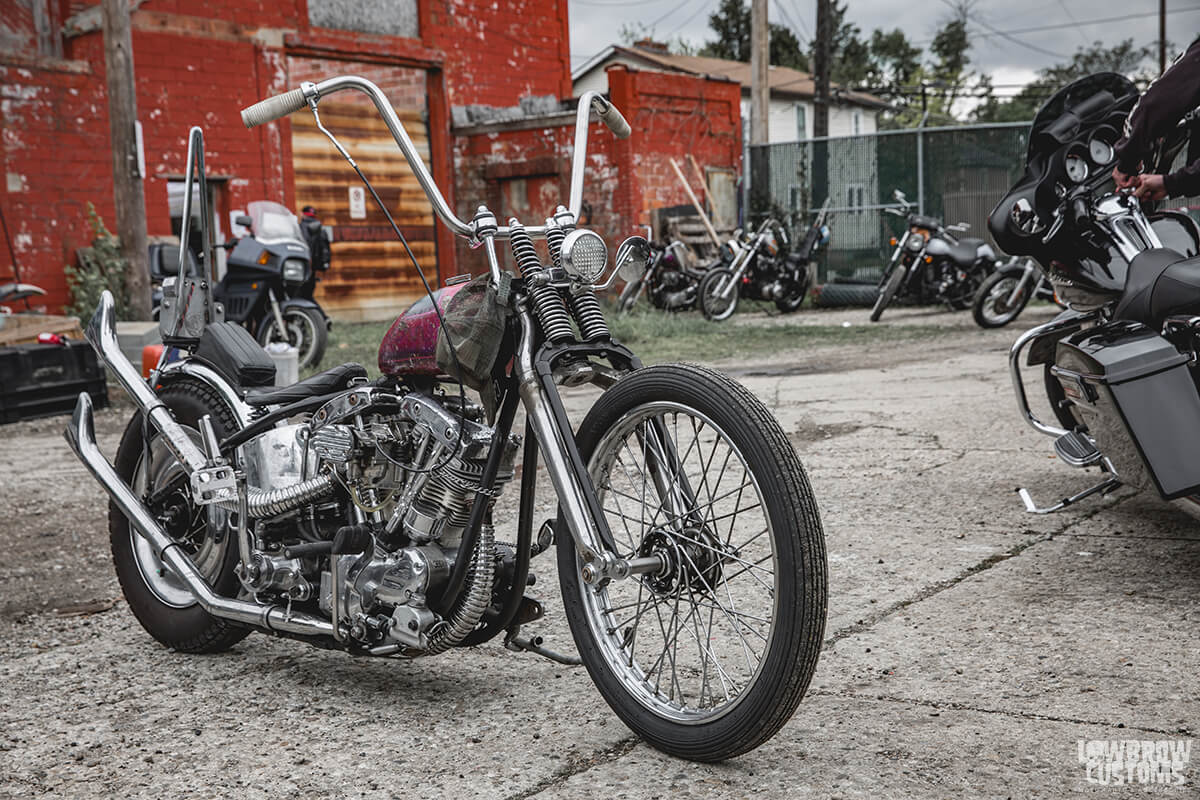 Some people's dream bike is a slabside shovel chopper with a springer front end. Trey Guidery's is to drool over, but it doesn't mean its an ideal candidate for your very first bike.
 Brand new Harley in the dirt... No bueno!
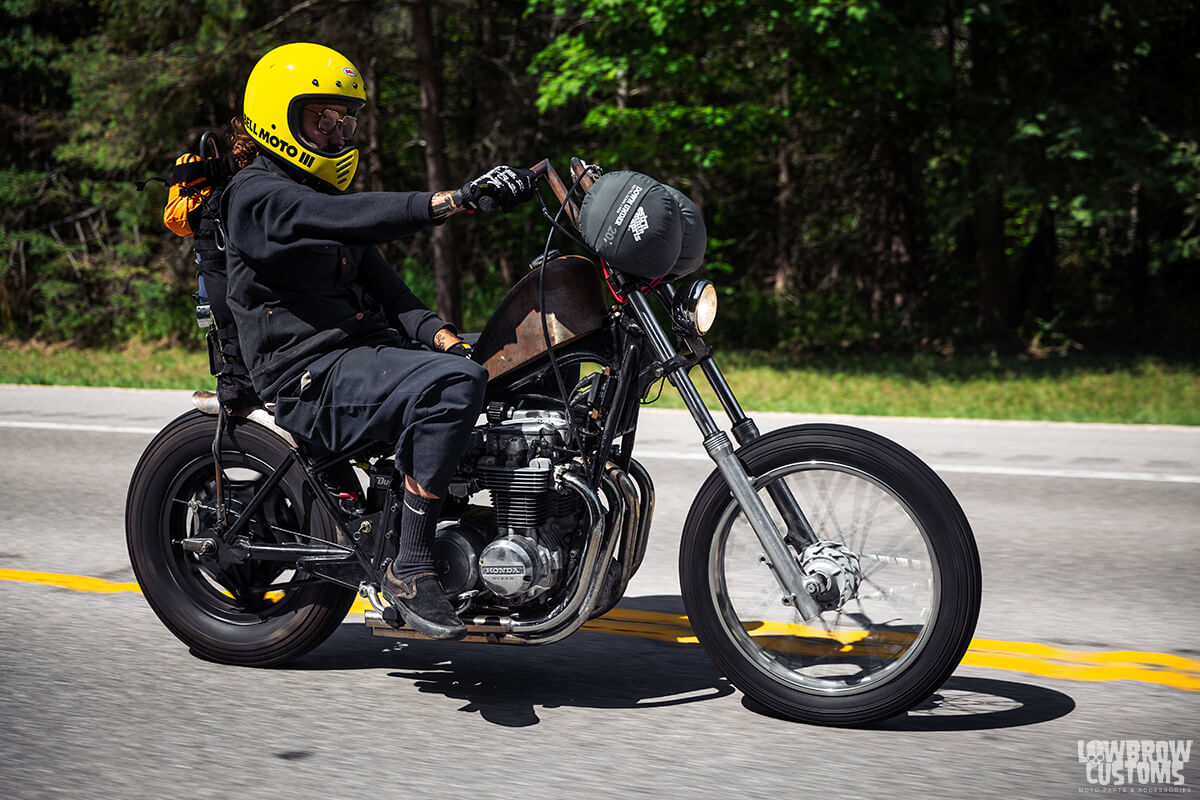 This dude is having a blast on a relatively inexpensive slightly modified Honda, Style for miles and most likely he didn't break the bank.
 Leila on her Honda Rebel 250 having the best time on her first bike.
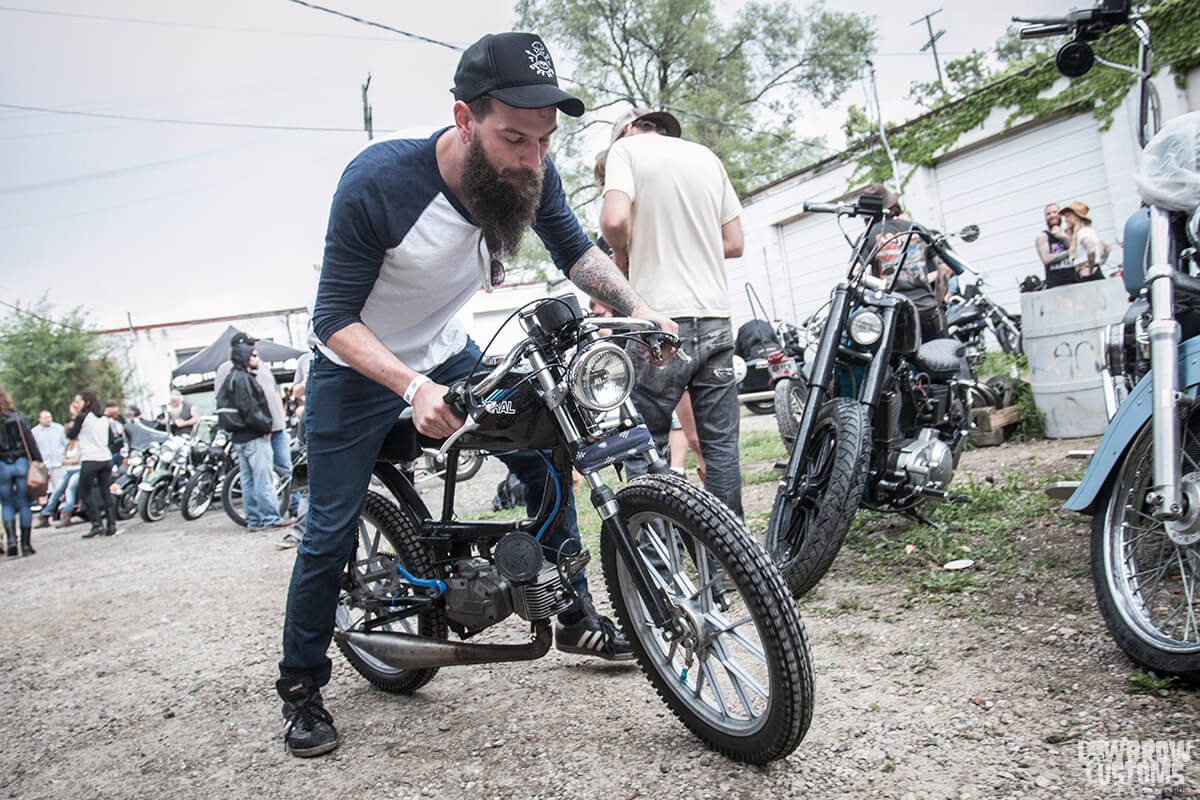 Well size doesn't always matter, but ask yourself what do you want to do with your motorcycle. This two stroke wont take you cross the country but it will get ya bar to bar and be hella fun while doing it.
 This cb350 has a ton of get up and go! Photo by: Geoff Kowalchuk
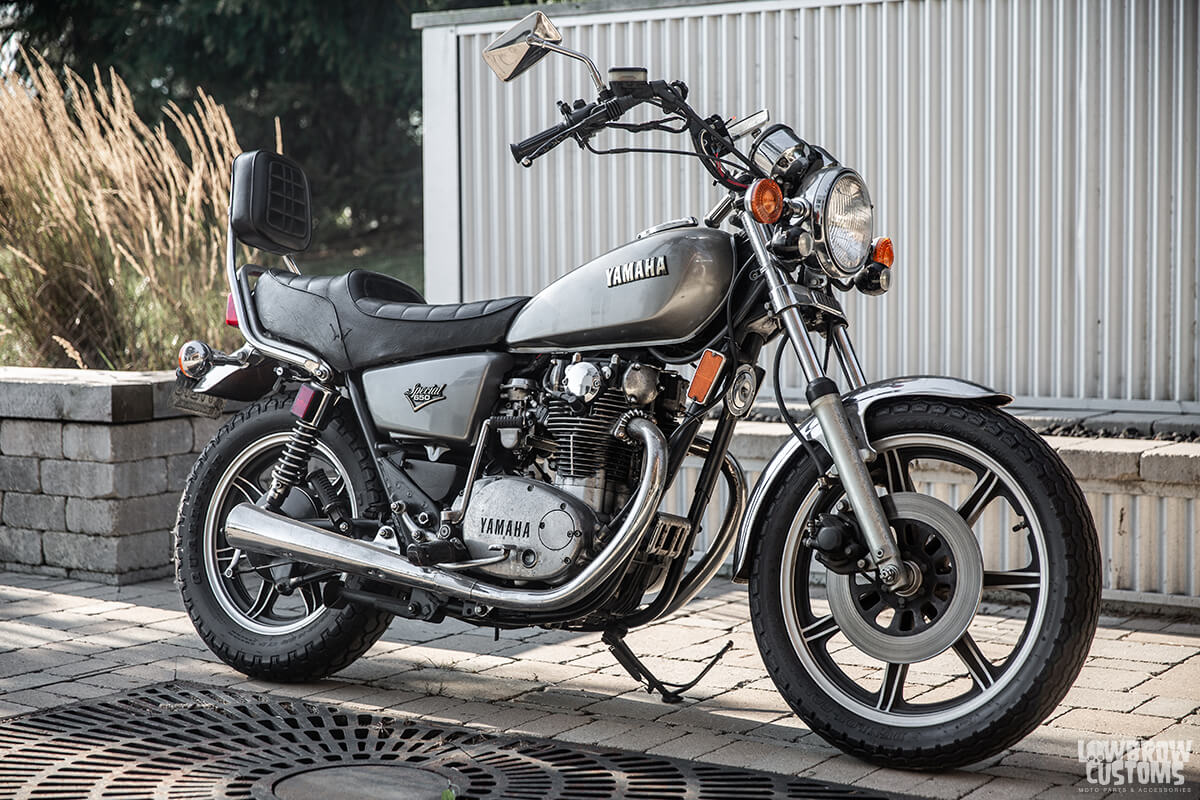 A Yamaha xs650 is always a good candidate for a first bike.
 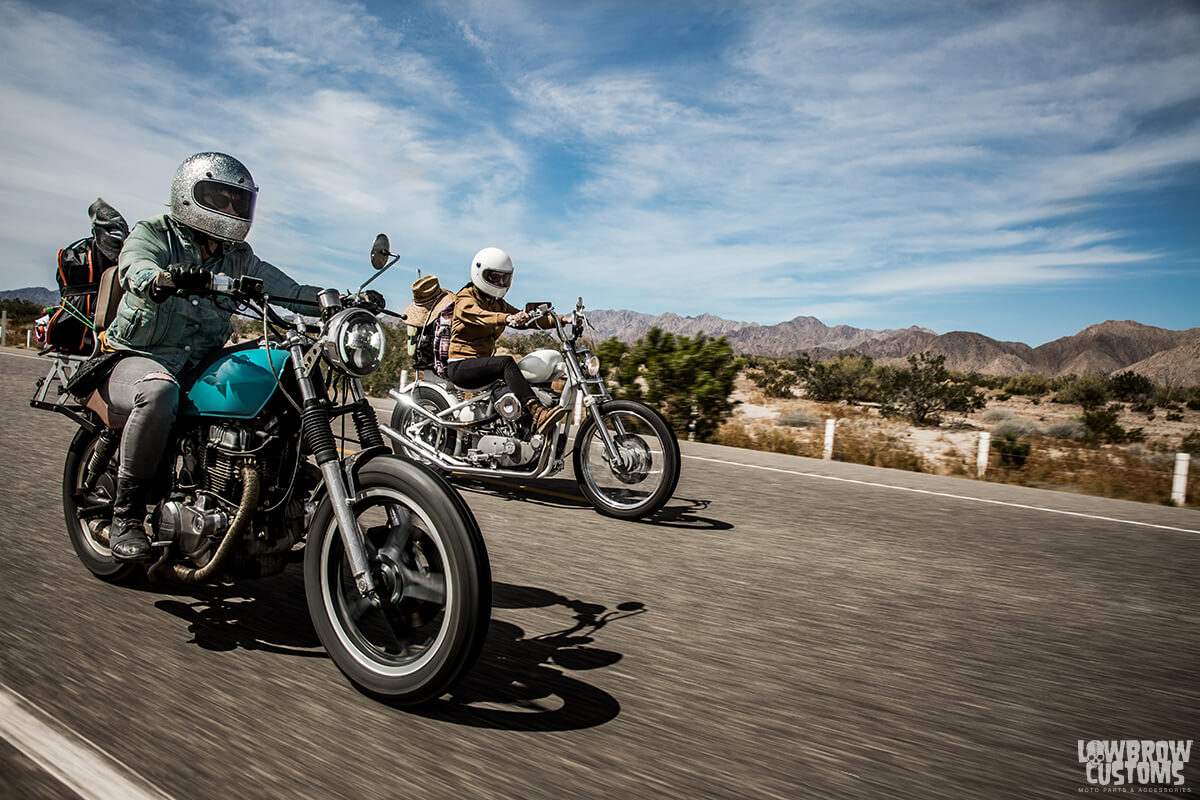 Amity Marr on her Cm400 keeping up with the big twins and Sportsters just fine.
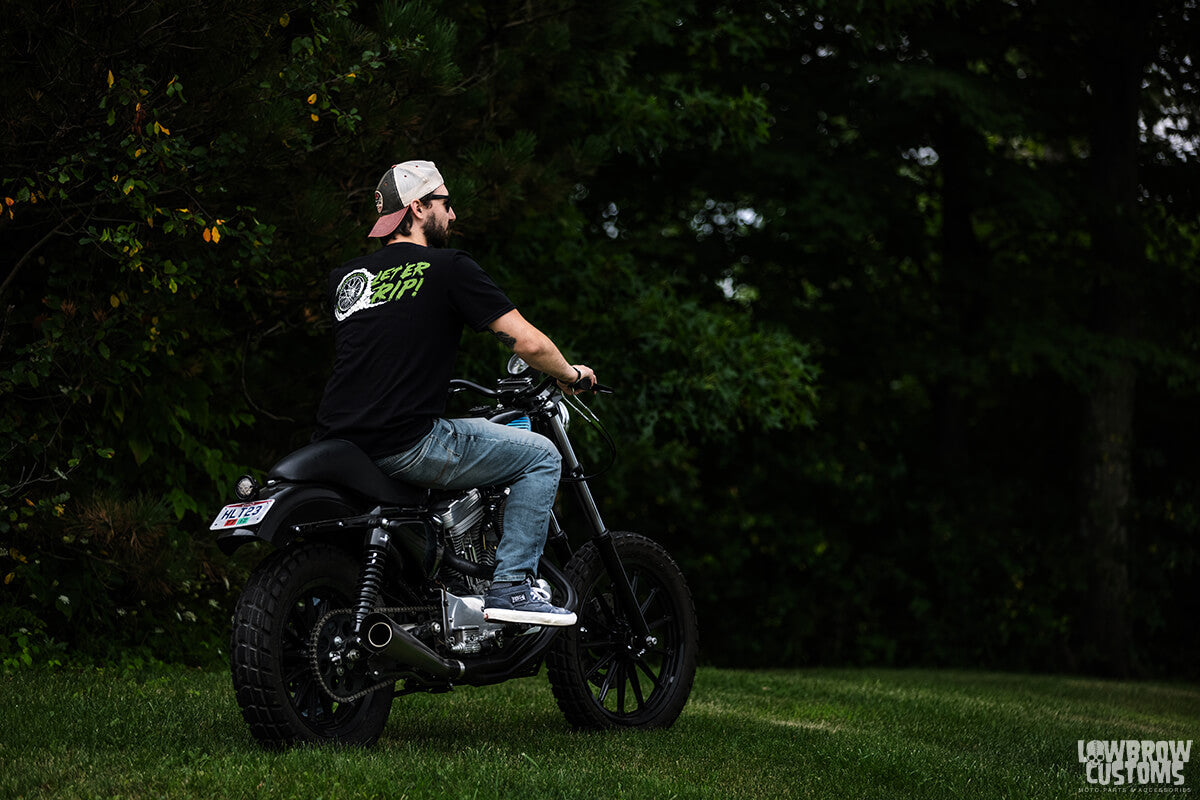 Noah is a little short for this bike's height, as you can see he's leaning on one leg to keep the bike up, not ideal for comfort.
 Kat had a small challenge riding on this dual sport in Vancouver. She's 5'4" and had to tippy toe the entire time. For a new rider this is not ideal, luckily for Kat she's had a lot of experience riding a ton of different motorcycles.
 Nothing wrong with a sport bike, but you could find your self uncomfortable in long distance trips. Again what do you want out of your motorcycle.
 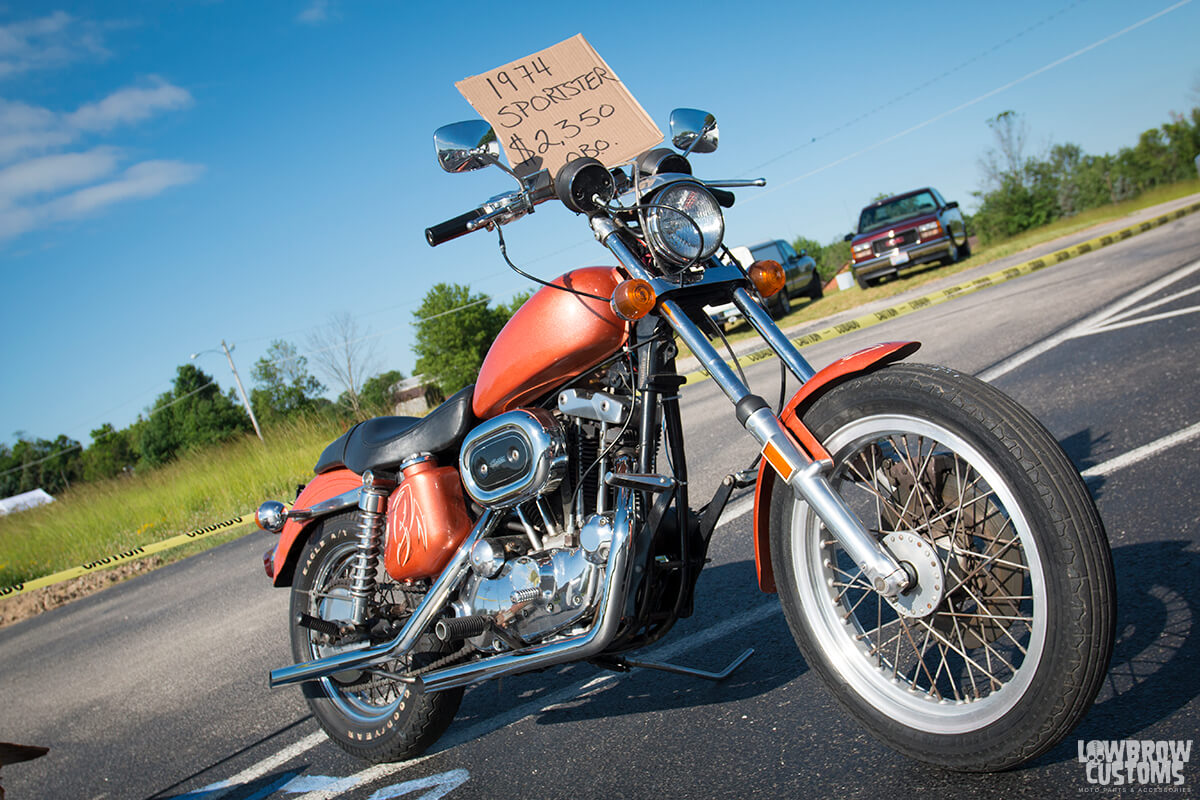 Just cause the price is good doesn't mean the bike is.
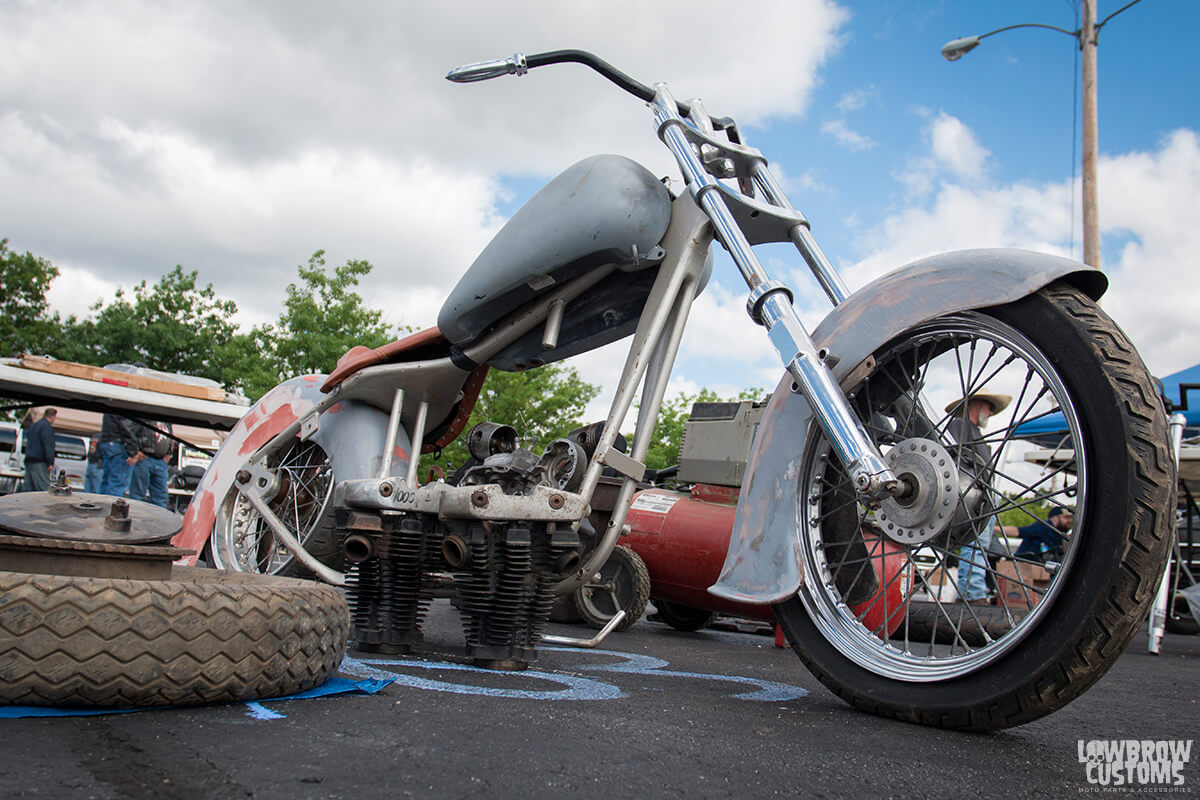 Probably not worth investing in this kind of project as a first bike if you don't have the mechanical skills to get her going. You want to learn to ride not wait another couple years while you figure out how to put this wild project together.
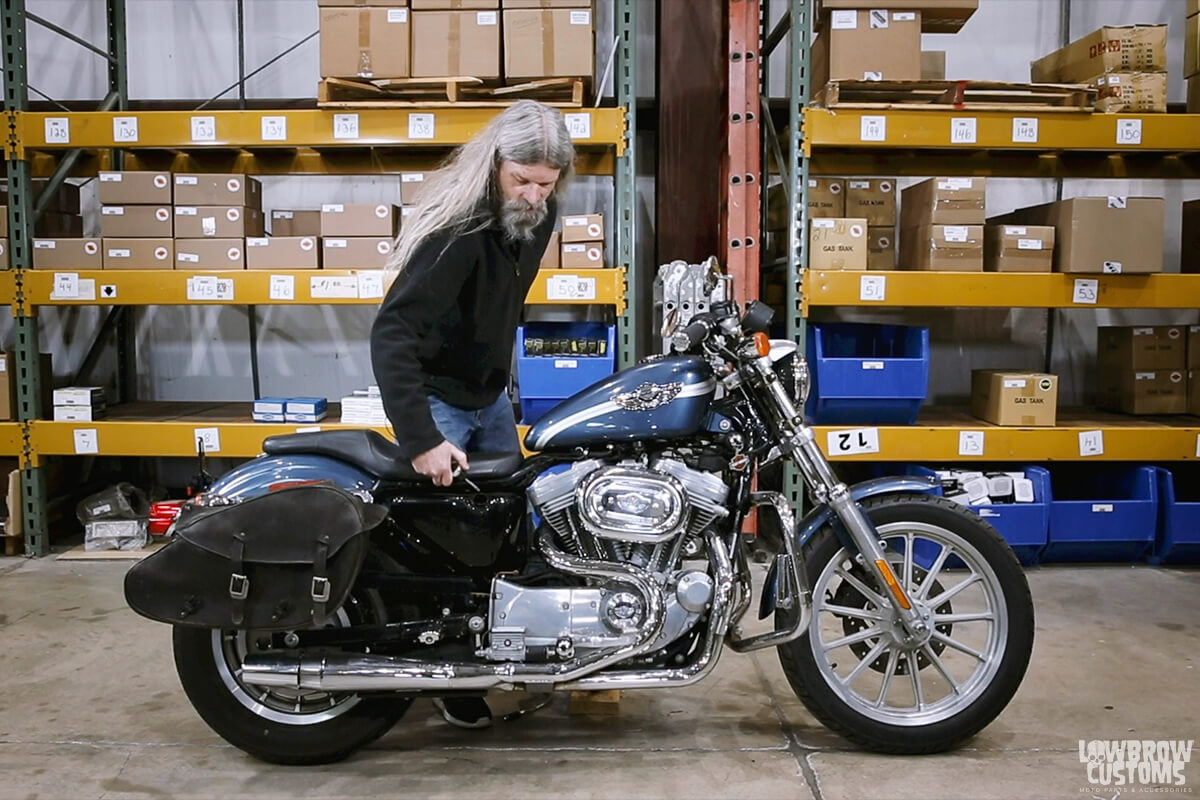 Todd showing what to look at on the Saturday Sportster when buying your first bike.
 The Saturday Sportster was purchased for $3000 and was rough around the edges, had some dents, some rust, but it had really low miles and a clean engine. A perfect candidate to learn on, drop and then customize down the road.
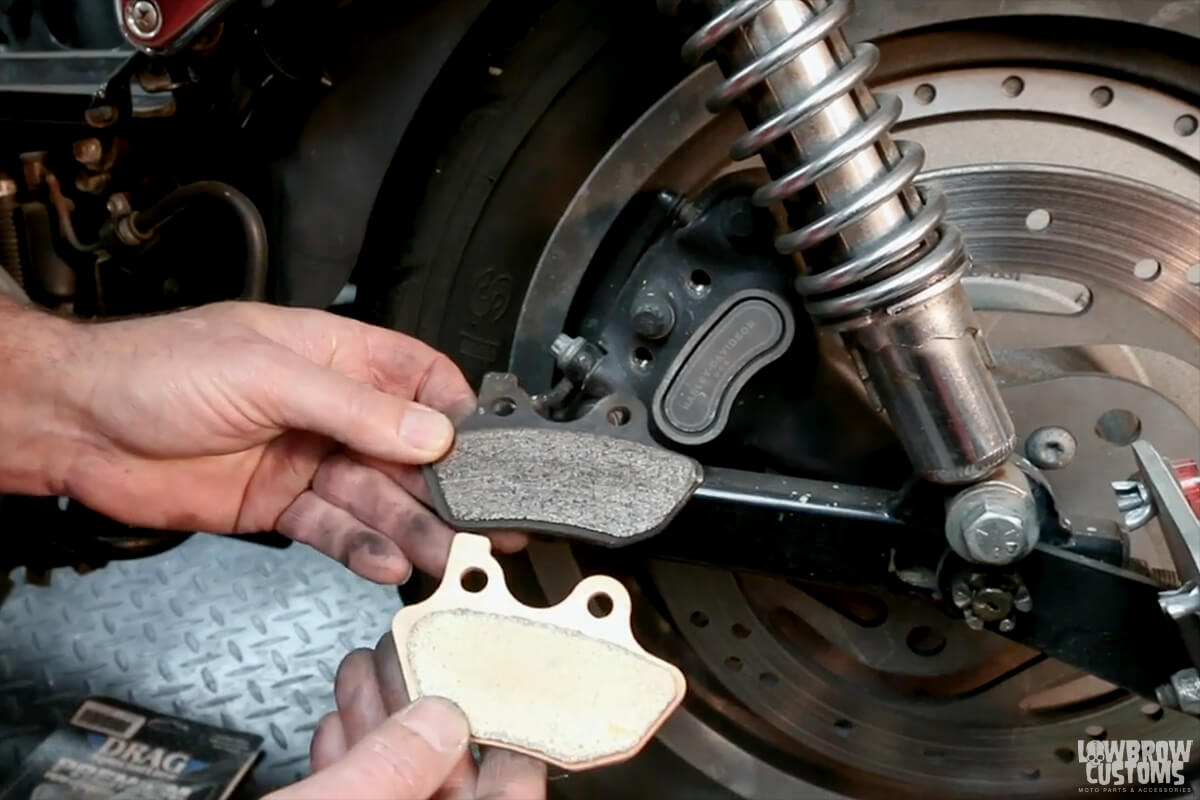 Always a good idea to check the brakes and replace if its an older bike, You can see here a comparison of new and old pads. Old on top, new on the bottom.
 No matter what it is get out there and ride!
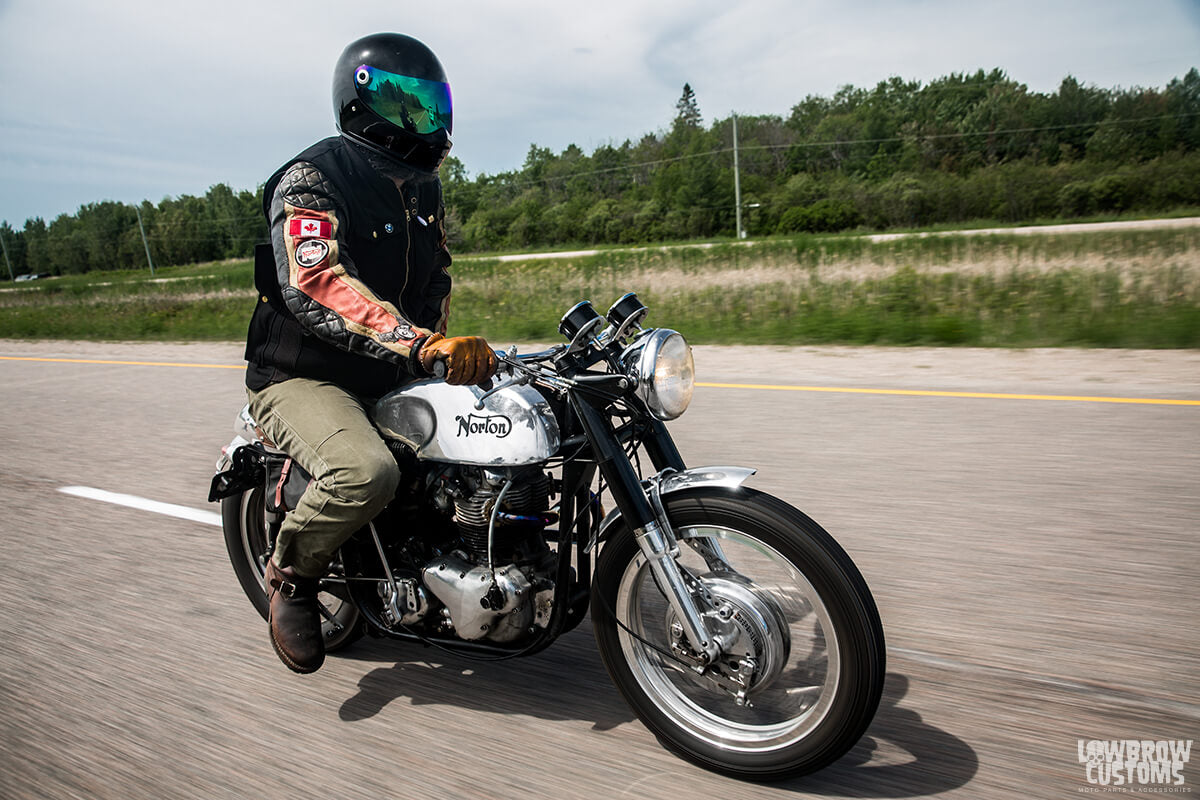 Andy Cox on his Norton, aggressive and crouched stance.
 Kyle on his dyna in the middle of our cross country trip.
 Dirty hands Kev laid back on his shovelhead chop. Everyone has their own style and riding position.
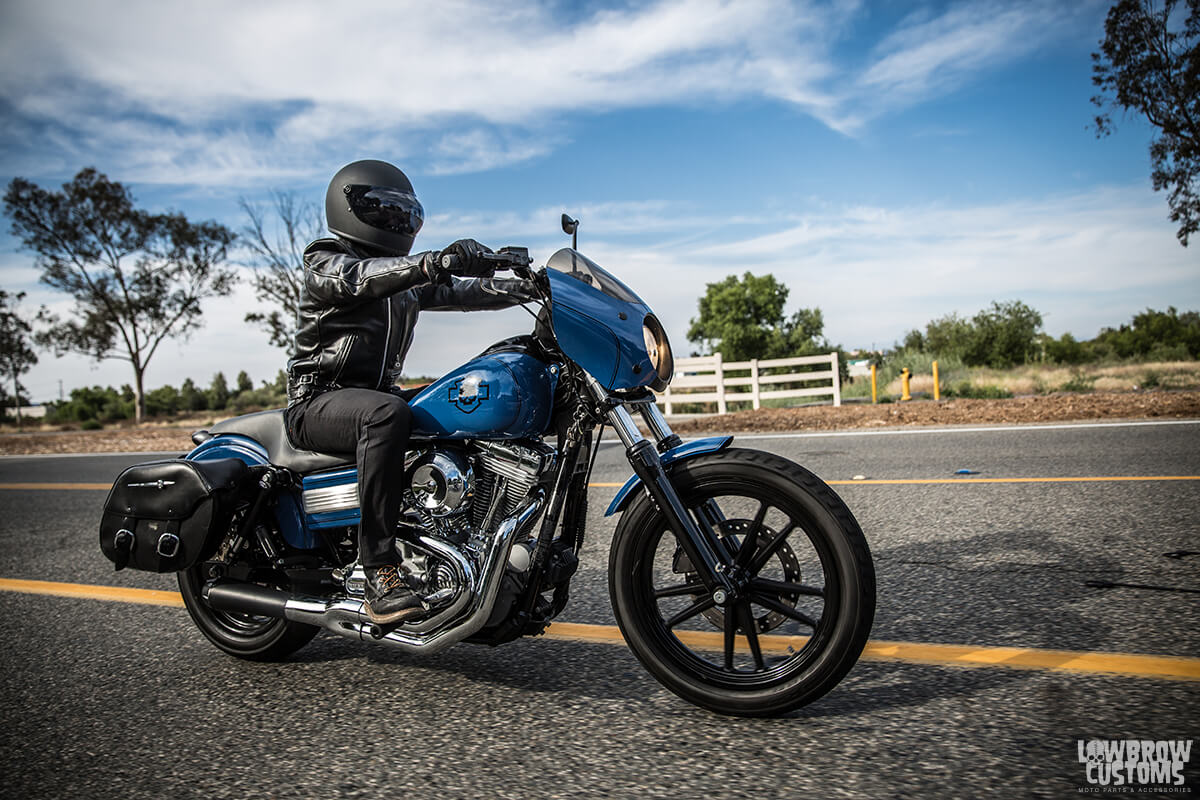 Mike Ellis wearing his gloves, leather jacket, boots and Biltwell Helmet. Even with the temps at 80 plus degrees in California, he still wears his gear to protect himself from the elements and also the possibility of a crash.
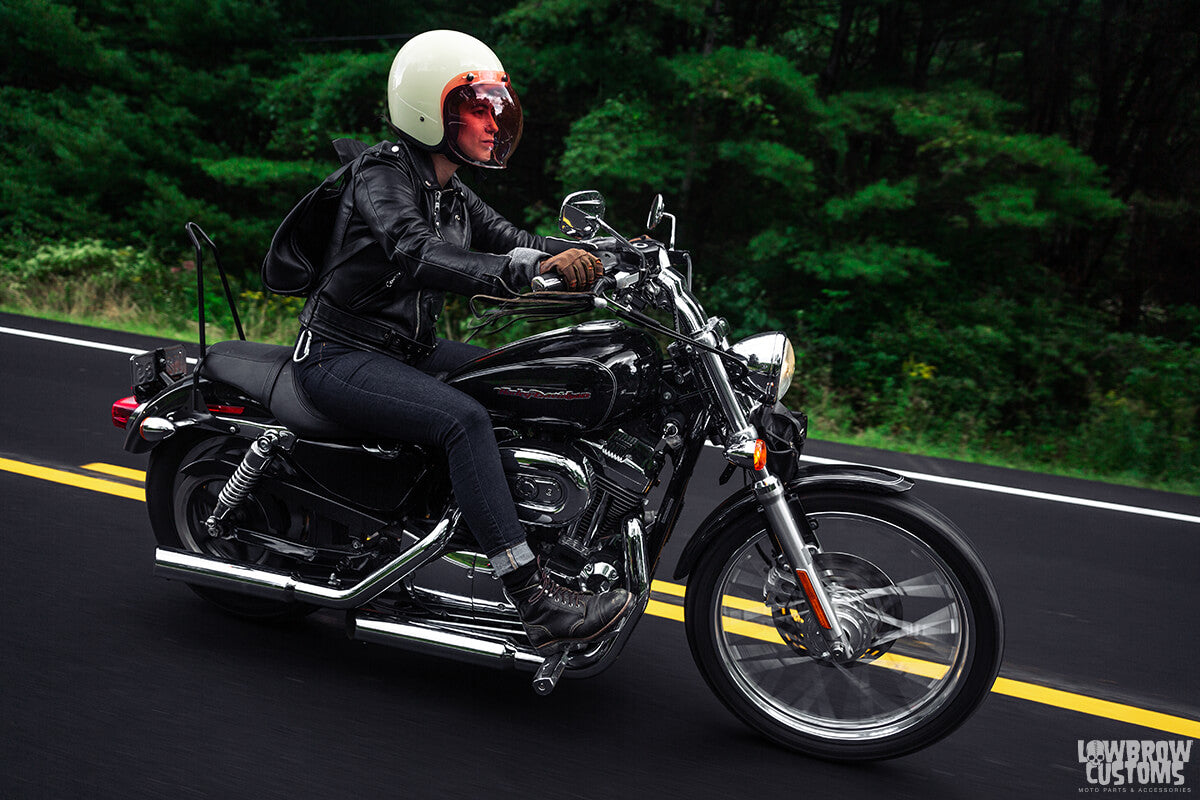 It's a bit colder in the Catskils but still the same gear applies.
 Kevin Spence's 1953 Panhead build
 Danny McGill's 1910 Harley-Davidson as seen at Fuel Cleveland - Photo by: David Carlo
 Chris Vaccaro's Harley-Davidson 1936 RL at Fuel Cleveland. Photo by: David Carlo
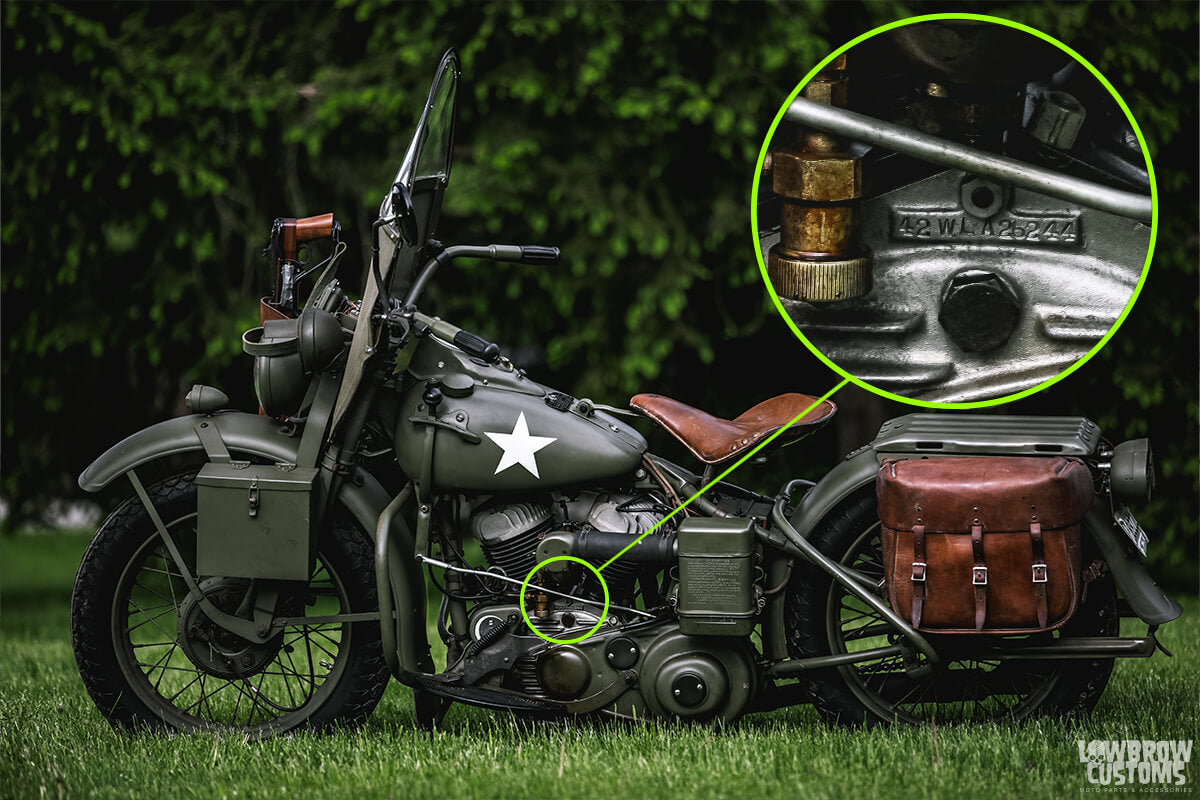 Joe Blaha's 1942 WLA - Stamped on the B side of the motor 42WLA26244
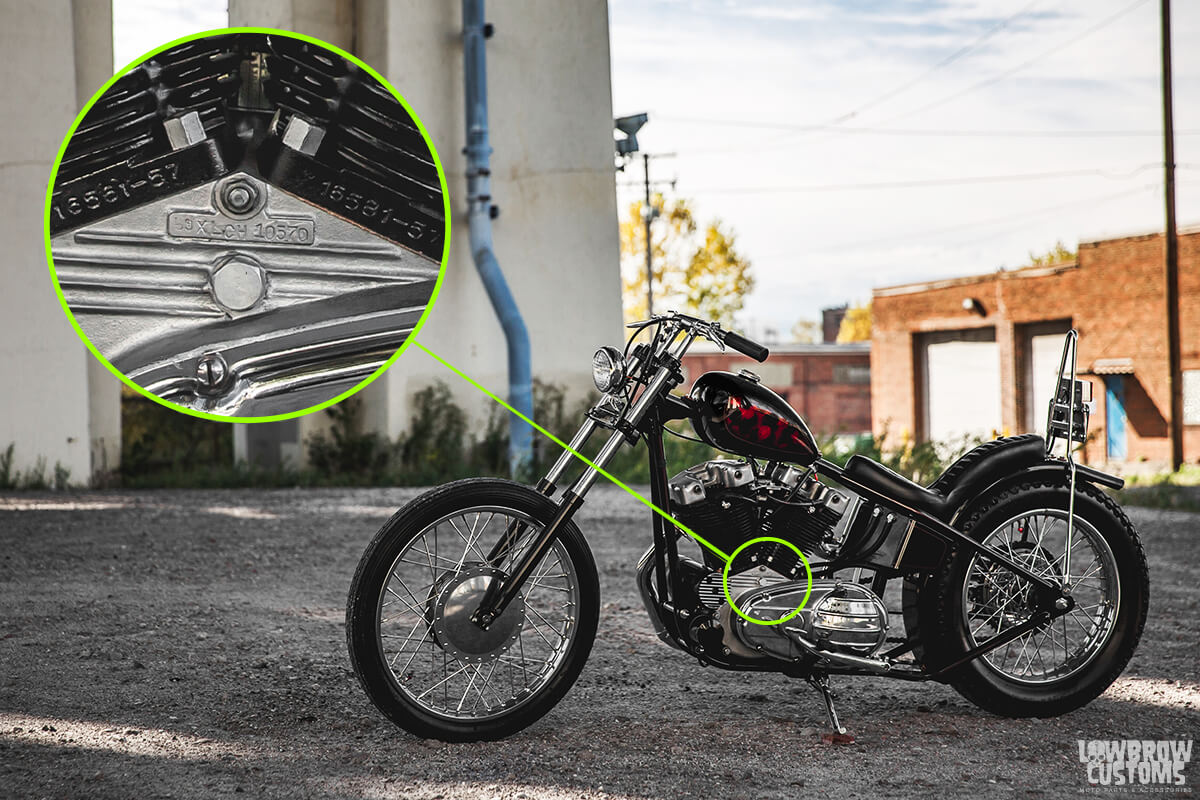 George Keeler's 1968 XLCH - Stamped on engine 68XLCH10570. Super simple pre '70's
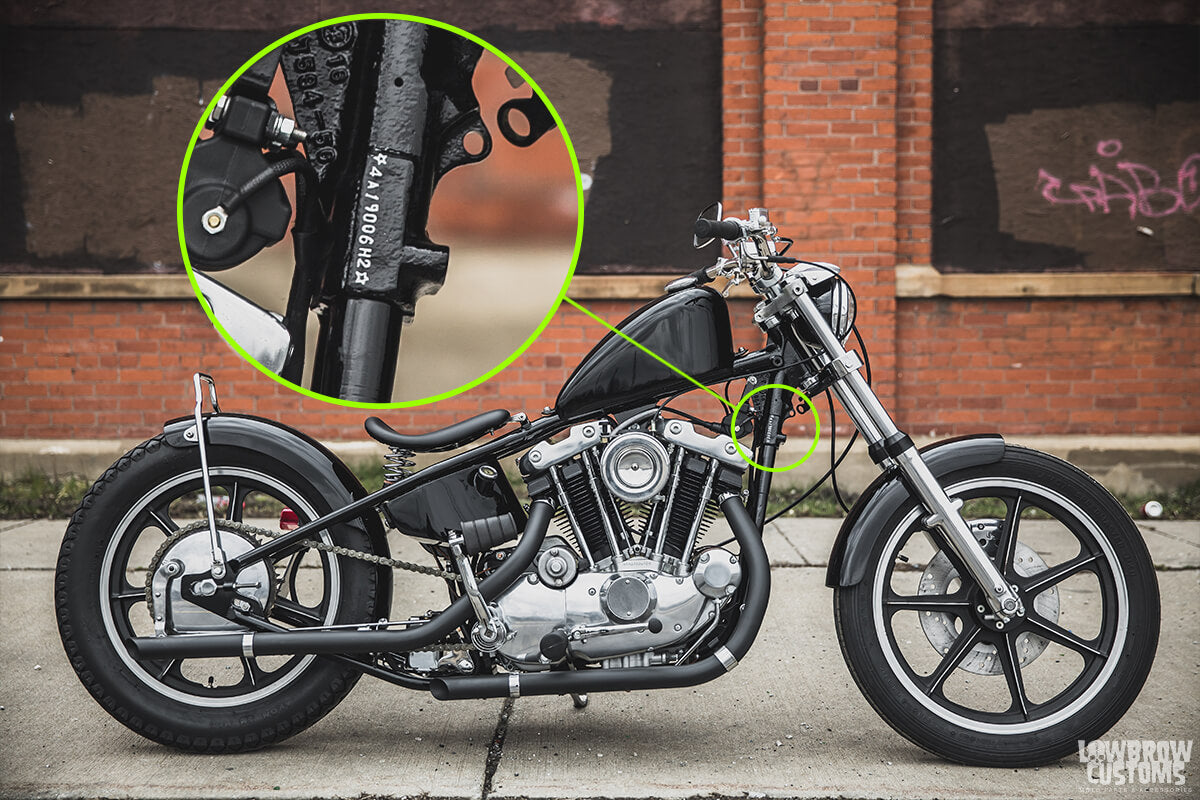 This 1972 XLCH 1000 you can find the vin on the right side of the frame. 4A19006H2
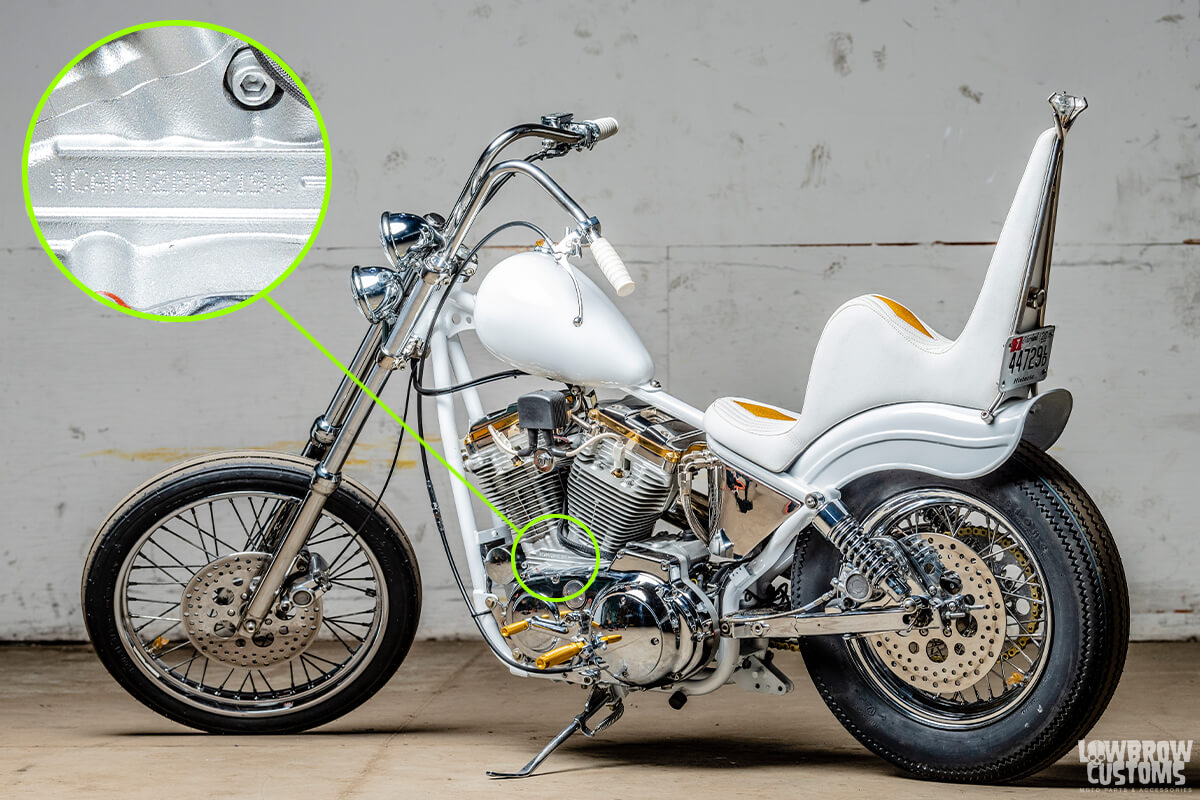 Stacey Hearn's 1997 Sportster, see the abbreviated version of the vin is stamped on the motor. Photo from Fuel Cleveland by David Carlo.
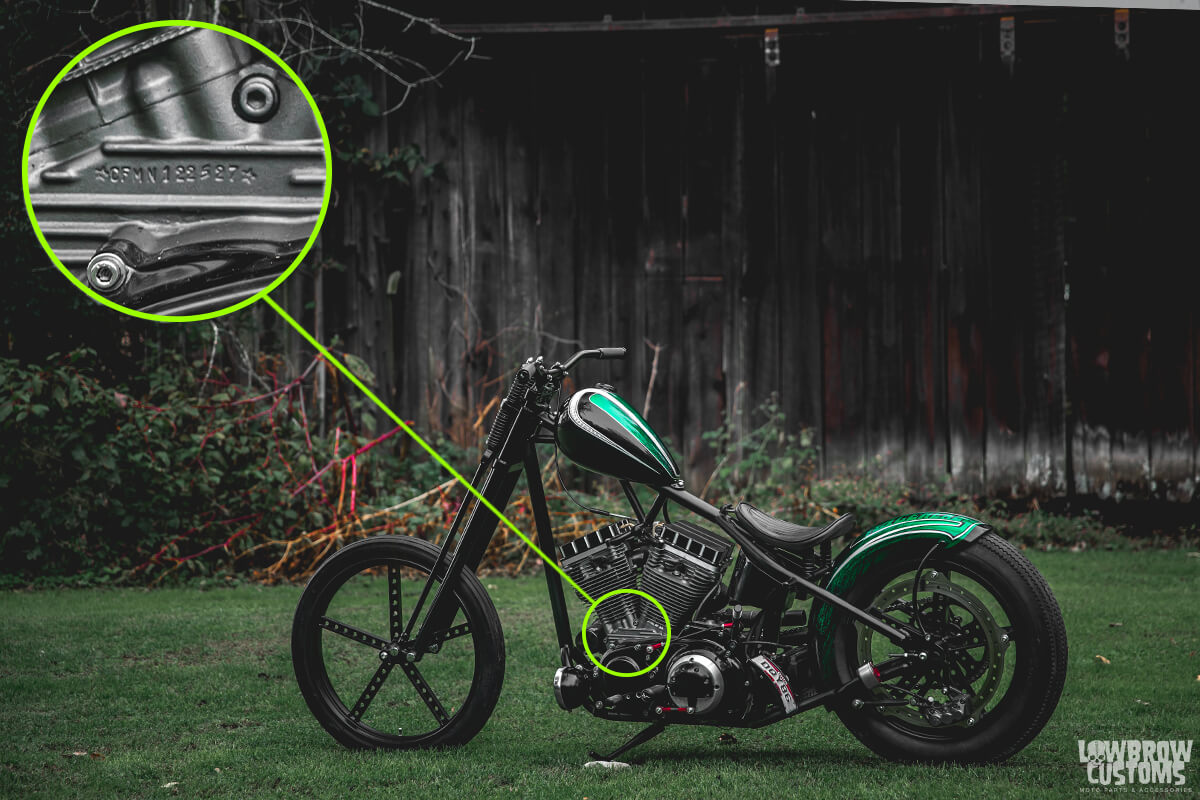 Built by
 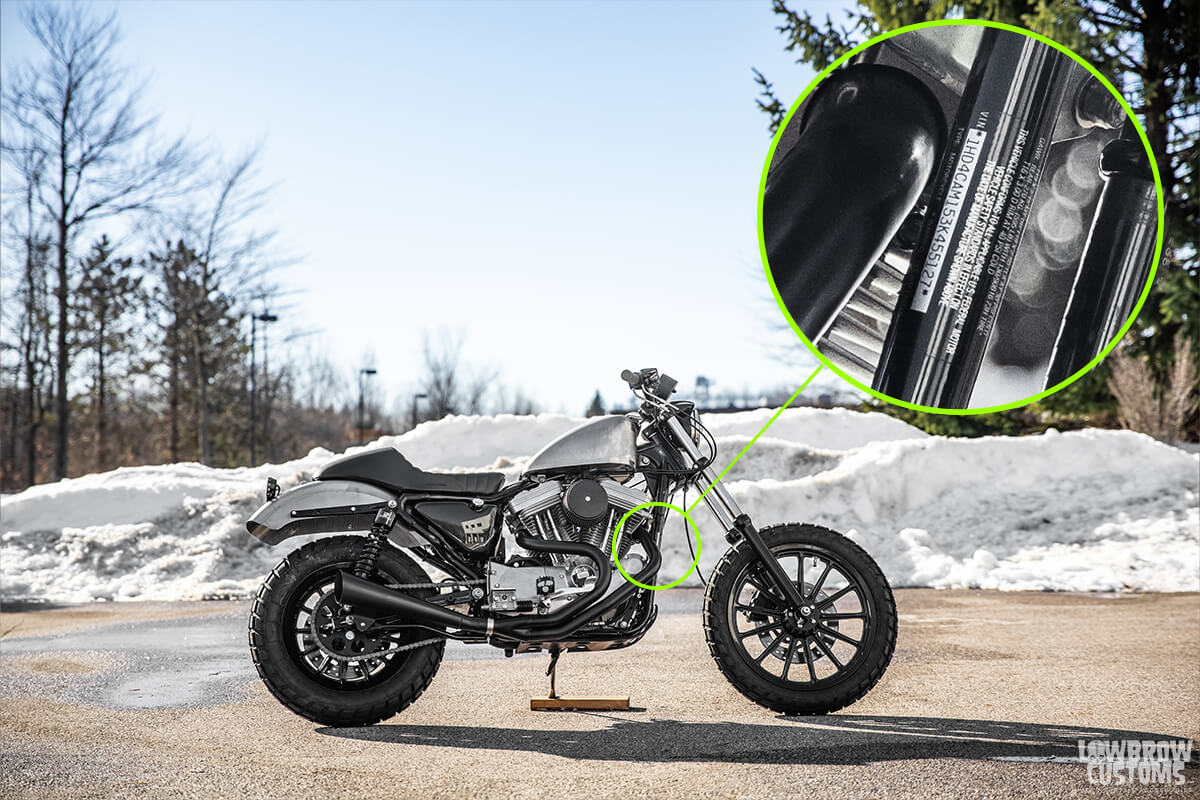 Saturday Sportster is a 2003 Sportster - Vin 1HD4CAM153K455127
 Endijs Willow's 2018 Milwuakee 8 Softail Waffle head. This is where you can find the full vin on the frame. Can you decipher it?
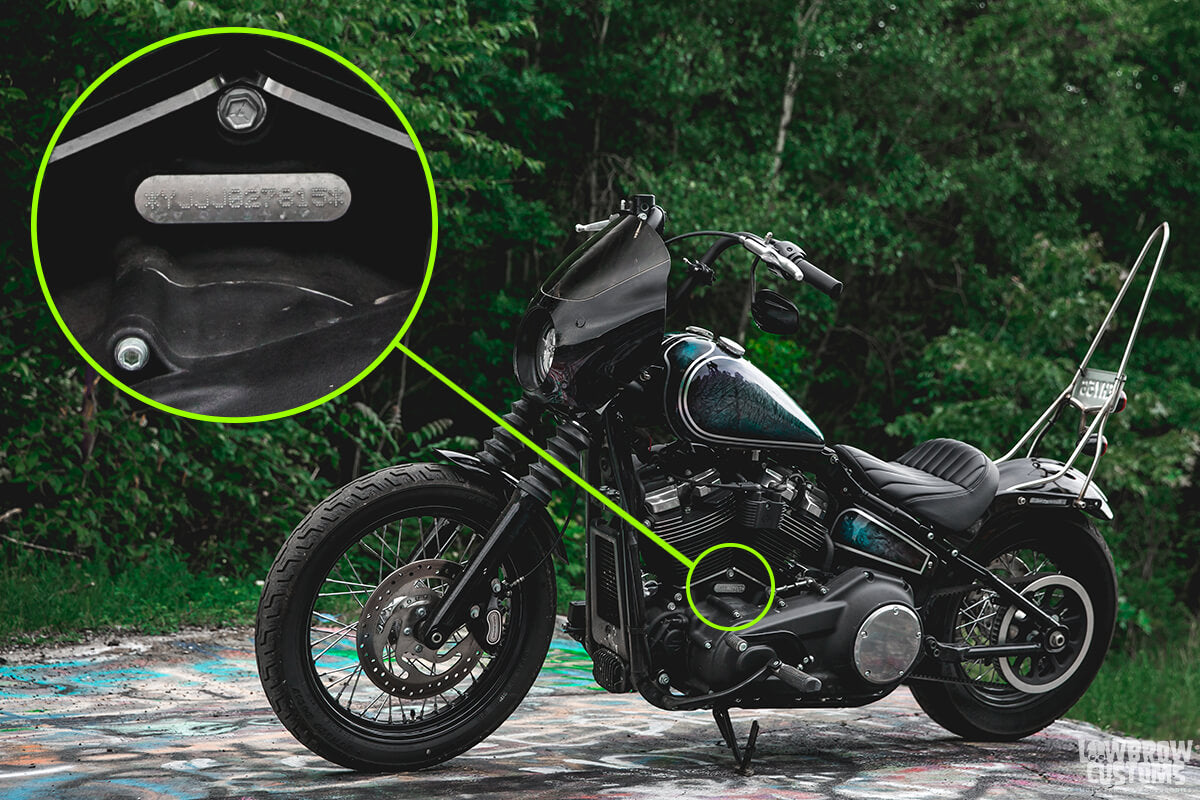 Here's an example of a place to find the abbreviated version on the motor.
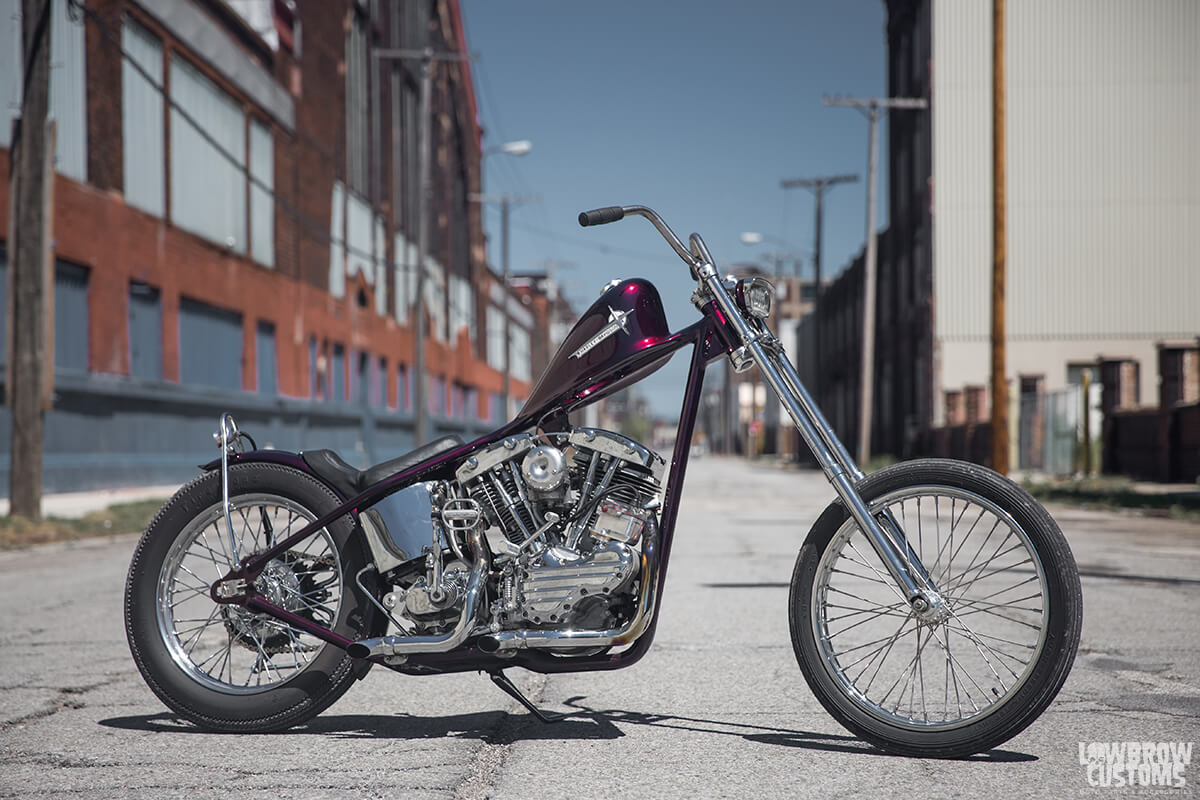 Bob Millerleile's custom chopper build.
 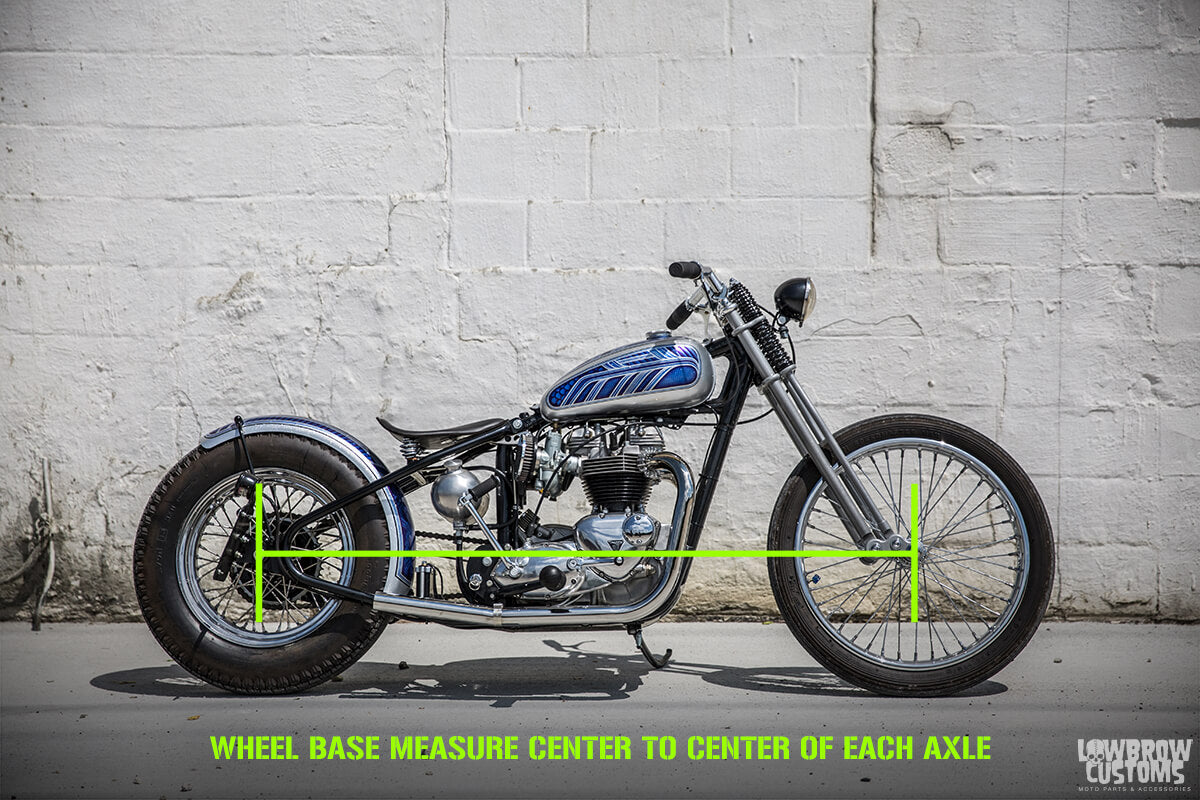 Compare the wheel base on two of Todd's Triumph Builds.
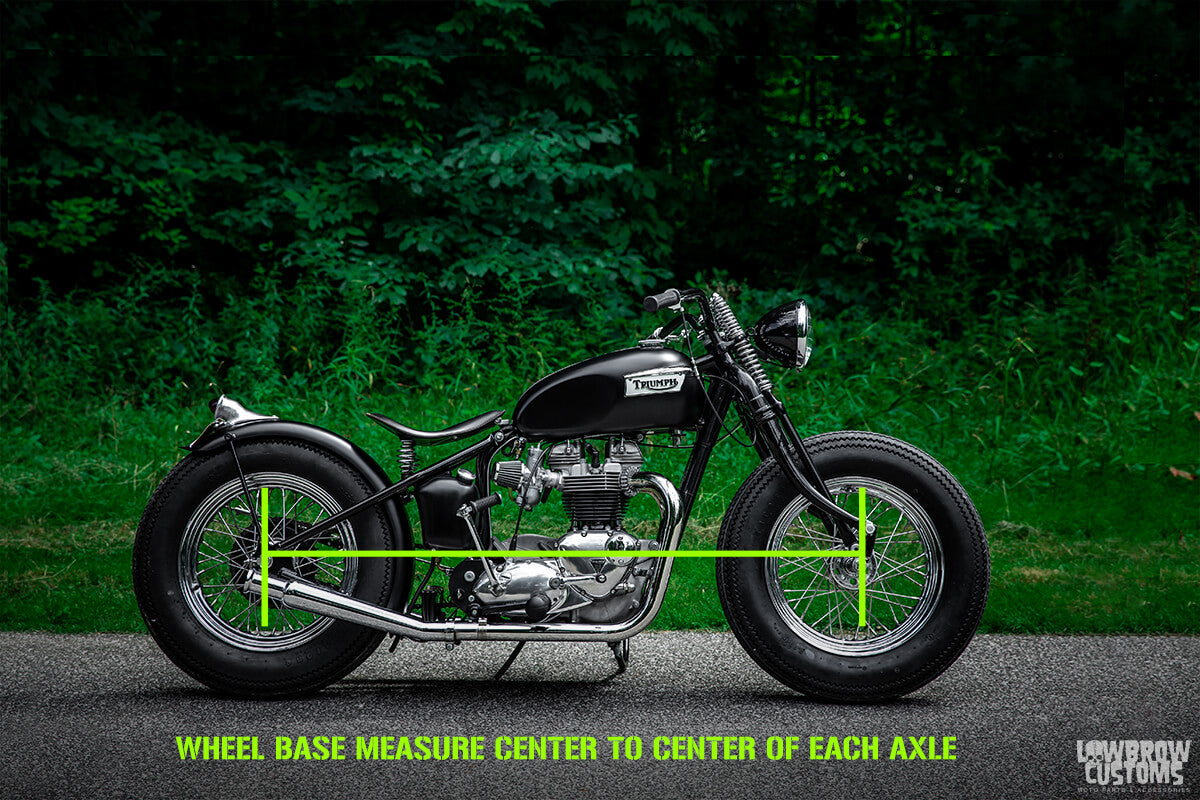 You can see this one is much shorter.
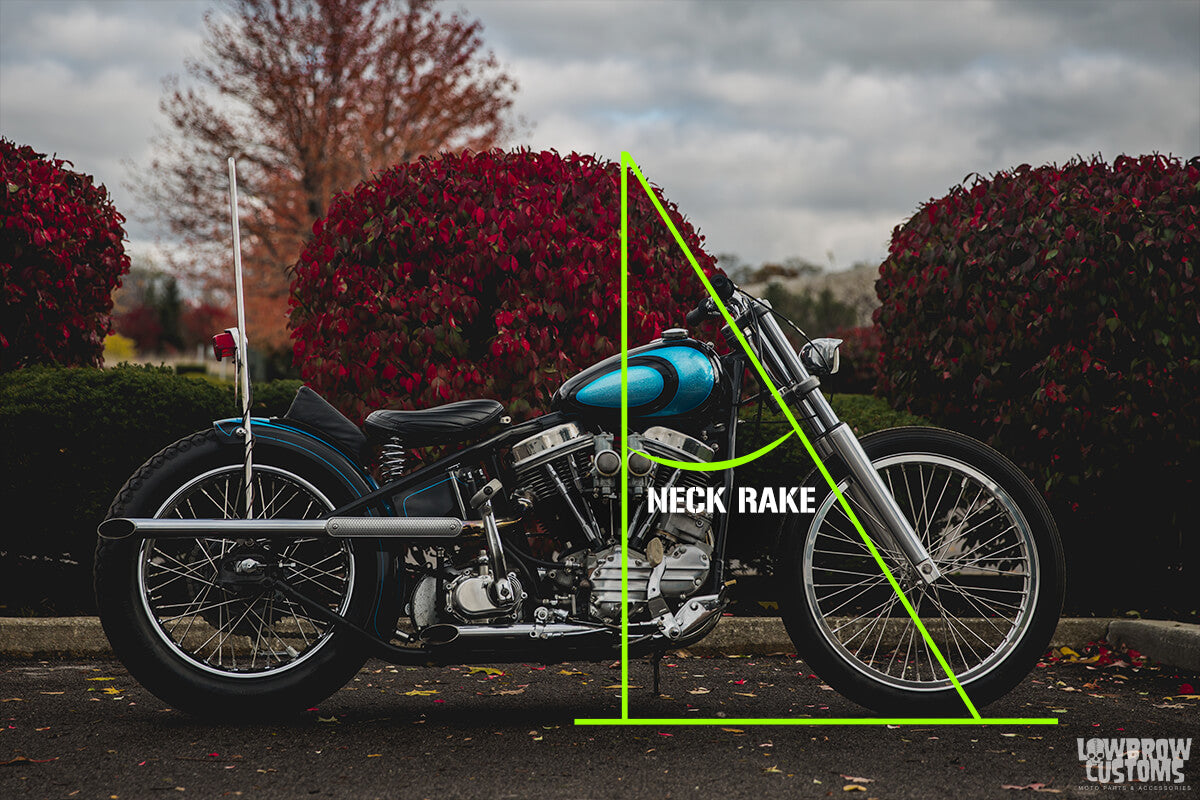 Visually it's a bit easier to understand.
 Make sure you frame is level before using and angle finder on your neck to get most accurate reading. You can see this neck is at 30 degrees.
 How to figure out your trail.
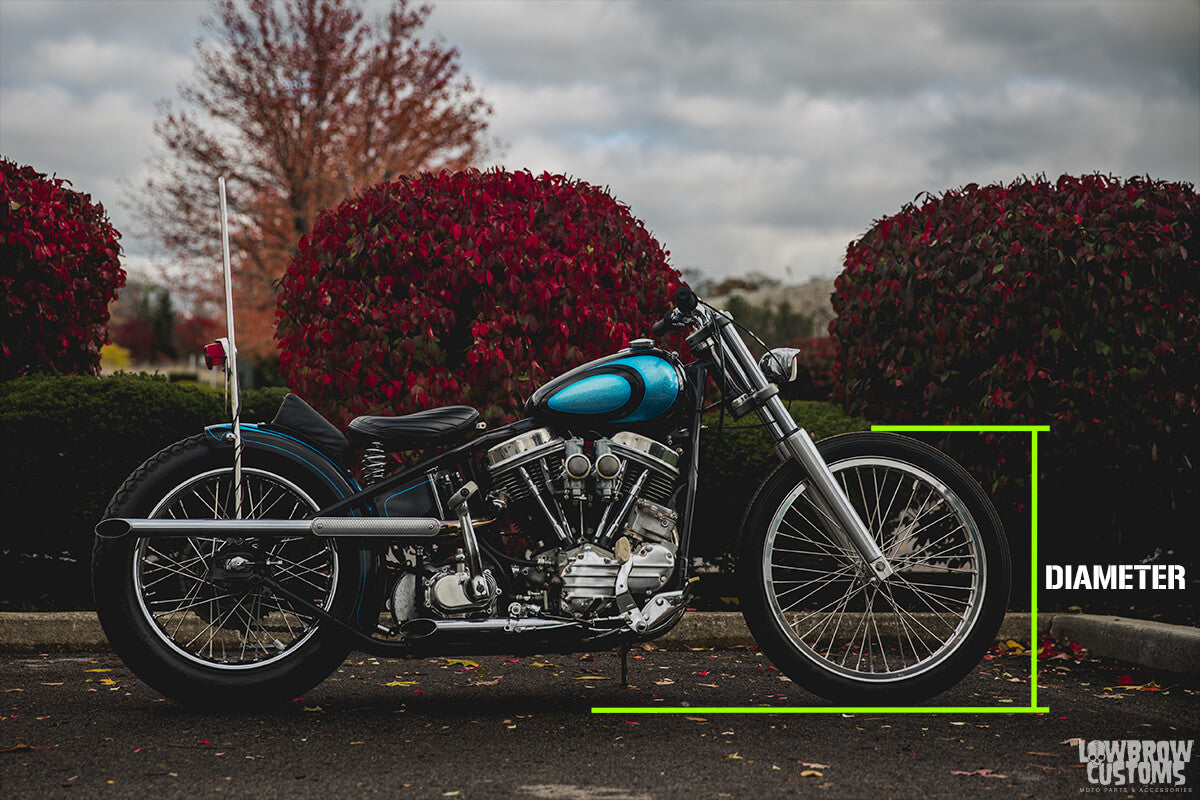 Diameter measurement top to bottom of the tire.
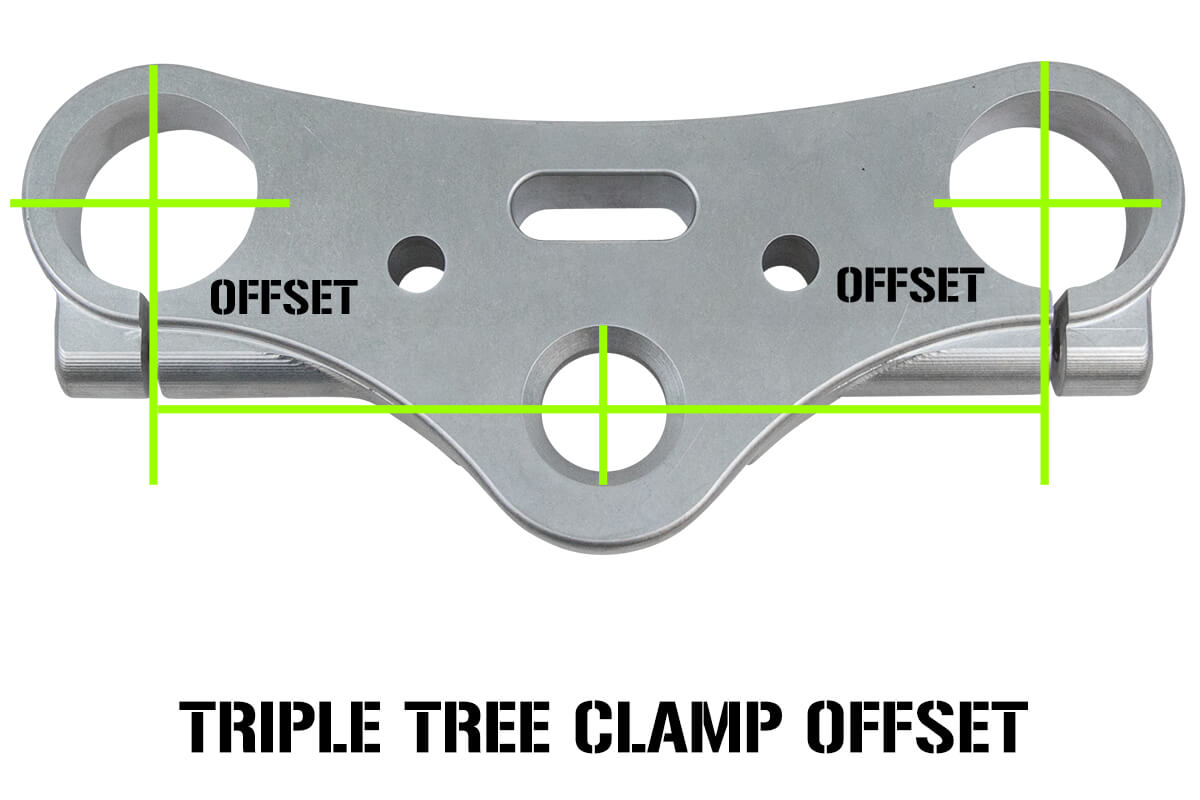 How to measure triple tree offset.
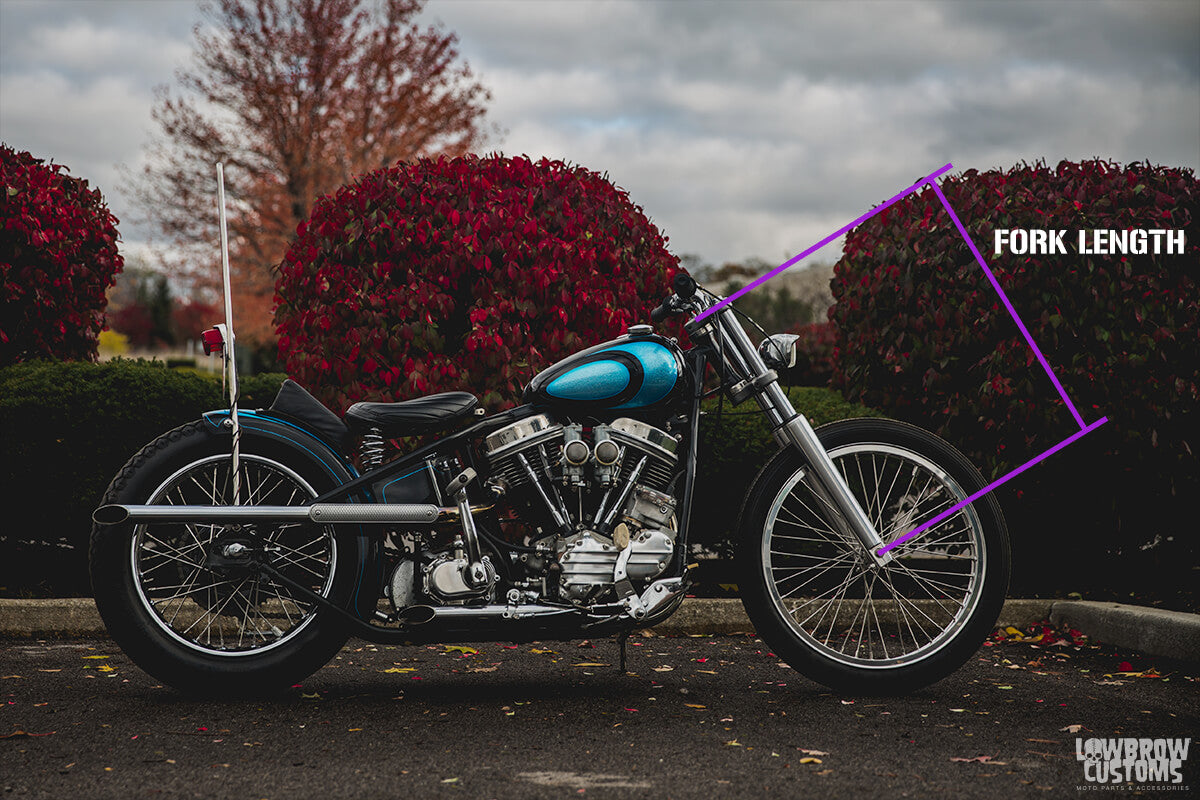
 All the measurements in one.
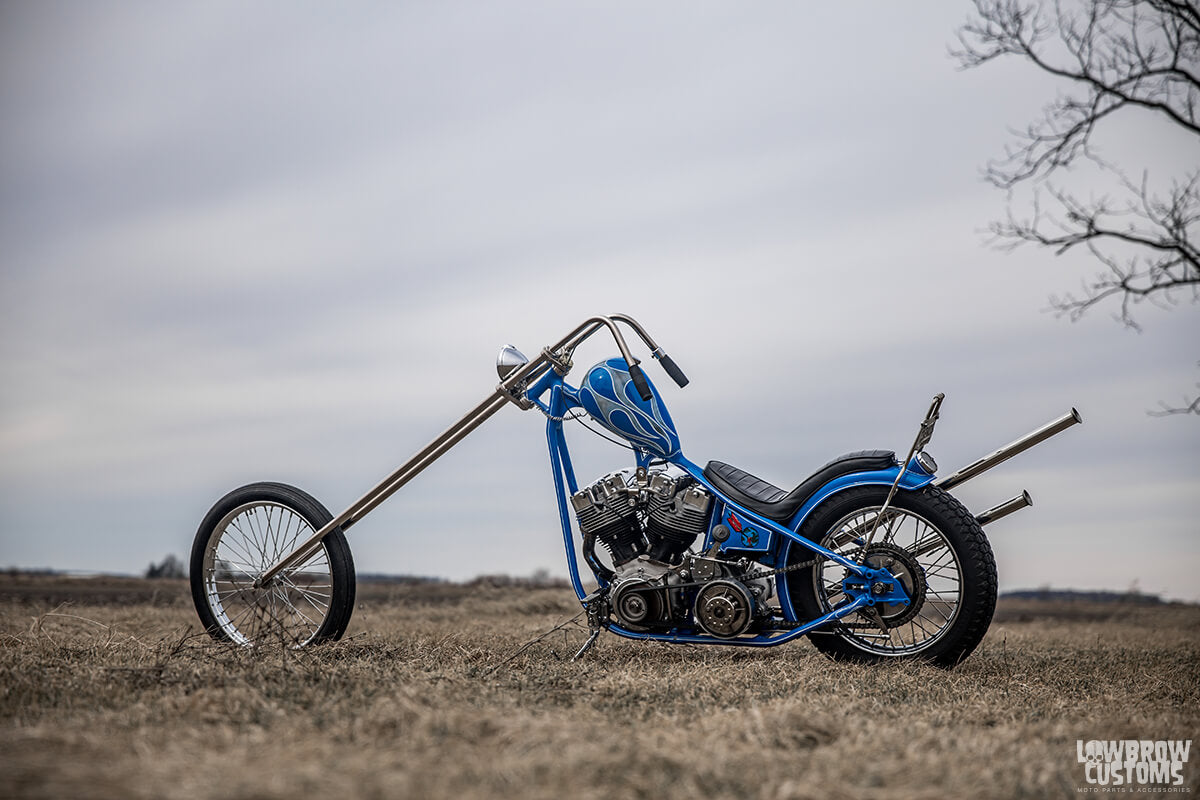 Joel Hauenstein's "The Jart"
 Tyler changed from a 39mm front end to a W&W Cannonball Springer on his Panhead
 Examples on how to measure MidUSA springer front ends length.
 The broom method.
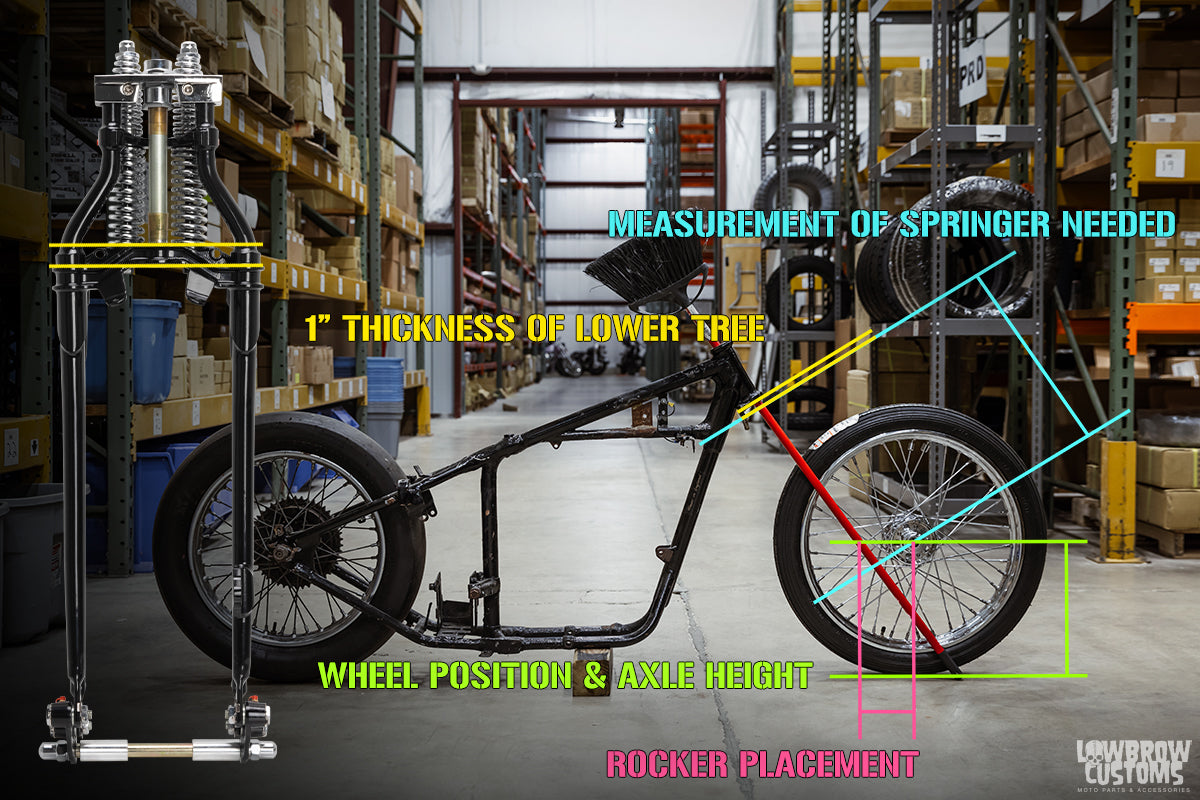 Broom trick measuring for a springer front end.
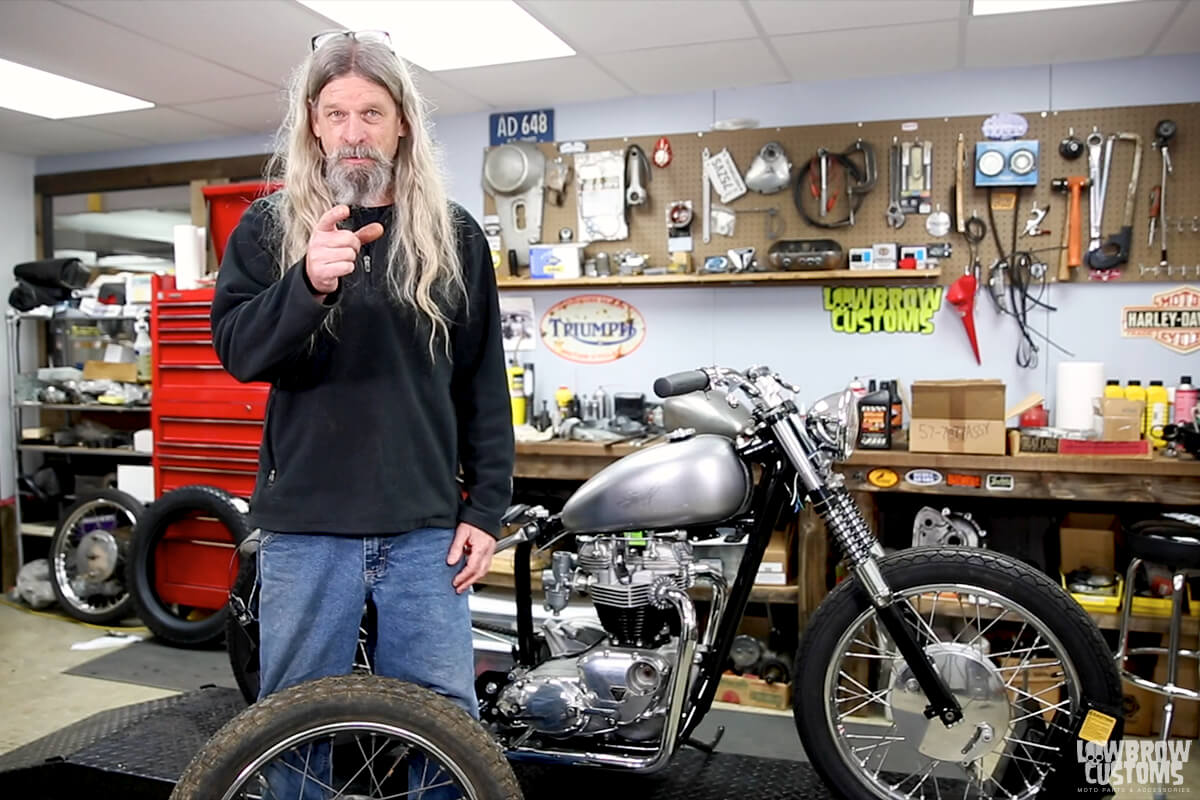 "You got this!"
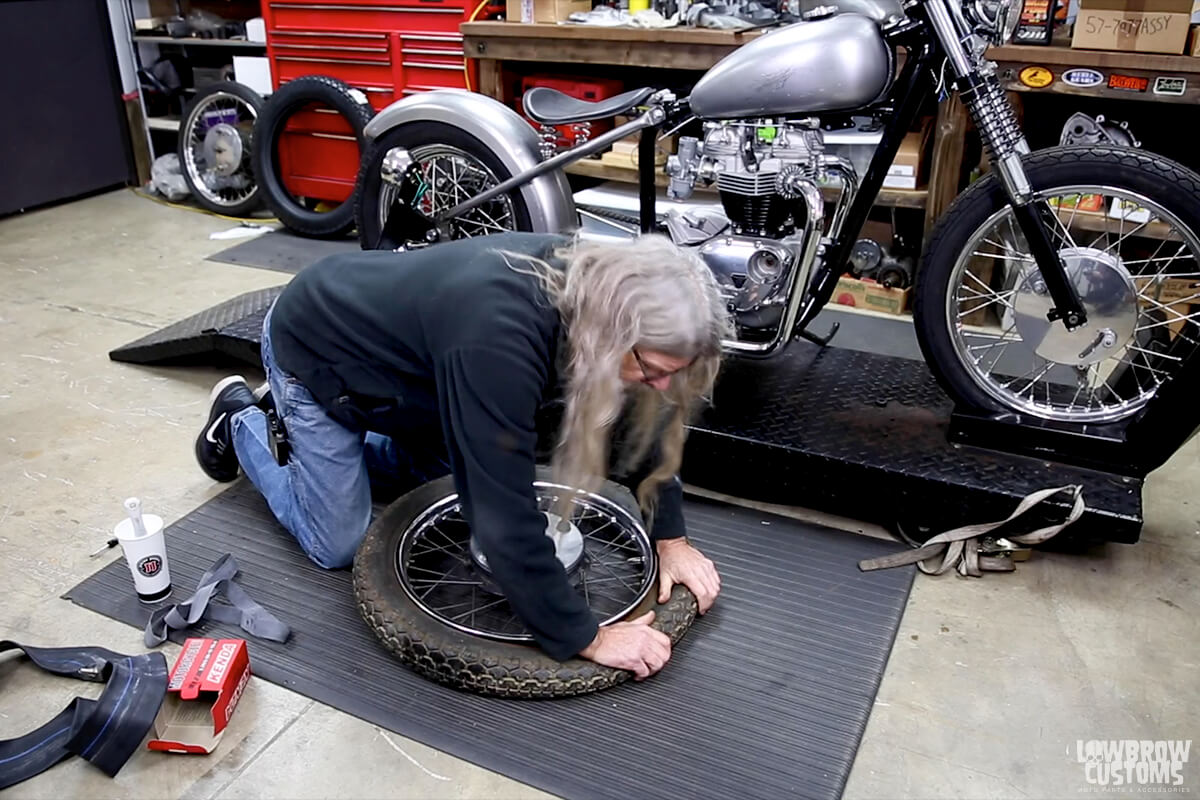 Break the bead!
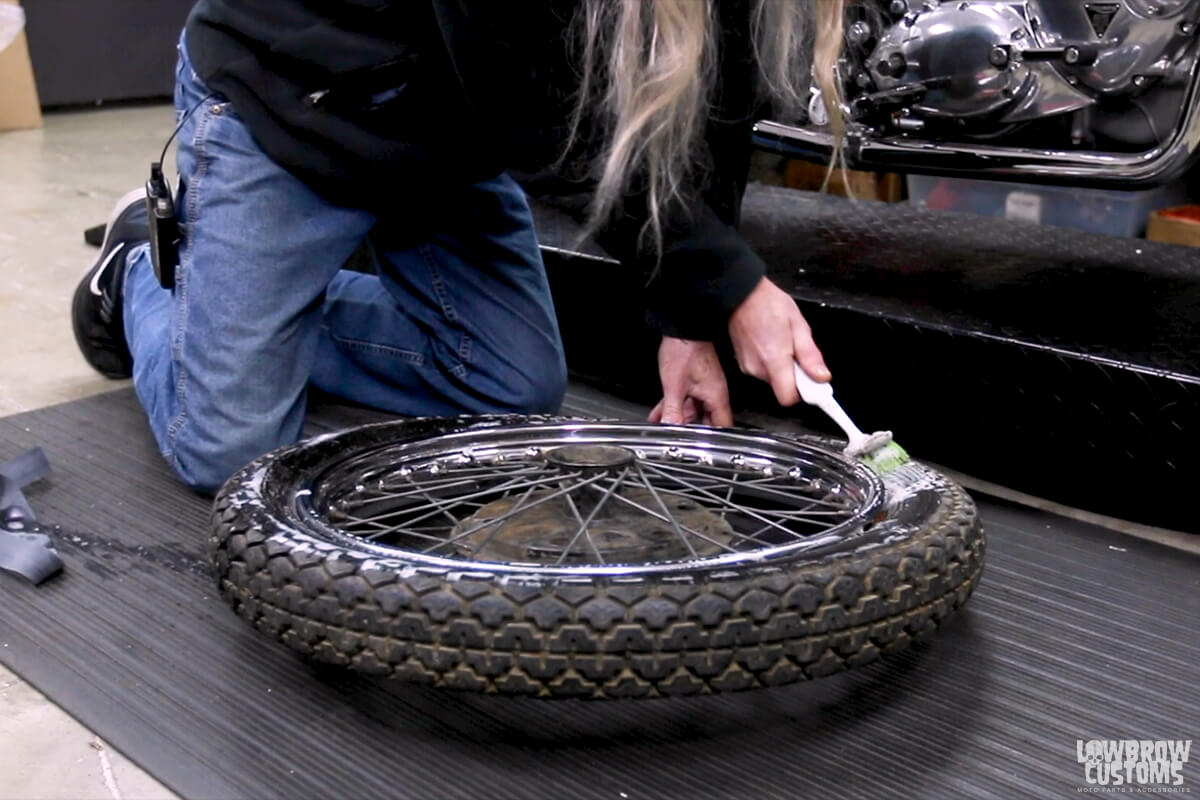 Lube it up with your favorite elixir.... dish soap and water combo always works great.
 Use a combo of tire irons to pull the tire up and over the rim.
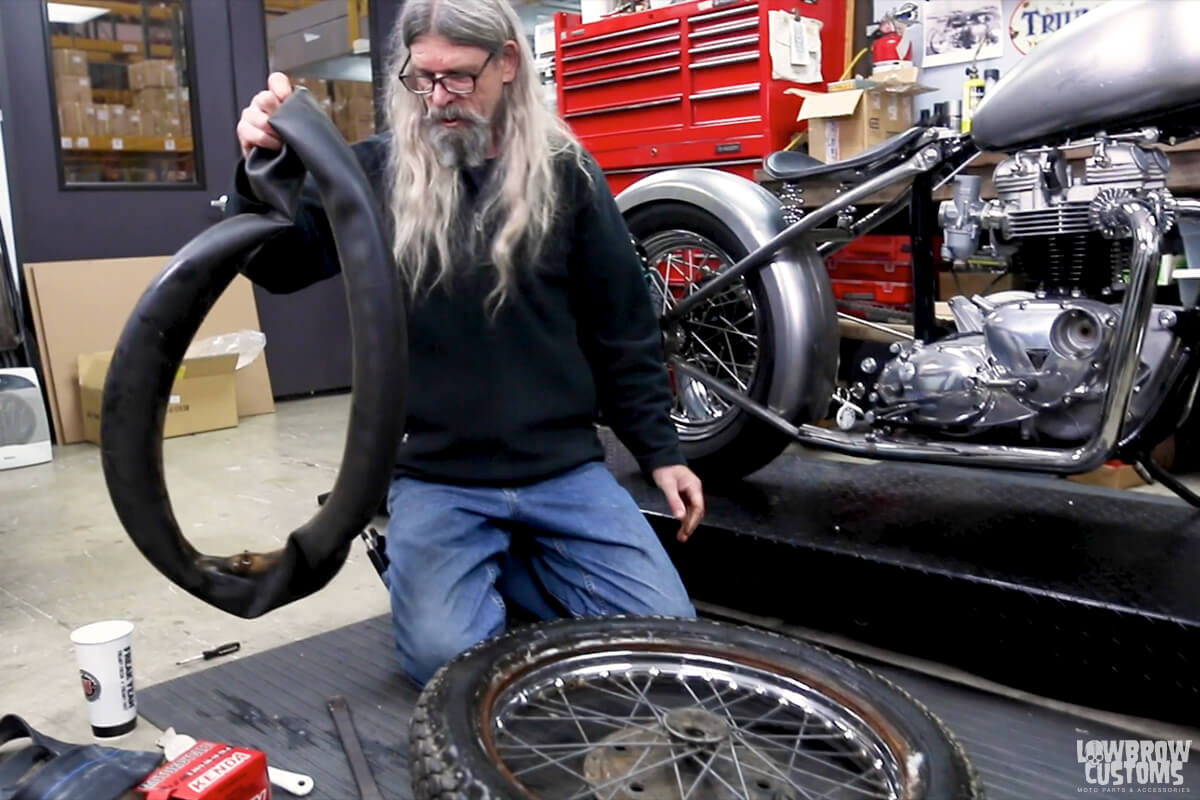 Once you get the first side of the tire over the rim you can pull the inner tube out.
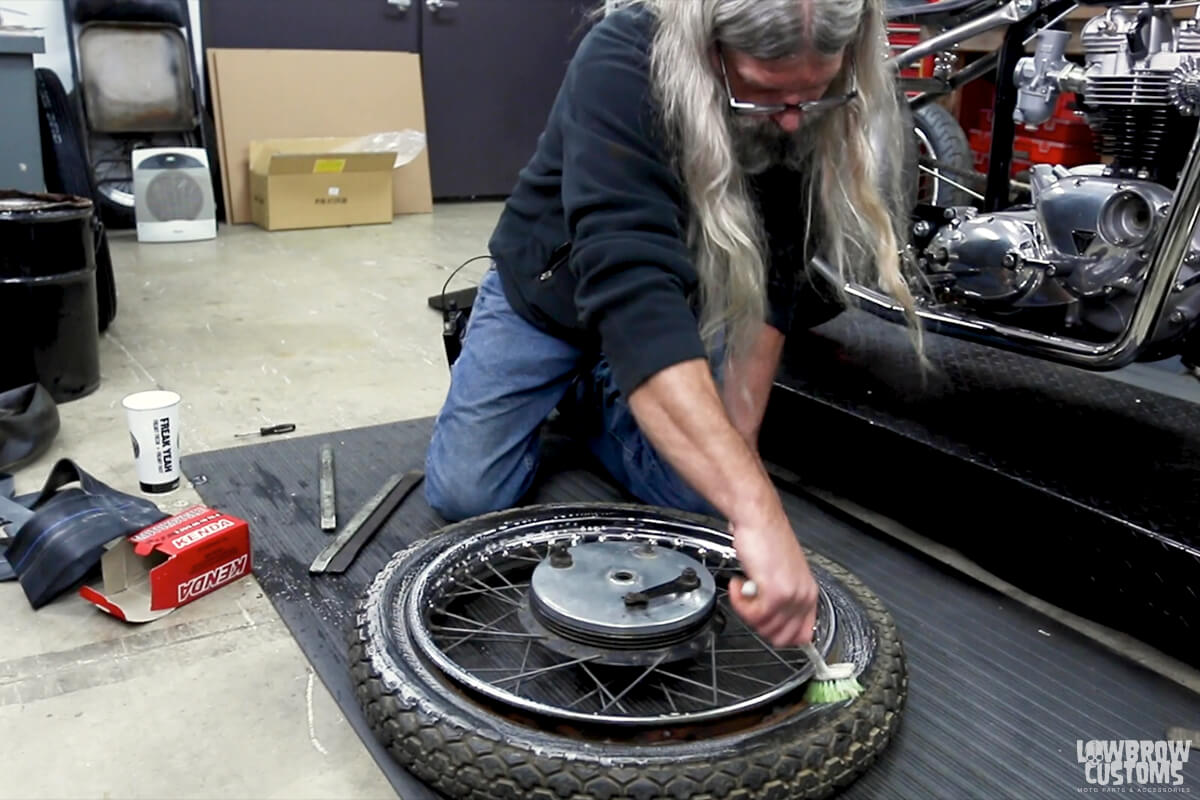 Lube up the other side and flip it back to try and get off the same side of the rim using the tire irons.
 Again using combo of irons really helps pull it over.
 Bam! The tire is now off the rim.
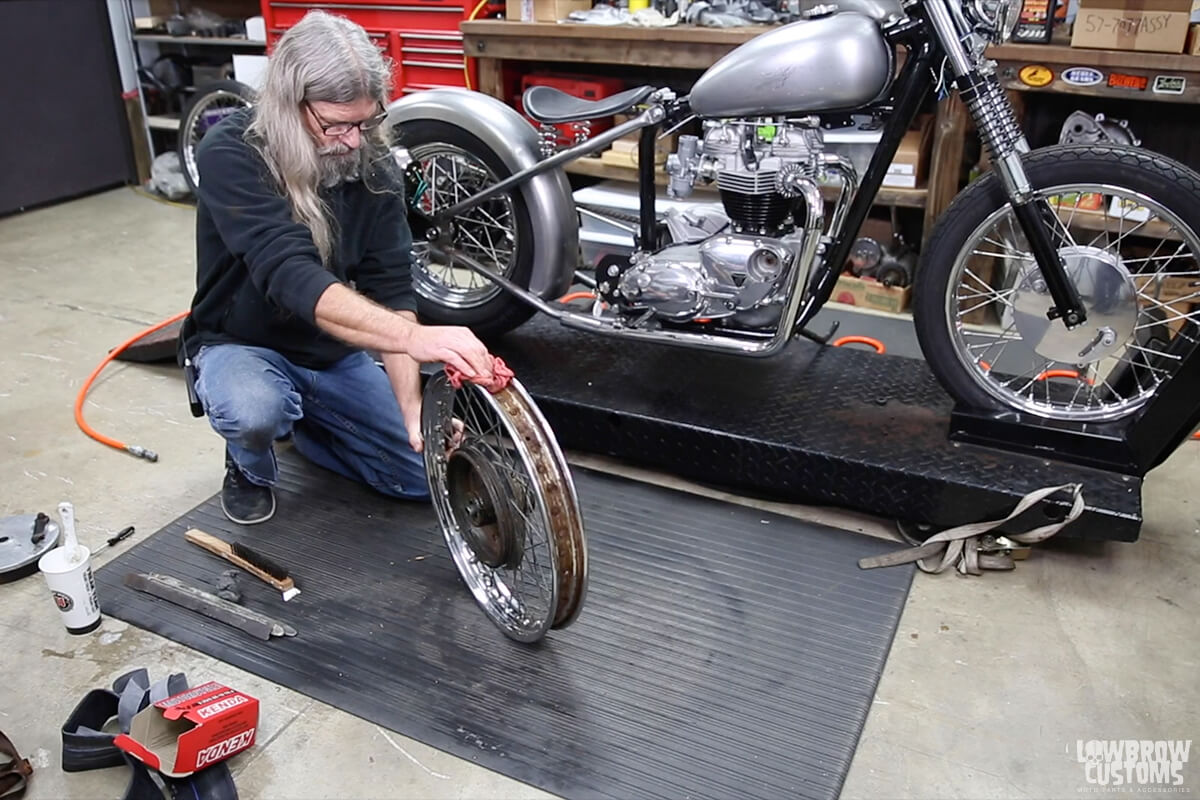 Remove old rim strip and wipe up any water before installing new rim strip.
 Line up the hole on the rim strip with the valve stem hole on the wheel.
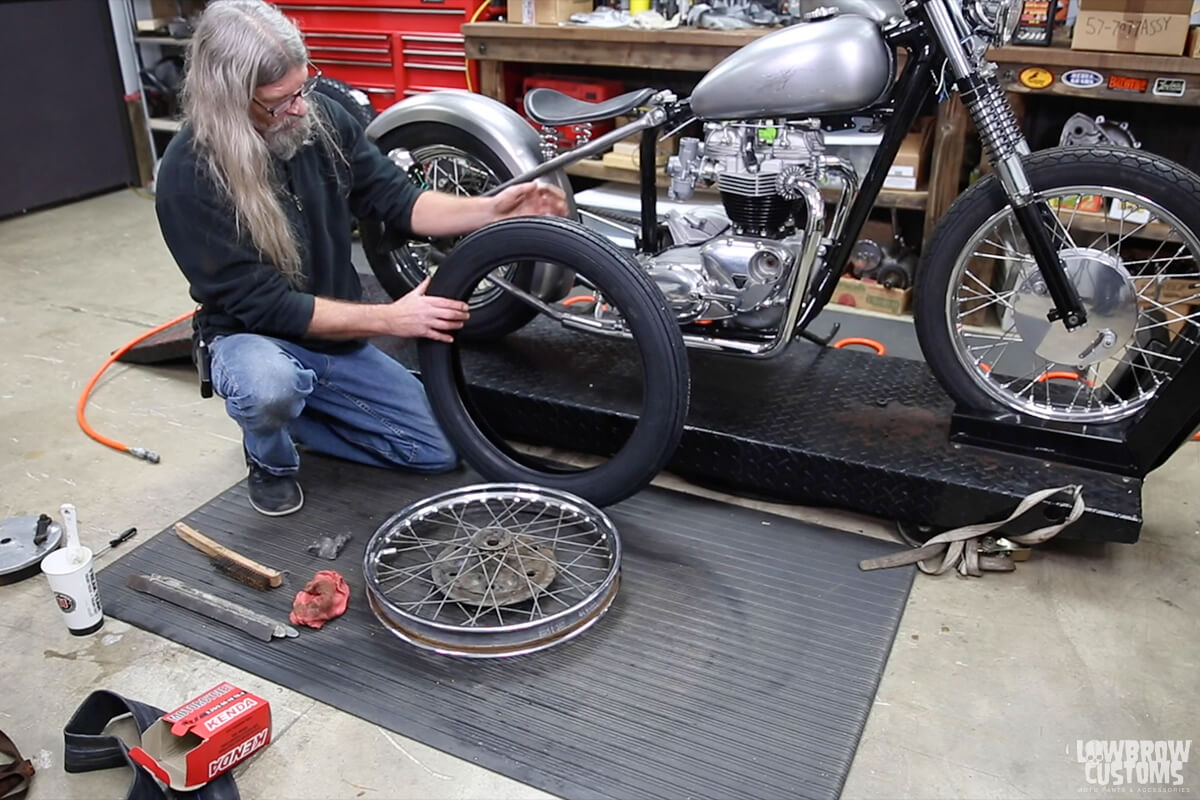 We are gonna use a
  Again, lube is your friend with this.
 Start getting the first side of the tire onto the wheel.
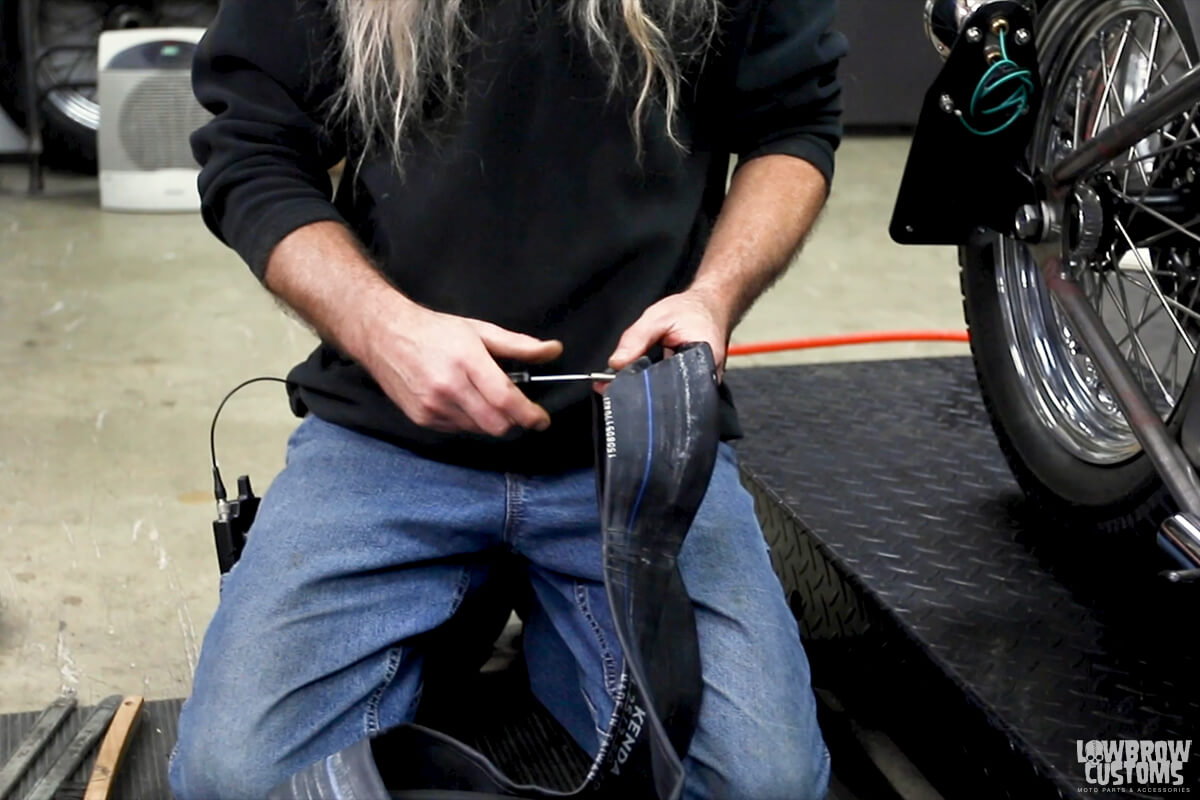 Remove the core out of the new inner tube valve stem. then take of one of the nuts.
 Fill your tube up with air so its not flat, then feed it into the rim. Make sure to line up your valve stem to the valve stem hole on the wheel. Be careful here and try not to bunch up the tube.
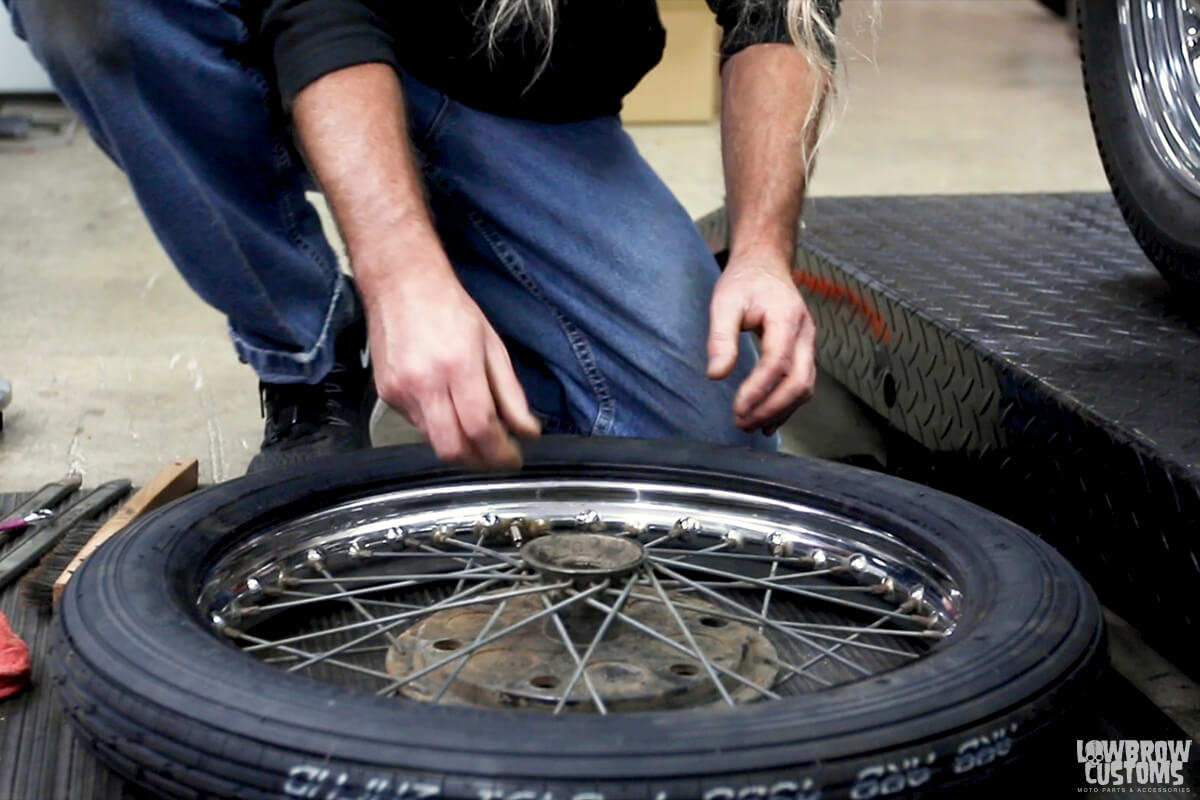 Pull the valve stem through the wheel.
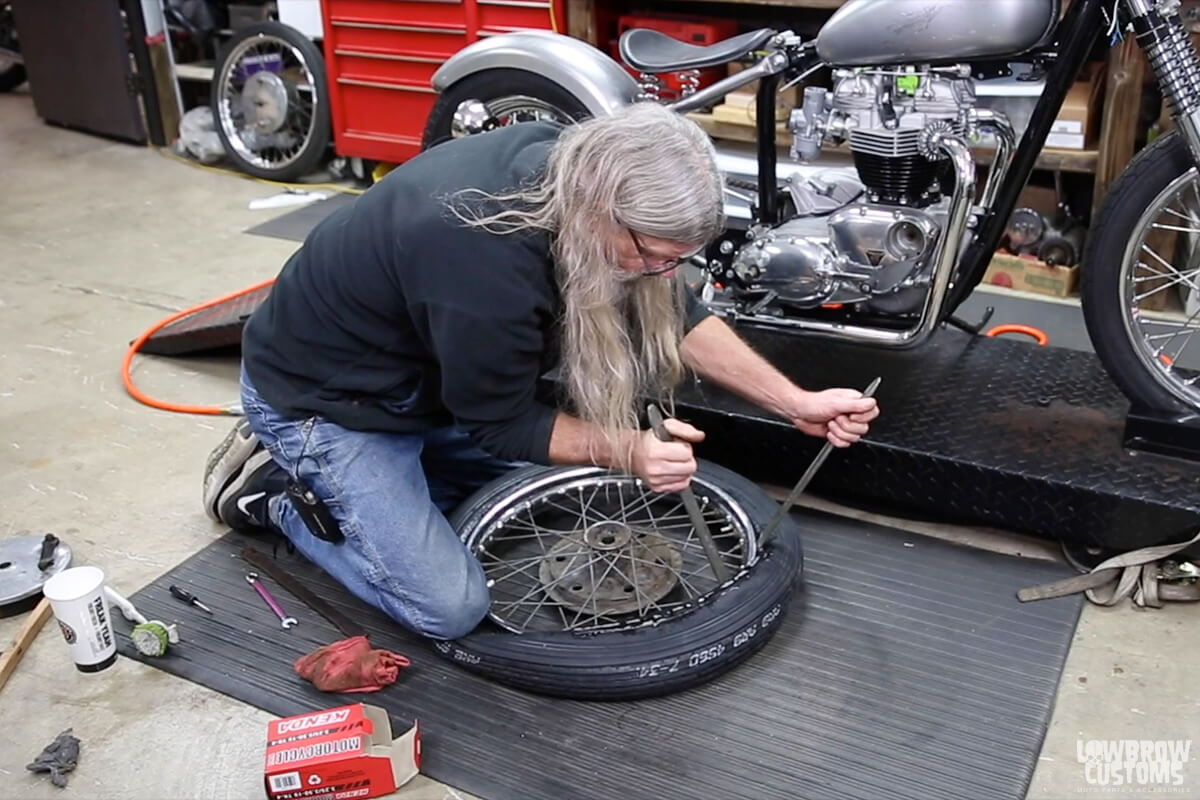 Again using multiple tire irons and your knees can really help get the second side over the wheel. Be sure not to pinch your tube with your irons when doing this step.
 Once you get the tire on the wheel, secure the nut on the valve stem and pump it up and let the air out a few times to set the bead.
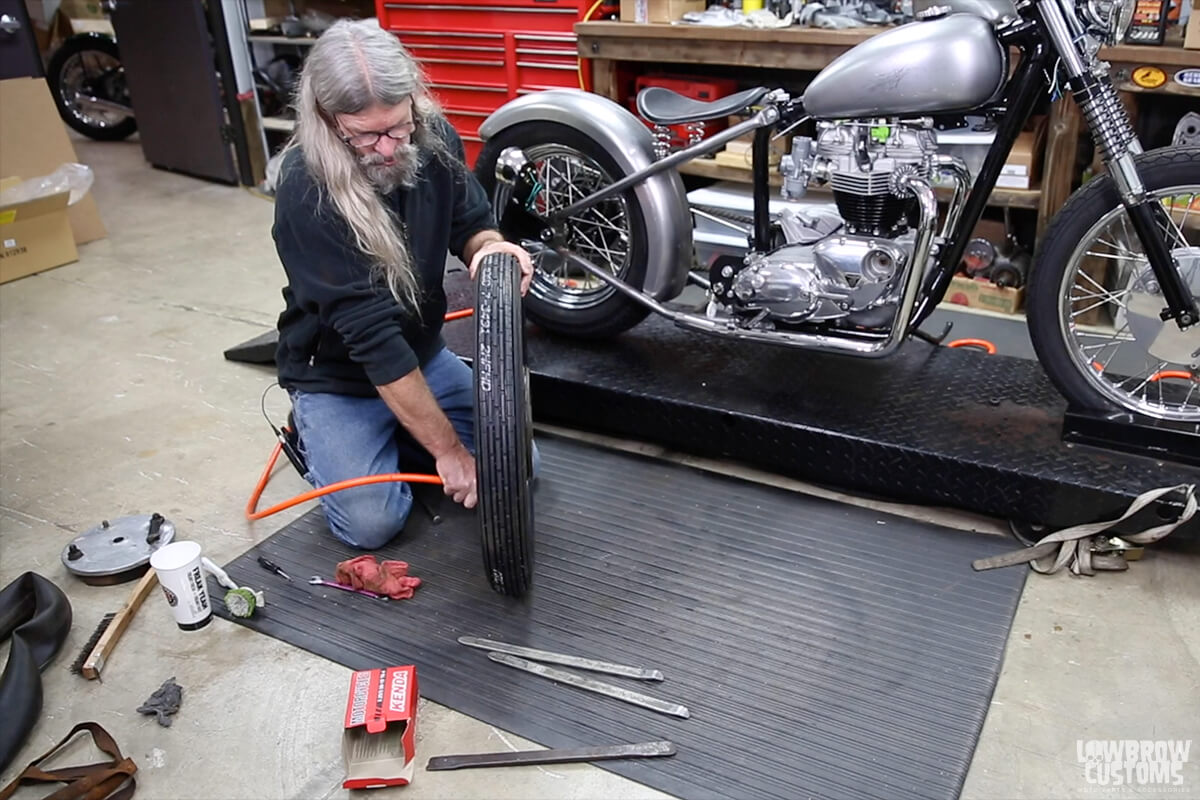 Pump up the jams, pump it up!
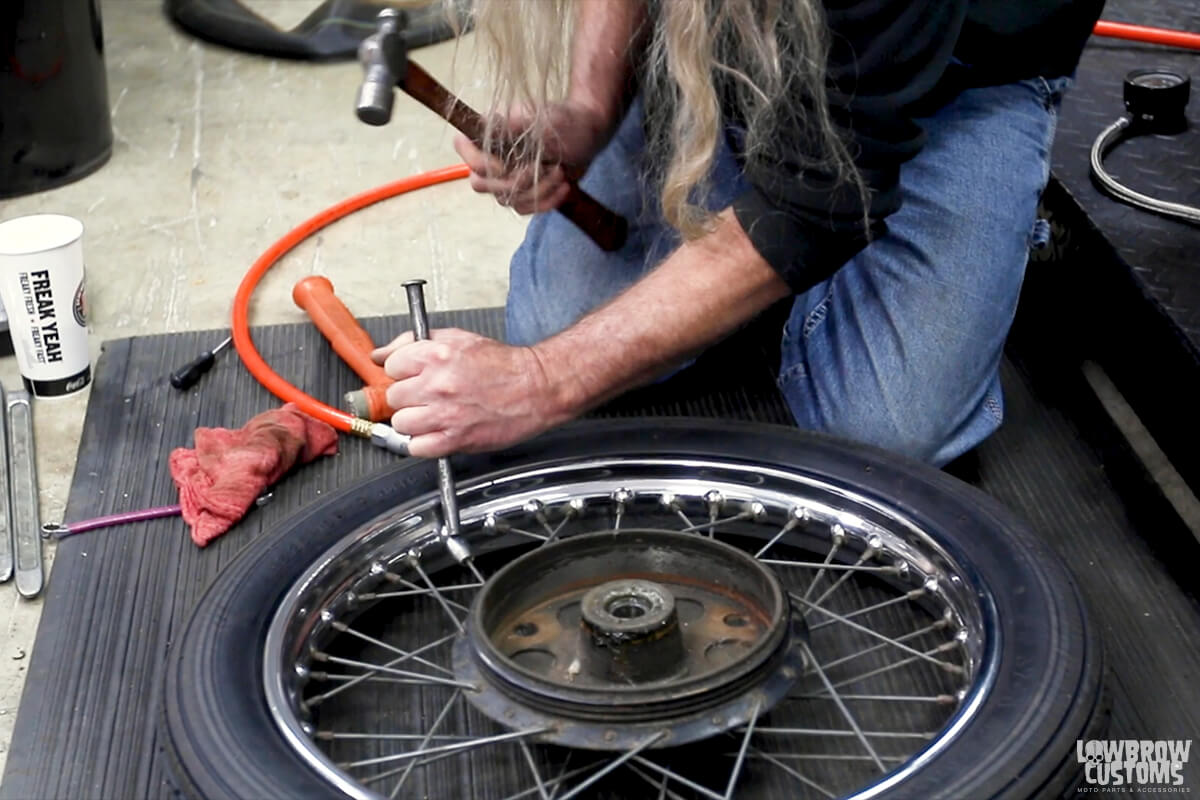 Make sure to take off any old balance weights and take it to a shop to balance if you would like.
 WOOOOOO! You did it!
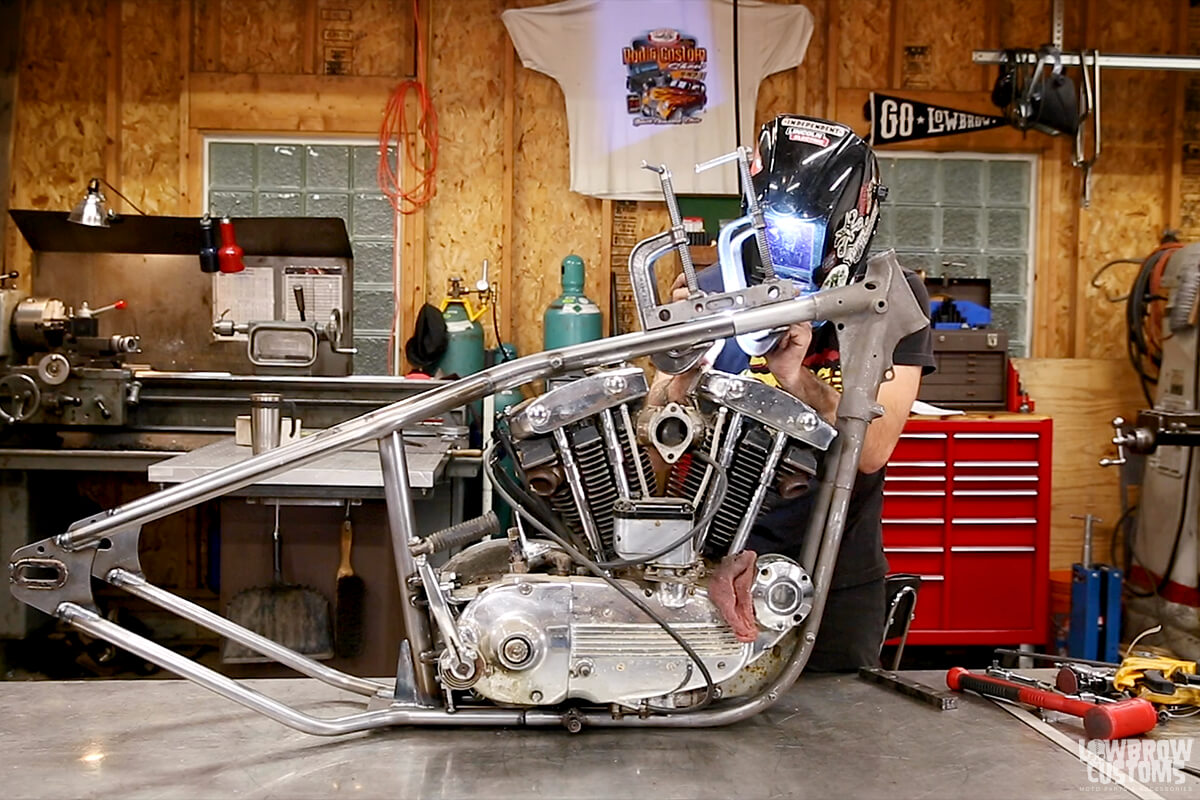
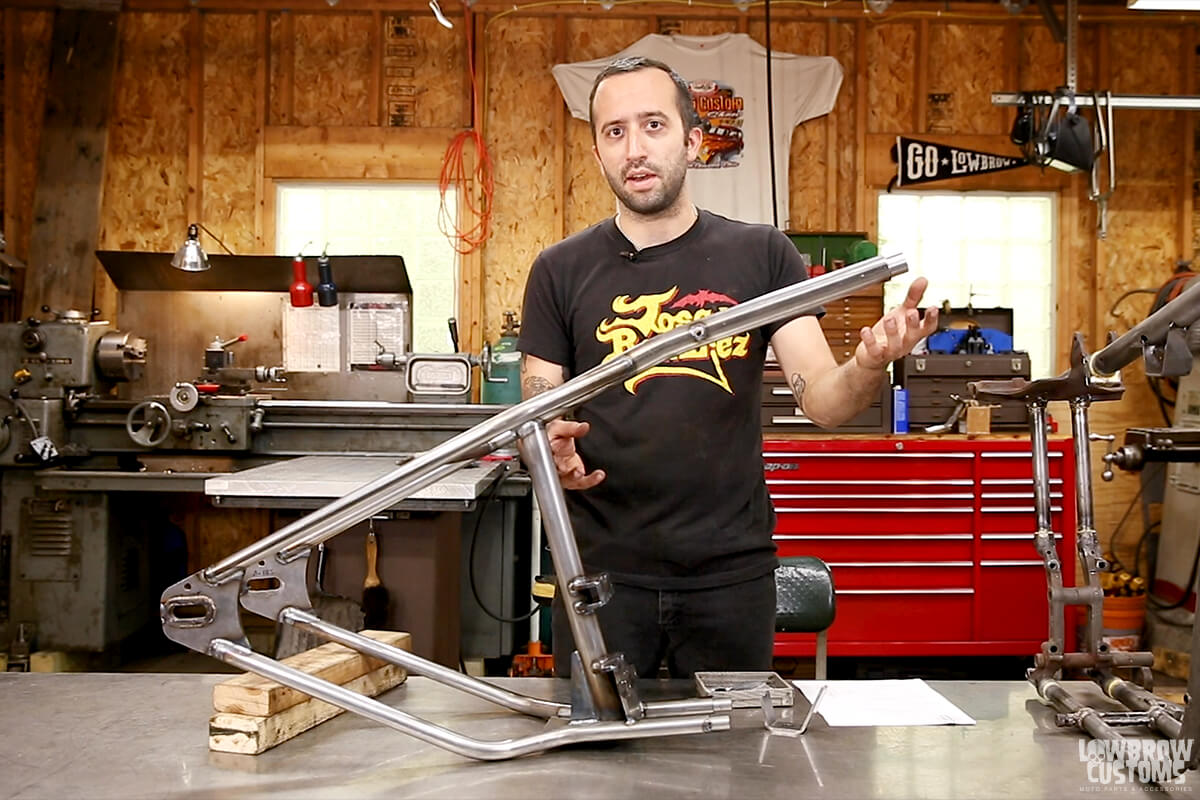 This hardtail is made right here in Cleveland, Ohio and made with the highest quality steel.
 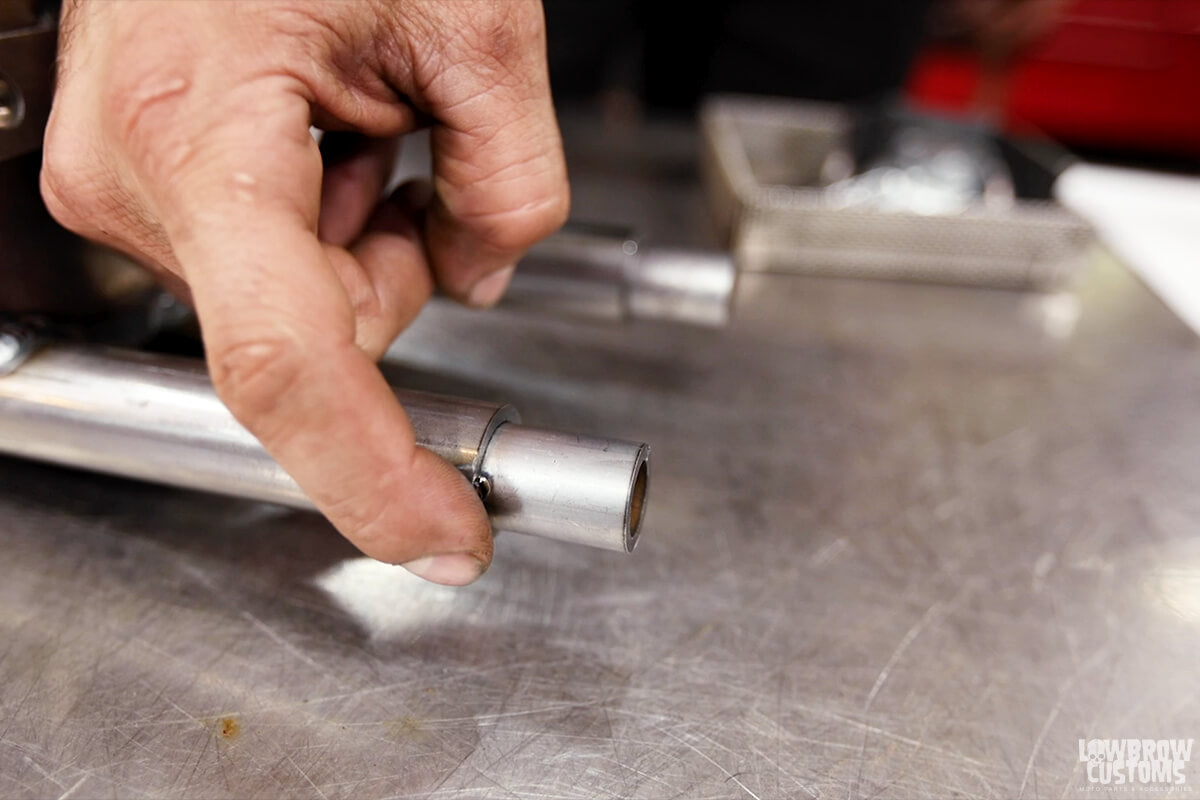 1" tubing with slugs on the bottom frame rails.
 The back bone is 1-1/2" with a hollow slug which will allow for wiring to be fed in if you wanted to run internal wiring.
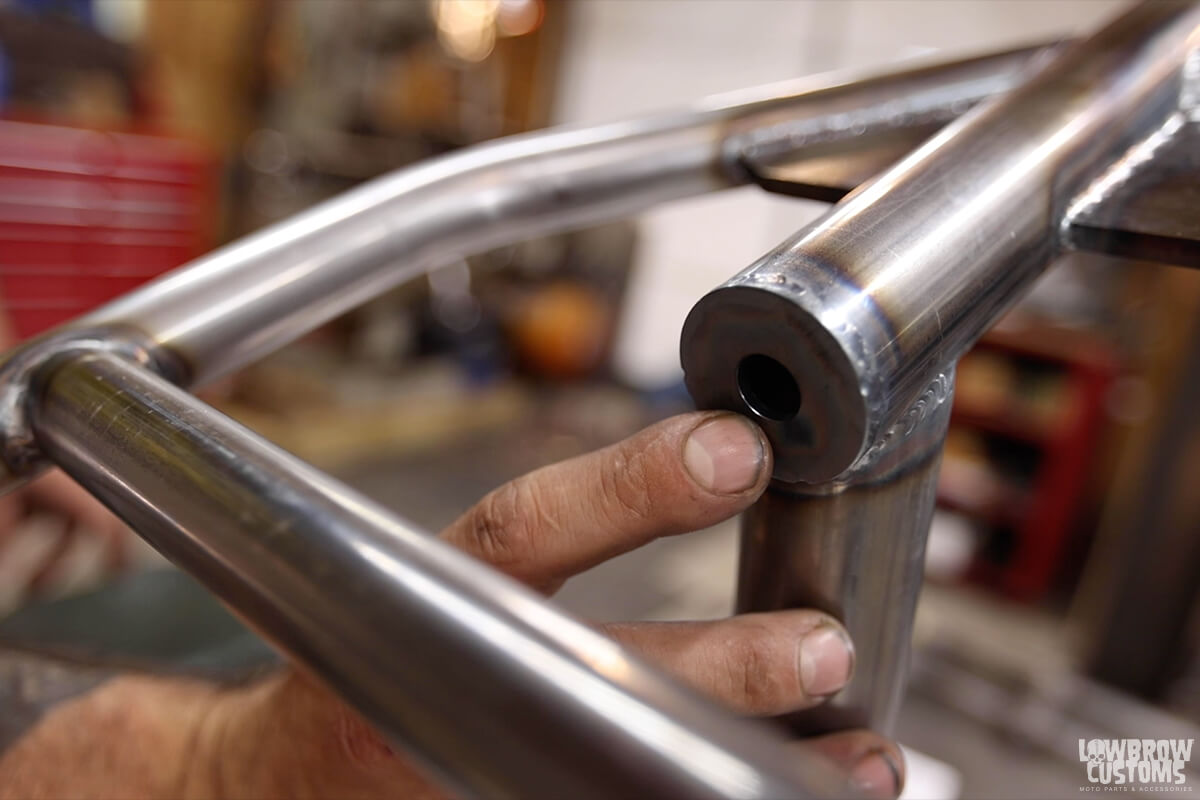 On the back side of the backbone is a larger hole left as well for internal wiring if desired.
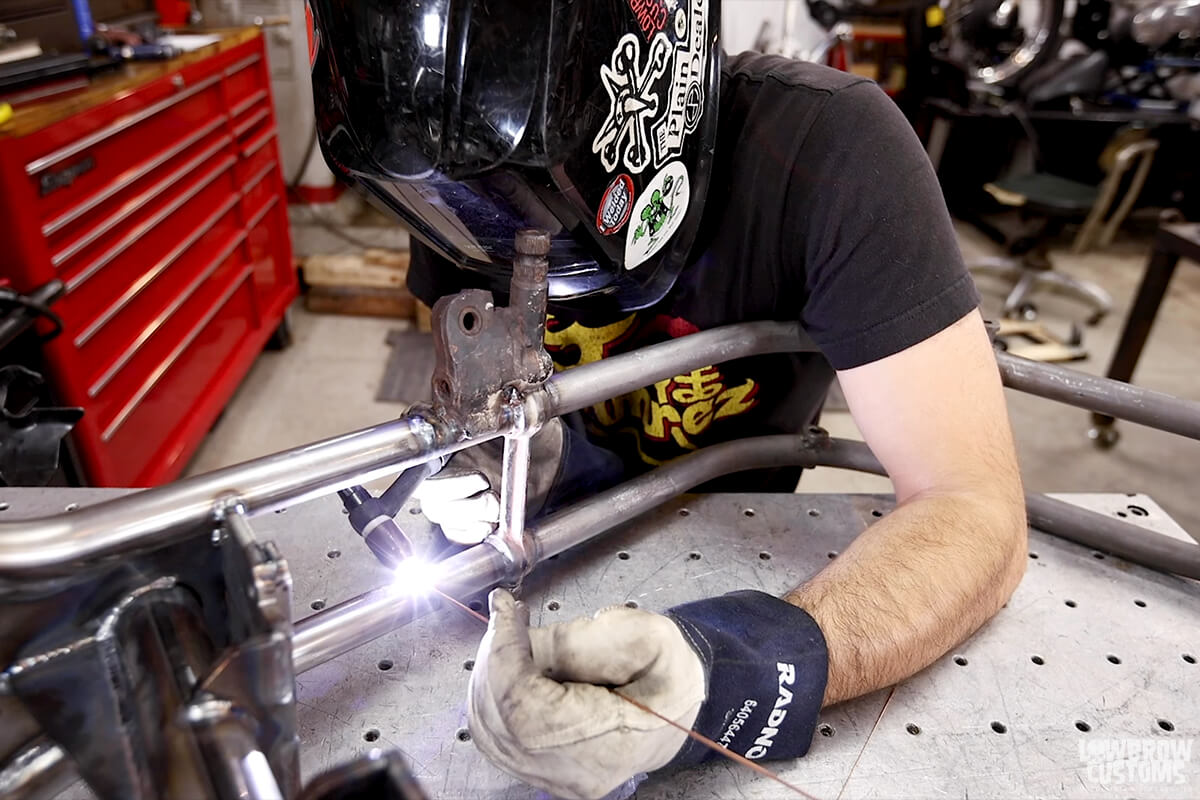
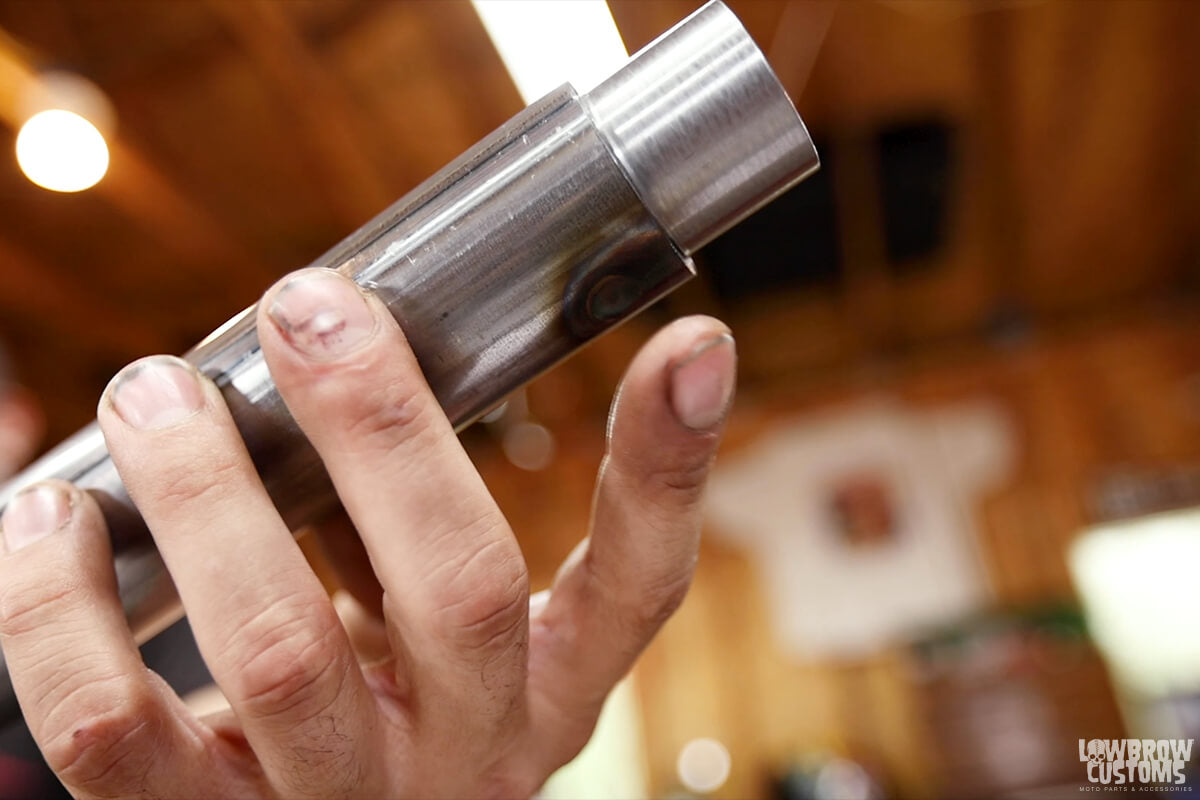 Bot the backbone and bottom rail slugs are rosette welded in and you should also rosette weld the front stock frame rail section when mating the slugs. The slugs make the joints extremely strong.
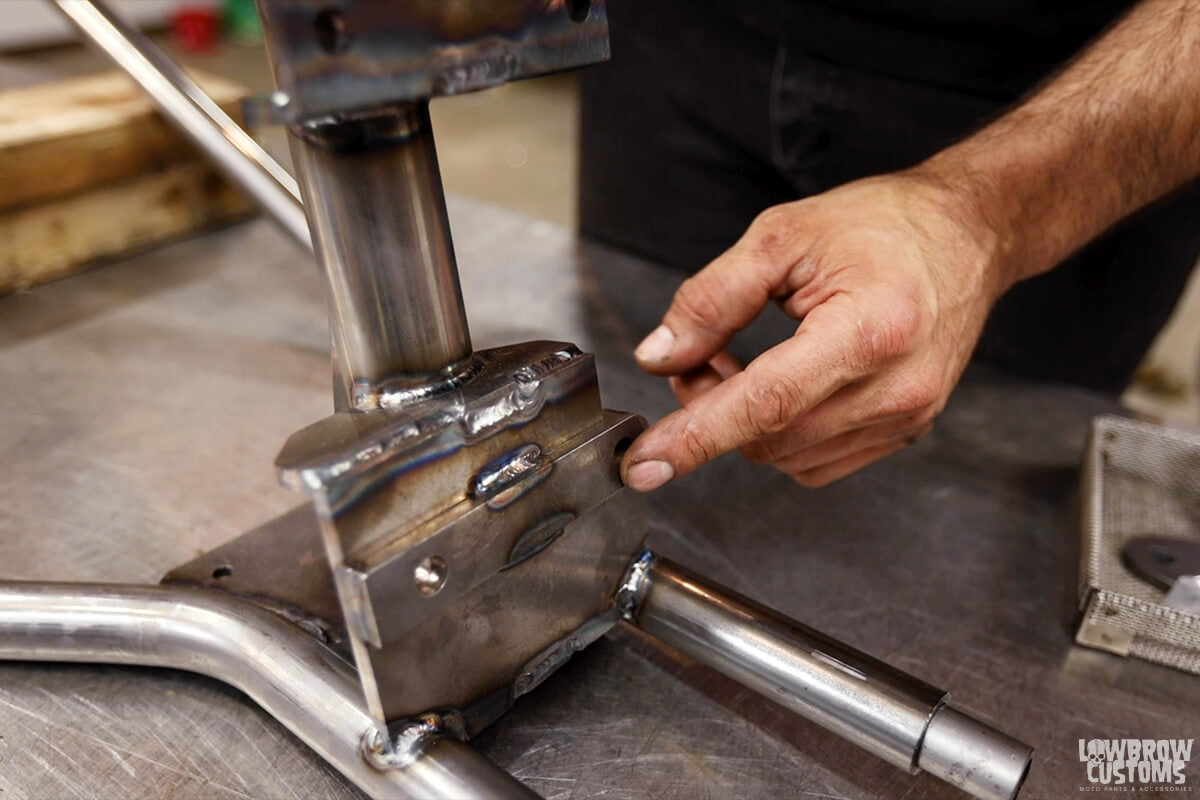 The rear motor mount plates are made up of 1/4" thick plates and make for a great flat surface for you to clean your paint off and give a great flat metal mounting surface to the motor. This prevents the motor mount bolts from ever loosening over time.
 The hardtail comes with an top motor mount tab because you will be cutting passed the top motor mount on your stock frame.
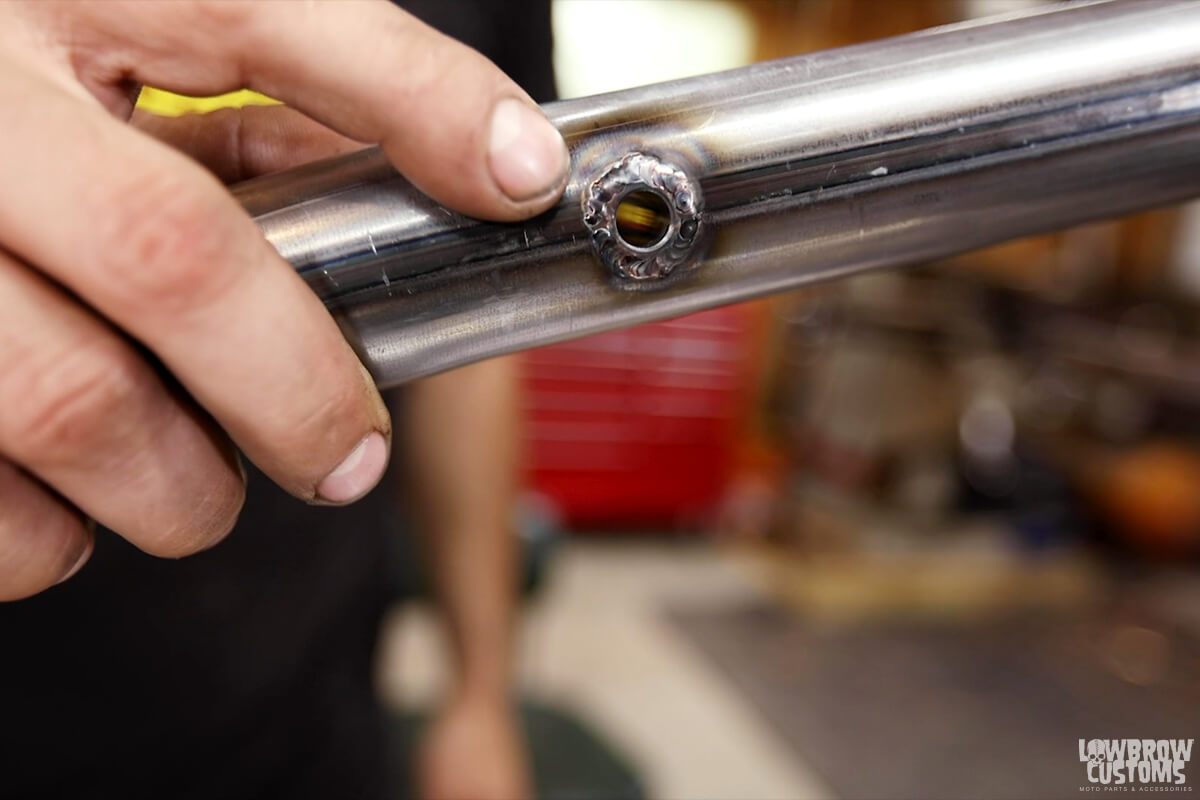 Another great feature on this hardtail is it comes with a stock gas tank mount so you can run your stock Ironhead Sportster gas tank confidently, and with out having to do more fab work.
 The lower motor mount on the back has two mounting holes for an integrated lower fender mount that you can mount a battery box directly too.
 Two gussets on the top make the frame just extra strong and beefy and they could also allow for slots to be cut for seat forks to be slid in.
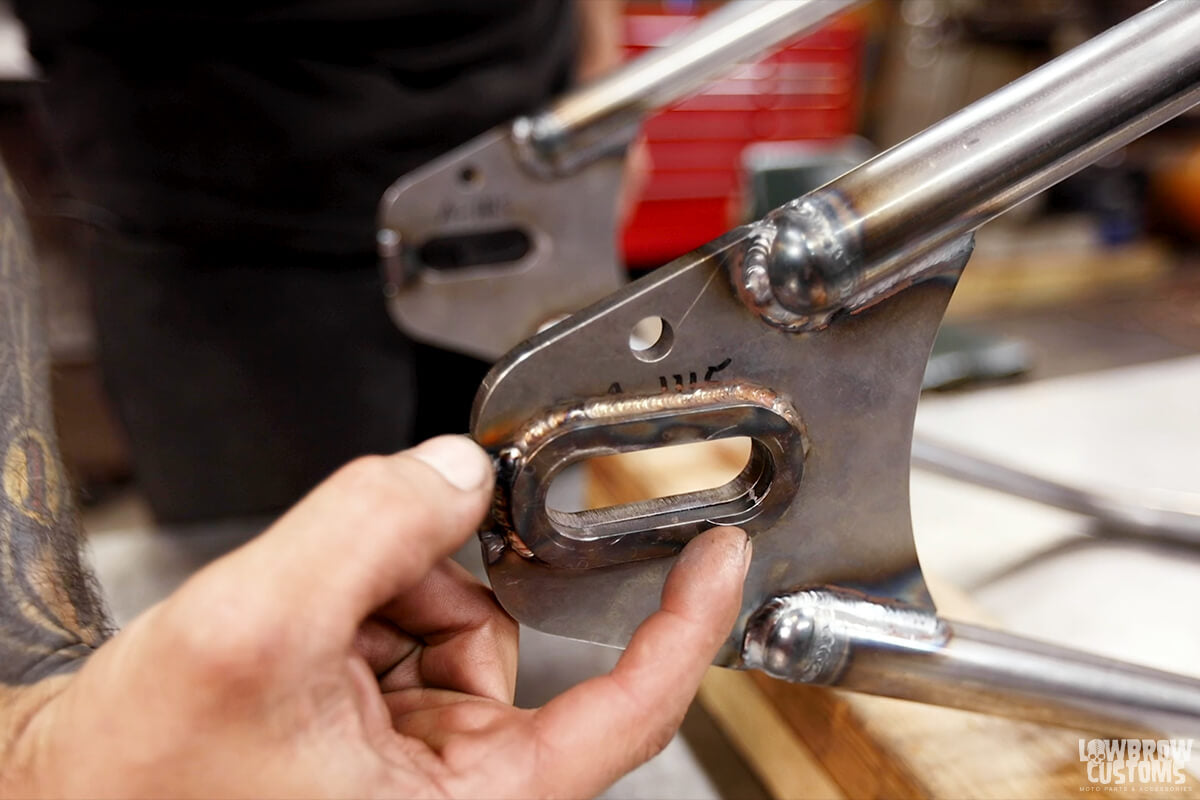 The rear axle plates have a raised stand off that will also allow for you to scratch your paint off and give a clean surface for your axle to live on.
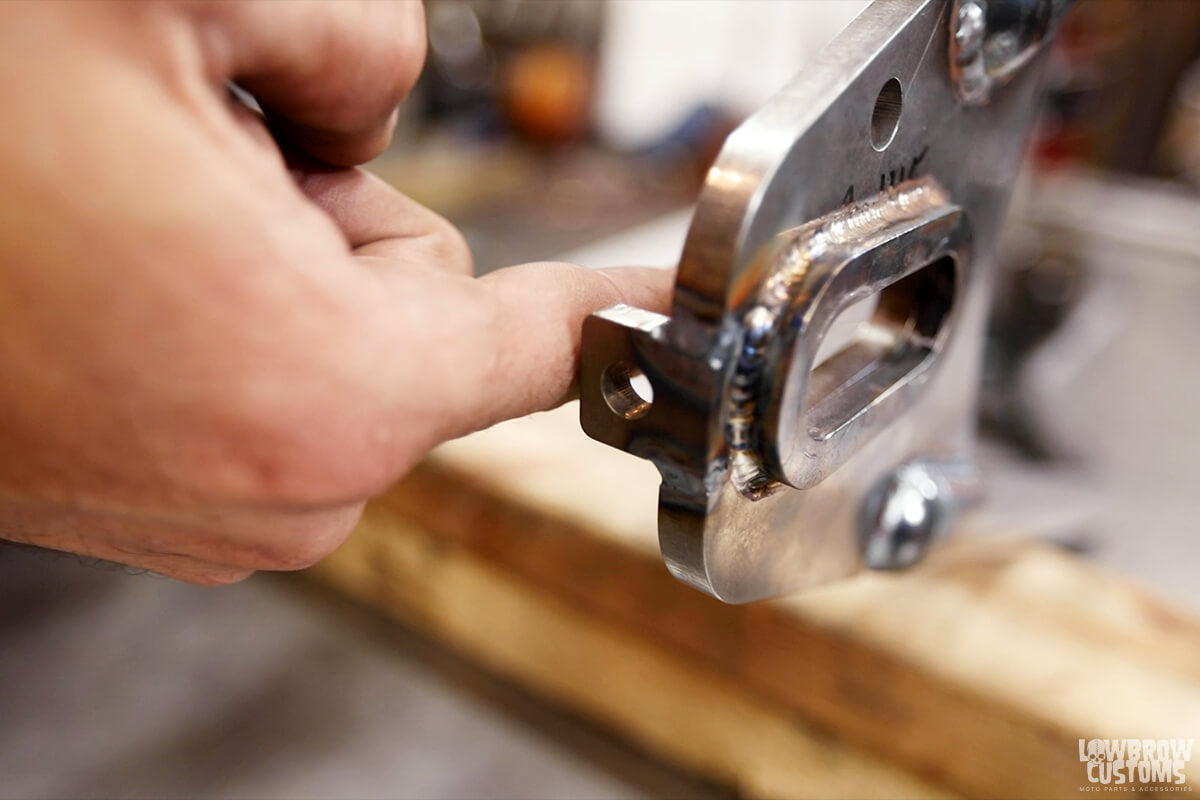 The axle plates take 3/4" axle and you will use a stock style axle adjuster utilizing this fixed tab on the rear. This will allow the adjusters to pull back just like a stock bike.
 These axle plates are mirrored and do not have mounts for a drum brake. A brake stay tab is provided separate so that depending on the disc brake you choose to run you can mount in the right location.
 The hardtail kit comes with the necessary hardware to mount the rear lower motor mount to the motor because you know longer have the tomahawk style mount.
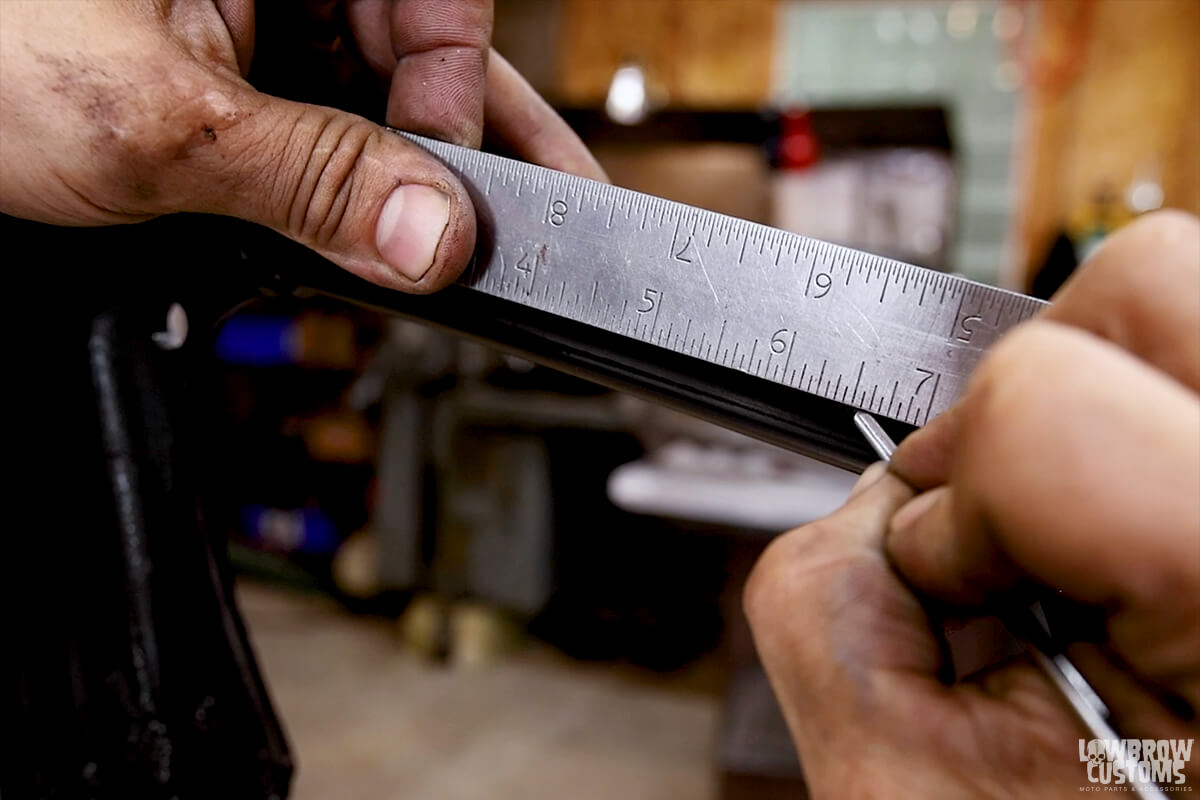
 Measure from the lower front motor mount hole back 14-3/8" on each bottom rail.
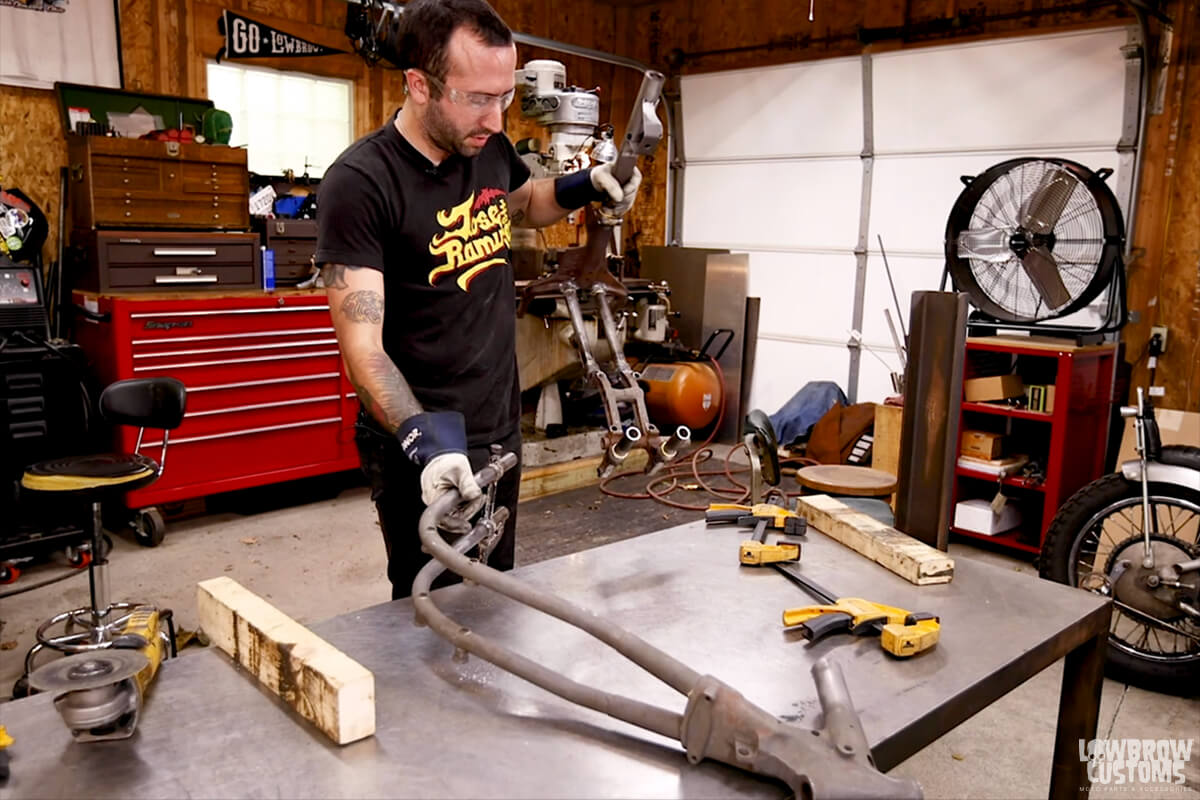 Awe feels good, right!?
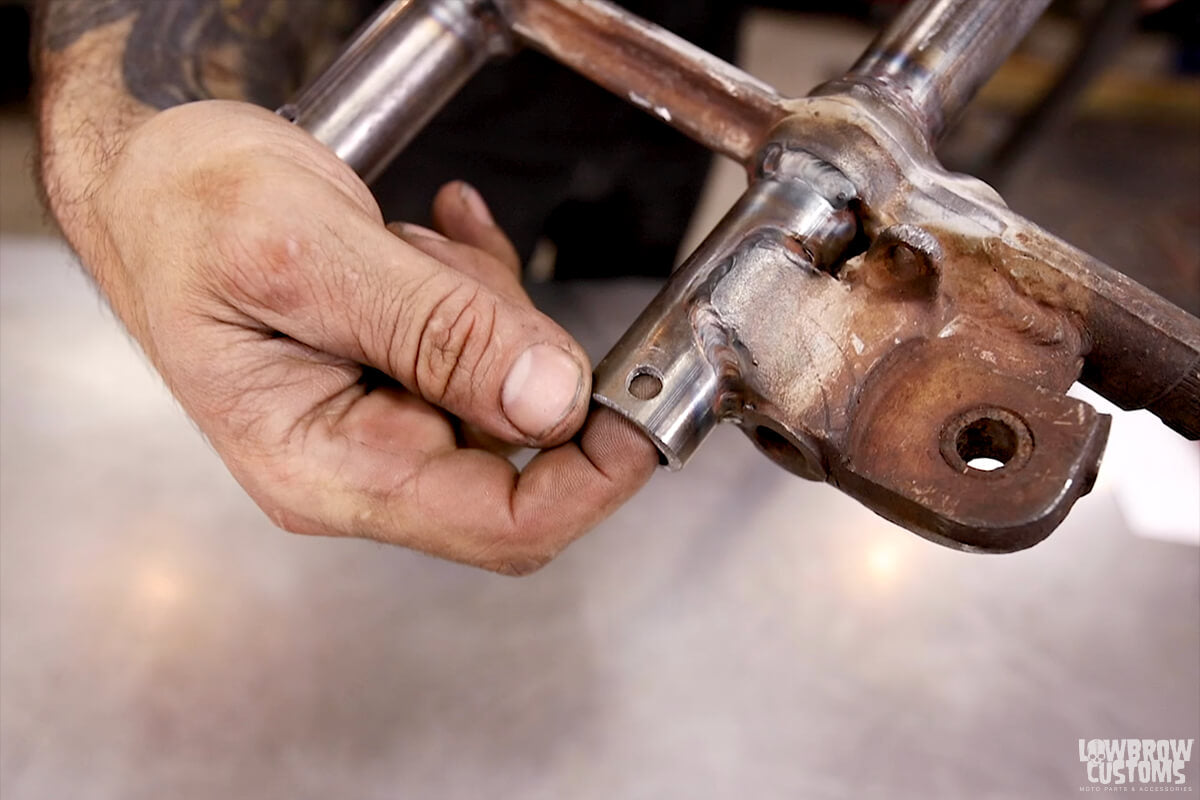 After cutting, on the front section you are going to use to mate with the rear hardtail section. Drill 1/4" holes on the bottom of the backbone and on the bottom of the lower frame rails. Also use a deburing tool to take off any burs on the inside of the tubes.
 Use a rubber mallet to help mate the two together.
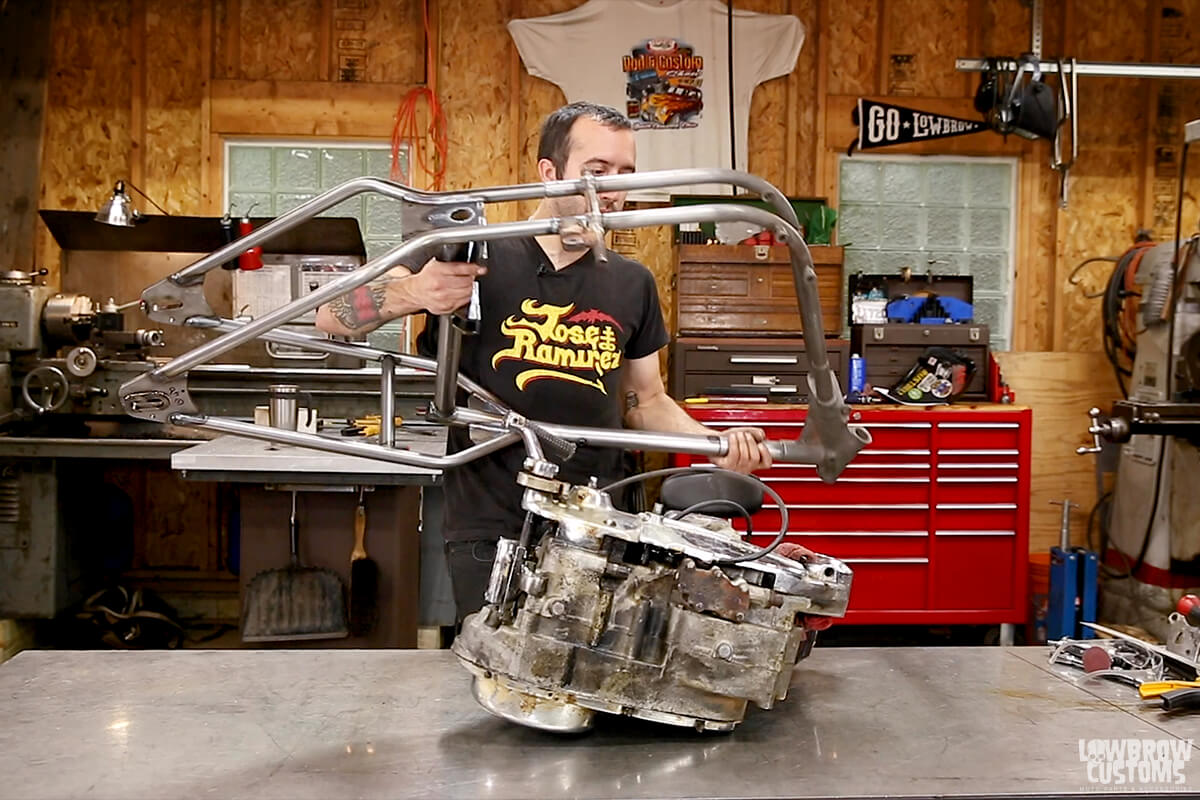
 Use the provided hardware to bolt the bottom motor mounts the the frame. Don't torque them down but make sure they are secure.
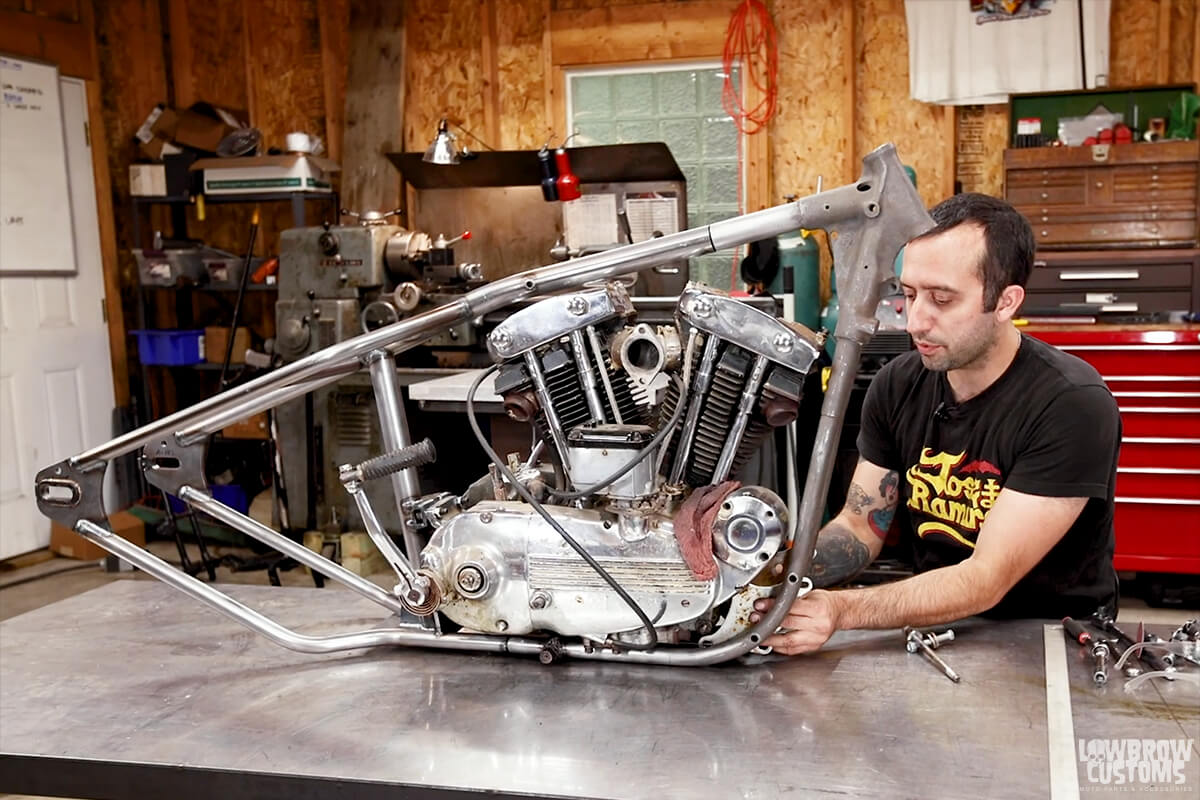 Pick the frame and motor upright and install the front motor mount plates with out the spacers. This will help you see if you have any large gaps and if the motor is in the right place.
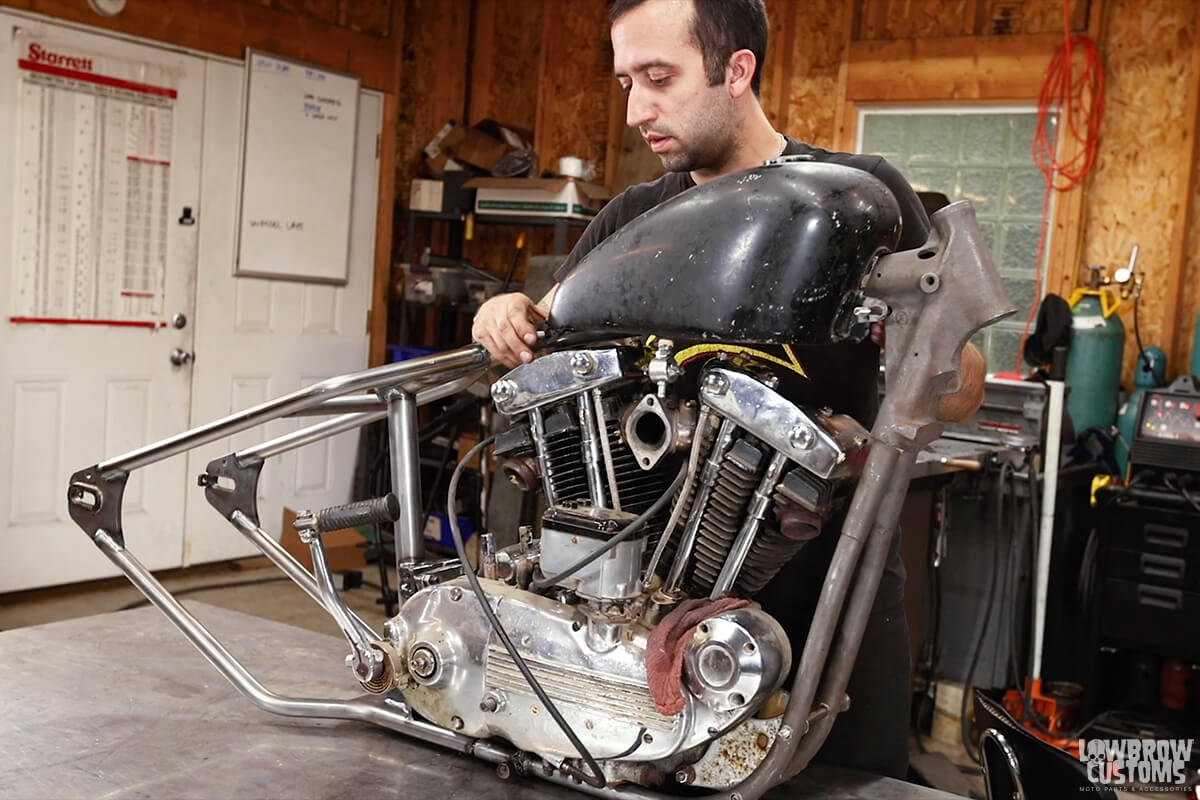 You can also mount your stock gas tank to check the holes are aligned right. But not necessary to use the gas tank as a jig or fixture.
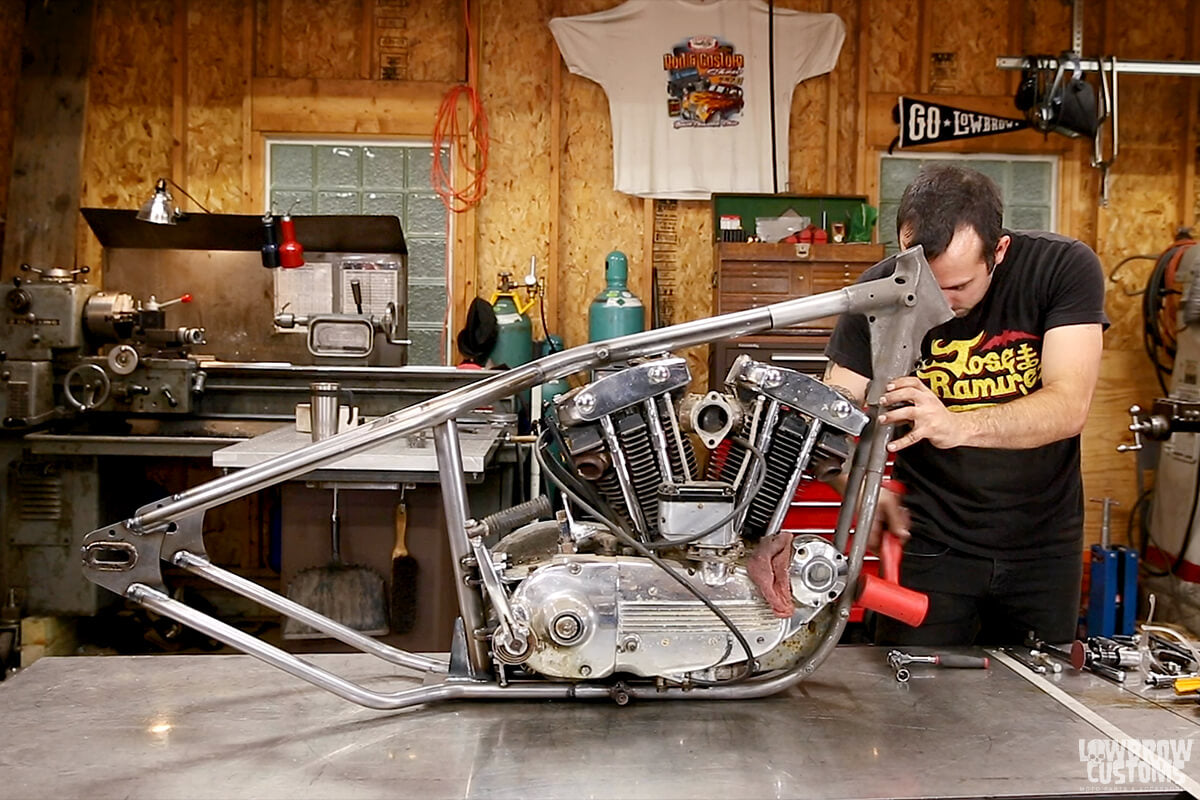 We had a few small gaps on the bottom rails, using a dead blow Tim gives it a few whacks to set it in the right place.
 You want to have about 1/8" gap or less on each of the butted together frame joints.
 This is the ideal position the bolts of the front motor mount plates should be in, the middle of the slots.
 The backbone is about 1/16th to 1/8th" this gap is good for weld penetration and will secure well.
 Tack it up! Well, just the backbone.
  Add the spacers into the front motor mounts and securely fasten them.
  Make sure the gaps didn't change after tightening the front motor mounts and tack up the lower frame rails.
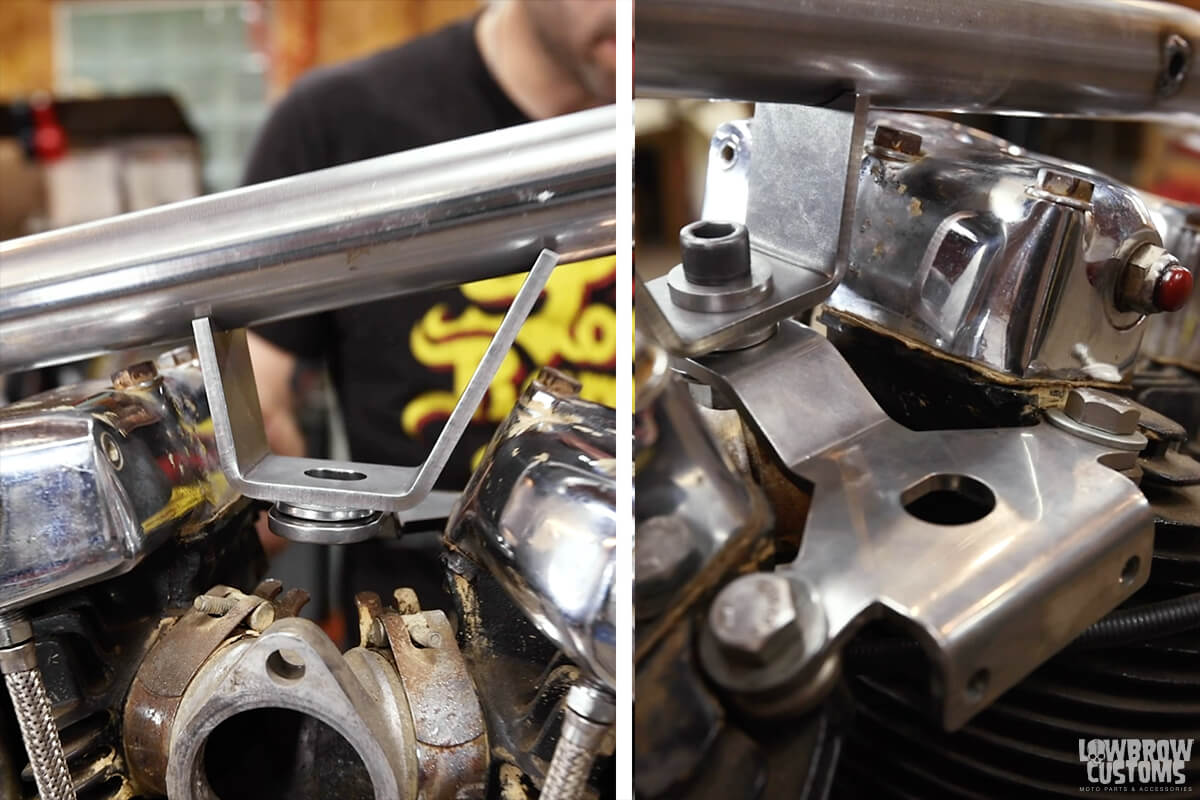
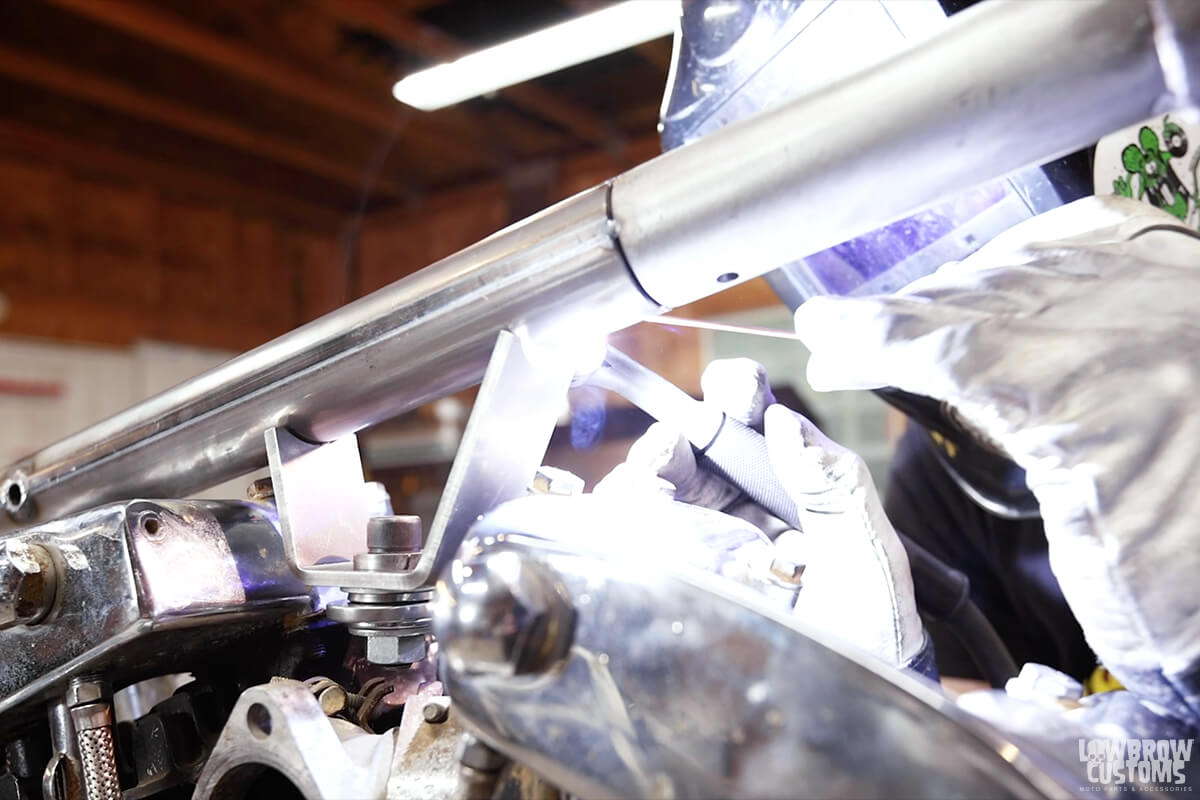 Tack the top motor mount tab to the backbone.
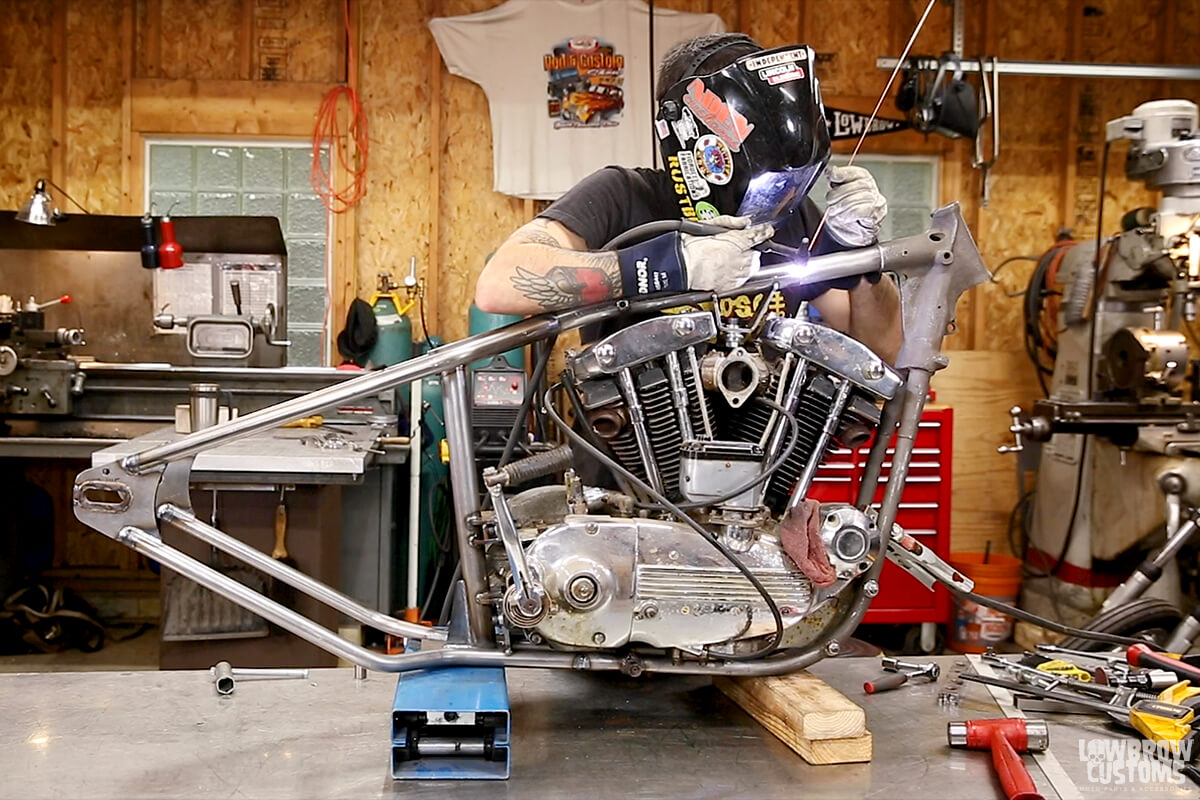
 Much easier to finish weld those hard-to-reach places with the motor out.
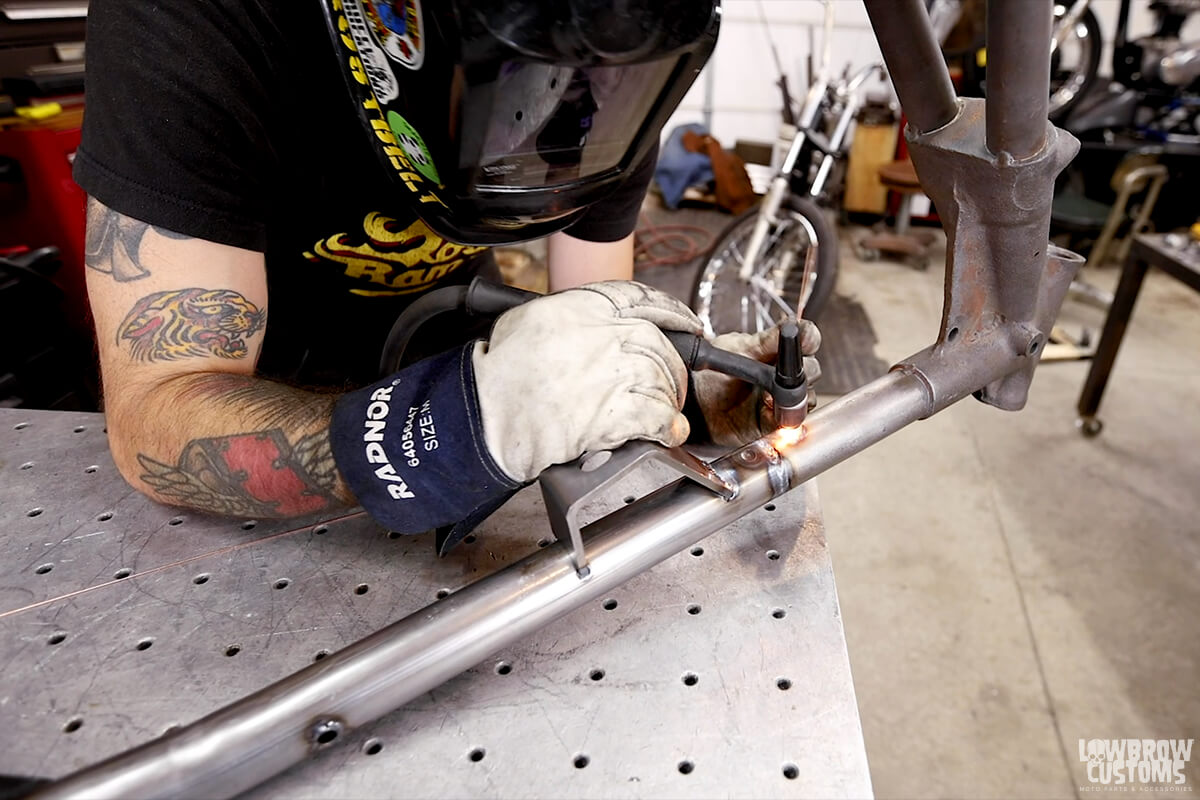 Don't forget to fill your drilled holes for the rosette welds.
 Finish welding the top motor mount. Capping off the weld at the ends and moving it a little on the inside of the tab will add extra strength.
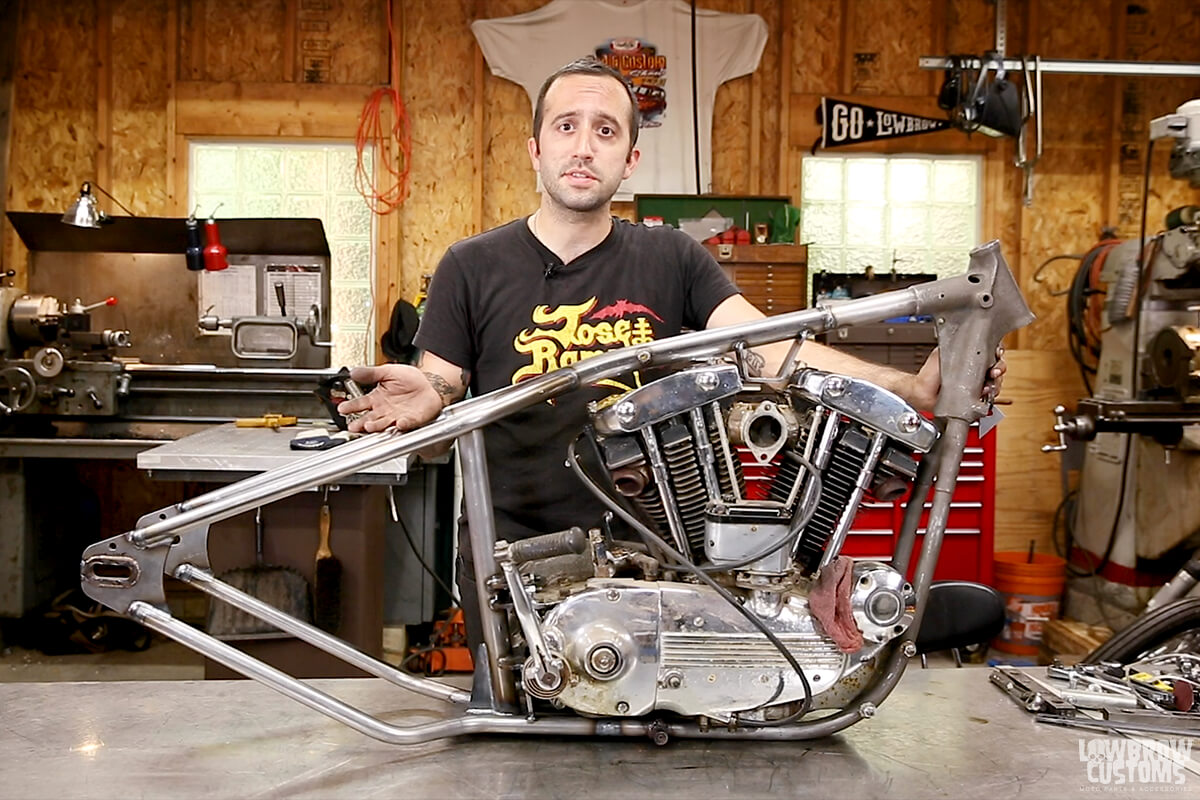
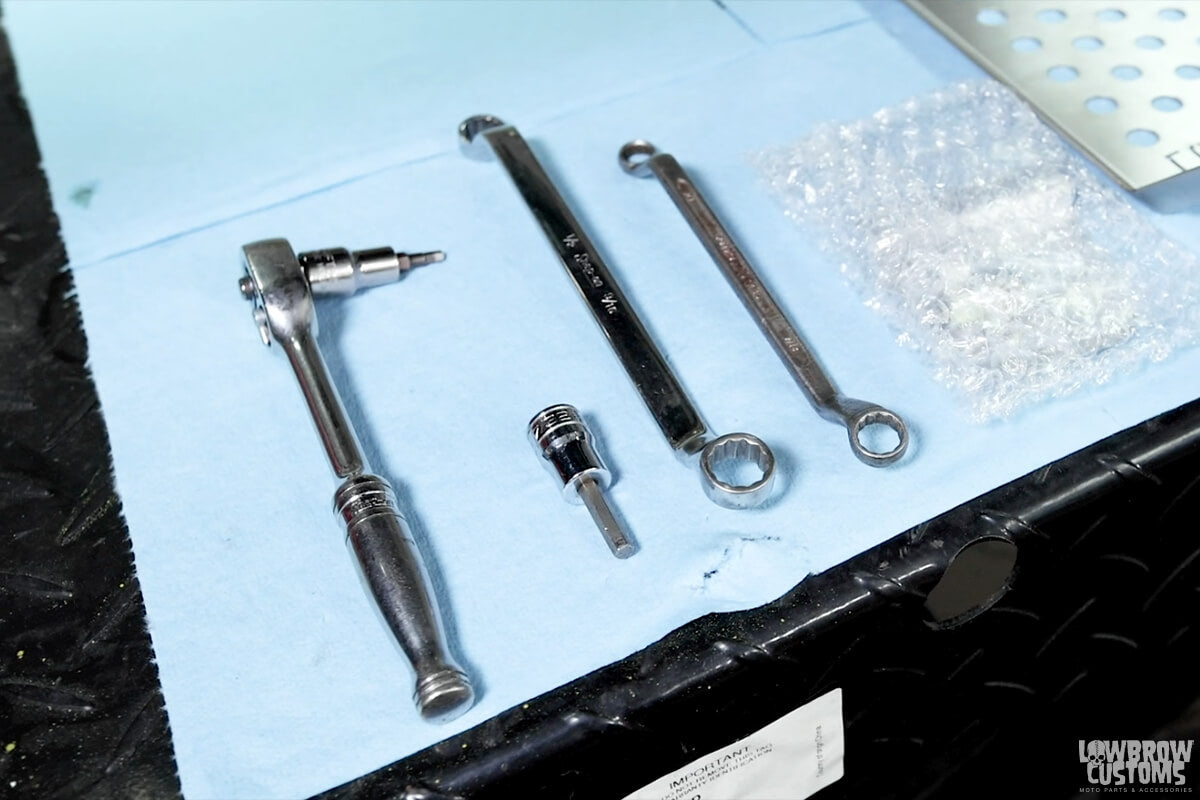 4 simple tools for this job.
 Rear mounting tab for the Sportster skid plate.
 The tab gets installed here, facing toward the rear of the skid plate.
 The button heads showing on the bottom of the bike, the nutshidden on the inside of the skid plate.
 You can put the plate on its side to give you some good leverage when tightening the hardware.
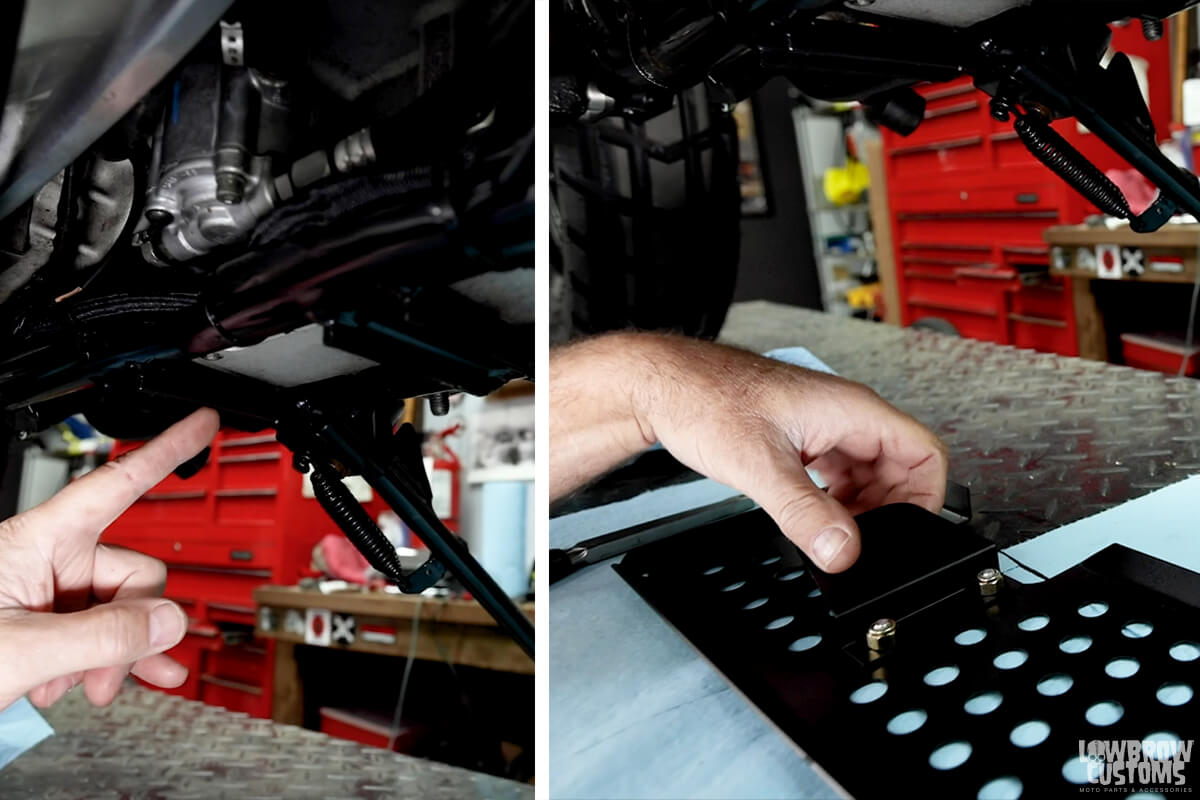 Note the second crossrail on the bottom of motorcycle frame, thats where the tab will slide into.
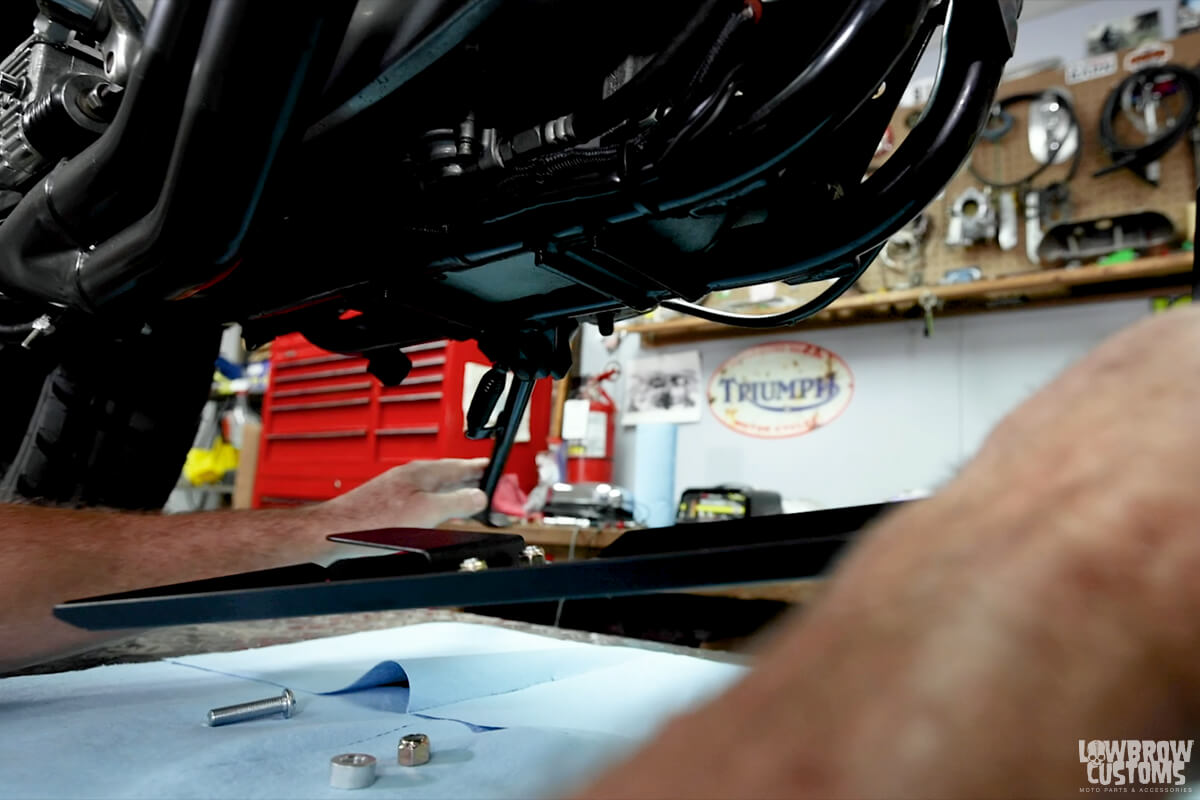 Again, make sure the kickstand is down.
 Slide the skid plate into place.
 Place the spacer on the back and feed the bolt through the middle large hole on the skid plate, continuing on so the bolt goes through the hole on the front frame crossmember.
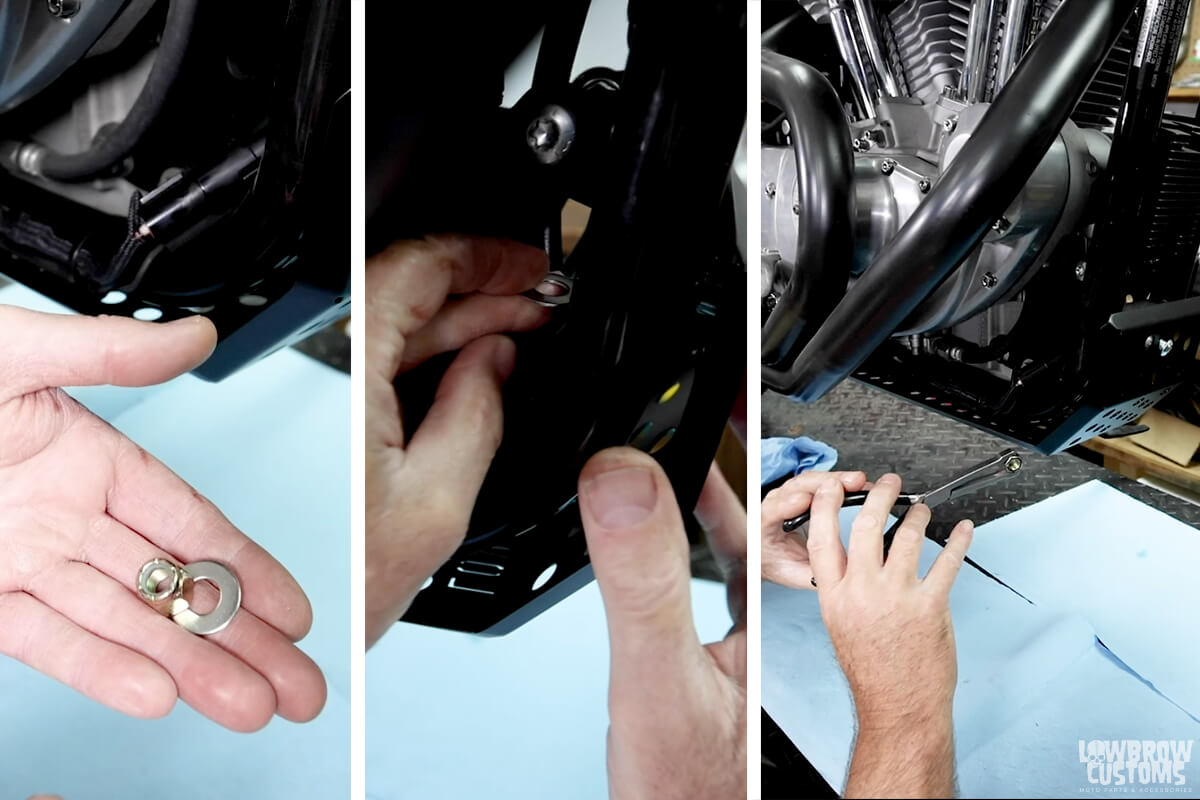 Take the washer and nut and put it on the bolt on the inside of the cross rail hole.
  A bent wrench makes it a lot easier to hold the nut while cranking it down with your allen wrench socket. A standard straight, open-ended wrench will also work.
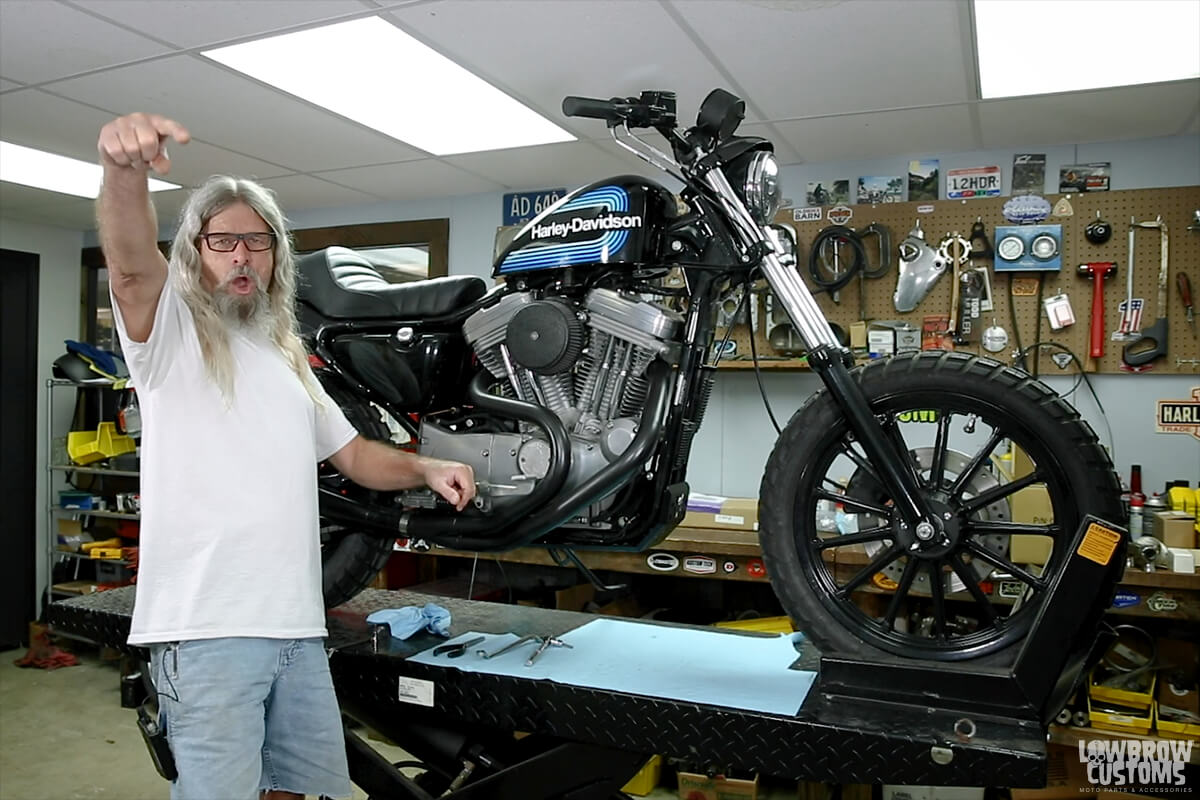 WOOOOOO!
 The Saturday Sportster look oh-so-good.
 Represent hard with LOWBROW cut into the underside of the skid plate.
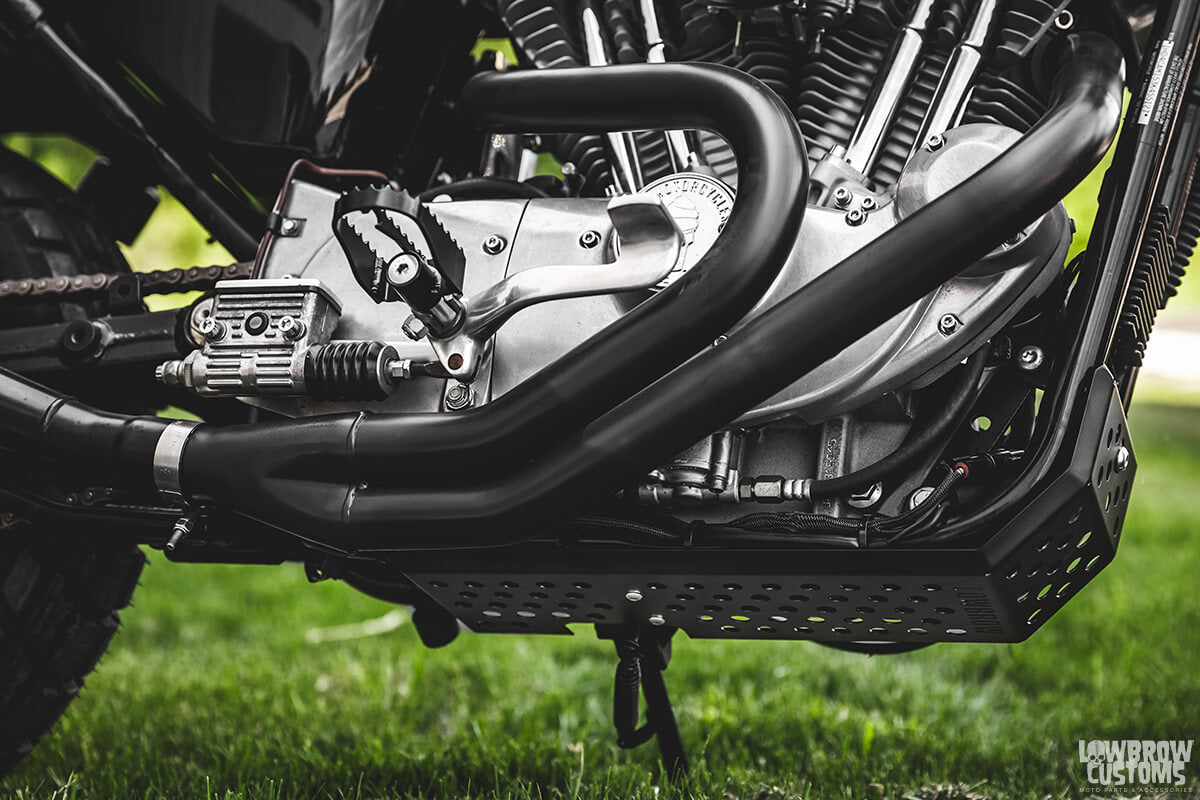 Sleek, rugged styling. Fits Harley Sportsters perfectly.
 Skid plates are just the right look to set off your tracker build.
 Let's go off-road, man!
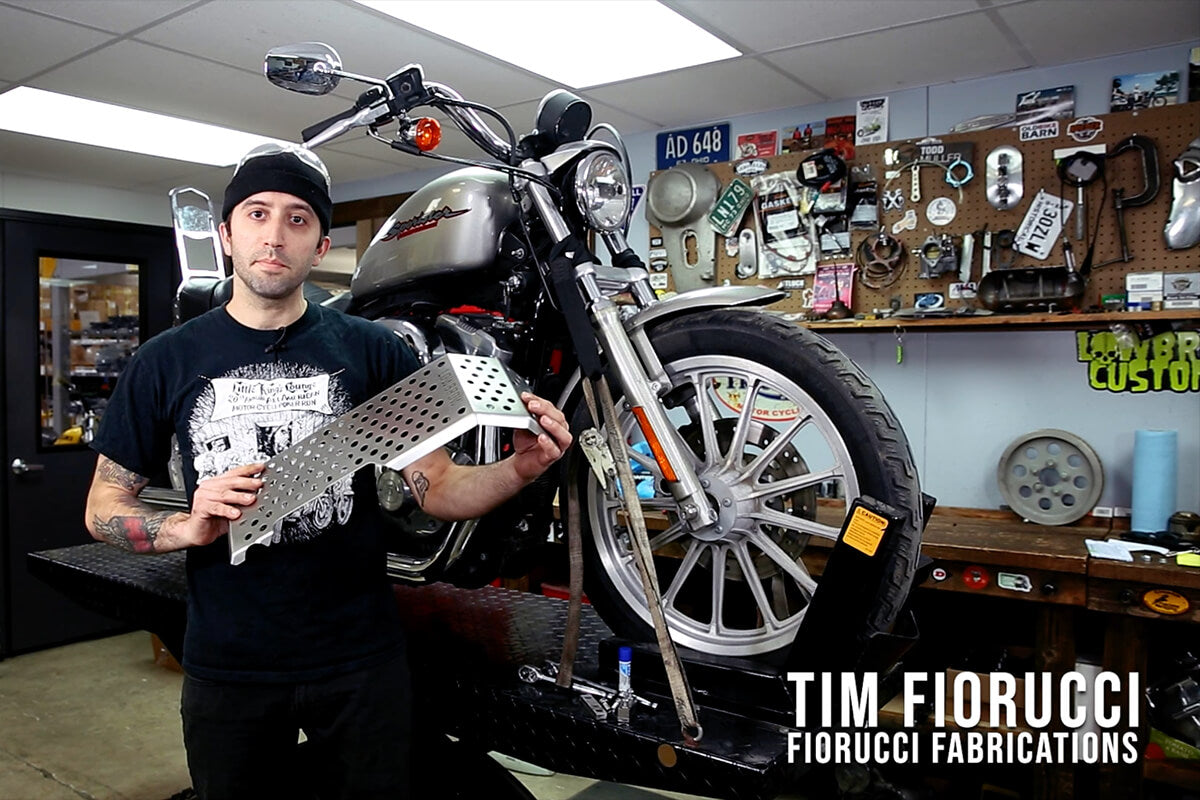 Tim showing off the beefy and incredibly well made skid plate.
 Start off with the larger spacer that takes the 3/8" bolts.
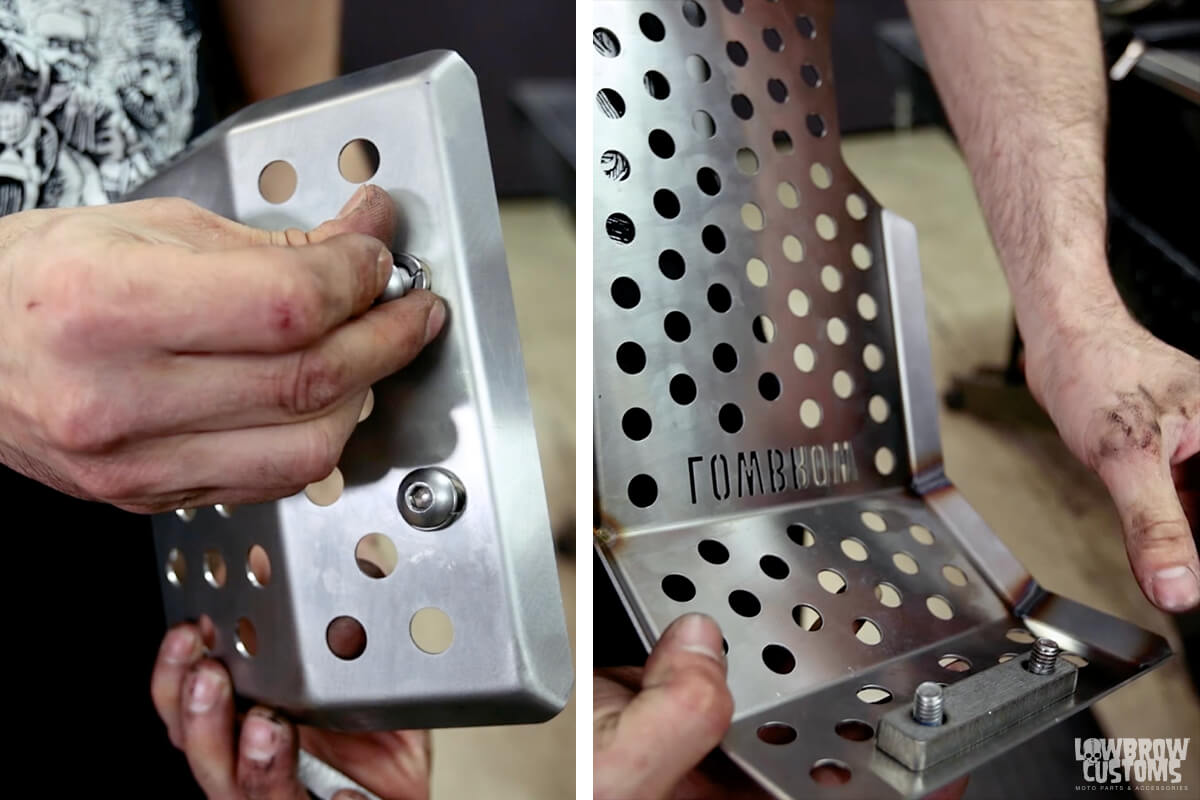 Bolts and lock washers feed through the slotted tabs on the outside of the plate. The spacer goes on the inside. *Remember to use blue loctite on the bolts.
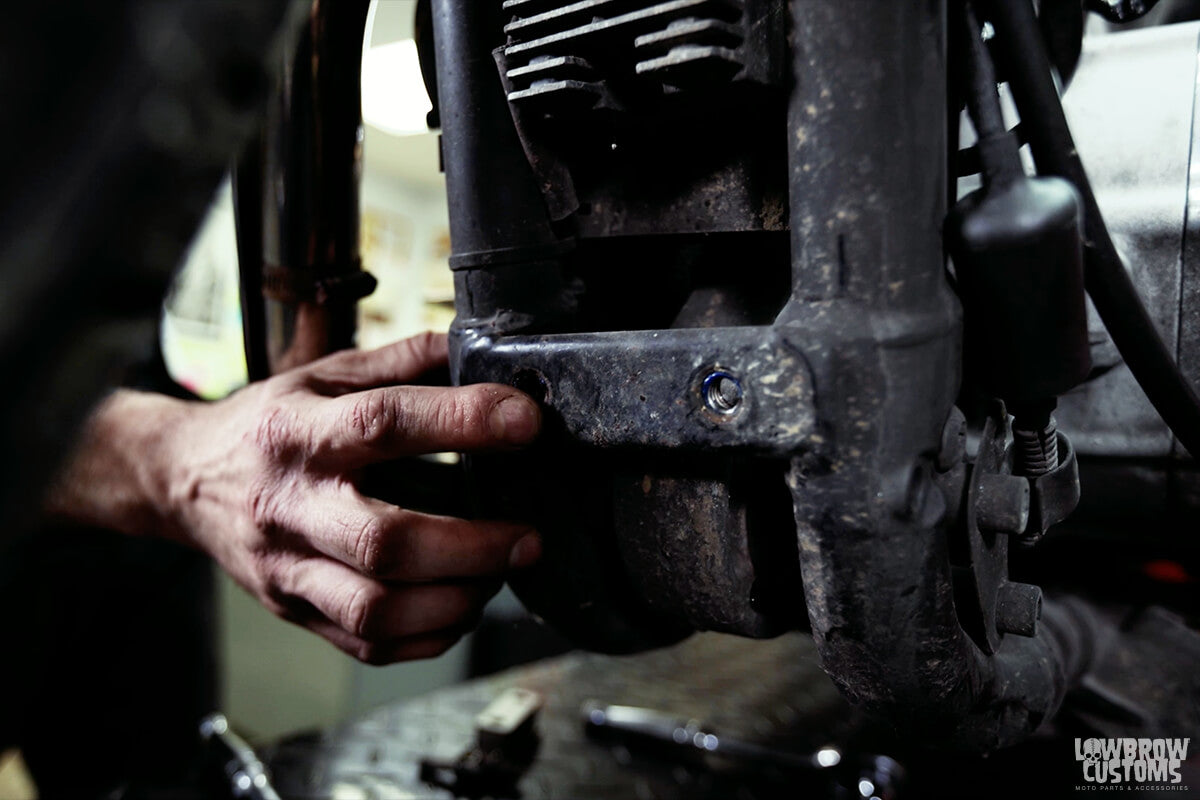 Here is the mounting location on the front of the frame where the two 3/8" bolts will go in.
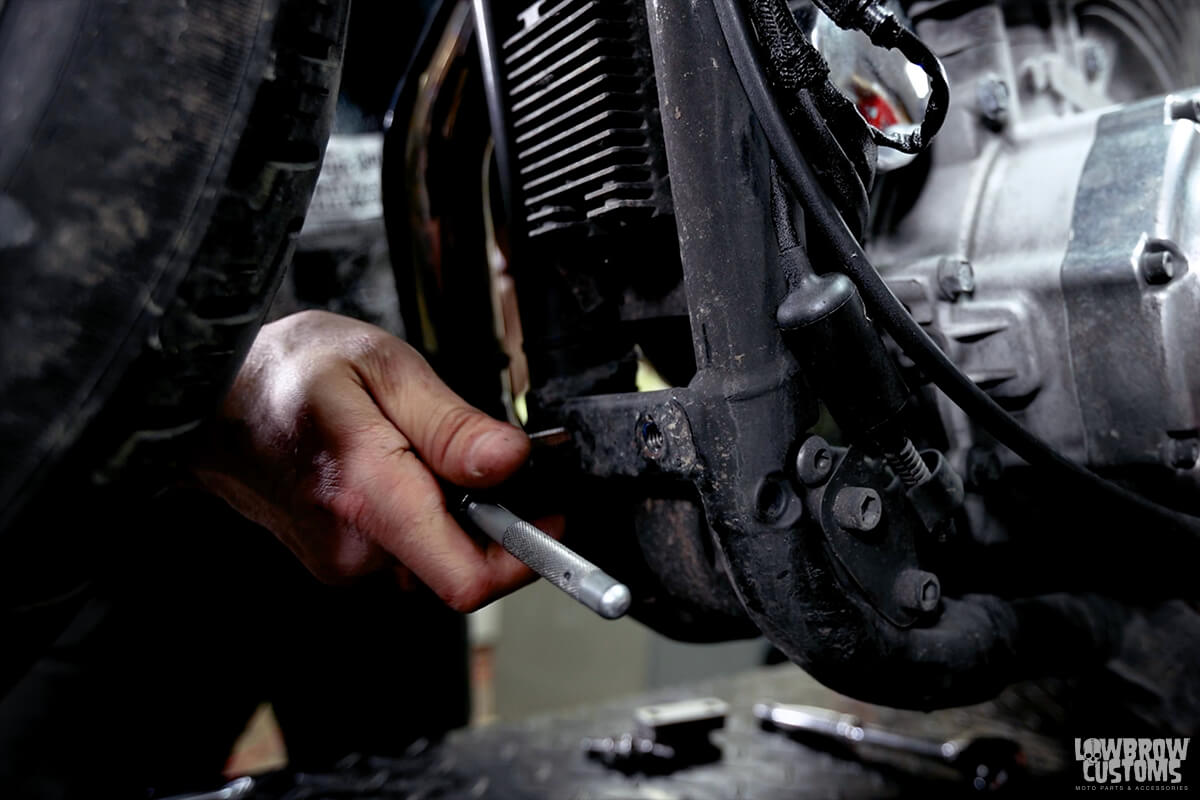 Tap out the holes if need be to get rid of any rust or debris.
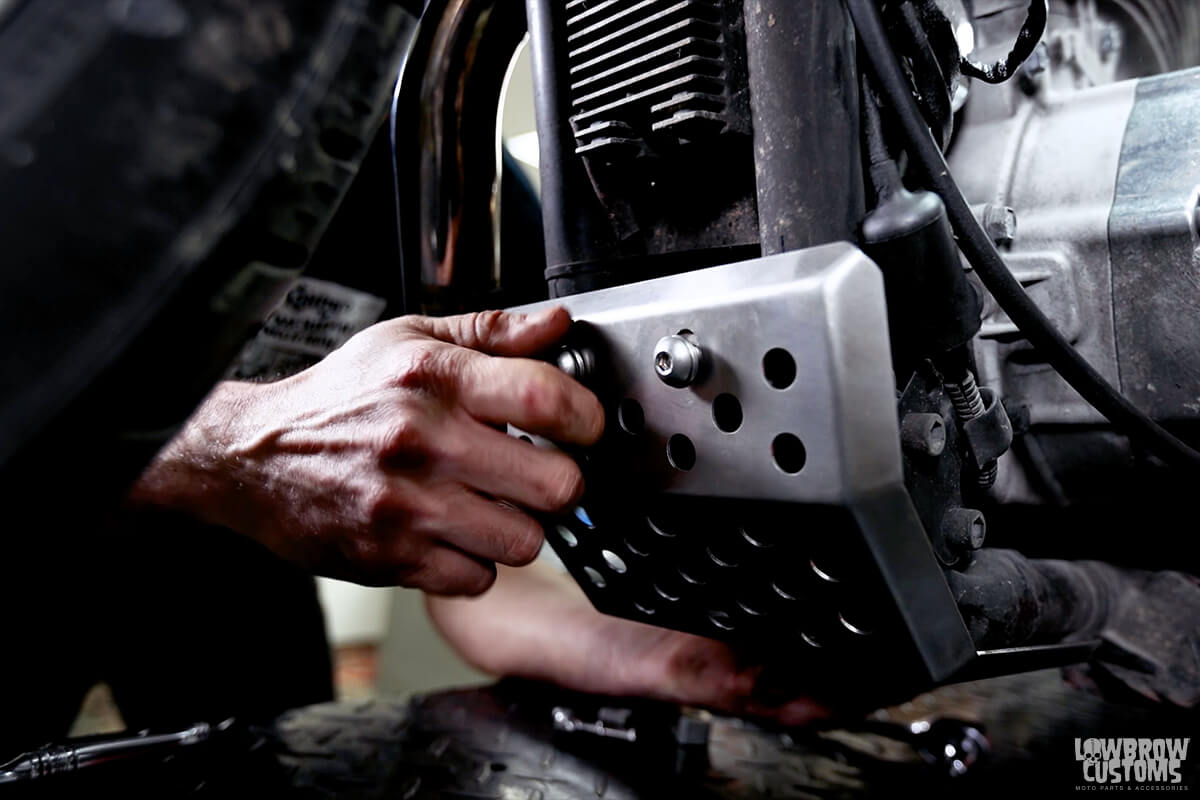 Insert bolts into the holes and hand tighten loosely.
  How the stack is gonna work. Tims hand is the c-channel
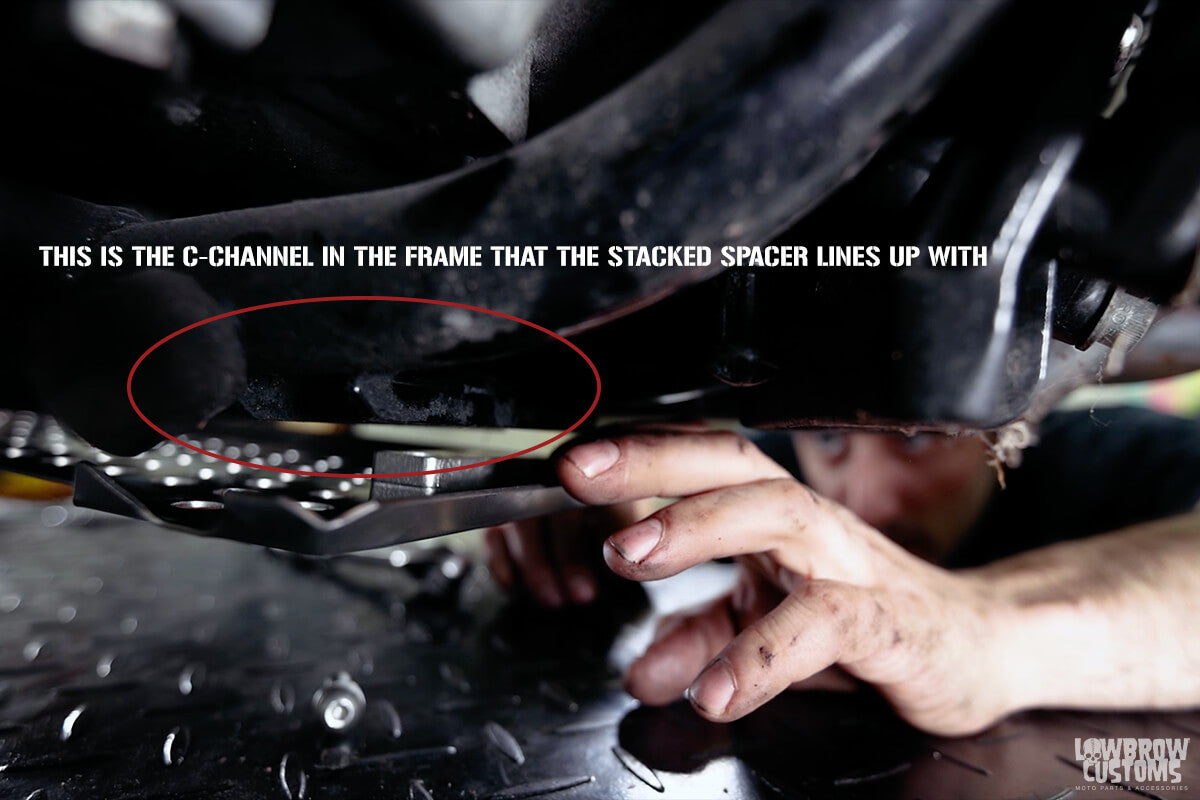 This is where the c-channel on the frame is located.
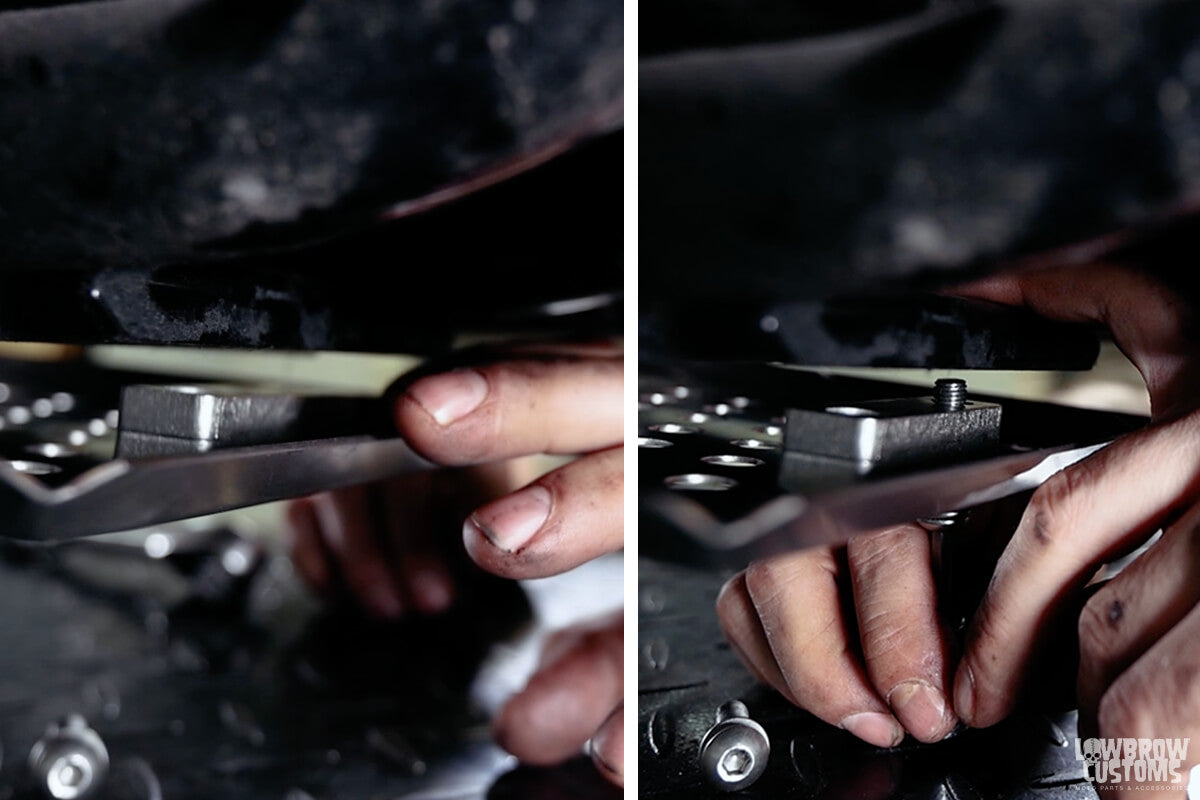 Place spacer in between the c-channel and the skid plate. Then put one of the bolts into the slotted hole and up through the c-channel.
 Take the threaded spacer and put it on top of the c-channel and screw in the bolt. Once the bolt is in the threaded portion of the spacer you will be able to insert the other bolt and lock washer easier. Hand tighten both.
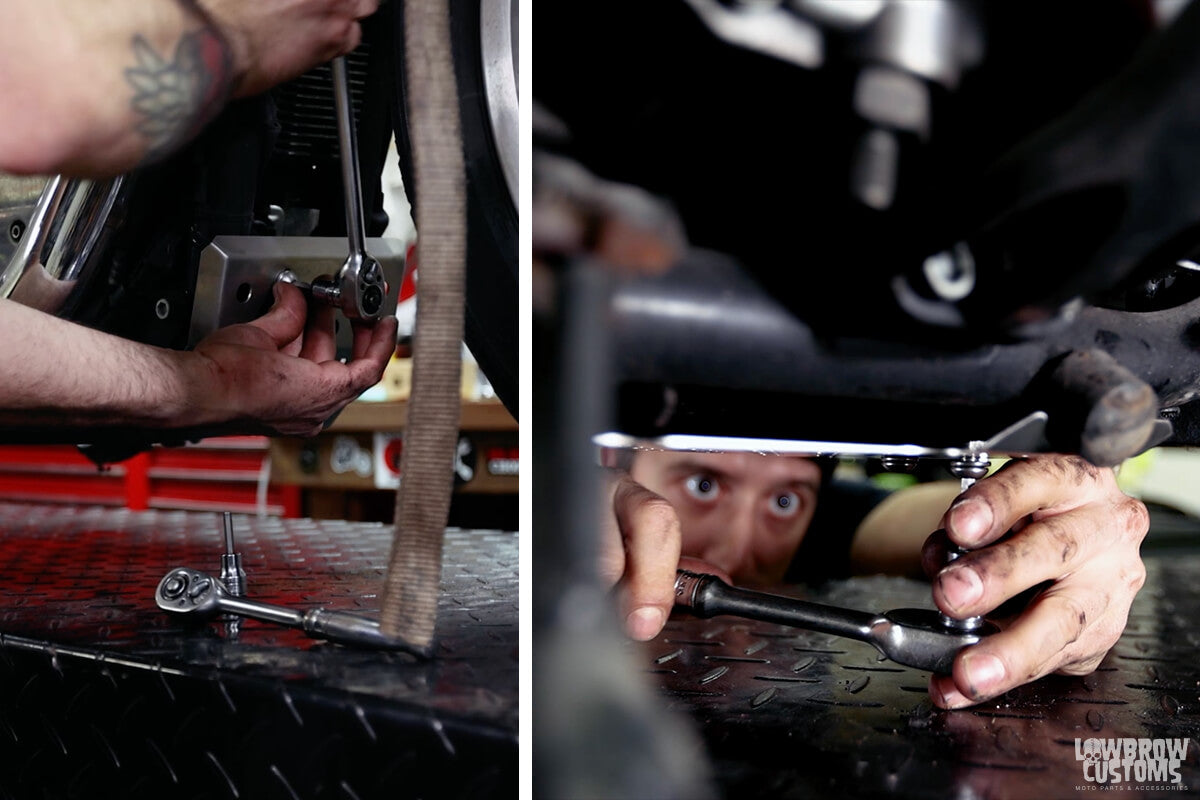 Torque front bolts then rear bolts.
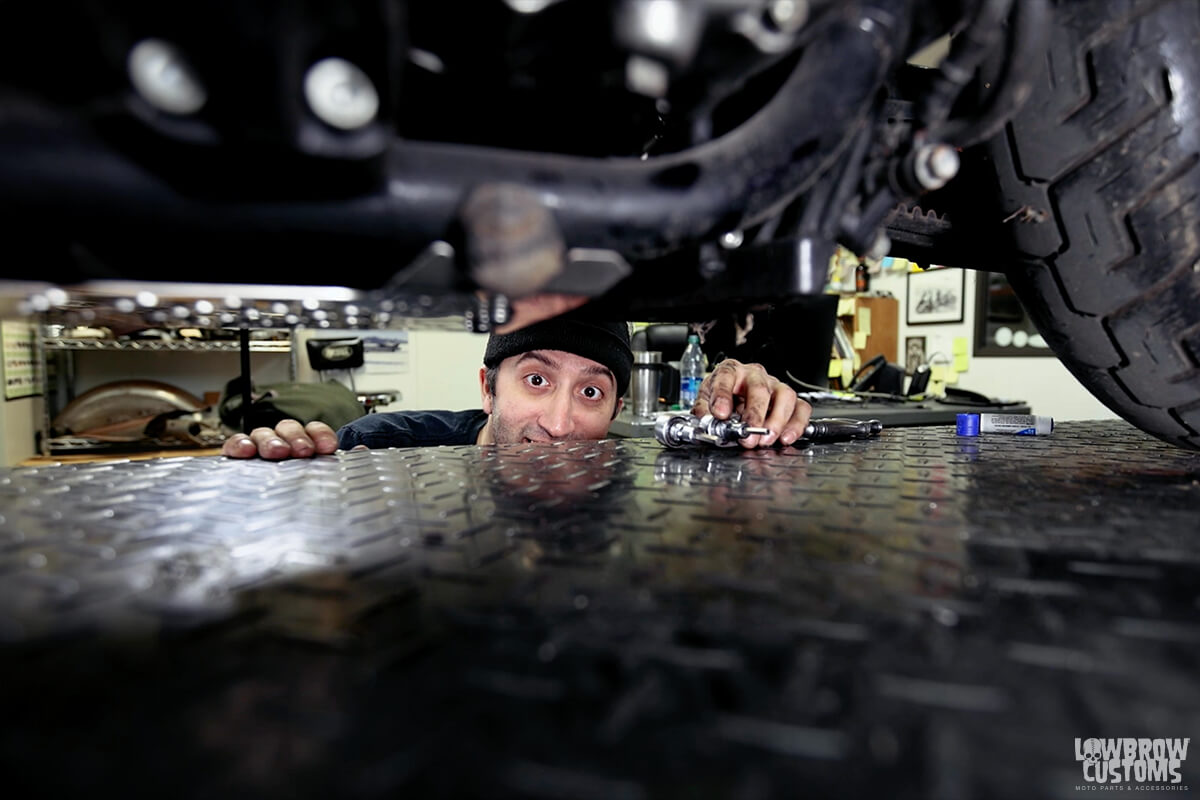 HEY HEY!
 There ya go guys! It's that simple.
 2007 Harley-Davidson Sportster
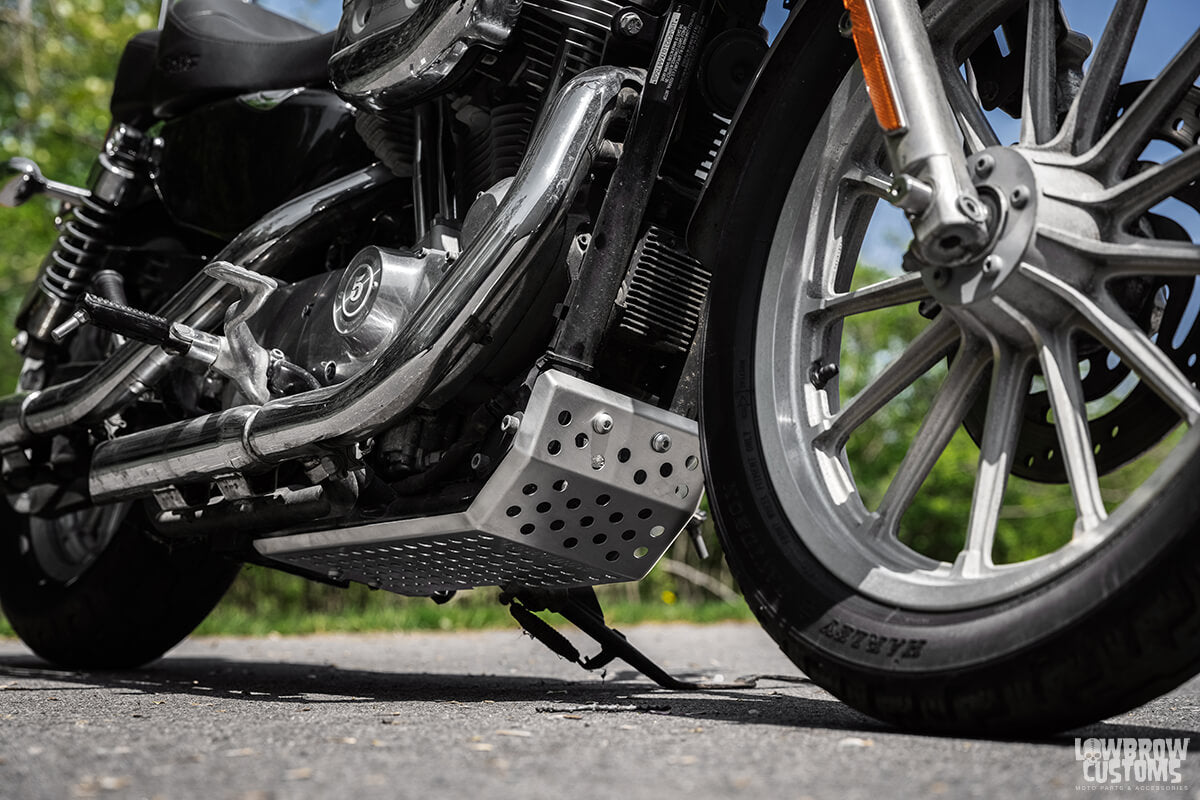 Crispy!
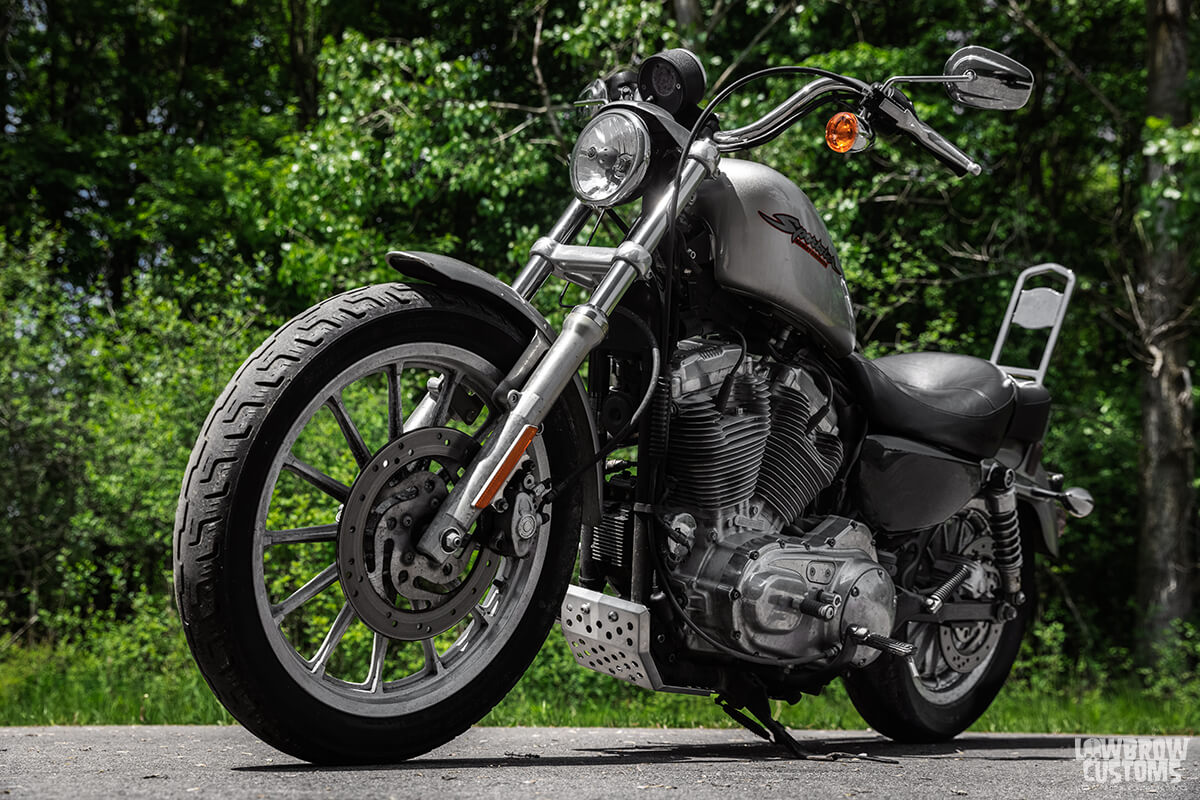 Even looks good on the B-side.
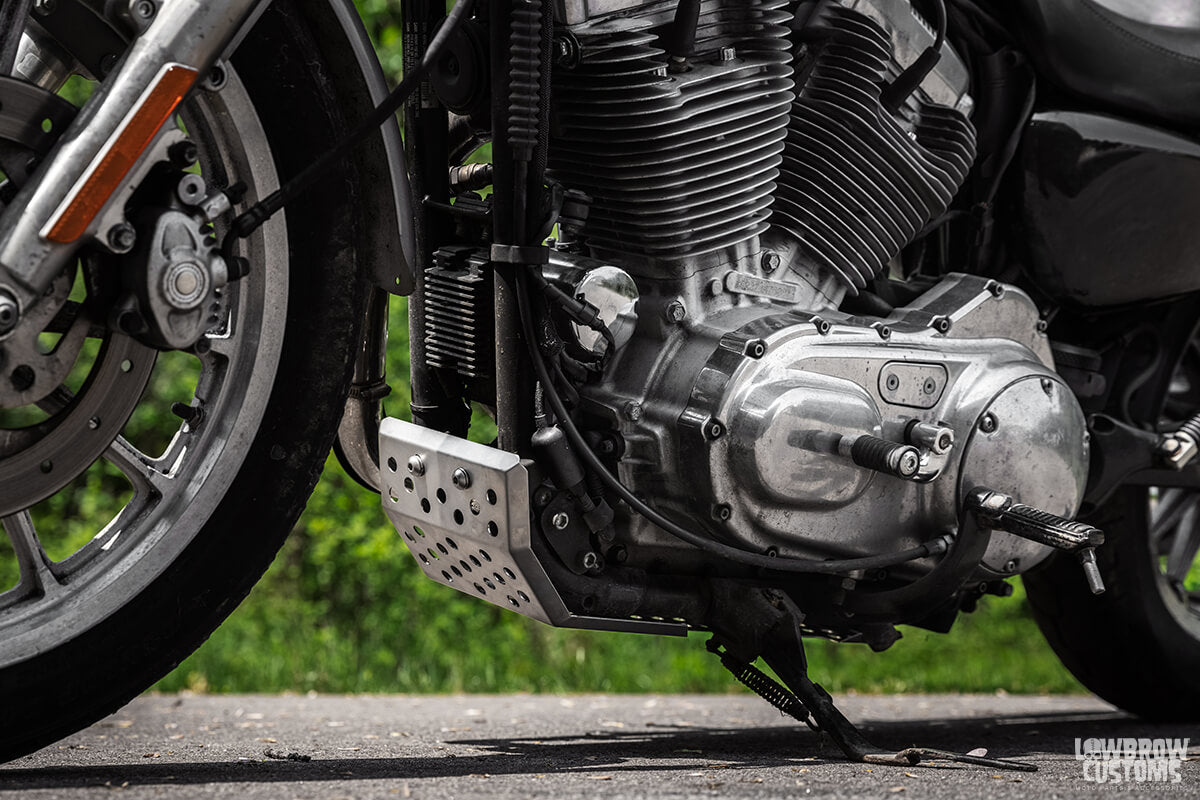 Hella nice!
 You have to rotate the motor to get the pushrods both down and the valves closed before removing the rocker box.
 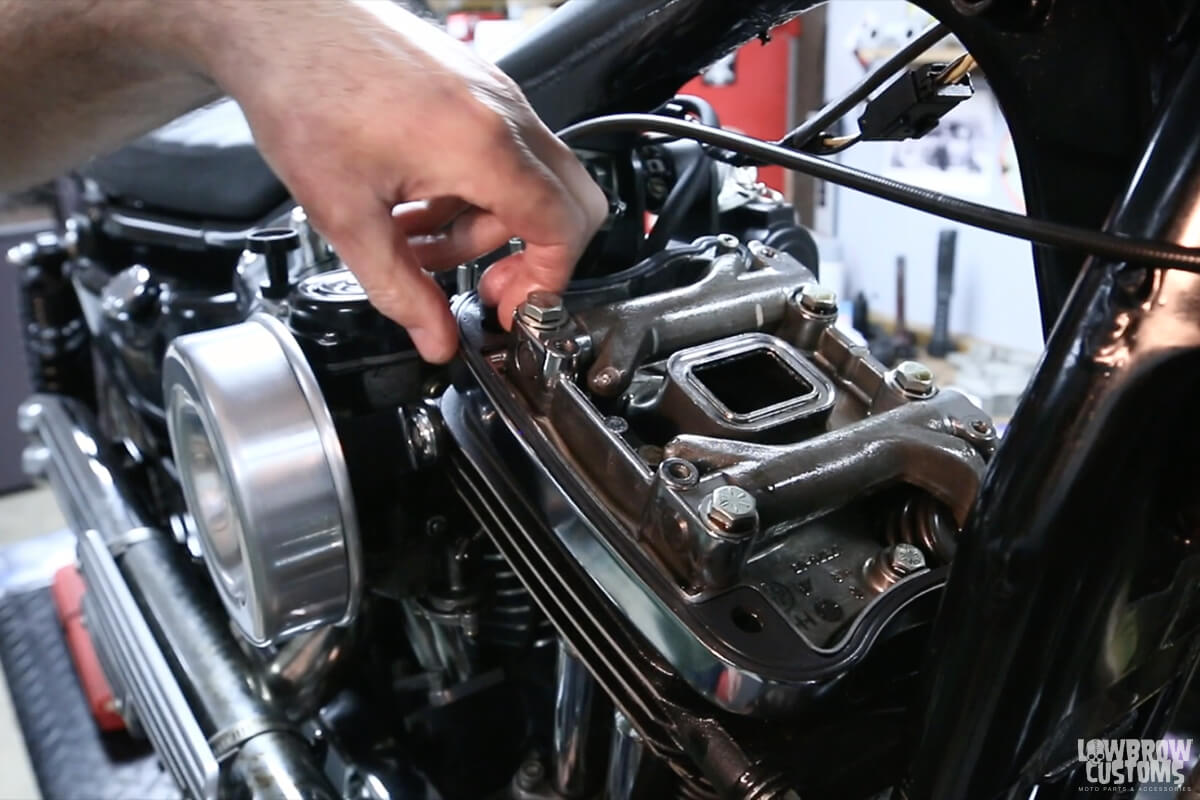 There are 3 gaskets on the rocker box under the ring and top cover.
 CRUSTTTY! thats why we had a leak. These gaskets were crumbling in our fingers.
 Todd showing the main source of our problem and leak!
 One of Todd's Classic Triumph builds utilizing an
 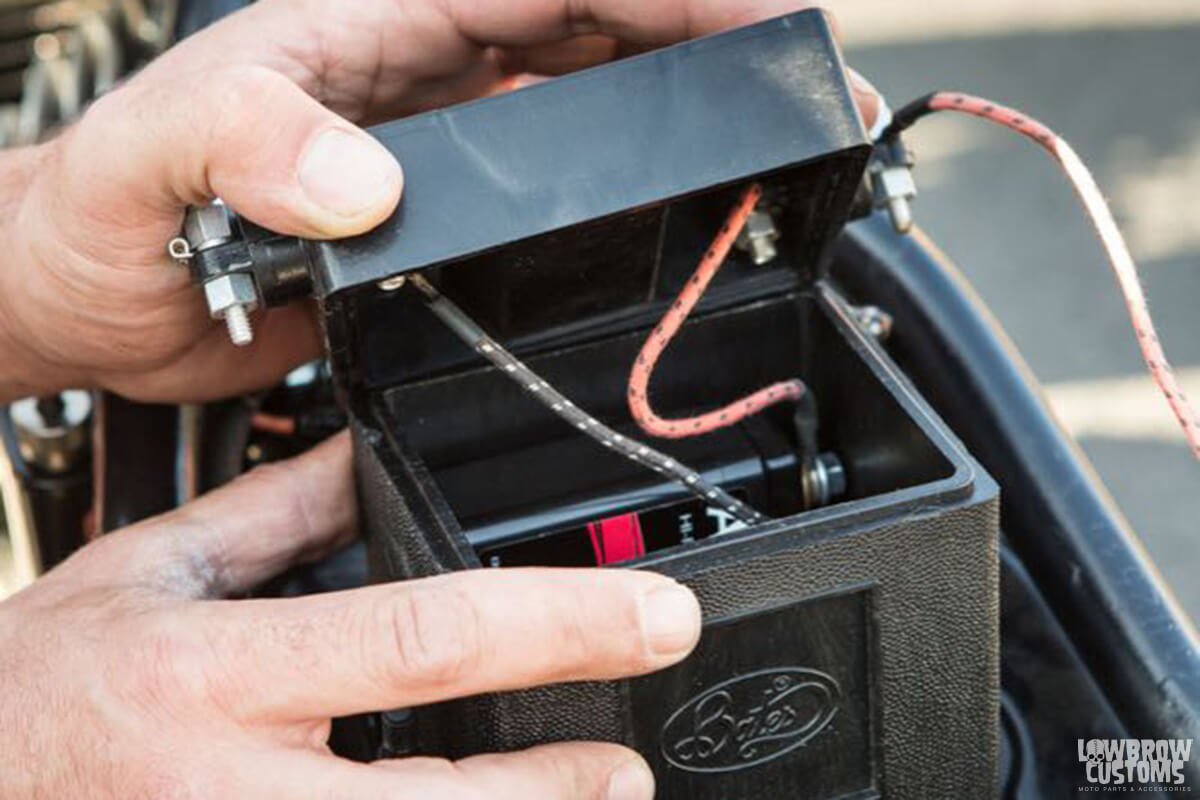 Some lithium batteries are so small you can use a custom battery box (such as this Antigravity 4 Cell Battery in a
 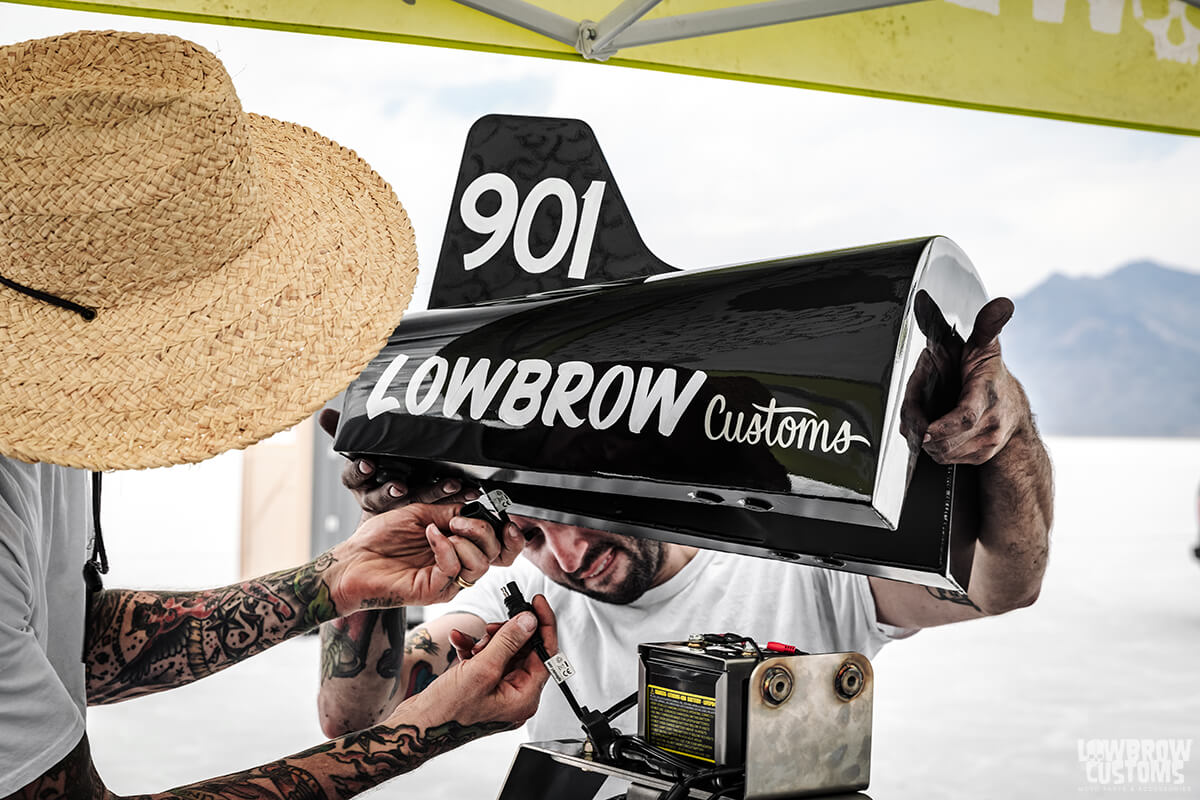 Lithium batteries can be mounted pretty much anywhere. Tyler mounted this Antigravity 16 cell on the tail section of his new dual engine Triumph land speed race bike, that is hidden by the tail section.
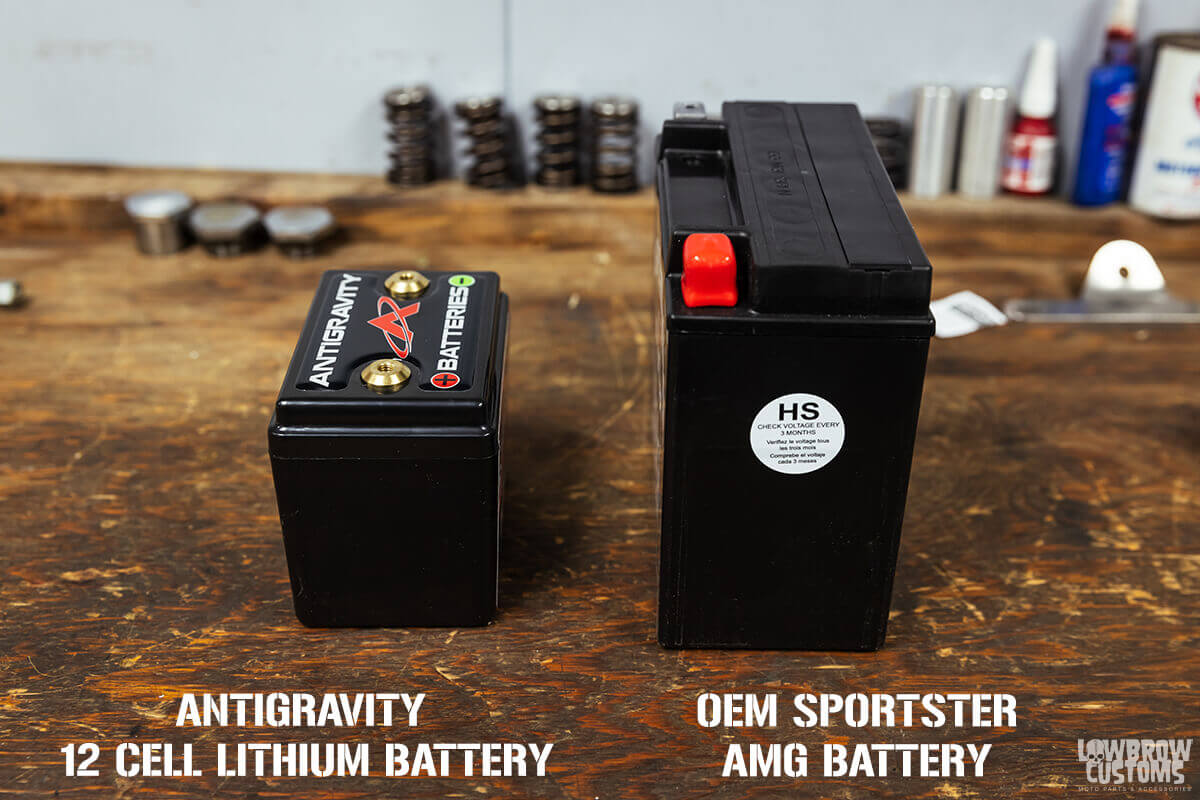 You can see in this photo the sheer size difference in an Antigravity 12 cell battery to a stock OEM Harley-Davidson Sportster Battery is staggering. Being able to use a smaller battery such as this 12 cell can definitely help when designing a clean and tight custom chopper.
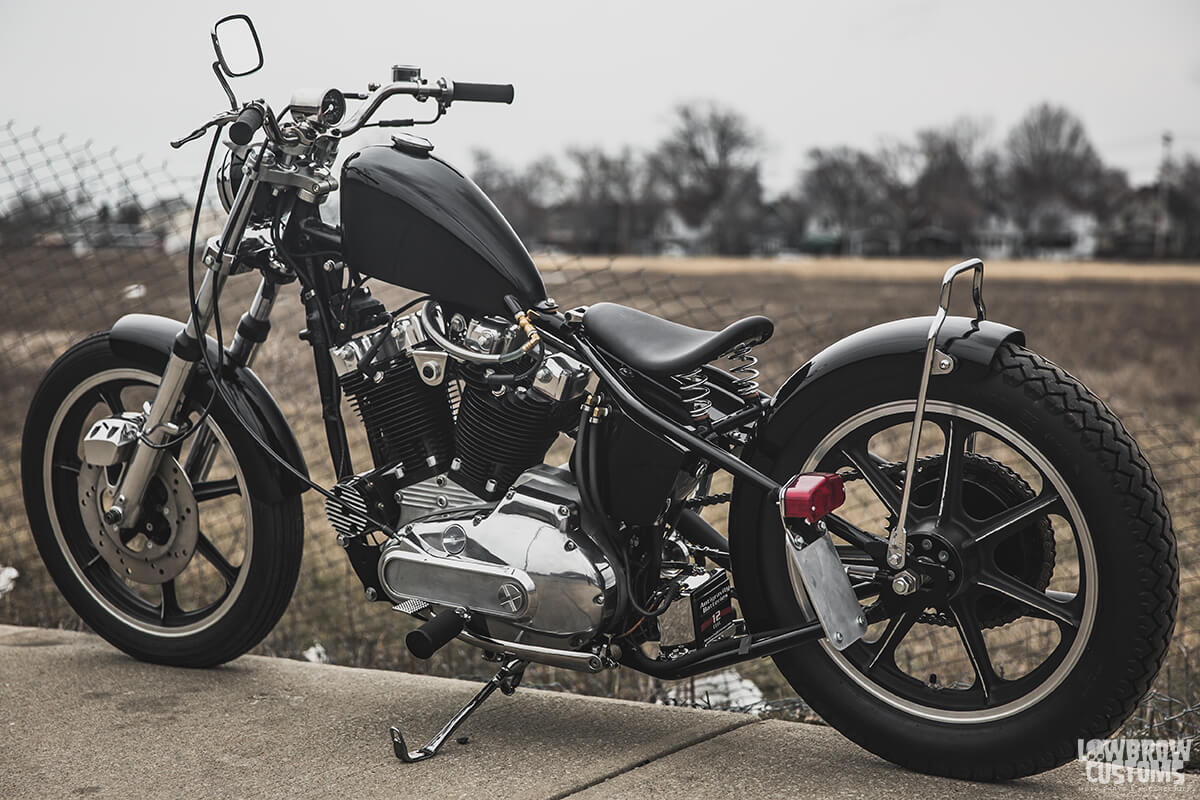 This Gasbox built Ironhead Harley-Davidson Sportster has an Antigravity 12 cell powering it up and works extremely well for this electric start motorcycle.
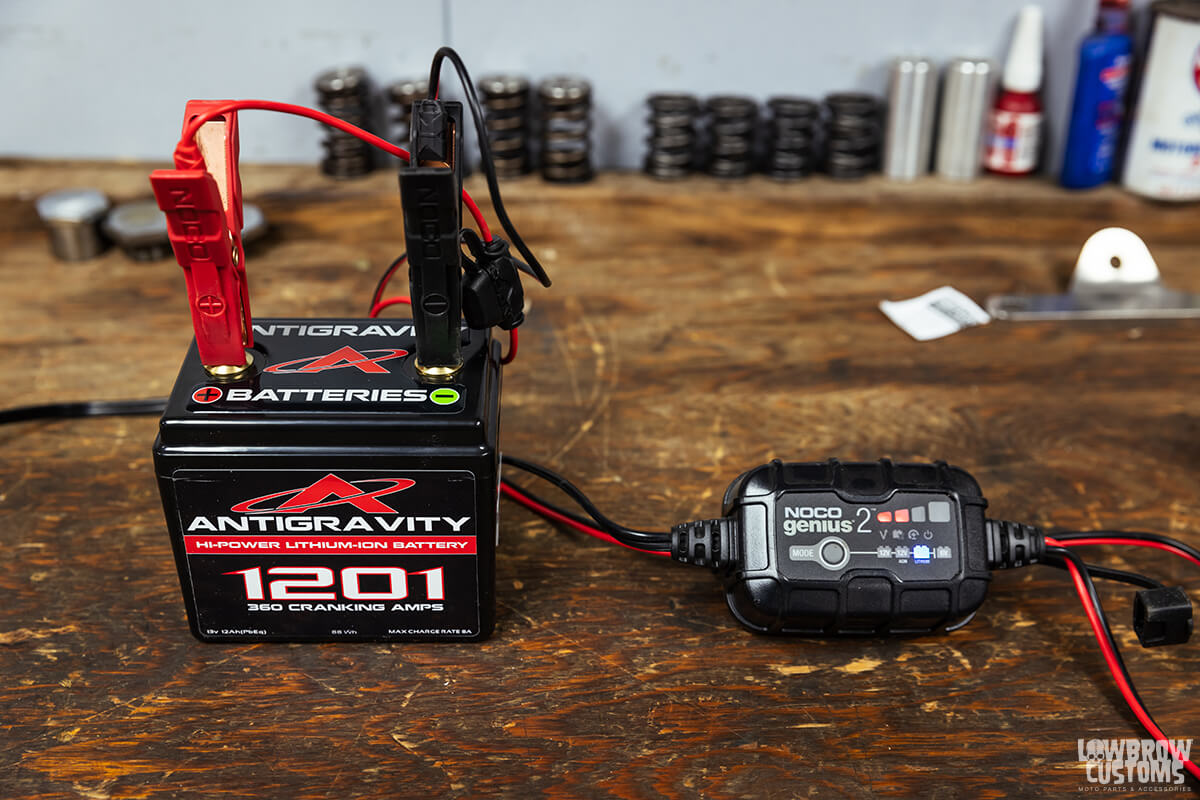 Using a "Smart battery charger" or something like this Noco Genius 2 set up you can select on hook up what kind of battery you are charging to ensure you are not damaging the battery. A smart investment if you are going to be running these lithium style batteries.
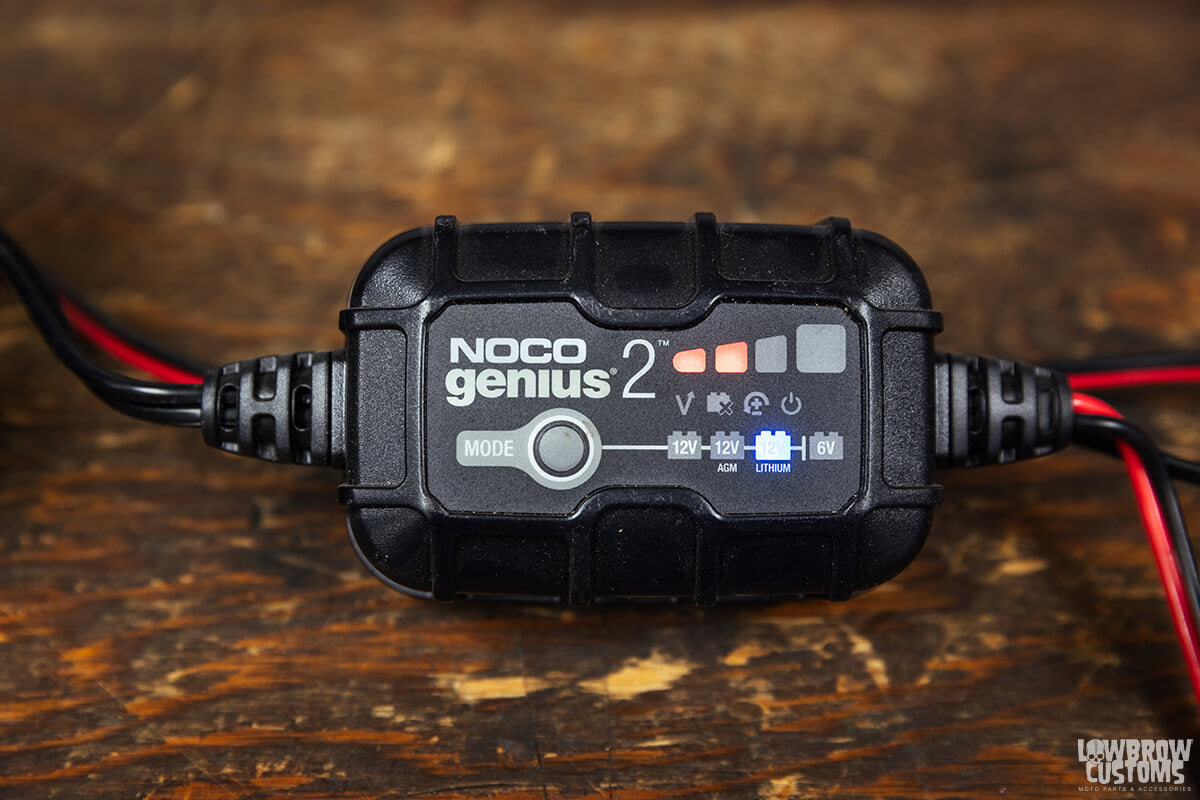 You can see this charger is in Lithium 12 volt mode and charging the battery correctly right on the device.
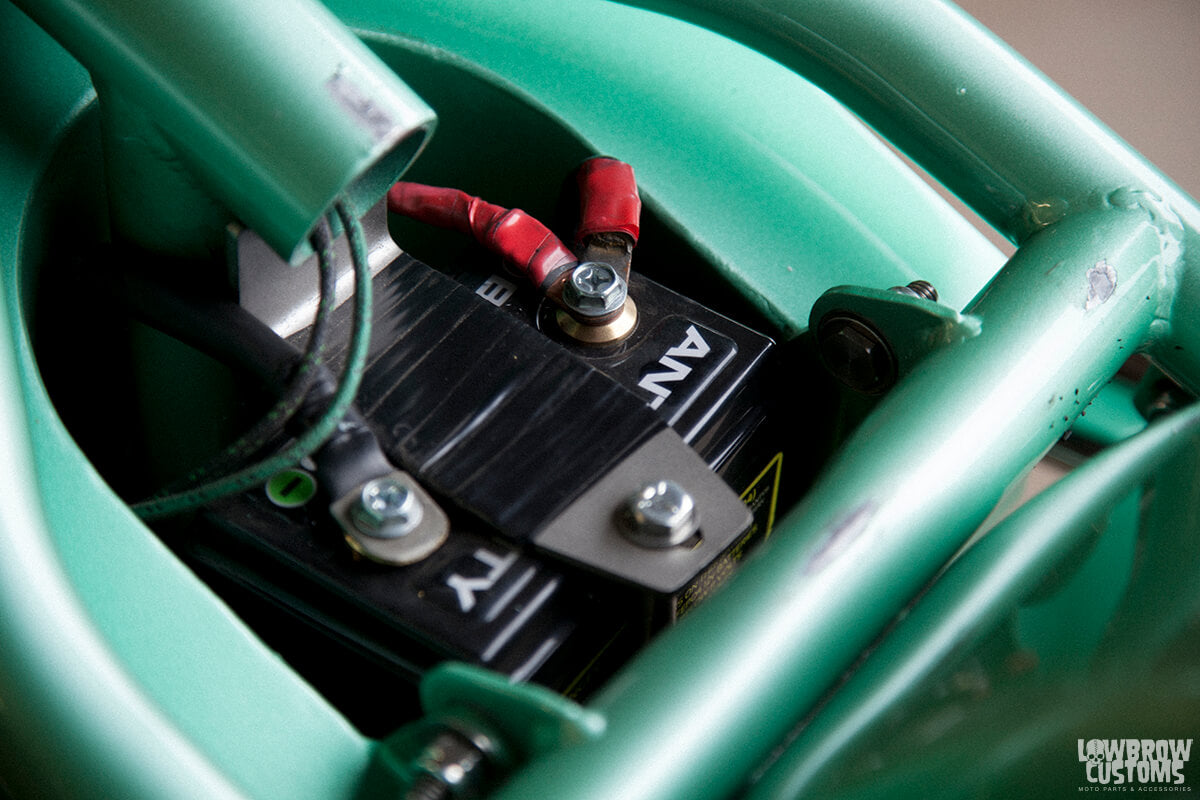 Antigravity 12 cell in one of the Haifley Bros builds, tucked tightly inside an oil bag.
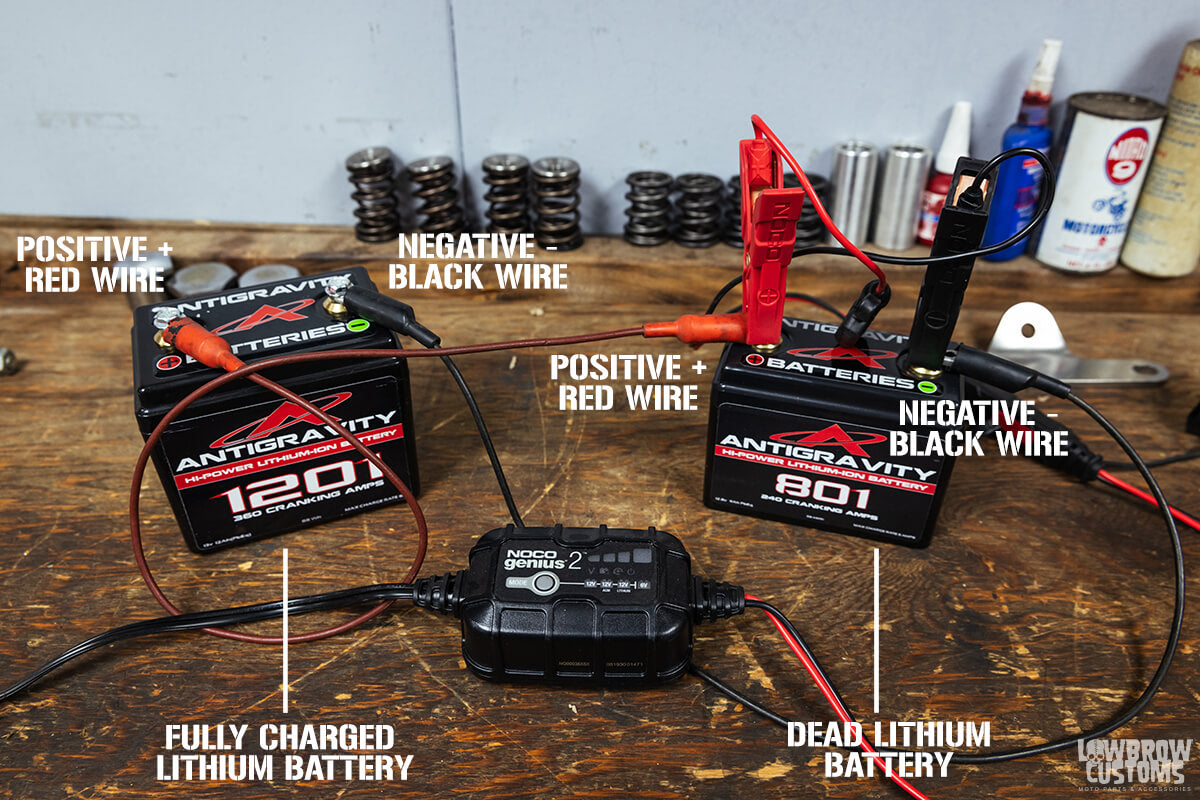 Note: Only do this jump start from a charged lithium battery to a not charged lithium battery. Trying this process with any other type of battery could damage both.
 Gasbox Sportster with an Antigravity 16 cell.
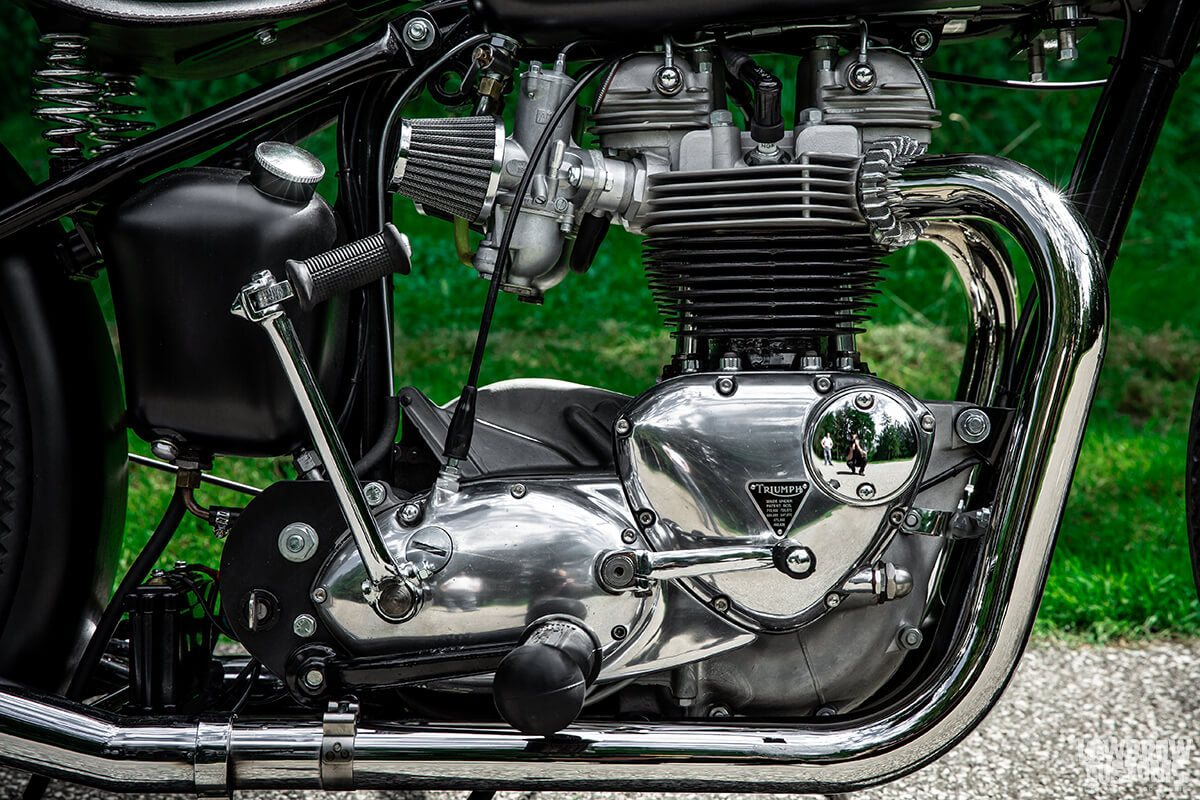 Another one of Todd's classic Triumphs with an Antigravity 4 cell.
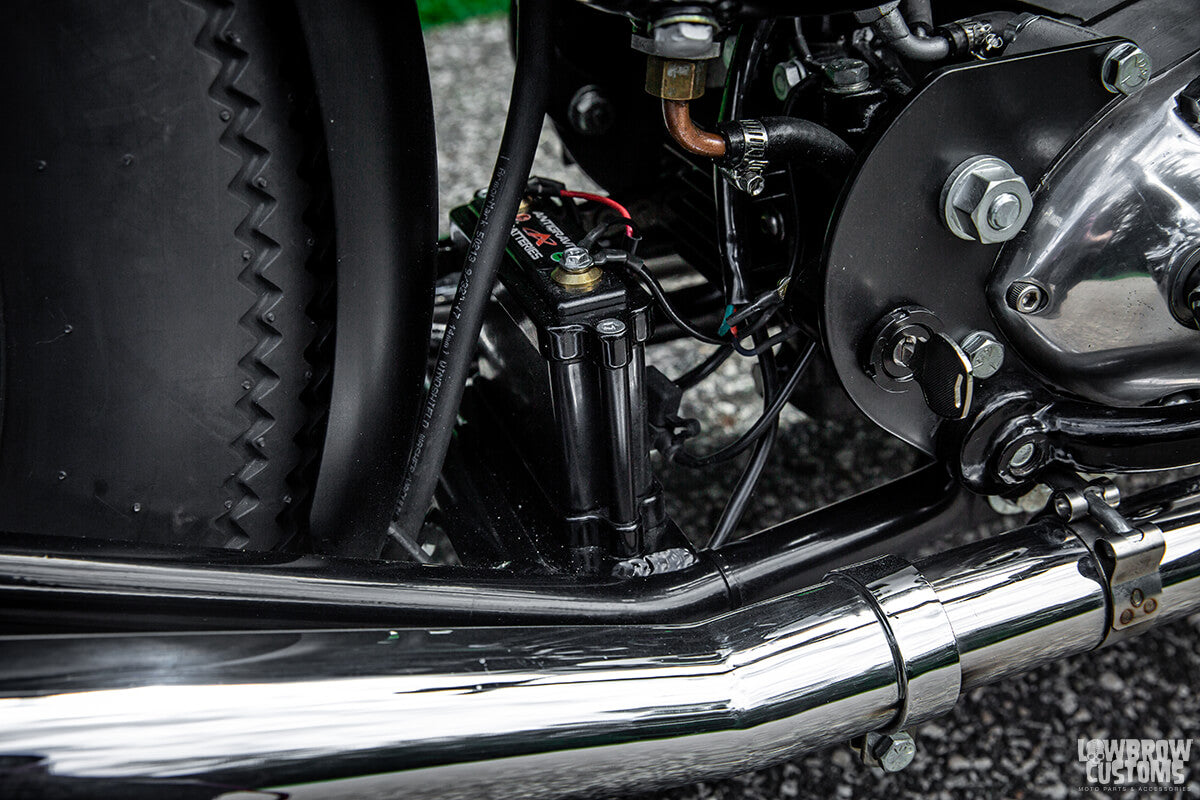 Closer look on how Todd mounted this using a
 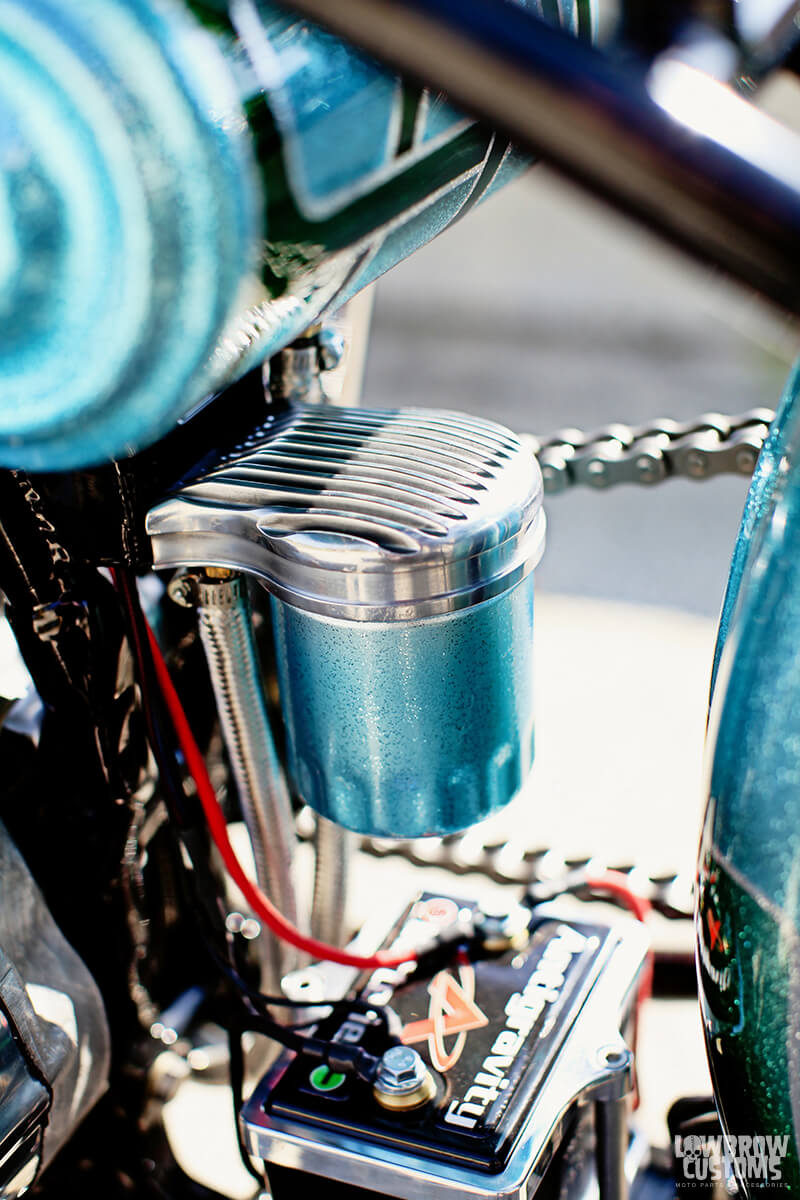 Greg's Ironhead with an Antigravity 12 cell.
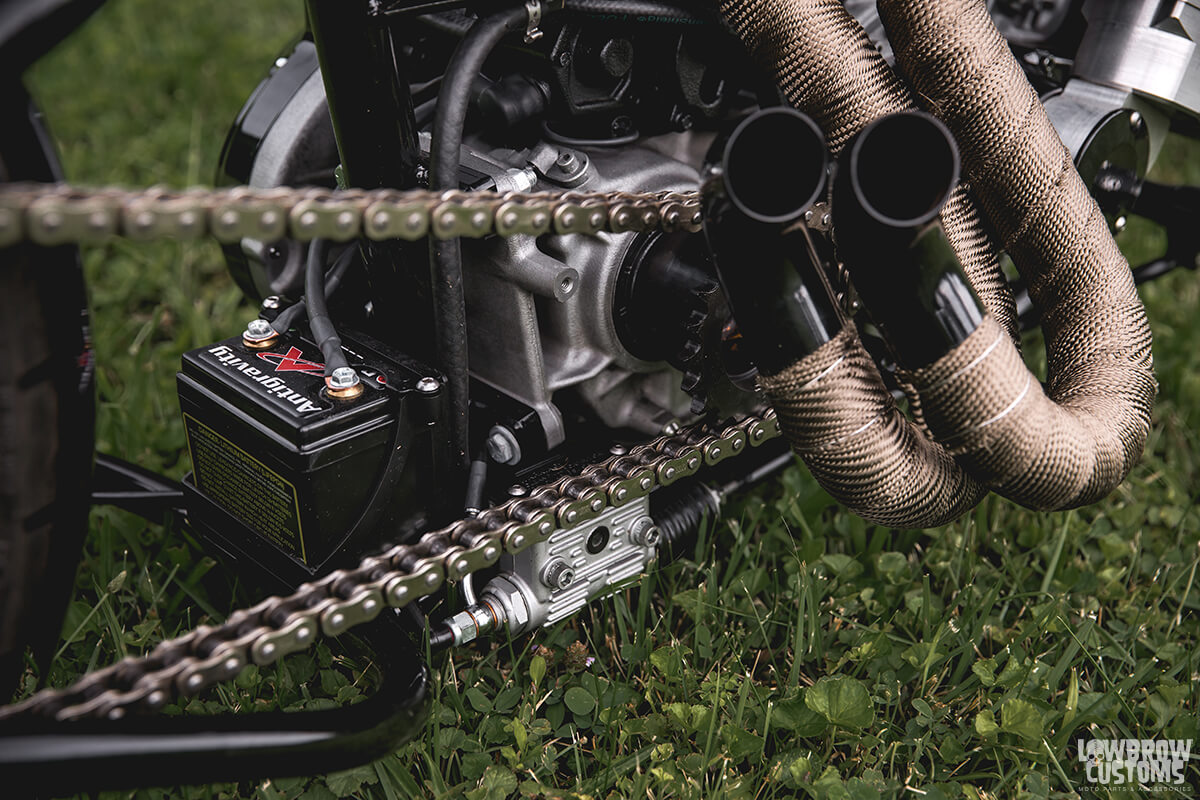
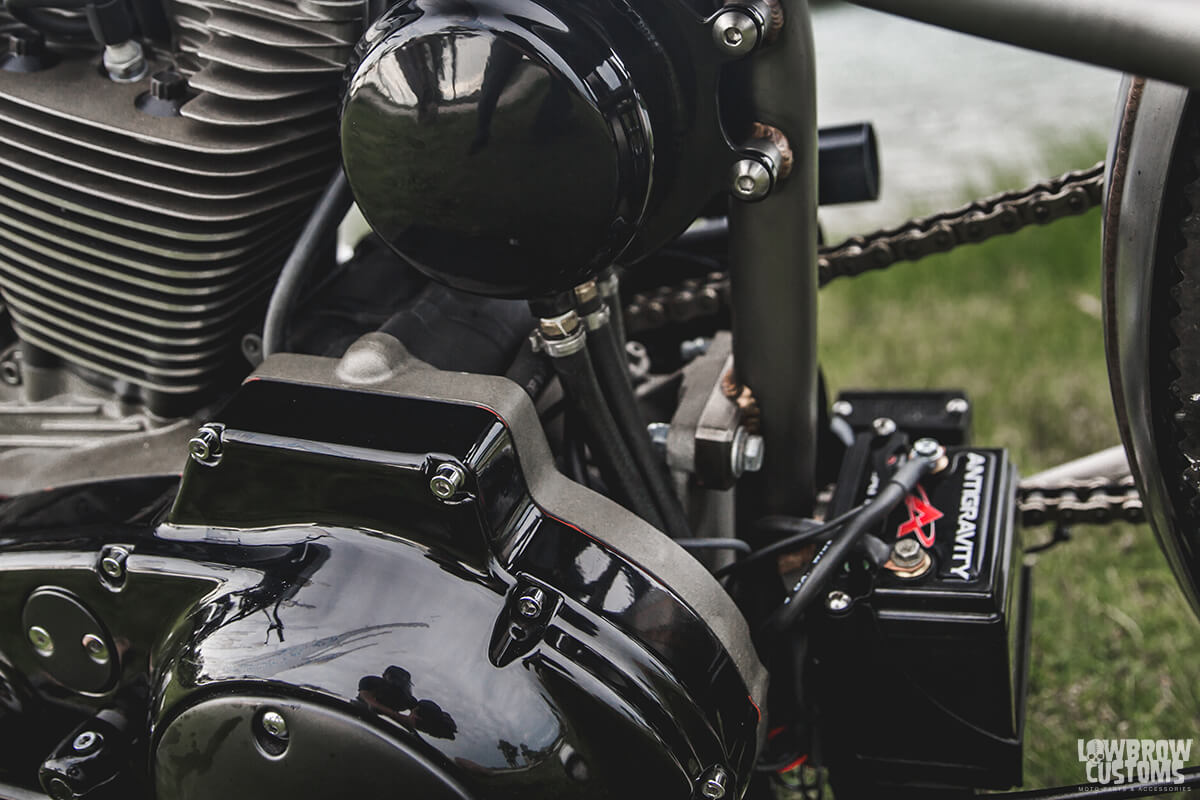 Another Led Sled build with an Antigravity 12 cell.
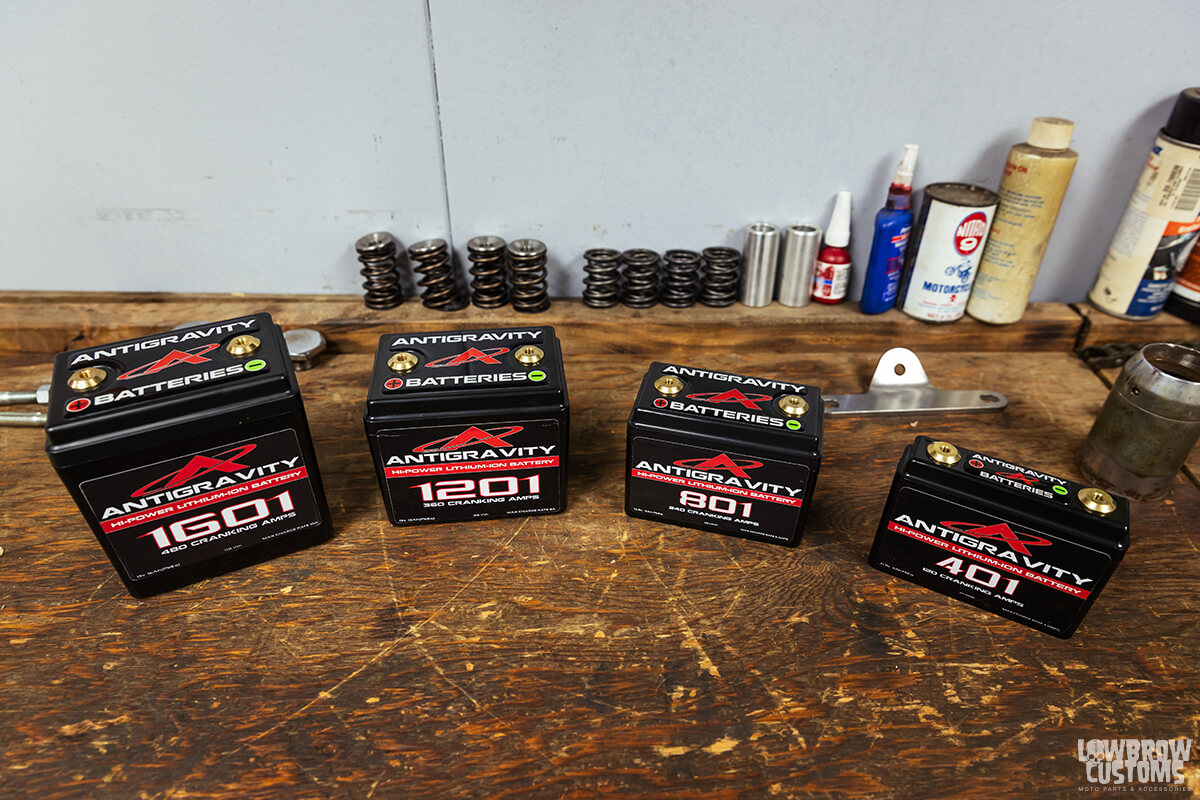 Some of the
 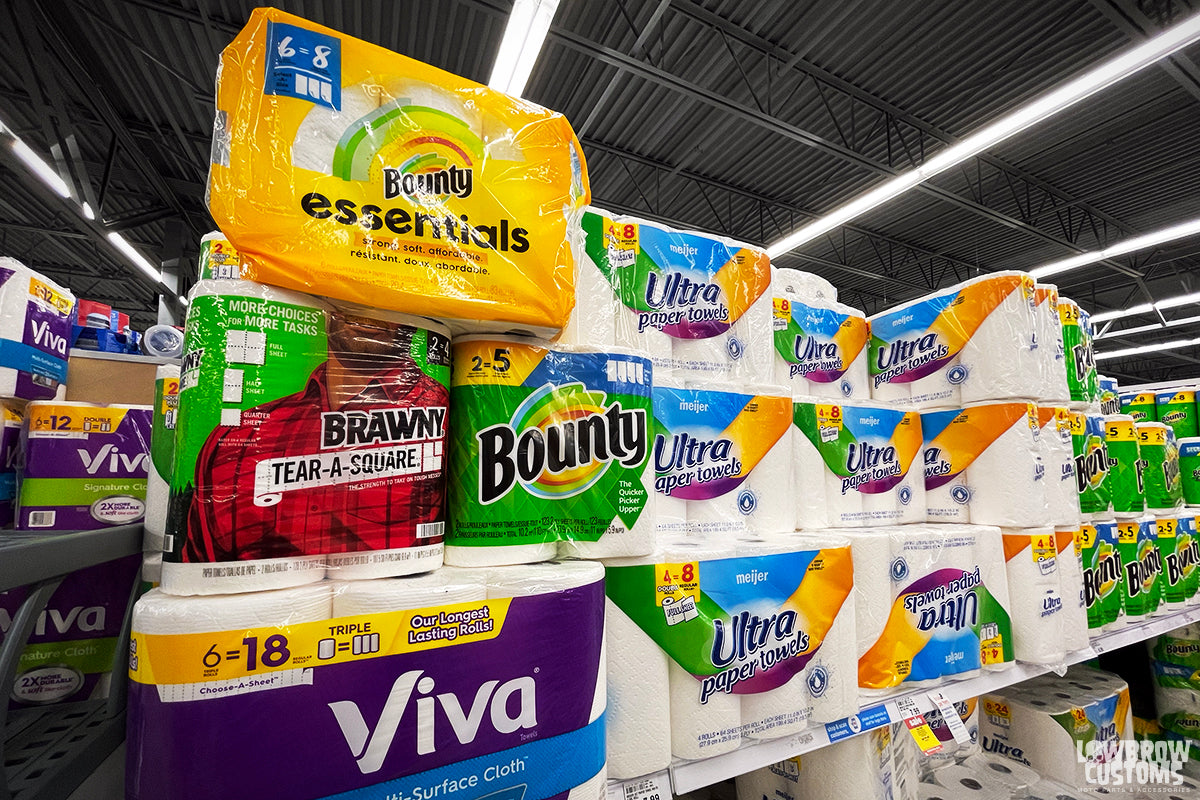 Choosing a paper towel brand... Why can't I just choose one!?
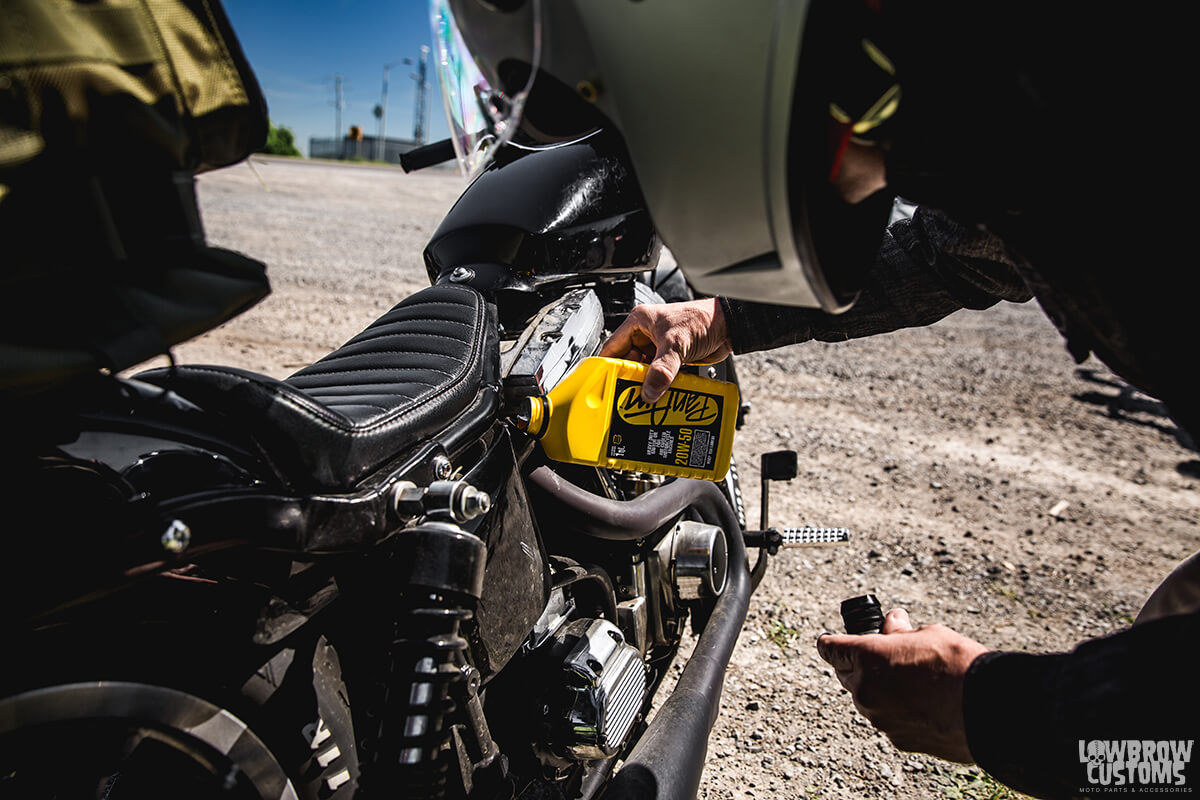 Greg topping off his Evo with some PanAm 20w-50.
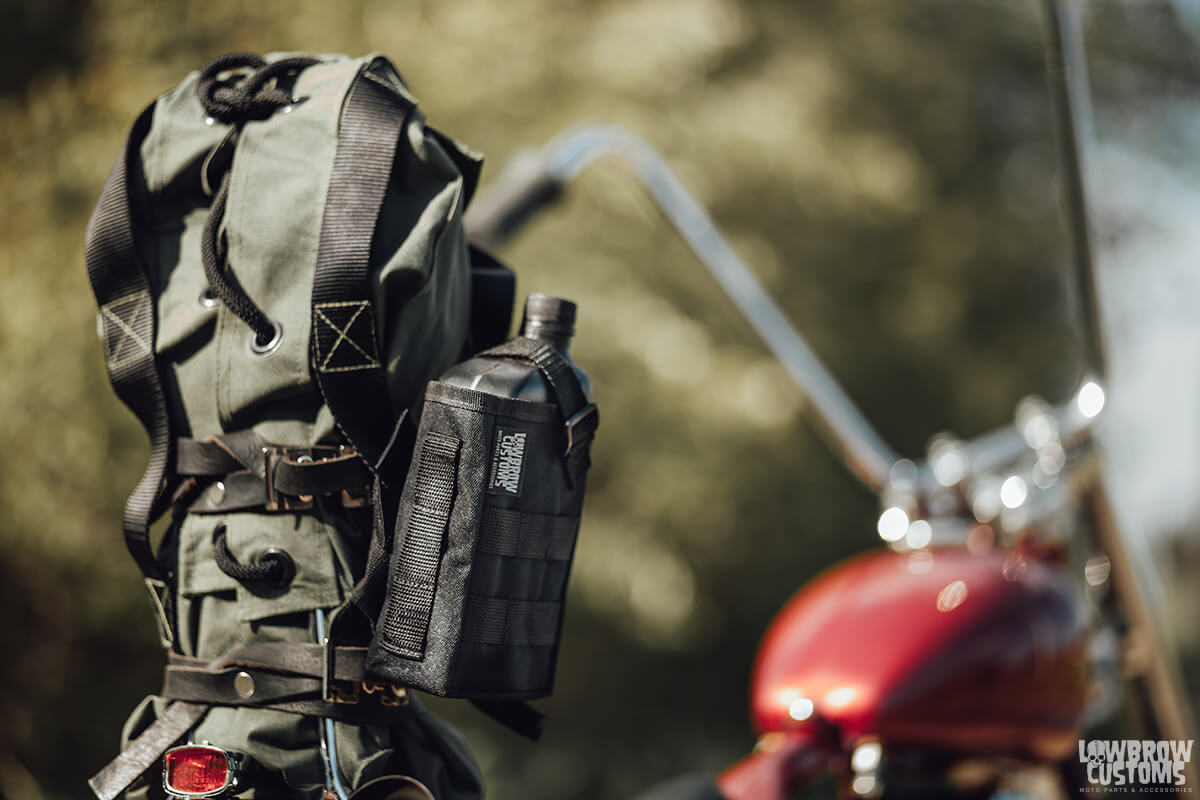 Ken Carvajal's panhead rocking Lowbrow Customs
  Topping off the transmission with some PanAm 80W-90 on the El Diablo Run.
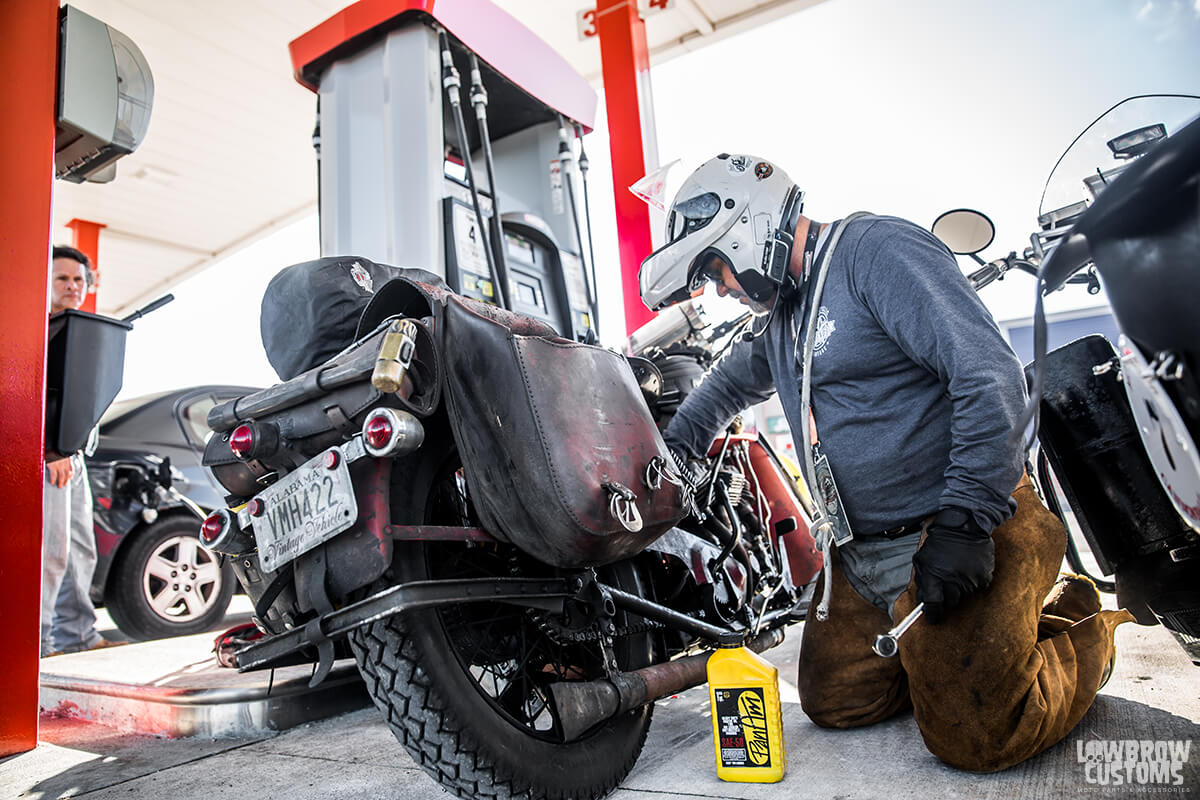 PanAm oils were a popular choice on the cross-country Cannonball run.
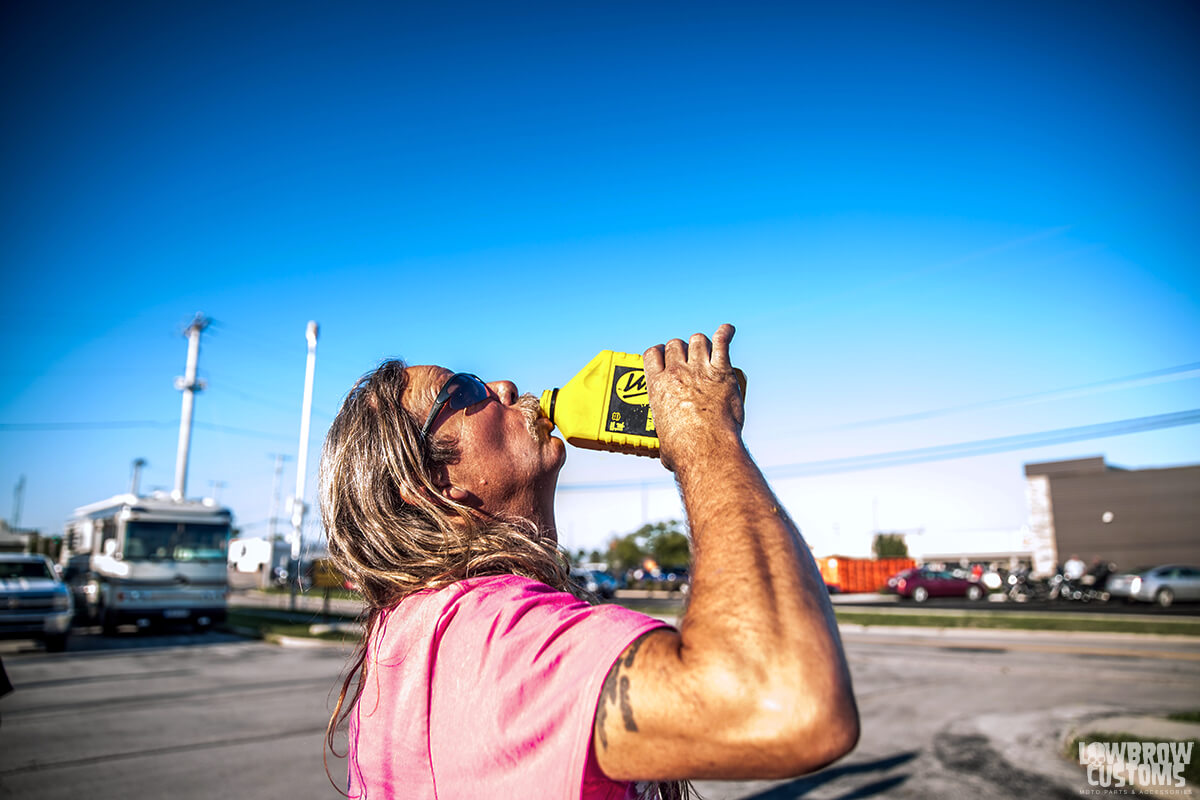 Don't try this at home kids, Doug is a professional. He needs his oil changed every 5k miles.
 Todd using PanAm SAE-50 on Tyler's 1959 Harley Panhead chopper. It gets an oil change more frequently than 5,000 miles, as it has velocity stacks on the carburetors, which do not have any filter.
 PanAm and Spectro in stock and ready to ship to you today!
 This is Ian, he's explaining how he's about to measure from axle plate to axle plate to determine how wide his new sissy bar is going to have to be.
 Using a metal table for a jig measure to determine center of the table, use a square and mark center of the table. You can then base your measurements of the center line.
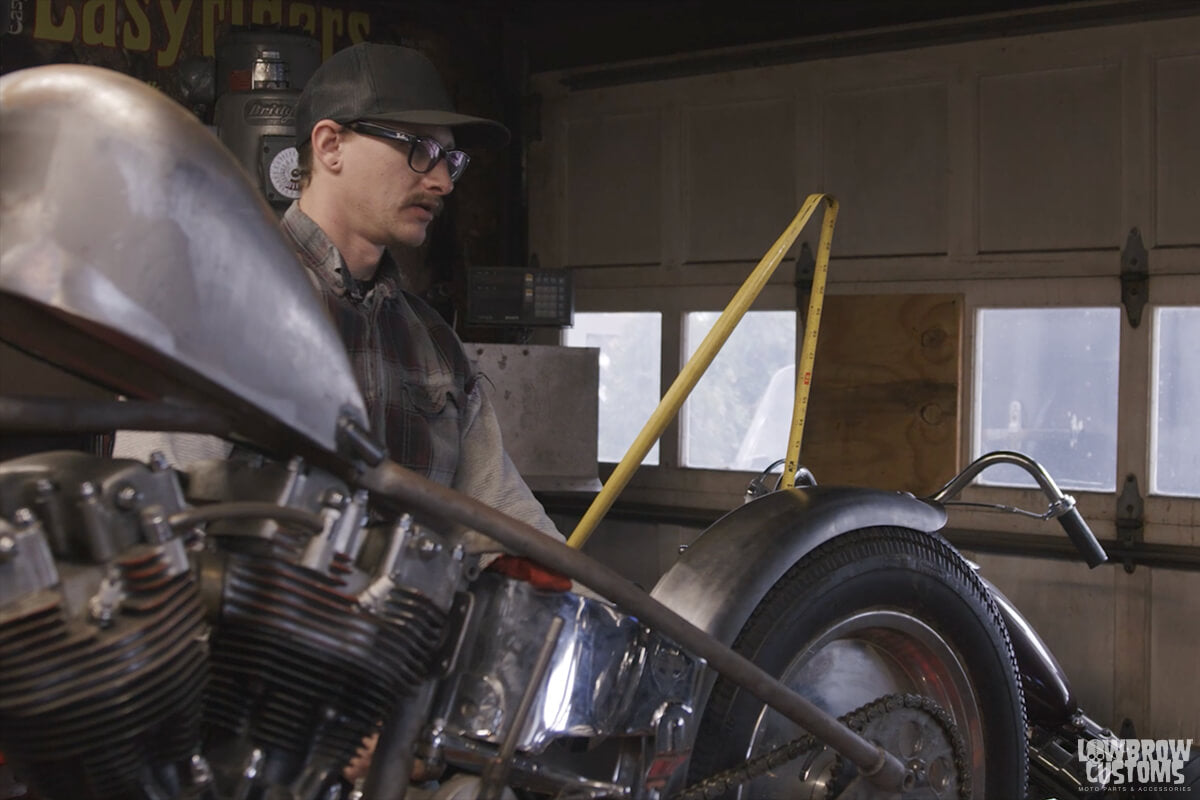 Determine the height you want your sissy bar to be. Ian went with 26 inches high from the mount location on top of his axle plates.
 Determine height of where you want bends to be if you want to bring the sissy bar in closer by the fender.
 Draw your measurements out on the table and give your self a guide to where you want to tac round stock to make your bends.
 Fire up that oxy acetylene torch and get it to a nice blue color to heat up your rod for bending. (Please wear safety goggles and gloves!)
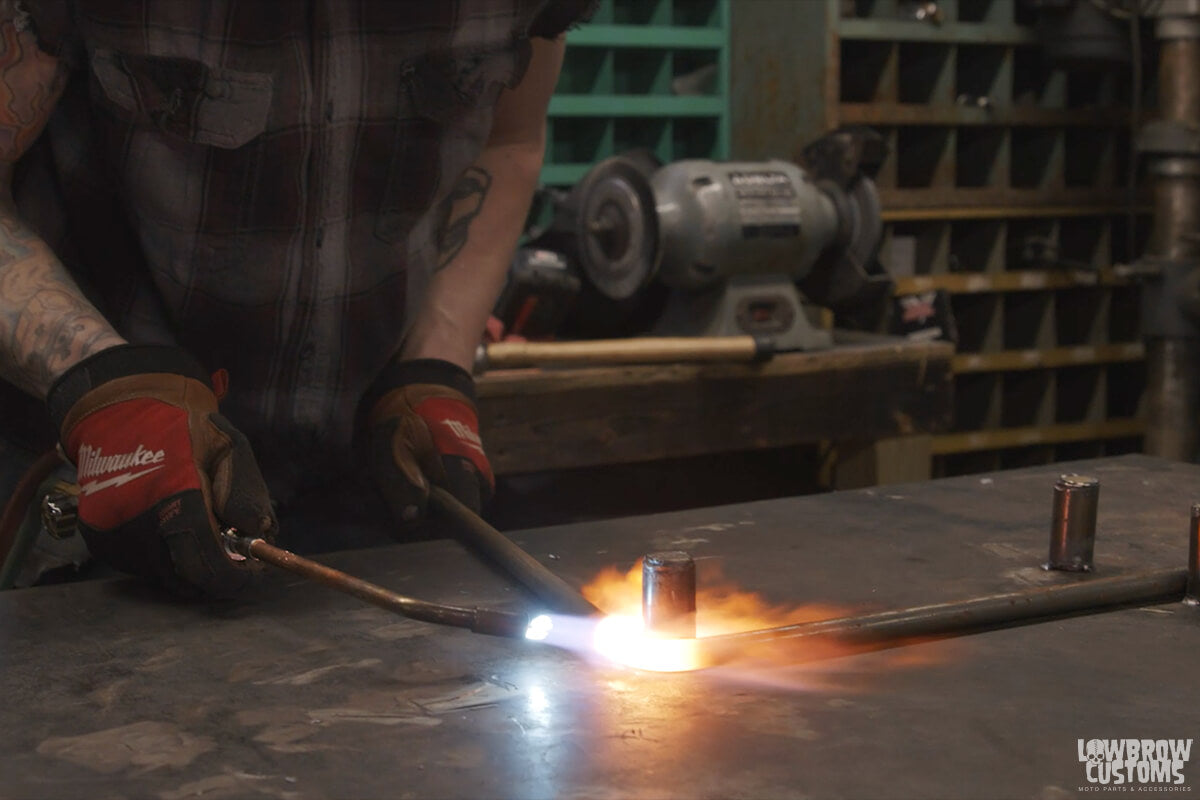 Get the rod a hot cherry red in the area where you are bending around the round stock welded to the table, slowly work it around until you get the bend you like.
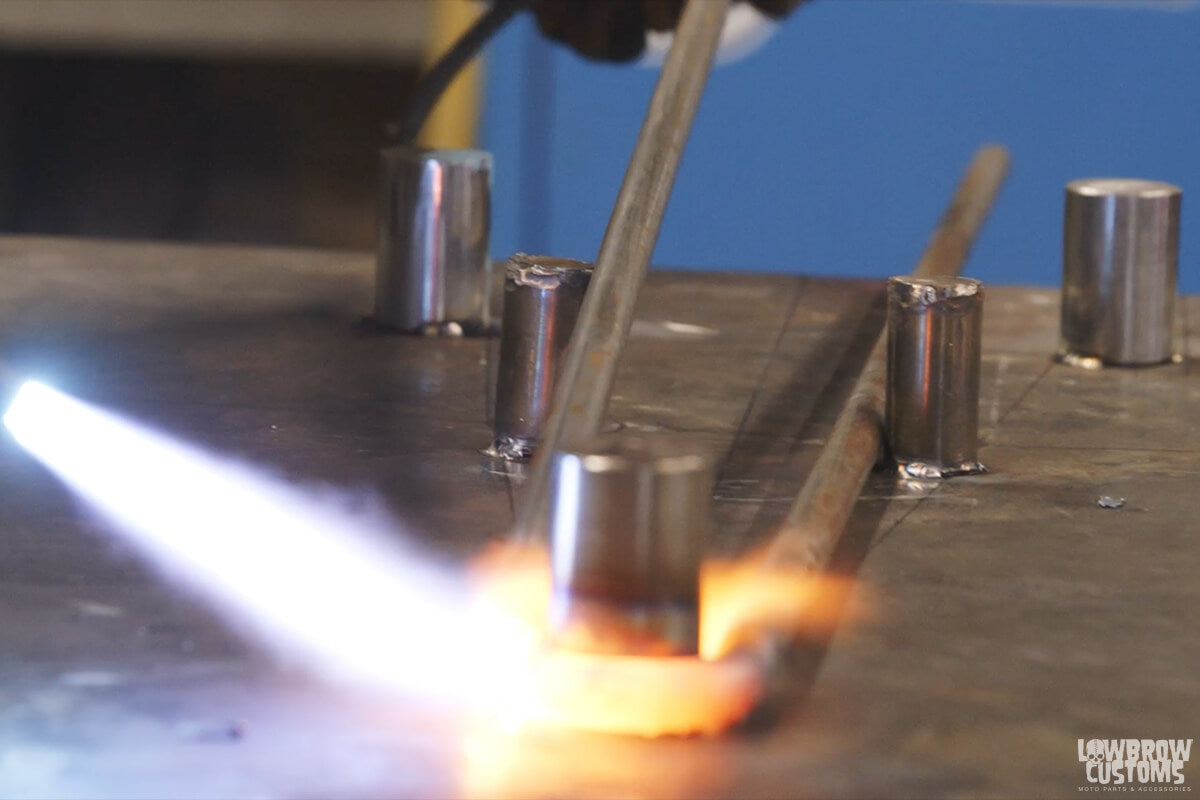 Note its ok to lift up and over your other round stocks on your jig table to get the bend the way you want.
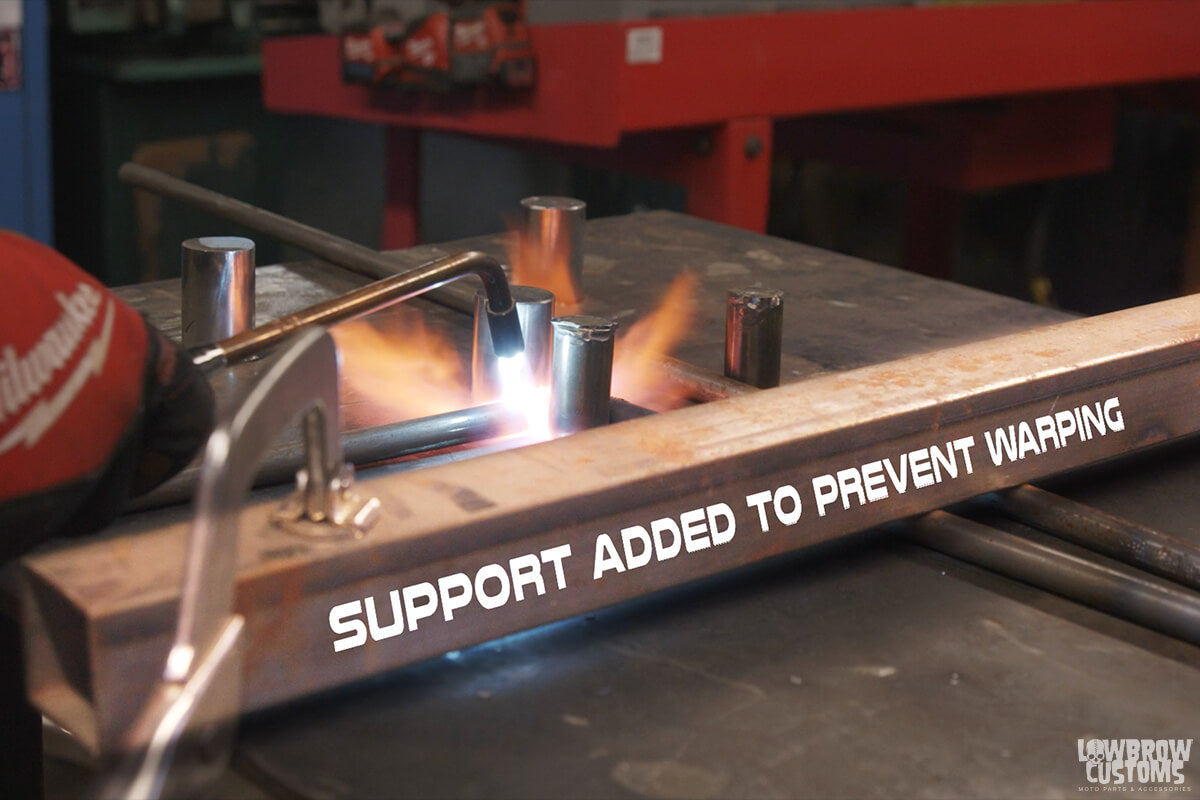 This prevents possible warping as you continue heating up the sissy bar to make more bends.
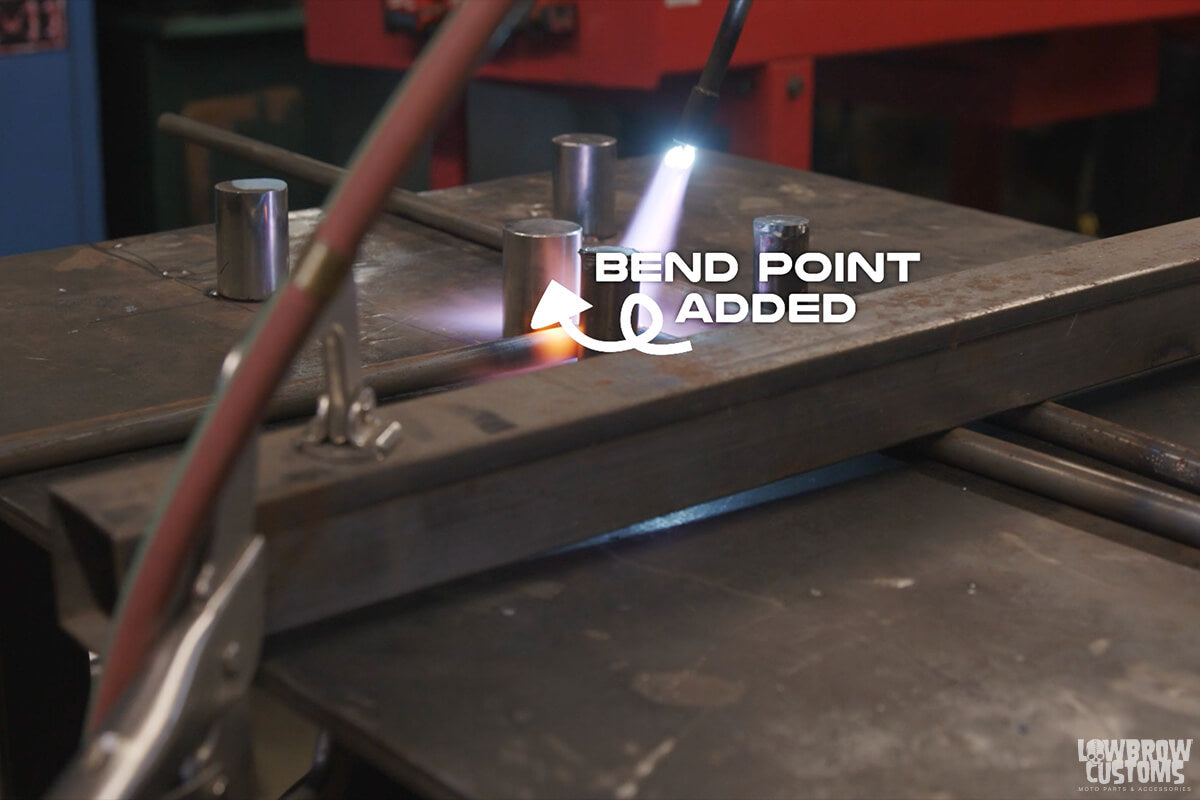 Adding another piece of round stock on the guide to make third bend based on the guide. This couldn't be there for the initial second bend because it was too close. You may have to add more round stock for bends as you work your way down depending on the complexity of your design.
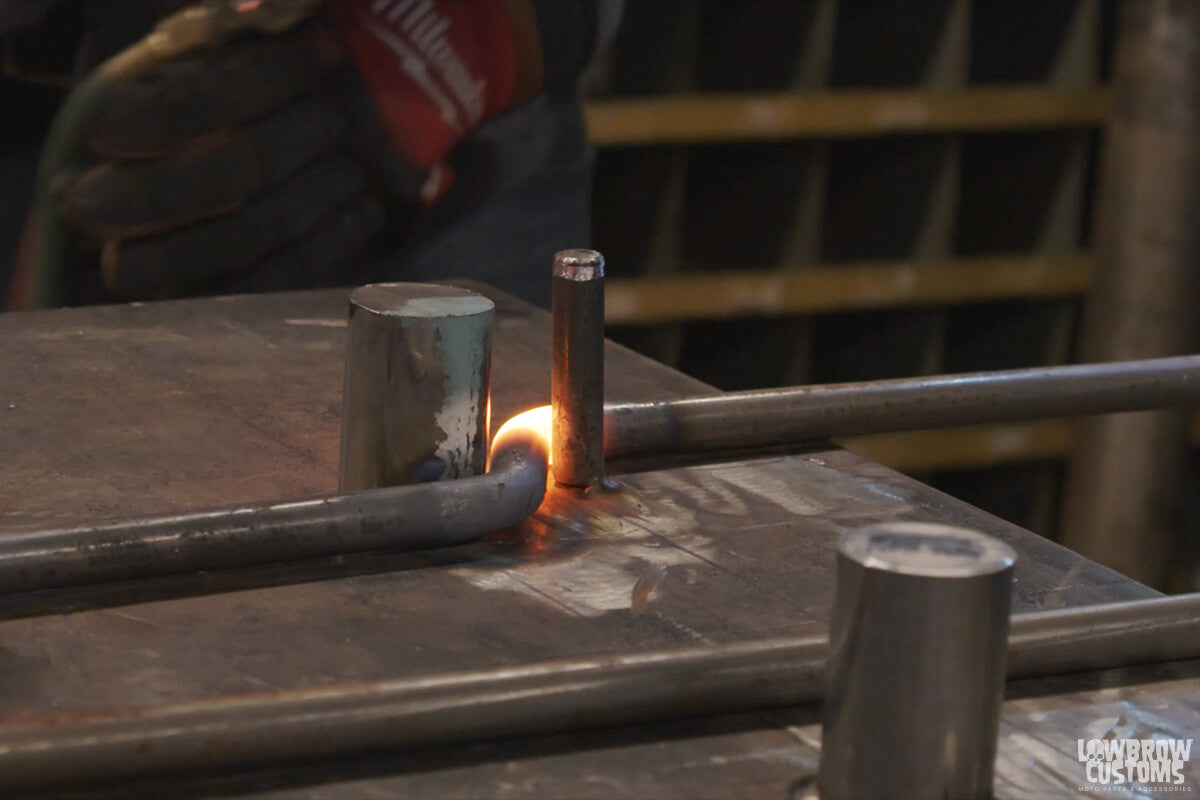 Here's a great pic of how welding another piece of round stock thats smaller to make a tighter bend.
 Matching the other side.
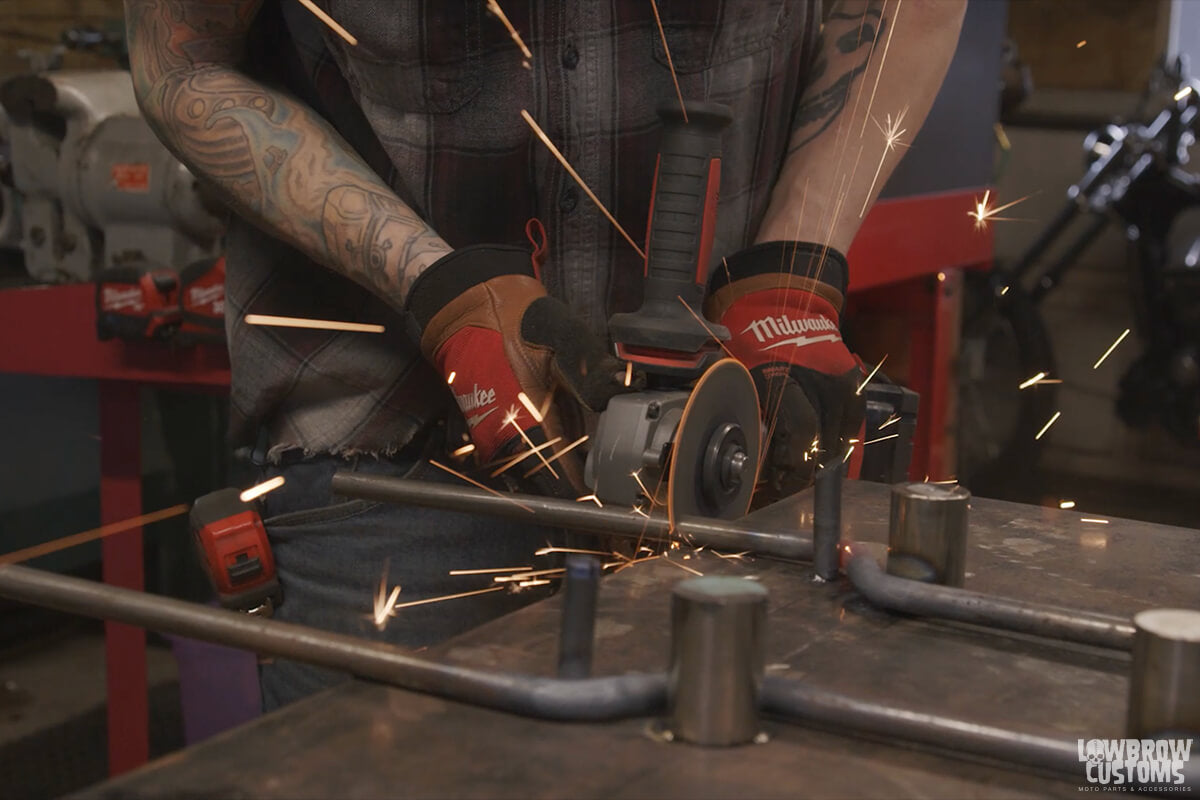 Cut cut cut baby!
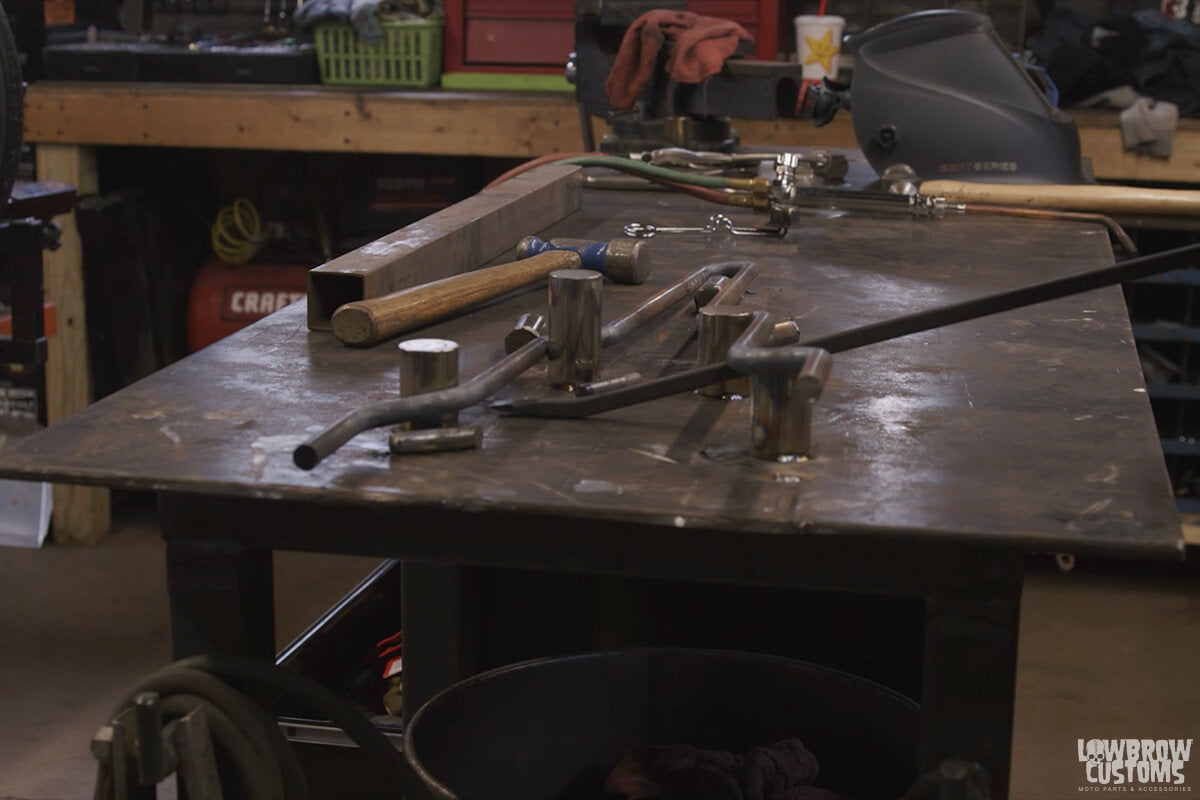 Using a pry bar to get the sissy bar off the jig.
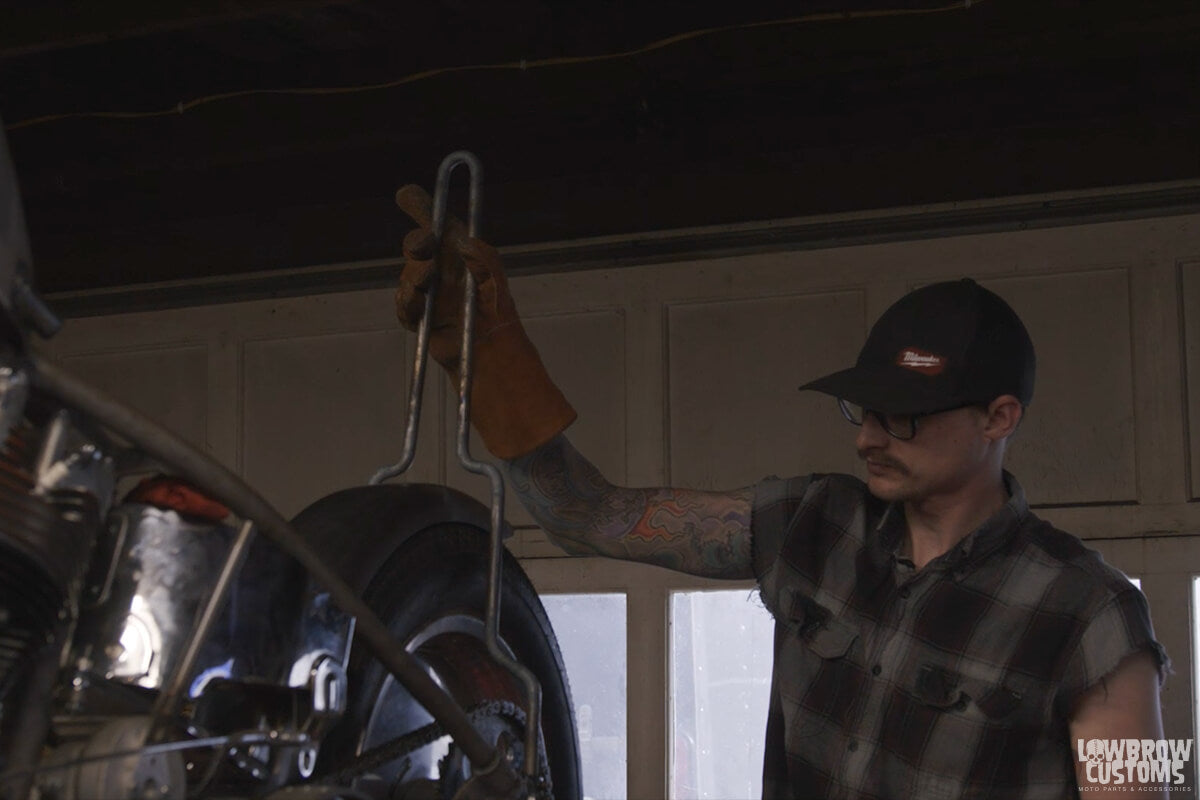 Ian taking a look at his newly custom made sissy bar.
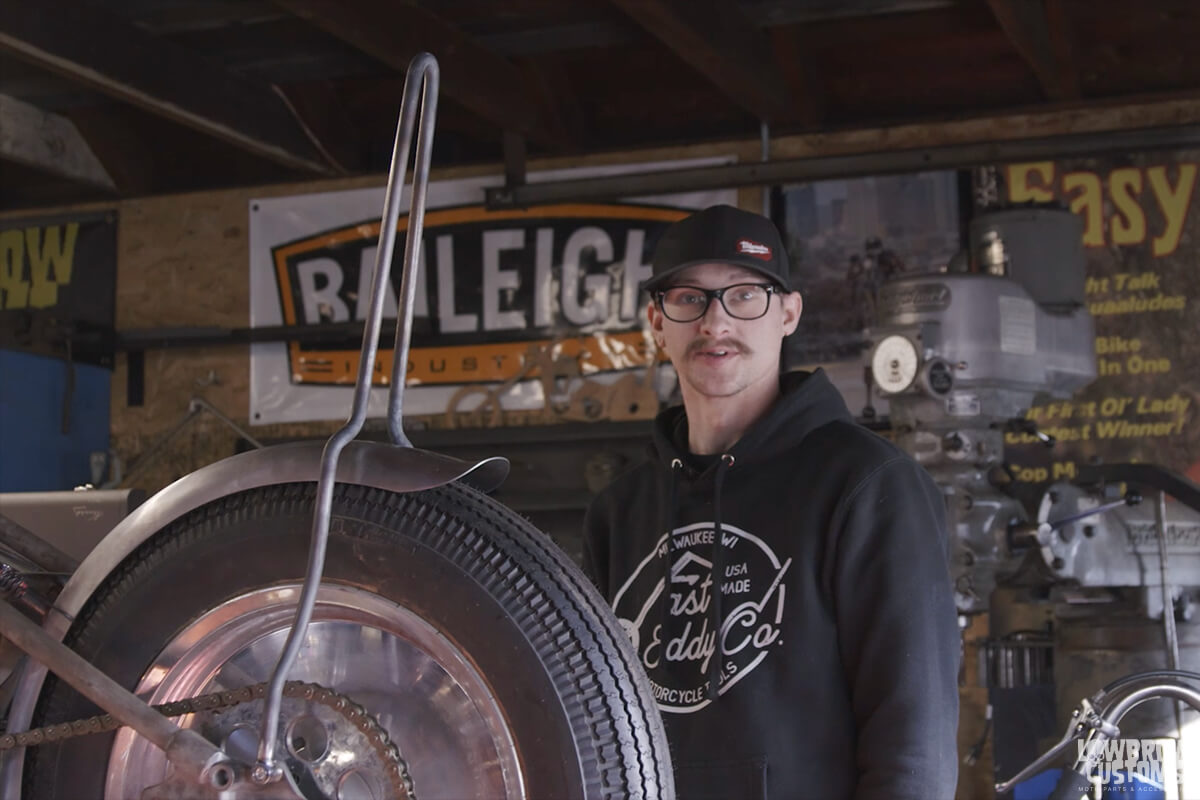 Ian happy with his new changes on the second sissy bar design. Similar in length and skinniness on the top, he changed the way the bends worked at the bottom and rounded them out more.
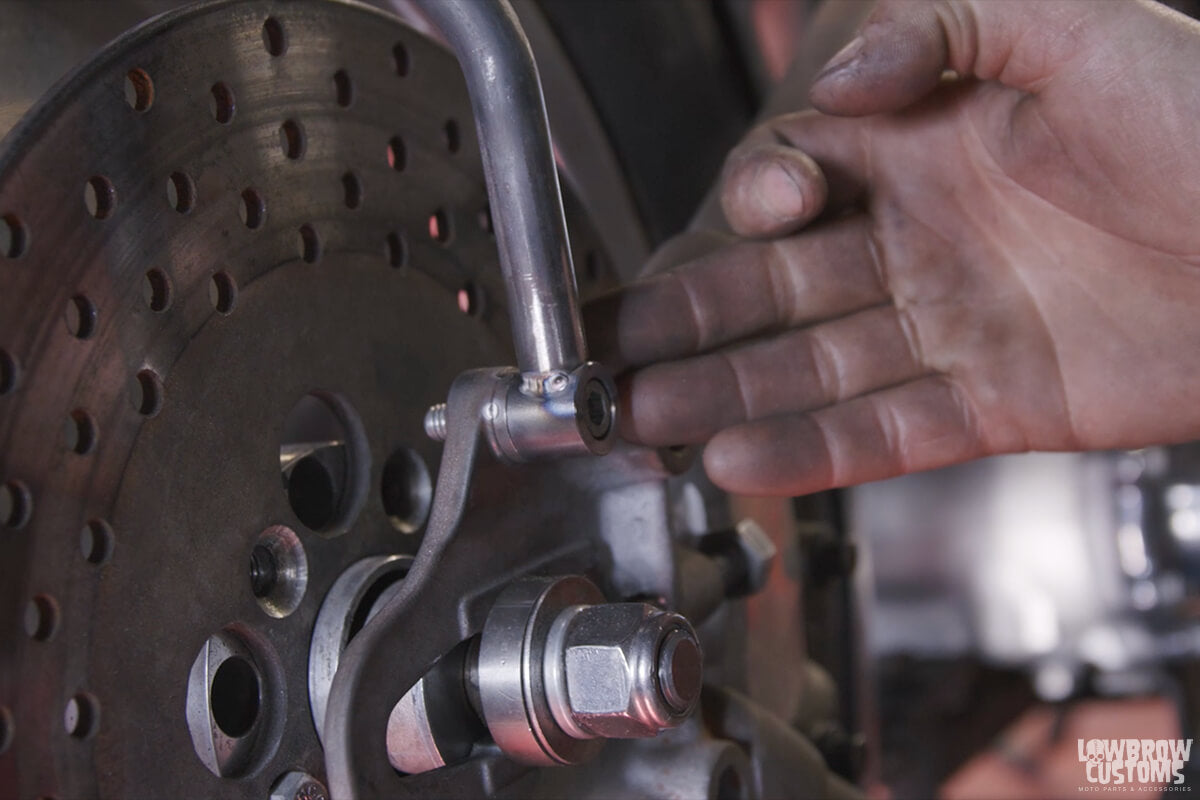 Counterbore bungs are excellent for this and look and give that real professional finish. With these you can also determine the angle of your sissy bar and tighten down to then mock up your mounting locations on your fender.
 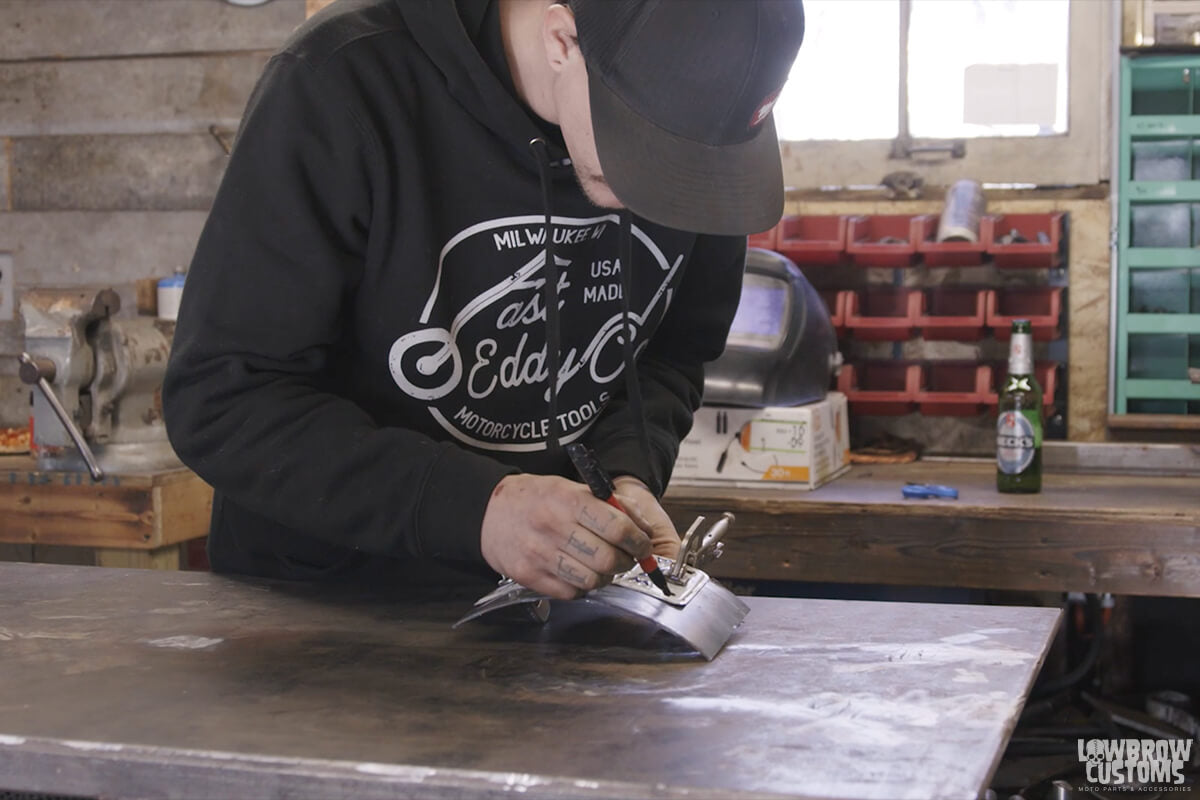 Arts and crafts time, using a license plate Ian traces it on a bent piece of metal he wants to use for the bracket.
 He then cuts it out and smooths out the edges.
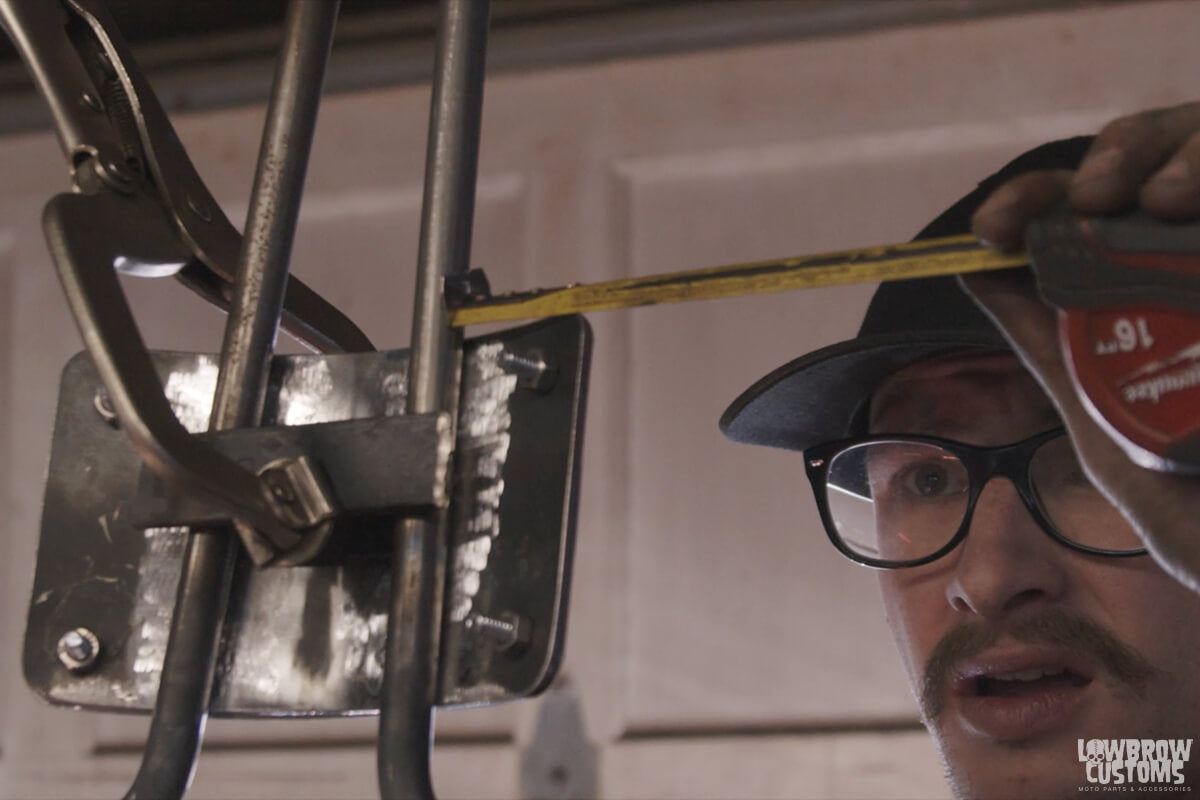 Measuring side to side me makes sure he's even on both sids before tacking the licenses plate bracket to the sissy bar.
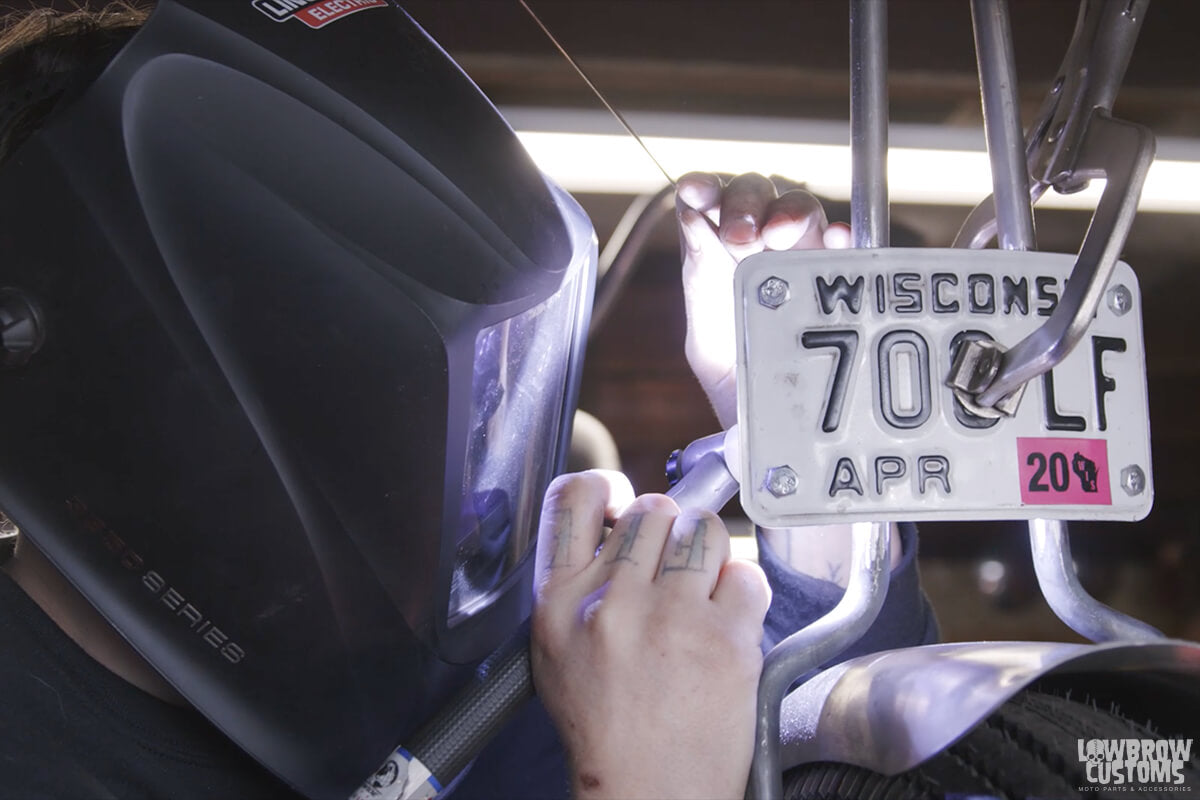 Tac it up!
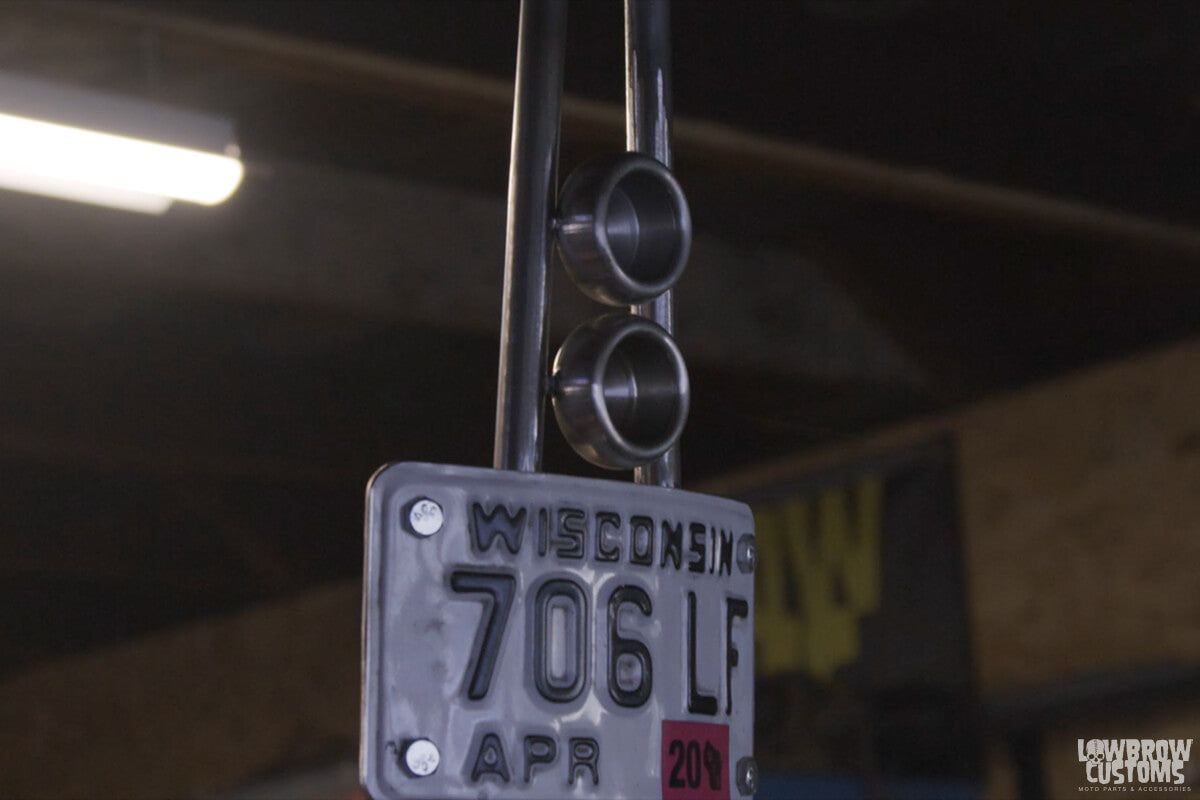 Check out those Prism Ripple Tail Lights!
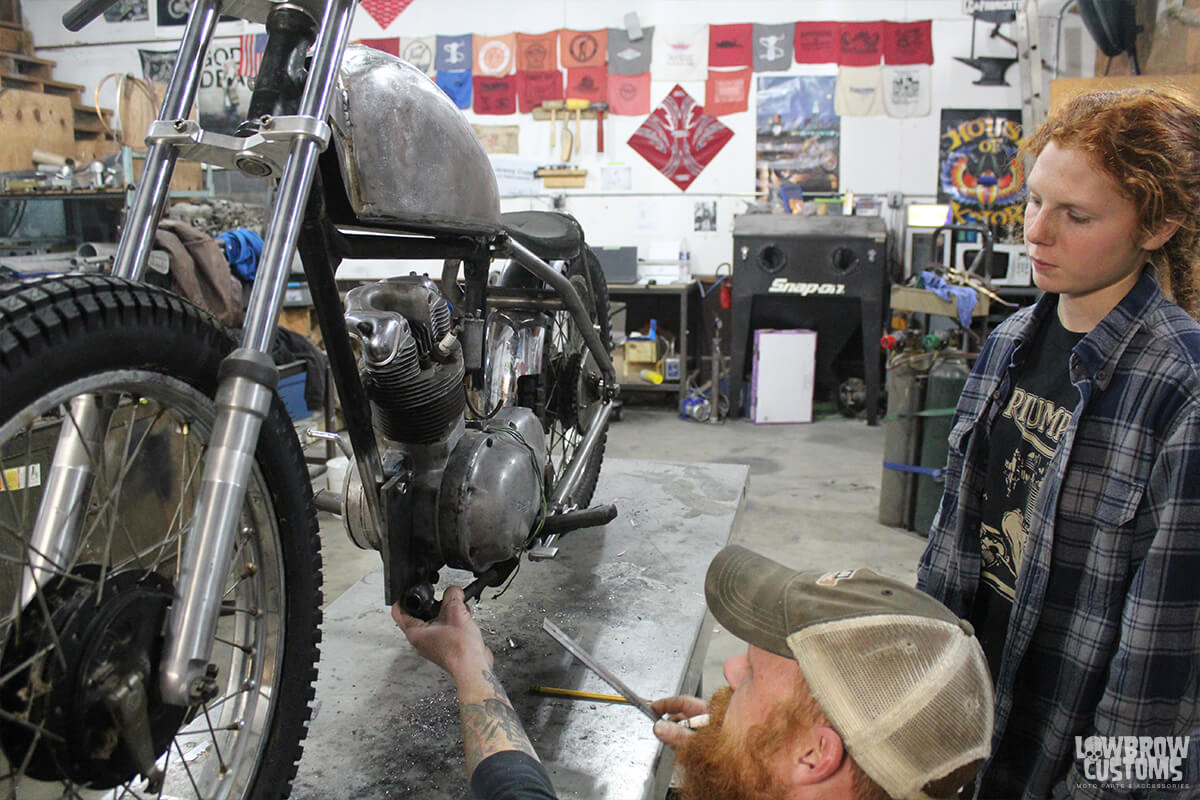 Emmi and Jeremy Cupp starting a Triumph build. Photo by Harleigh Cupp
 Just a few of hand tools can do a lot of jobs on a bike but the more the merrier.
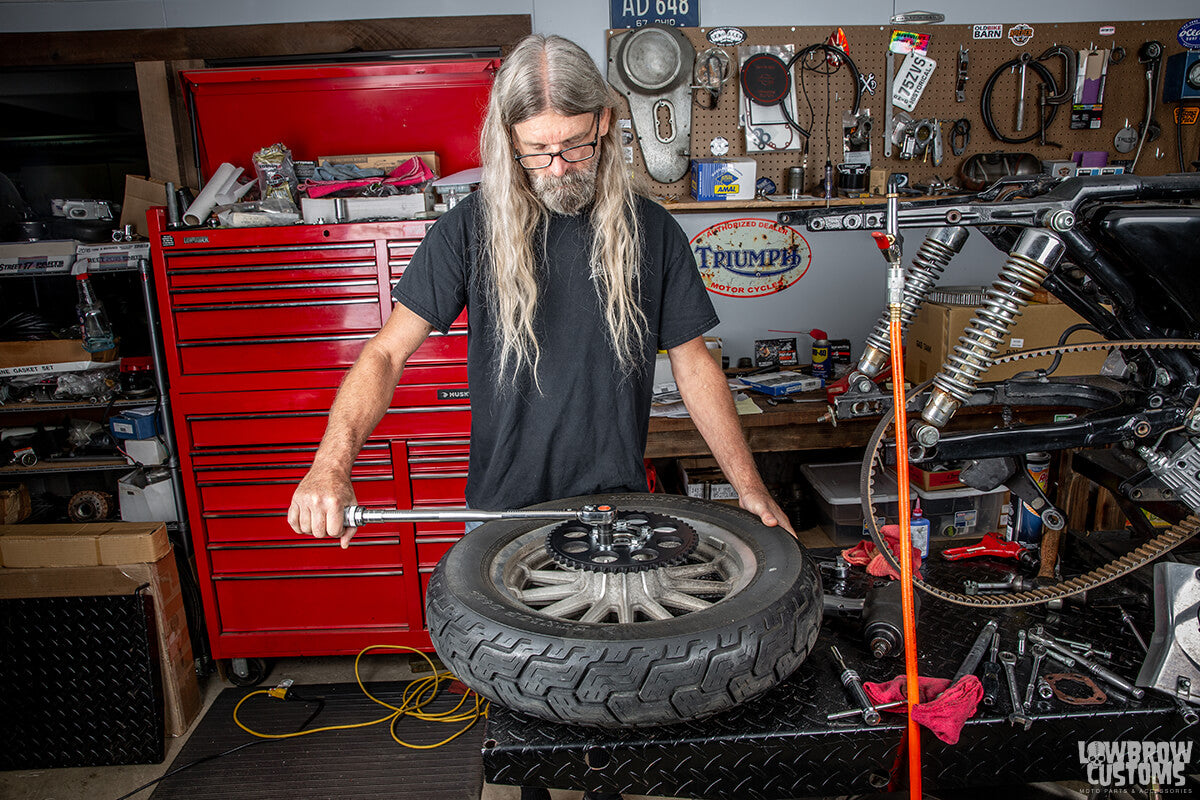 Todd using a 3/8 Torque Wrench on these sprocket bolts to the right torque specification.
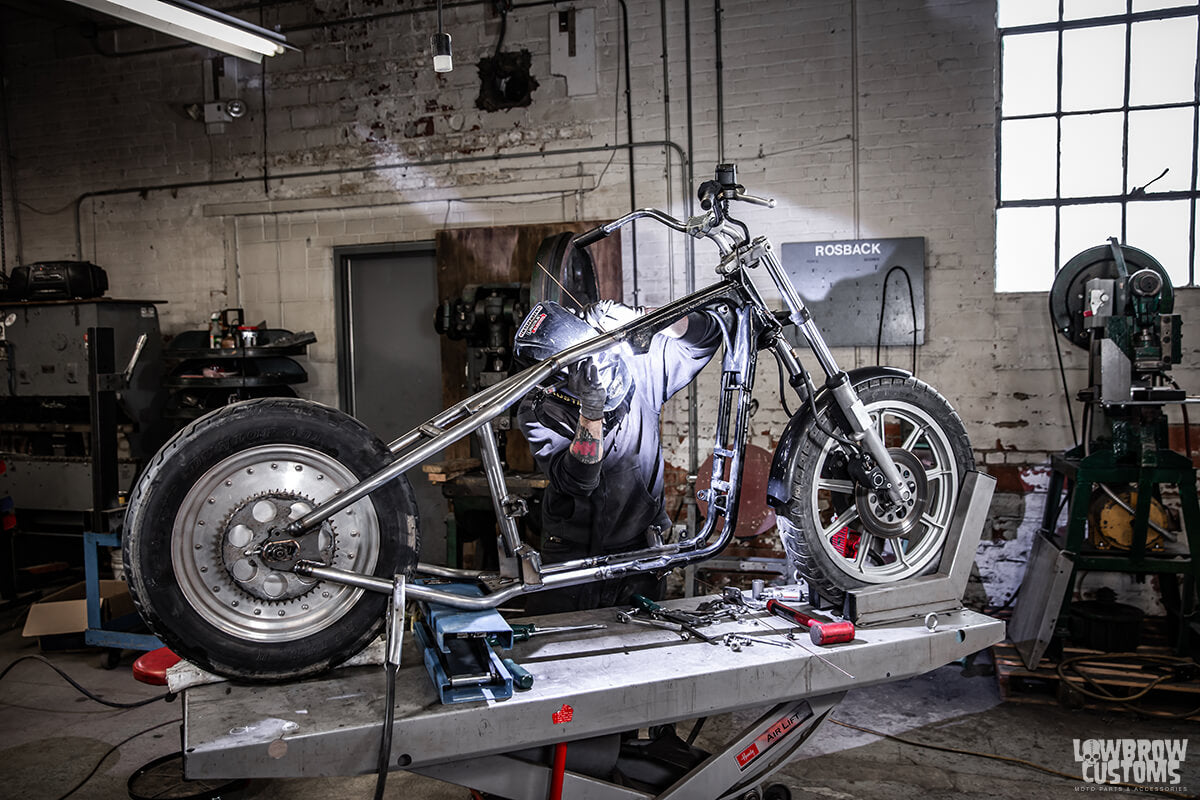 Timmy Fiorucci TIG welding up a Lowbrow Customs Hardtail onto this Sportster.
 MIG welding.
 Tyler's home workshop is super organized, making it easy to find the exact tool he needs.
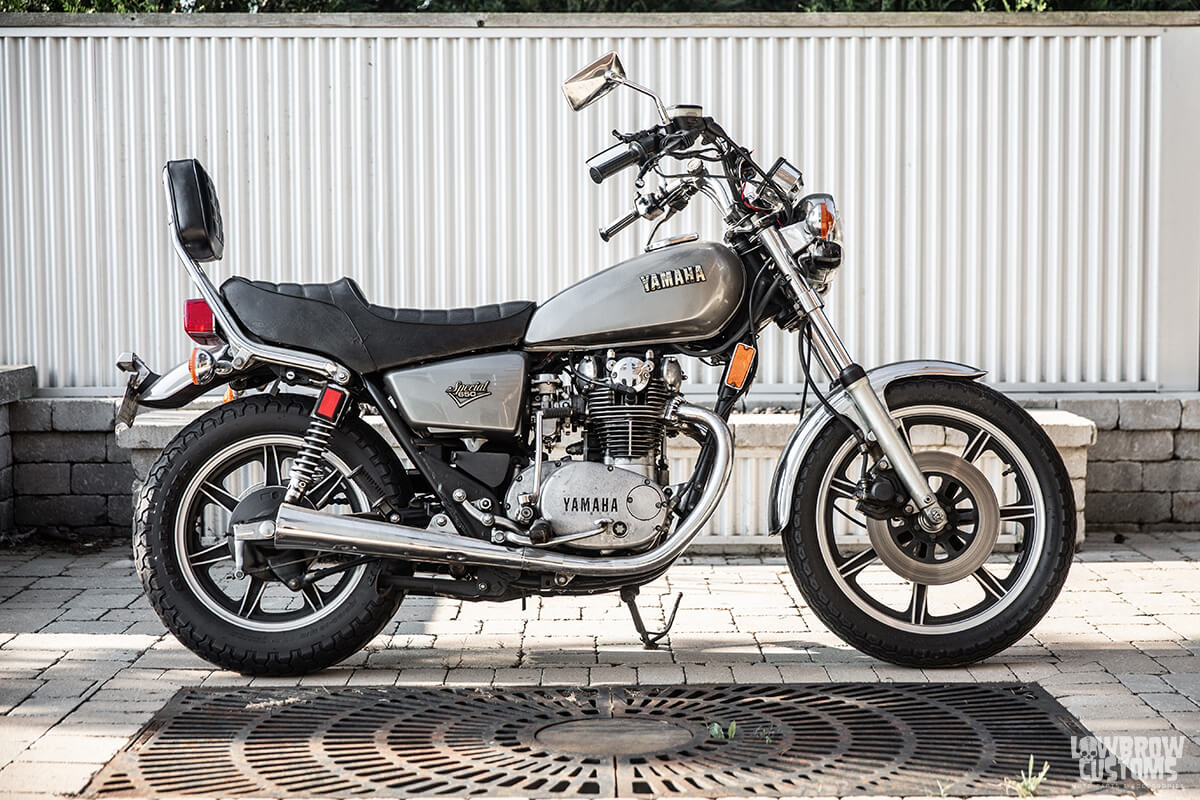 Fully stock Yamaha XS650 we picked up for really cheap.
 A stock Harley Sportster we picked up for really really cheap and low miles.
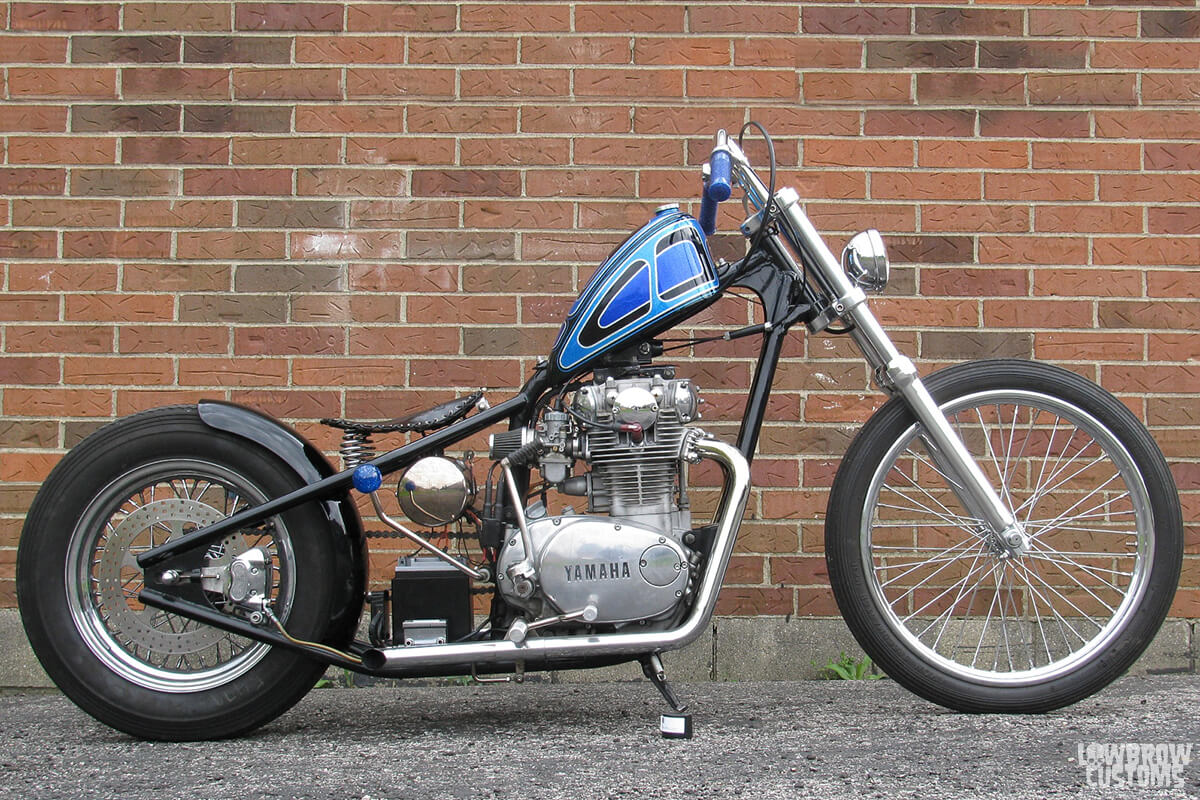 With a little vision and willpower you can make the bike of your dreams!
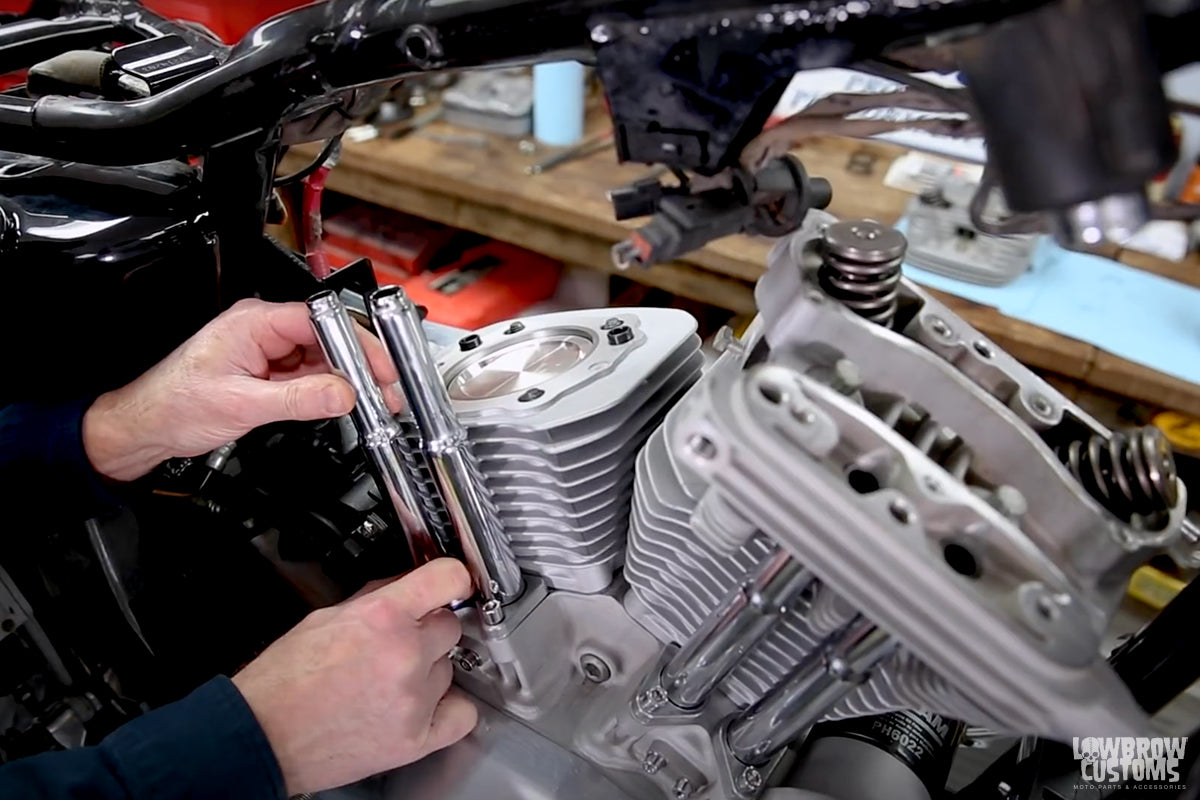 So many tech tips available on our YouTube Page like this 1200cc big bore kit install on a 2003 Sportster.
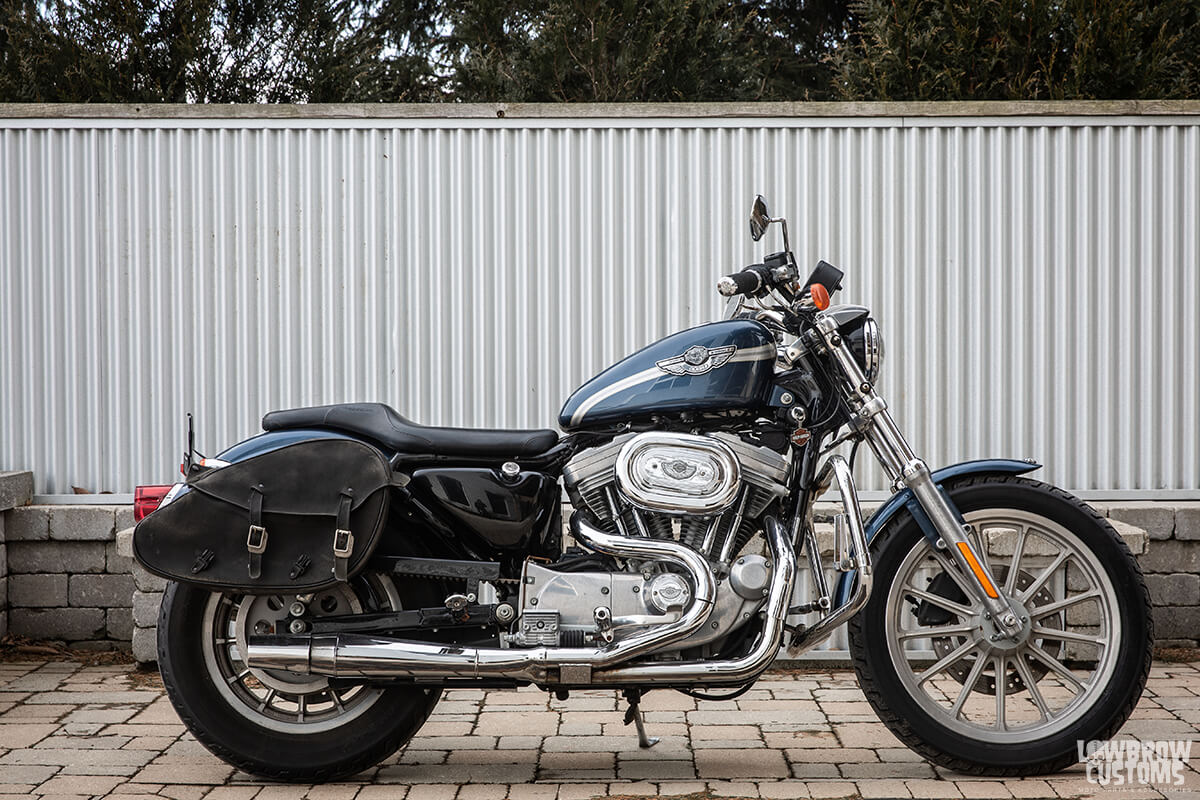
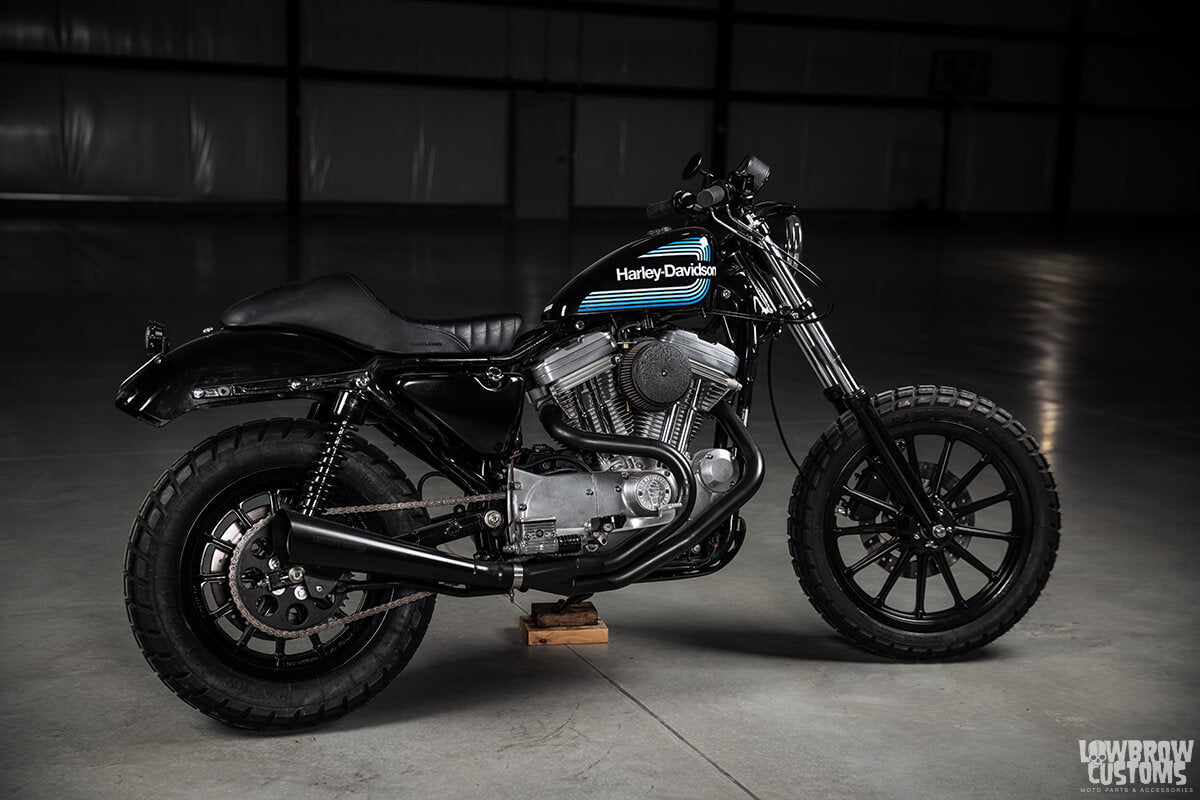

 There she is in all her glory, The Saturday Sportster a 2003 Anniversary edition turned into a bitchen Tracker.
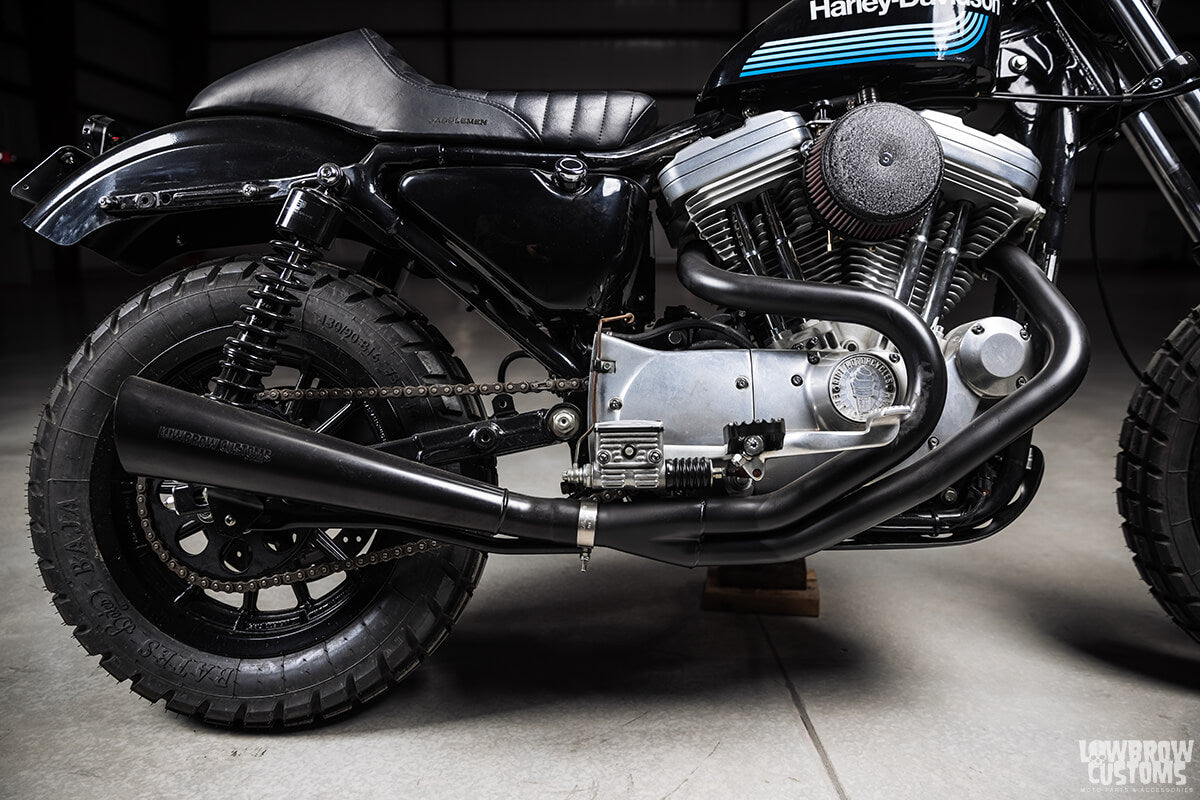 Check out that Lowbrow Customs By Kerker Hooligan Exhaust!
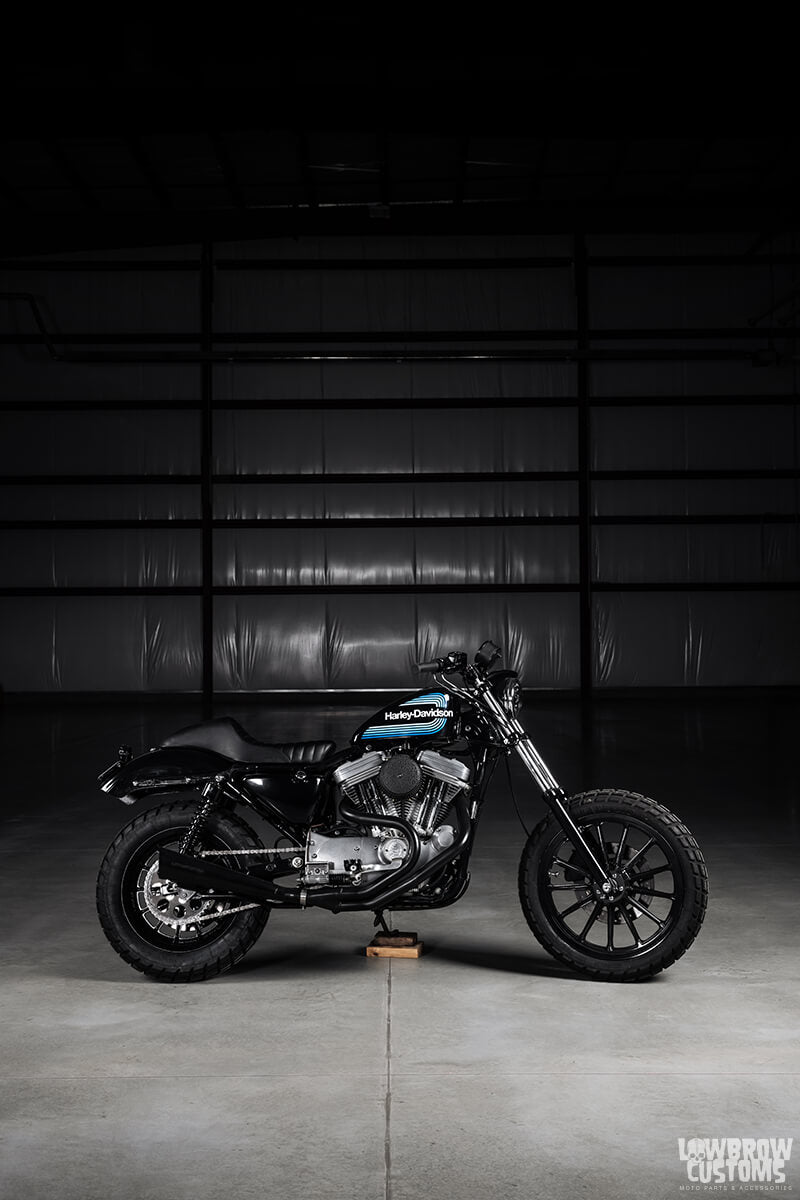 "She's a beaut Clark"
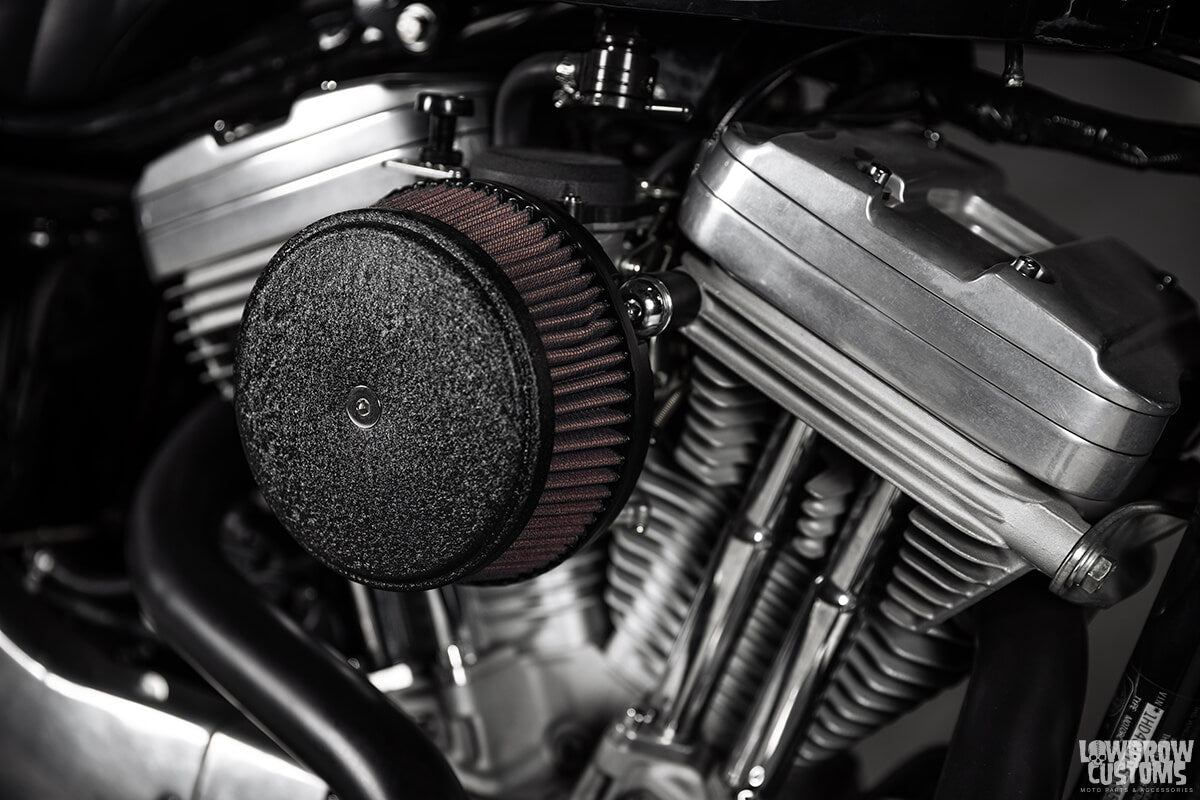 You know that Arlen Ness Big Sucker is gonna help that 1200 Hooligan Kit breath real nice.
 Ride Motorcycles Eat Ice Cream - Americana Speedshop
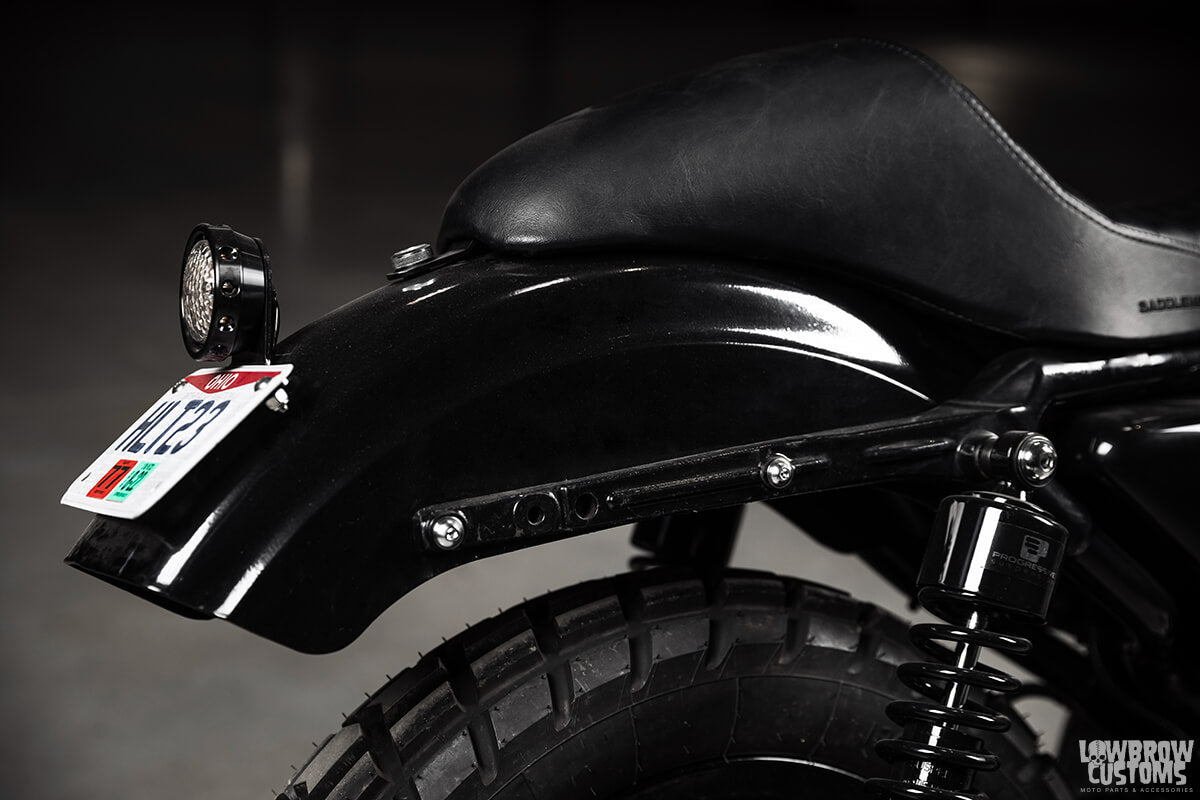 Cycle Standard Bobbed un-drilled rear fender.
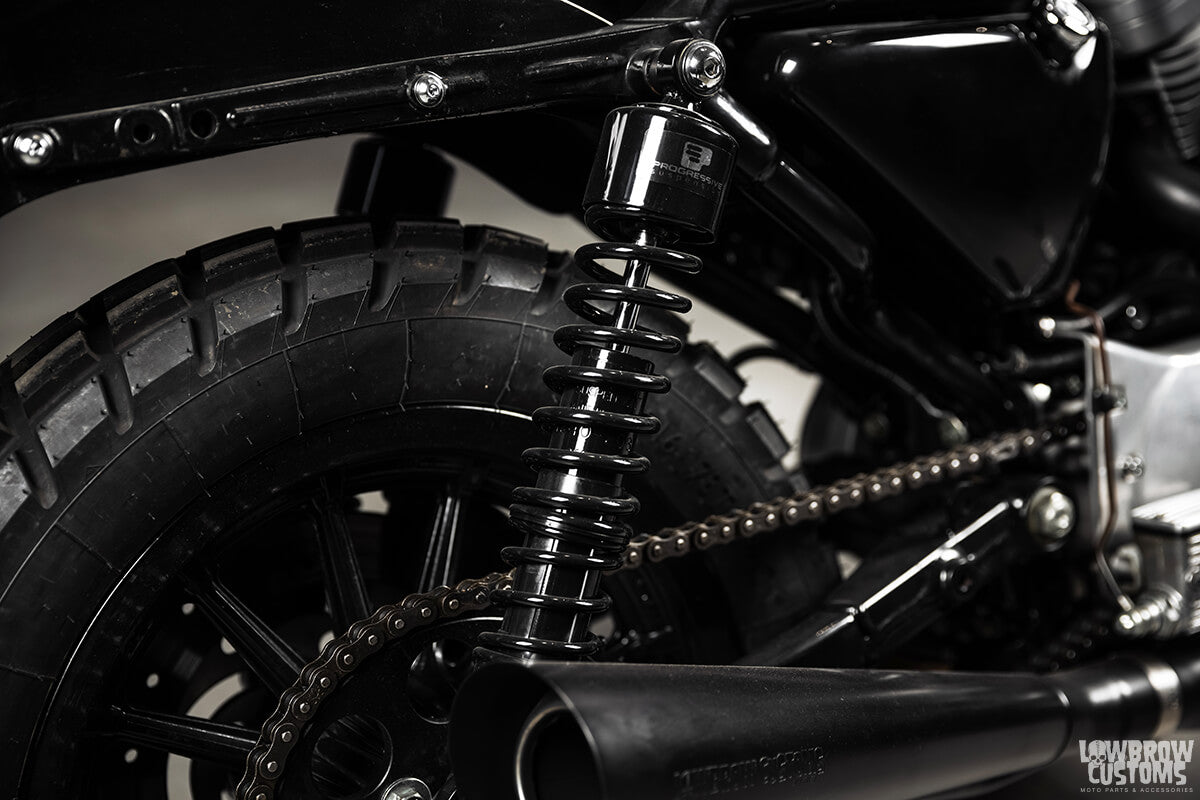 15" Progressive suspension rear shocks.
 The King Sportster tank. The AMF reproduction decals by Rust Is Gold Co.
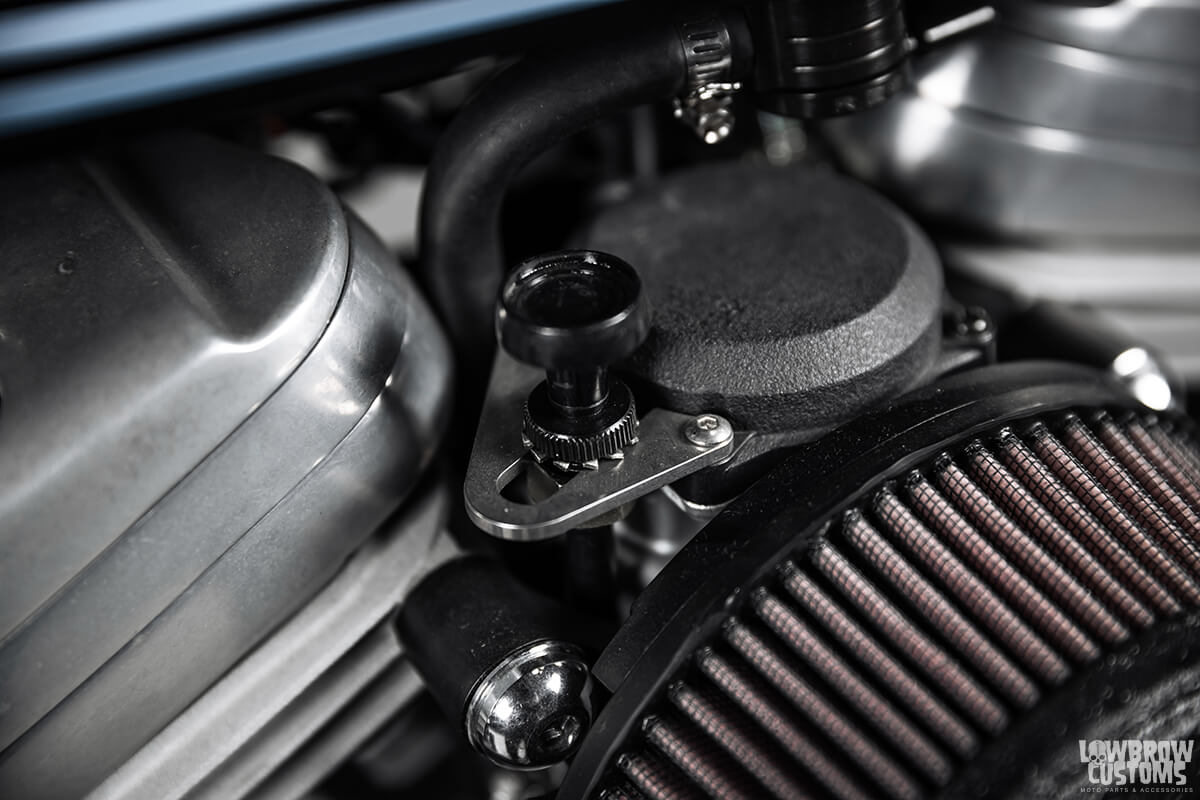 The Gasbox choke knob relocation bracket.
 B-side is just as nice.
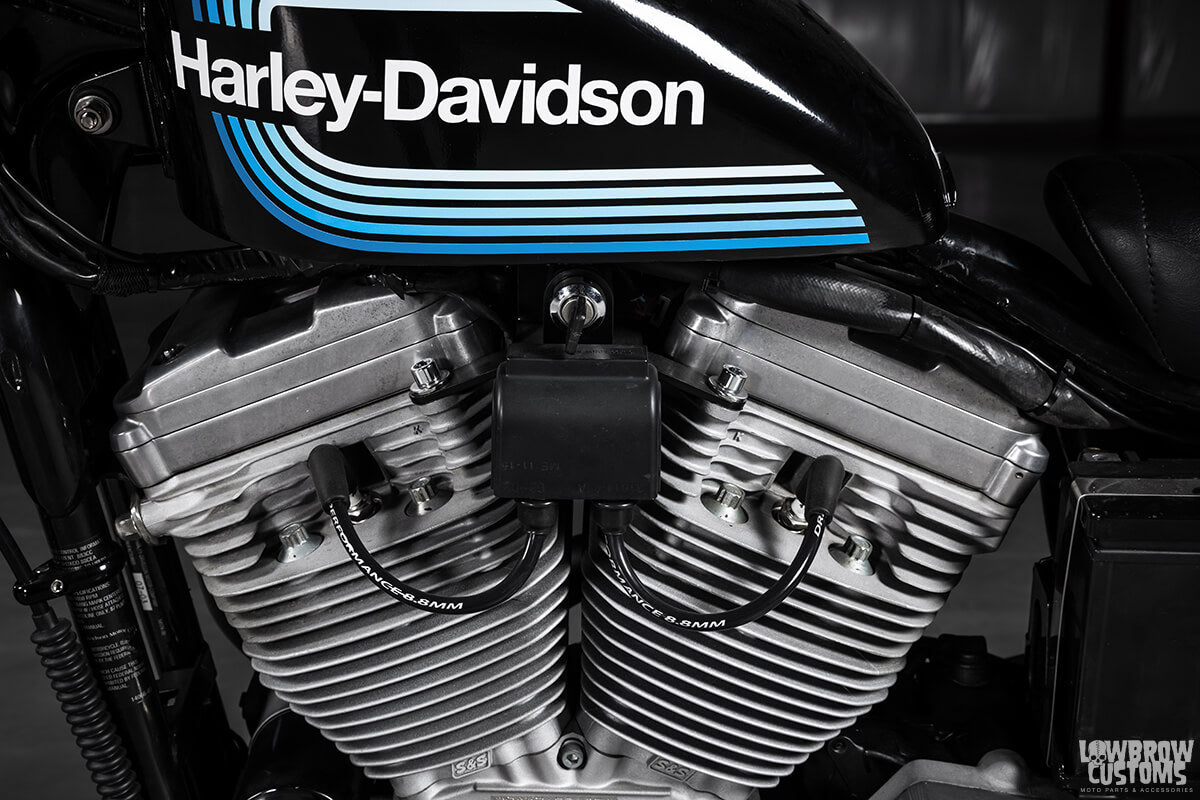 The Gasbox coil and key relocation motor mount bracket.
 Todd's little reminder to turn the gas off.
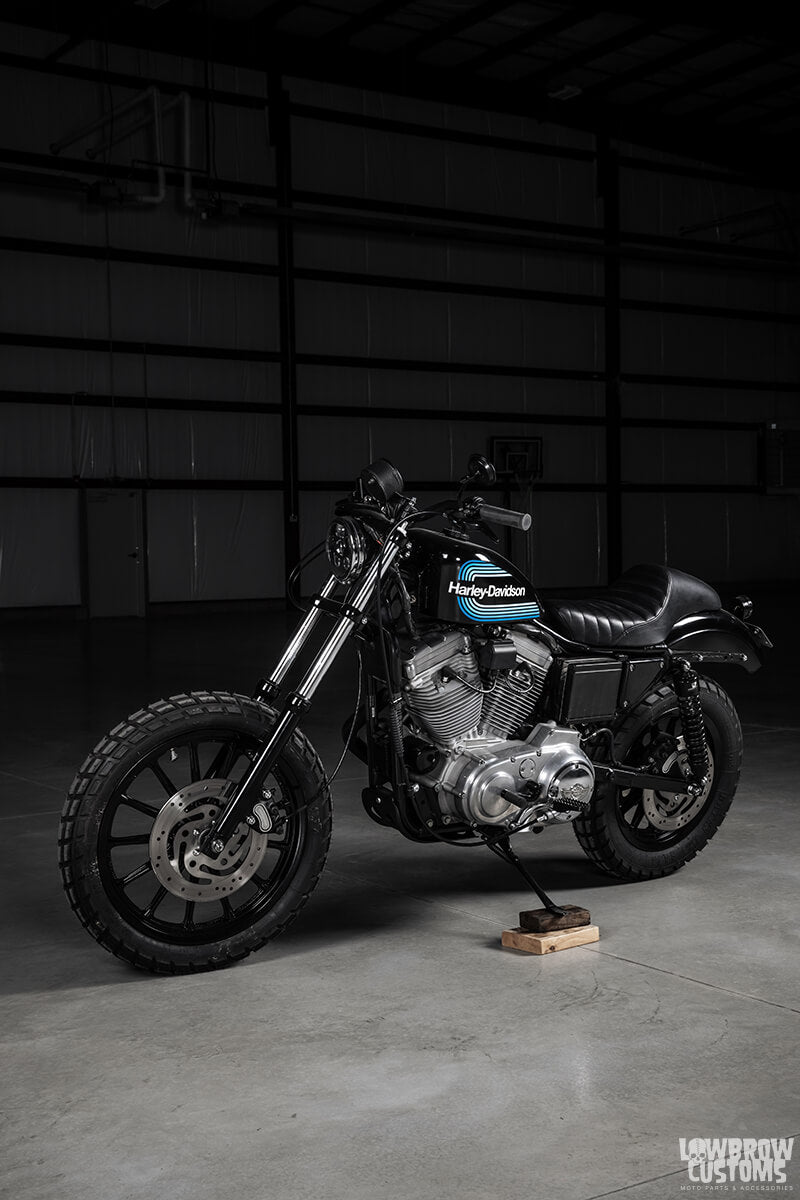 Those Tracker Die longer damper tubes really give this bike a great stance.
 Saddlemen's 2 up Americano Seat - Tuck and Roll baby.
 W&W Bates Skid plate.
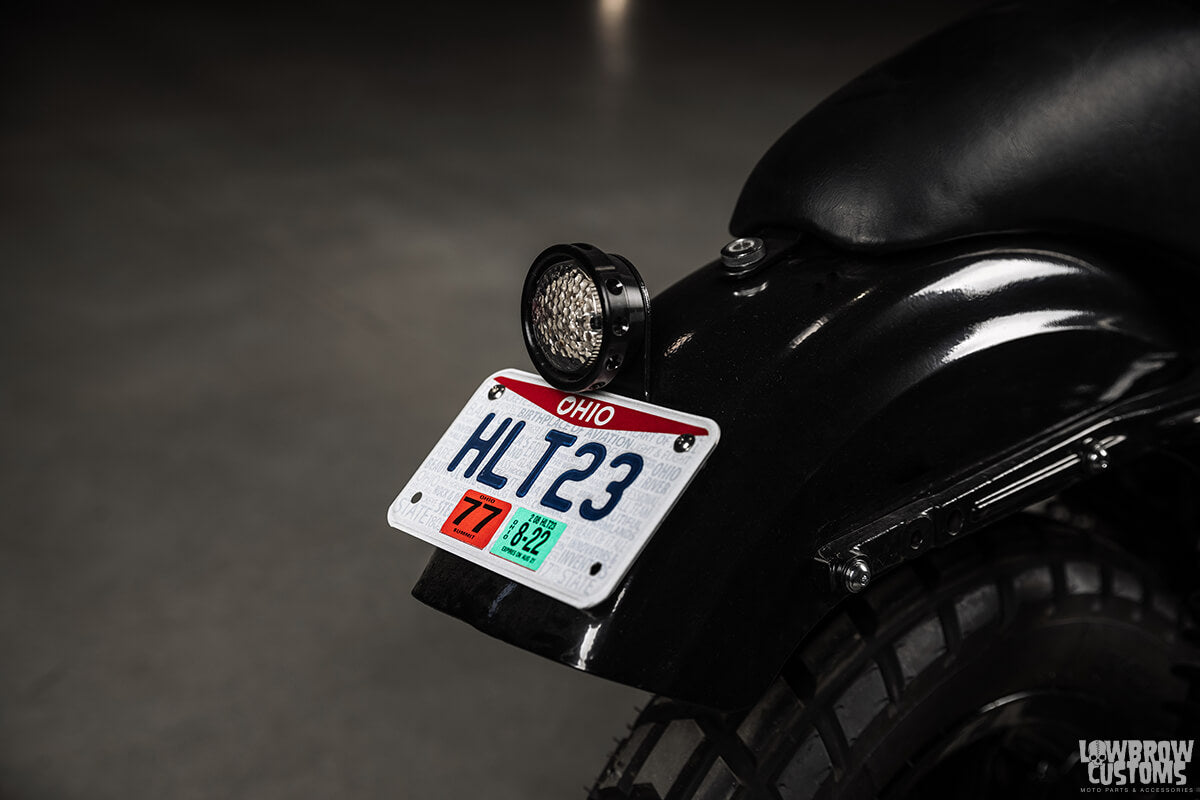 The Cycle Standard Comet tail light.
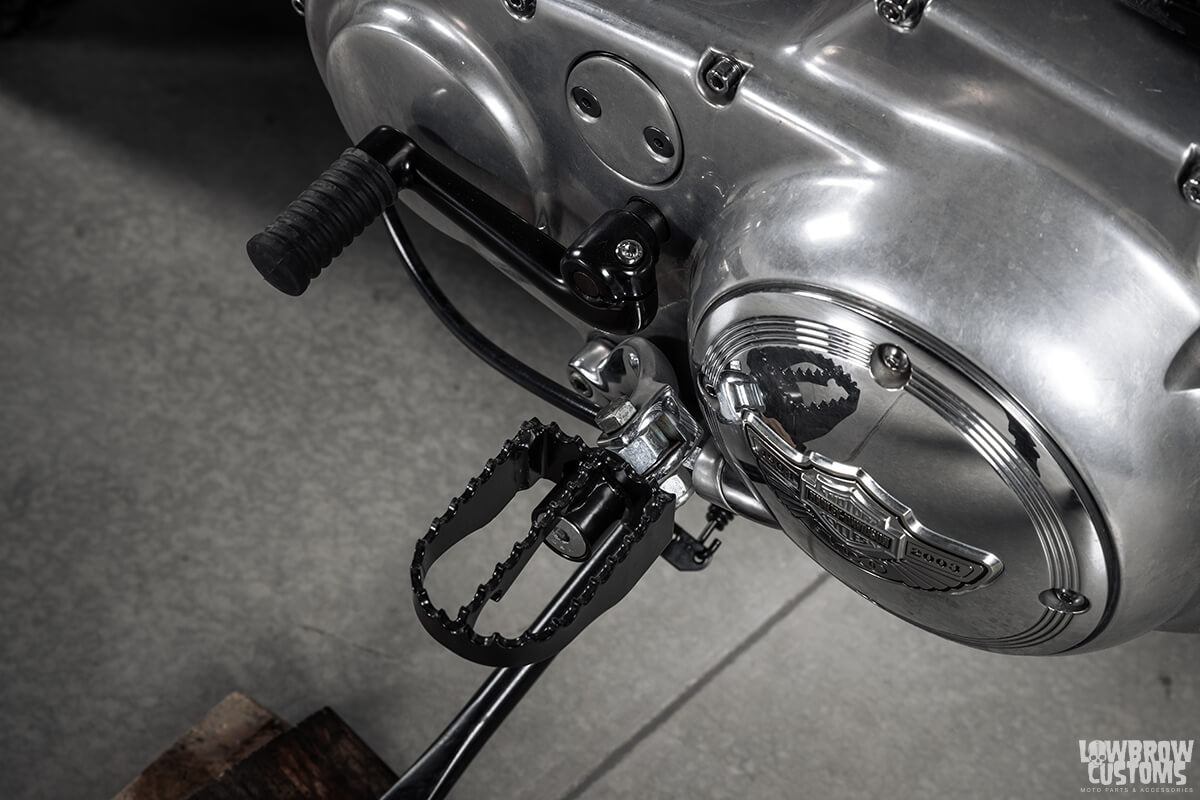 Burly Brand MX
 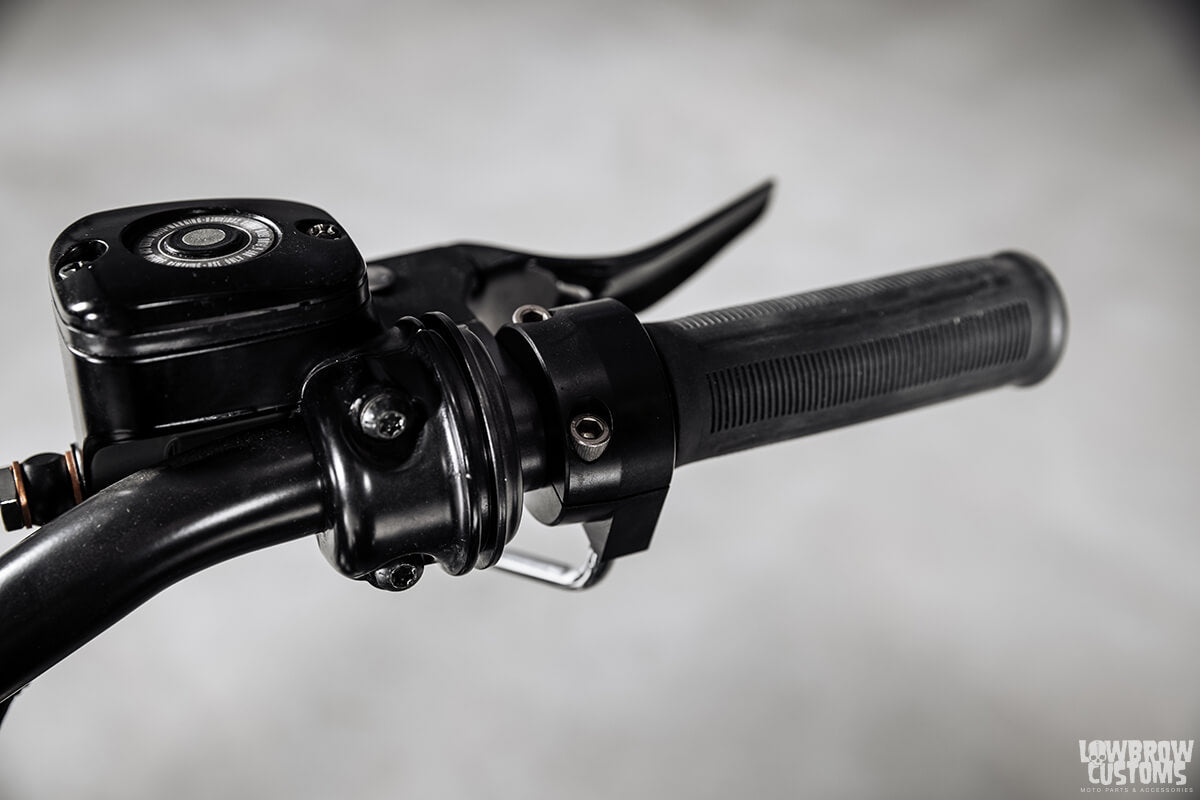 LC Fab brake switch pod delete, Lowbrow Customs Throttle housing, and Lowbrow Customs Beck Grips.
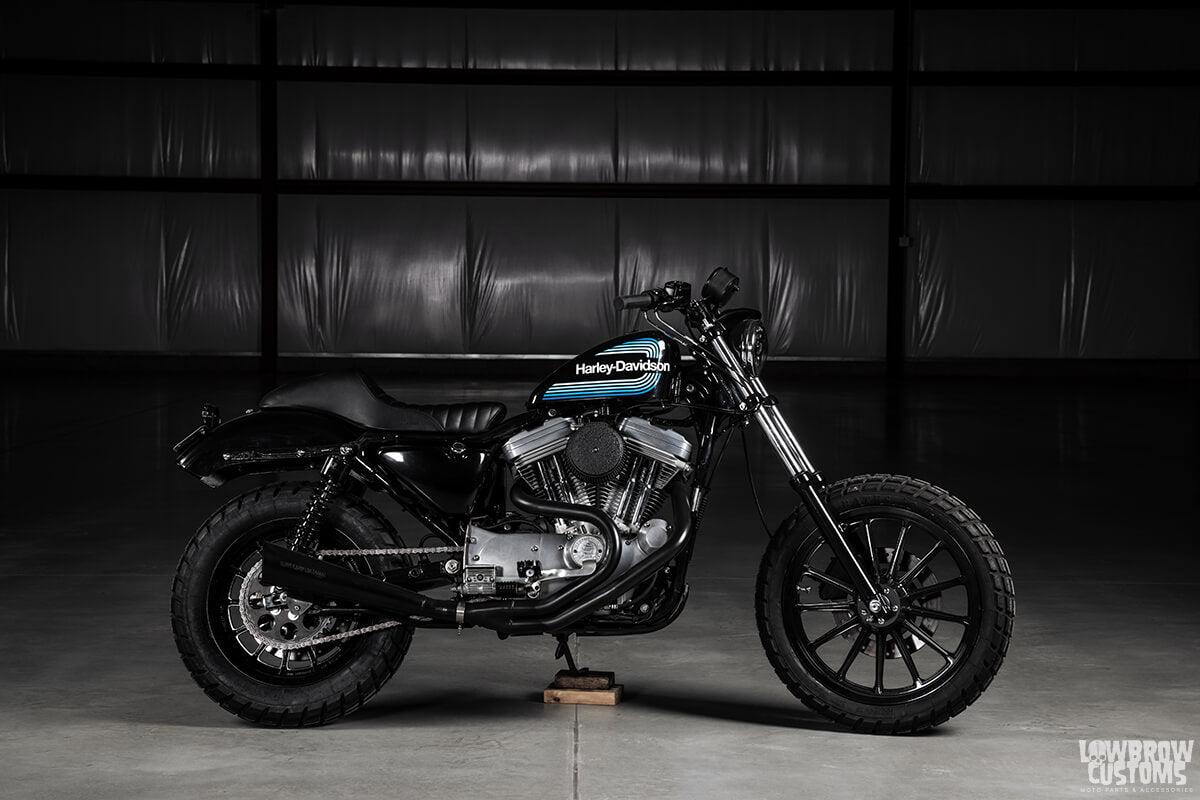 Grip it and Rip it!
 Brand new Lowbrow Customs 4-3/4" Manta Ray Fender ready to get installed on Ian's Shovelhead build.
 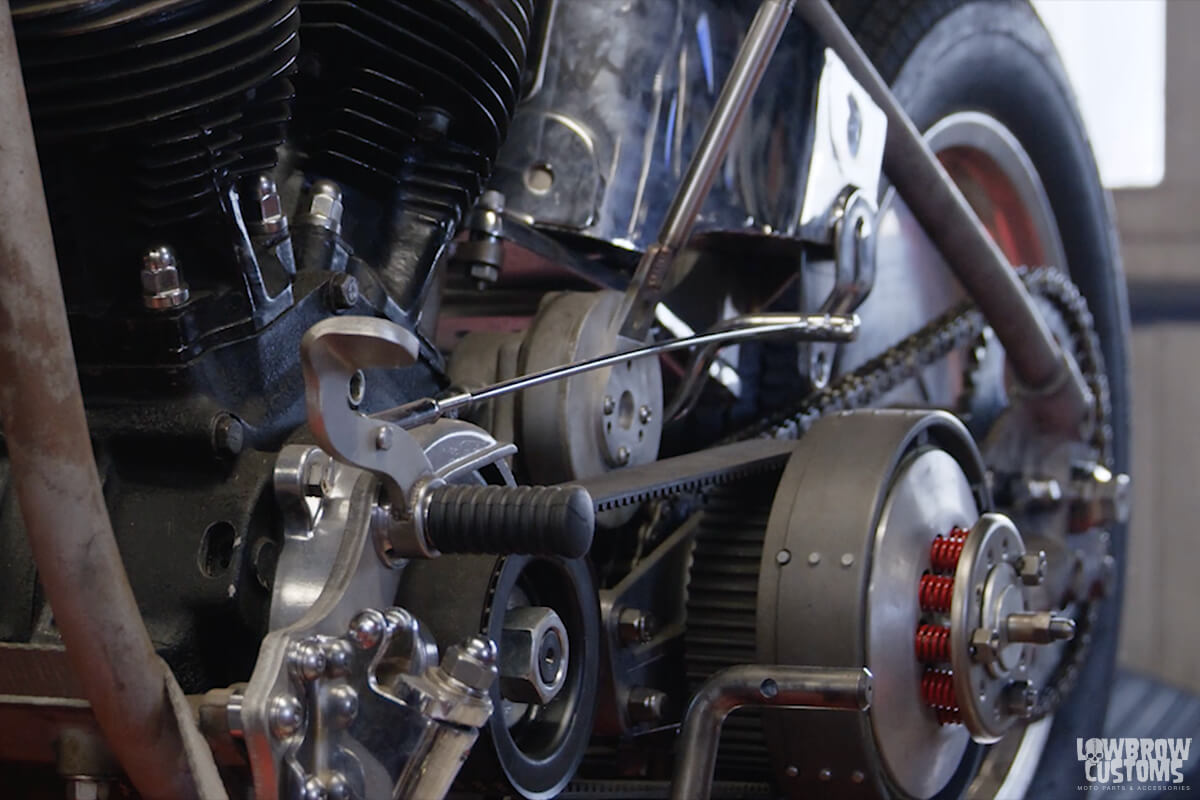 Drive train is all set up with wheel and tire mounted.
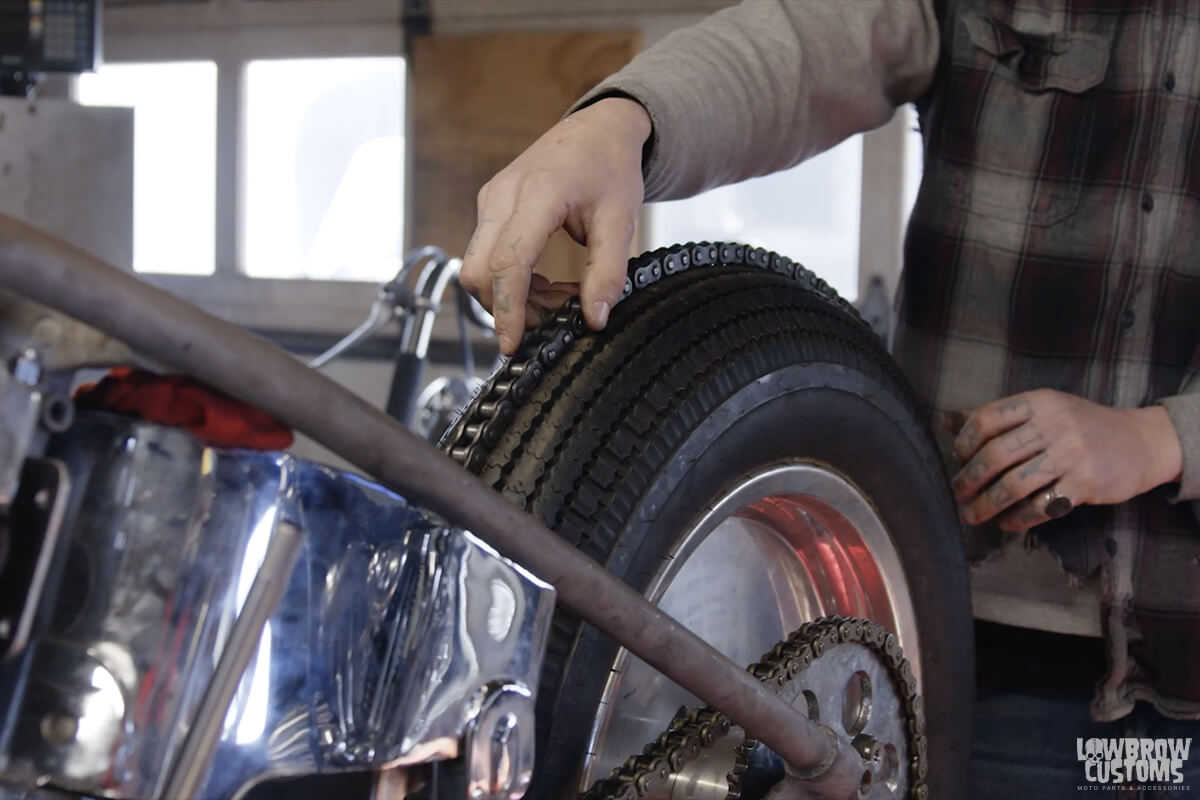 Ian's going with a chain link to give himself some tire / fender clearance.
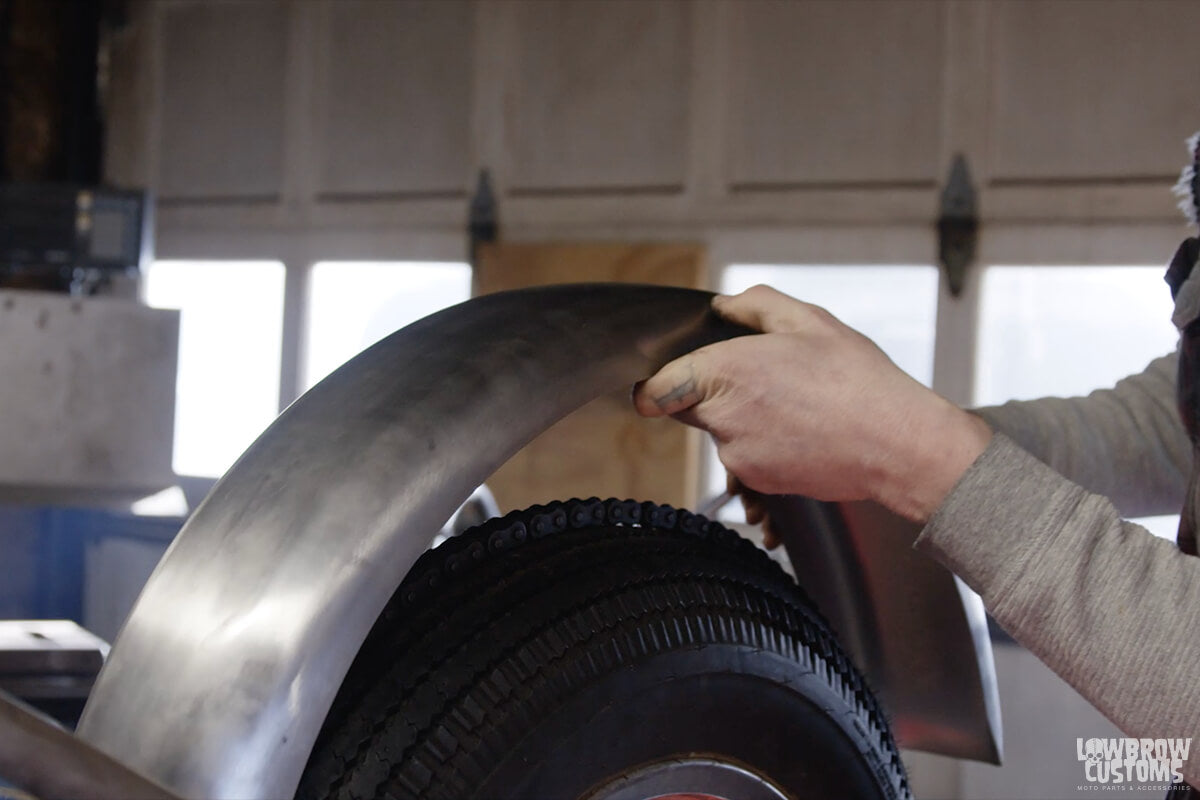 This is when it really starts feeling like a chopper, getting that rear fender on the bike.
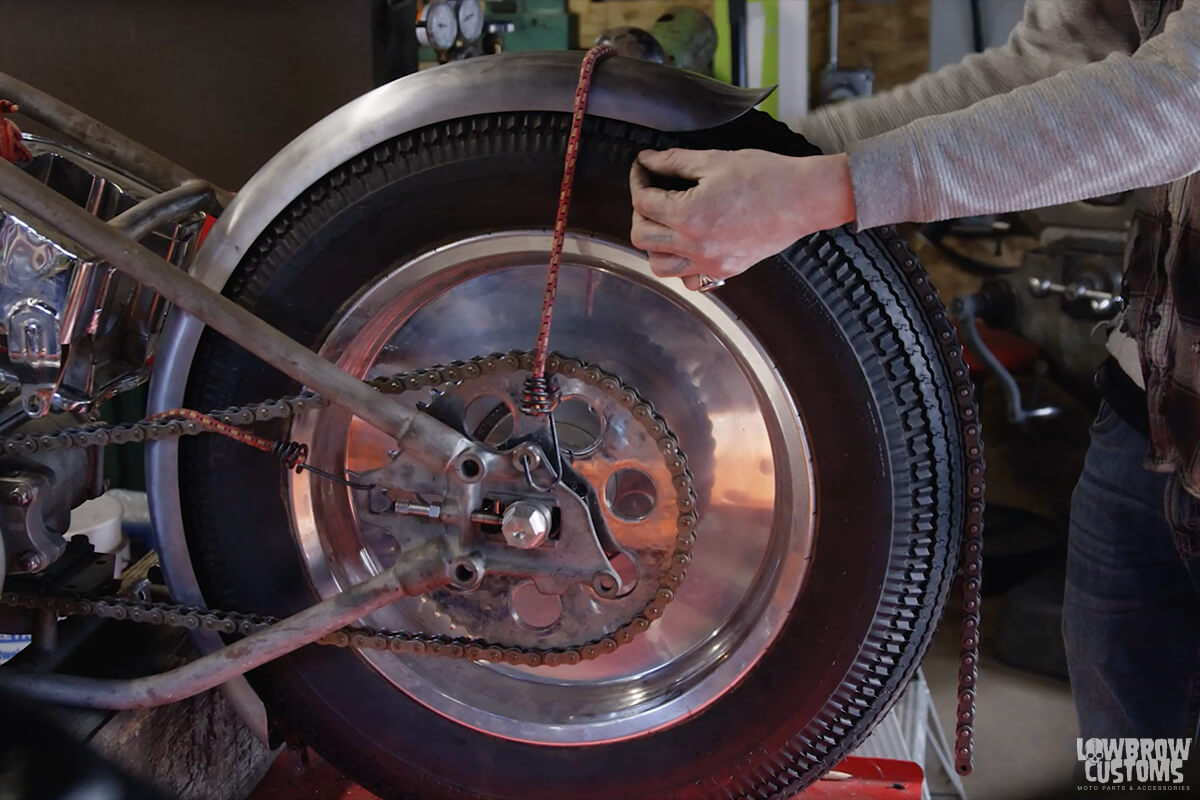 You can see how Ian used bungee chords to keep the fender in the position he liked.
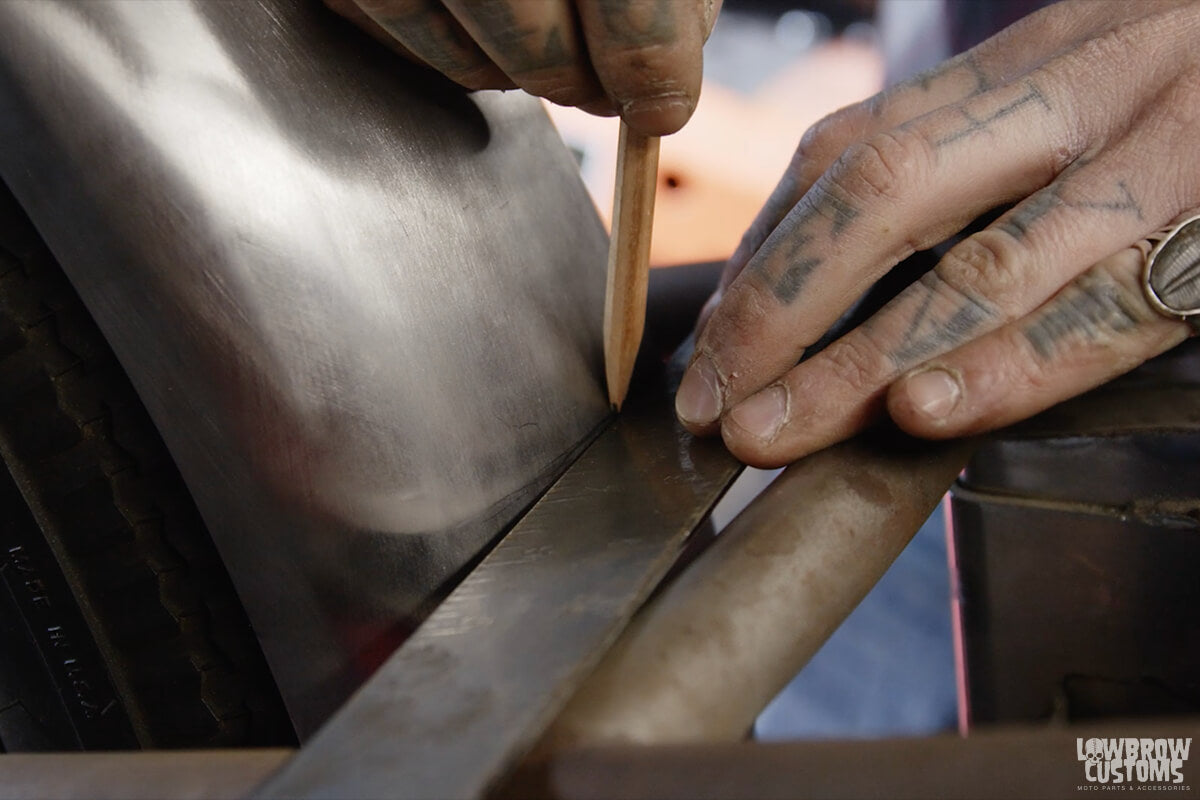 Ian uses a straight edge to mark out fender placement, does top and bottom of the rail.
 This is where the top bungs are going to live, in between these two lines which is where the top rail is located.
 Ian's using a tape measure to determine center of the lines and center of the top rail as a reference to determine where his bungs will live.
 Use a center punch before drilling to help guide your drill bit.
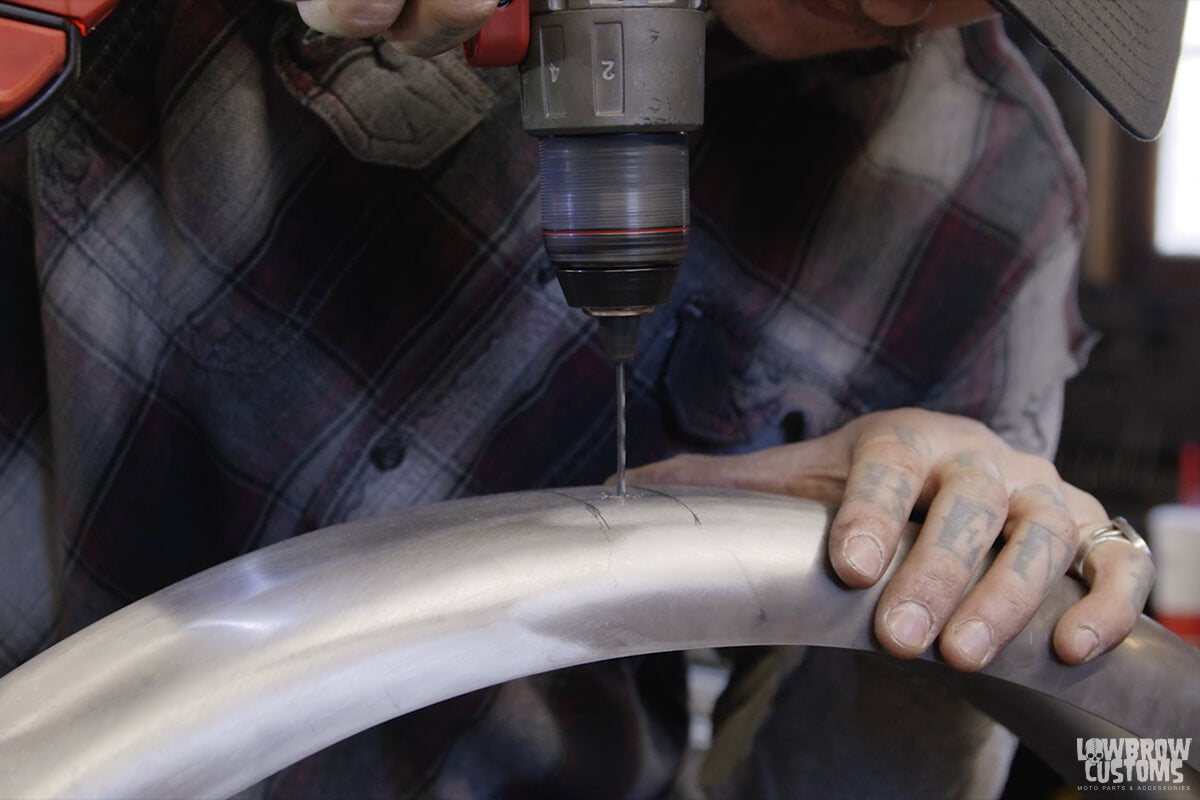 Ian went with a 11/32 drill bit just a bit over sized to his 5/16 bolt this is to help with clearance when painting your fender etc.
 Use a counter sink bit to clean up your holes and de-bur them.
 Using leather washers between the fender and bungs will help protect the paint and give just a little less vibrations straight to the fender.
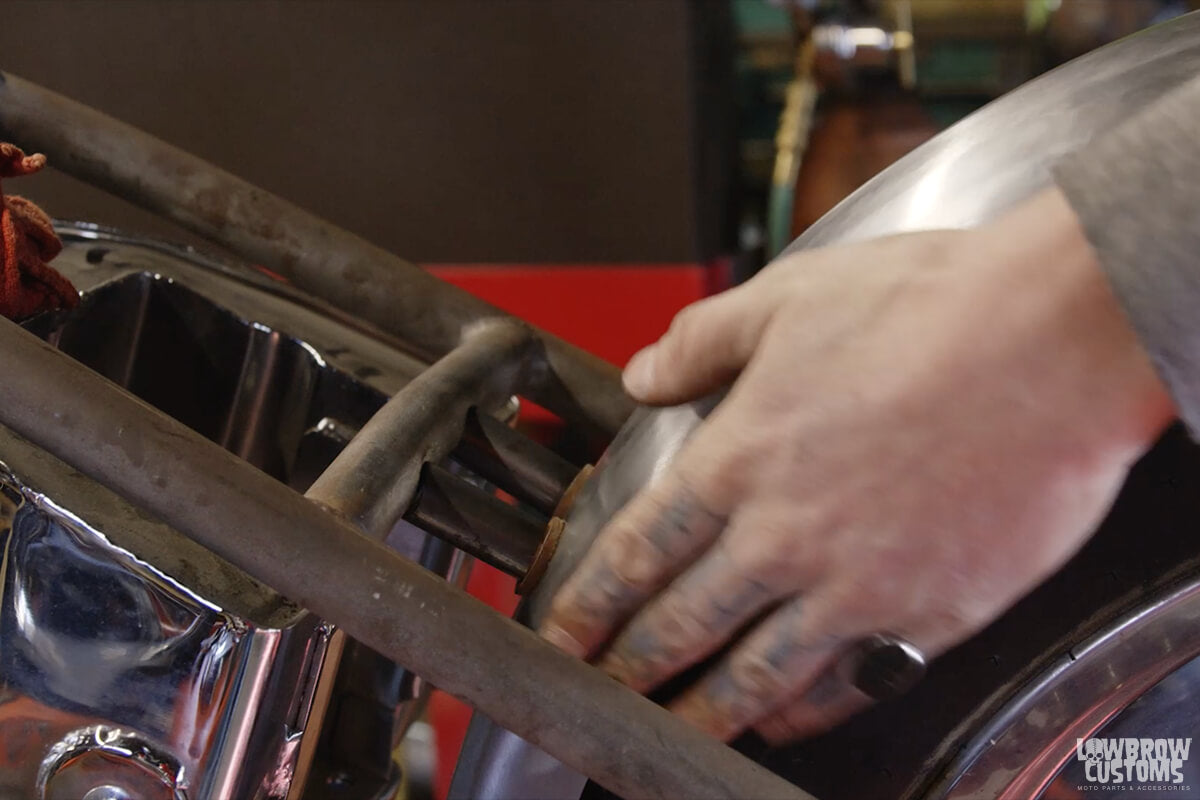 With the bungs loosely installed Ian can slide the fender back over the wheel and put the bungs into position where they will live.
 Ian had to make his own bung to fit this gap, he measured twice and cut once.
  You can see where Ian traced the bung and center punched to drill his hole.
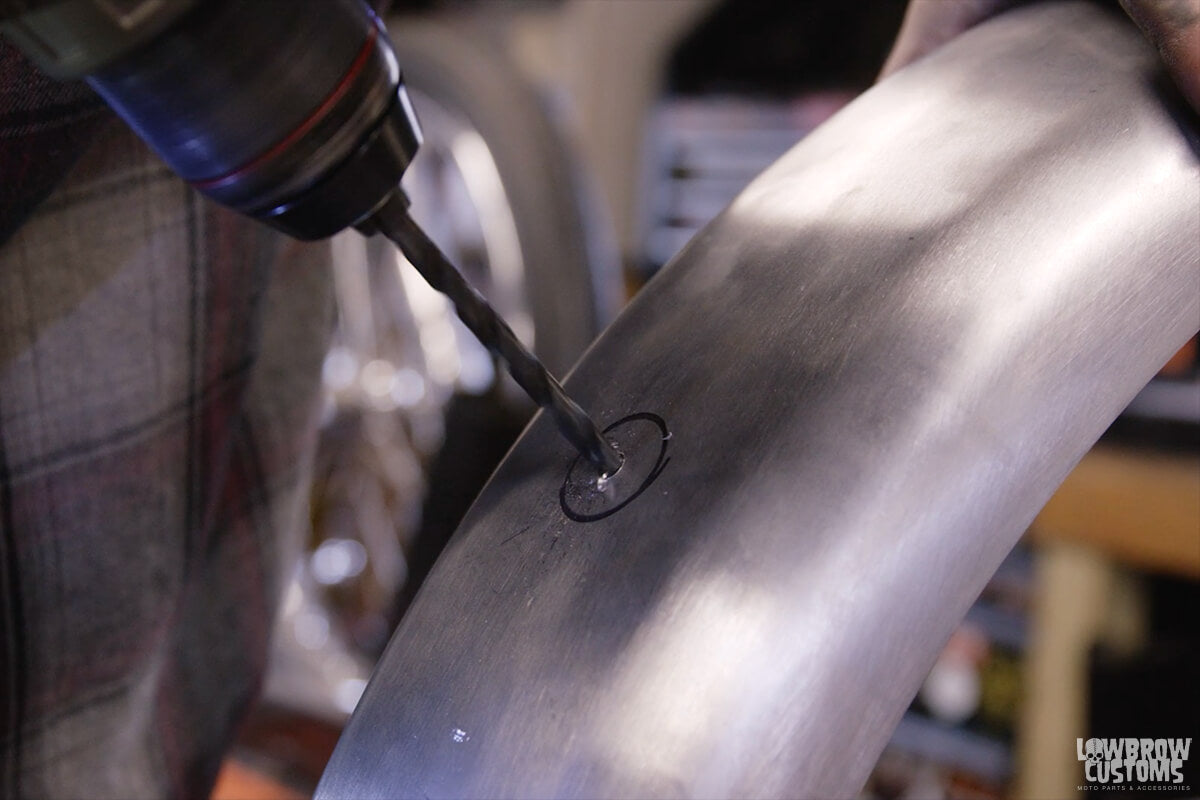 Ian drilling out the bottom hole location for the bottom mount bung.
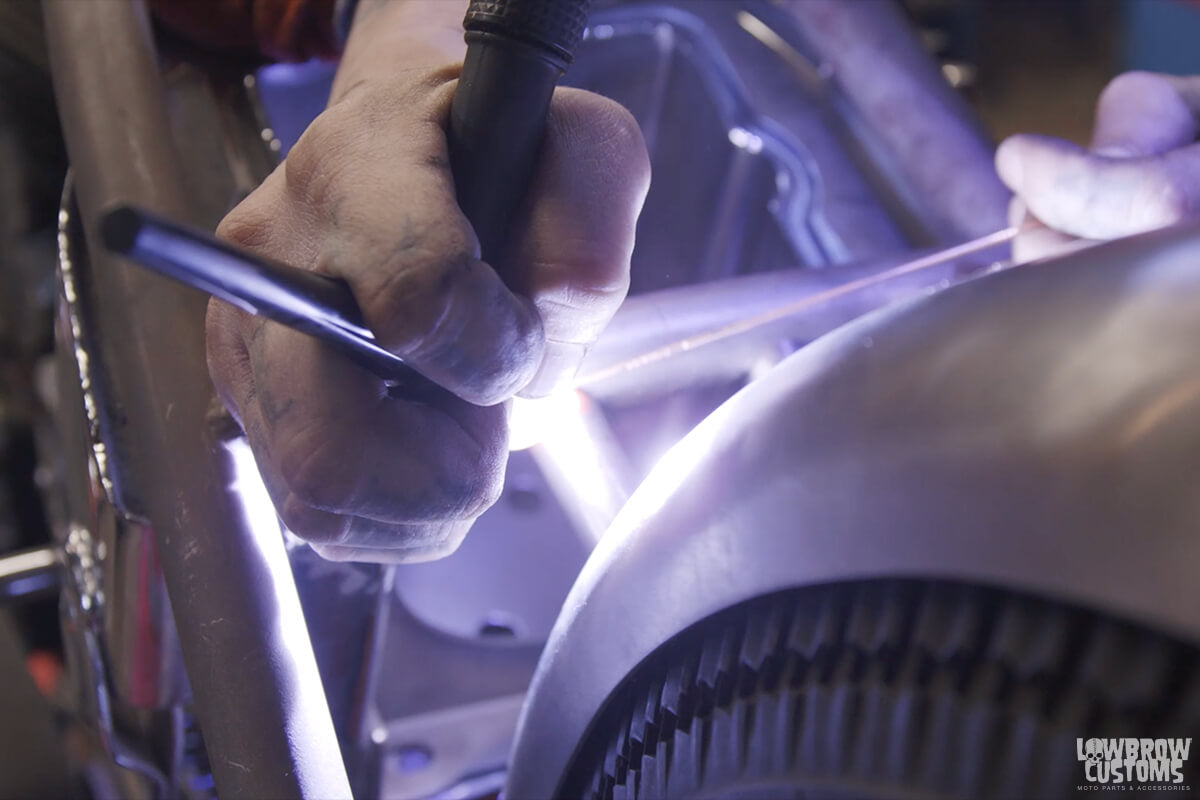 Tac Tac Tac baby!
 You can finish weld after you take the wheel back off to make life easier. Tac it for now and move on to the sissy bar if you so desire.
 Tim with a funnel, gas tank, and transit connect
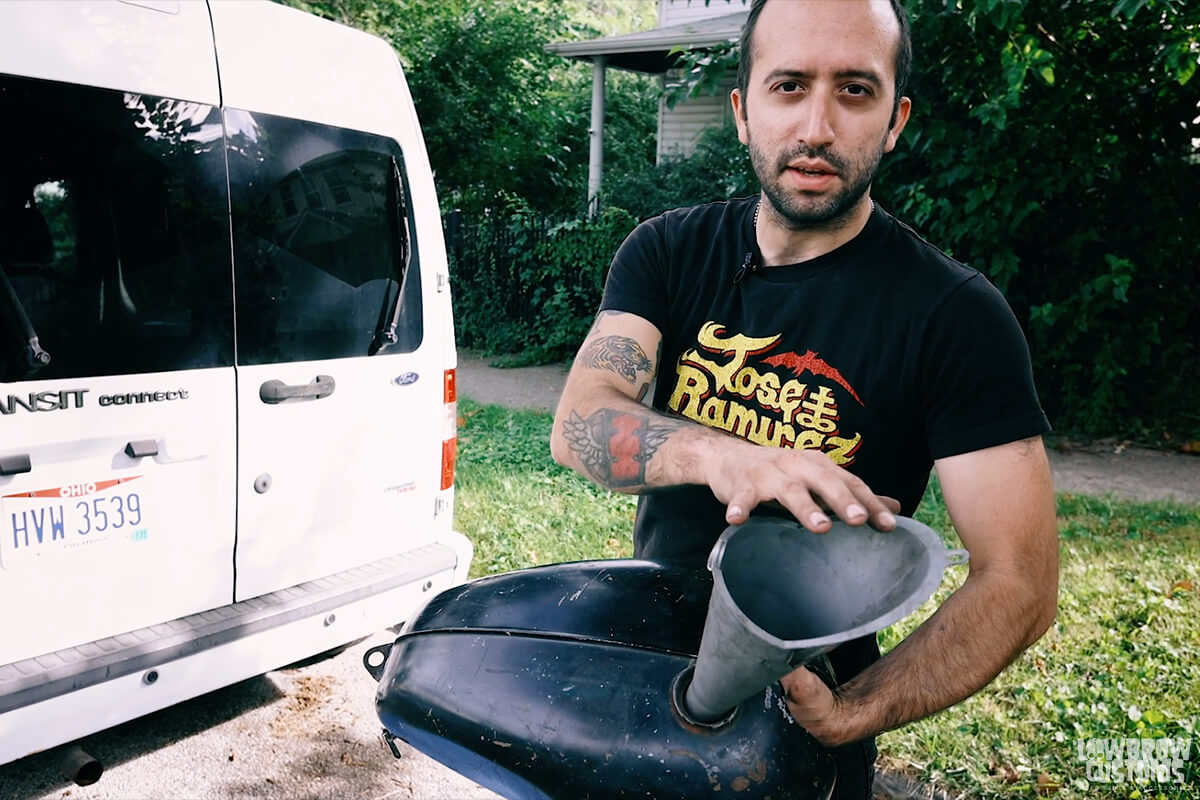 Big side of the funnel out, obviously!
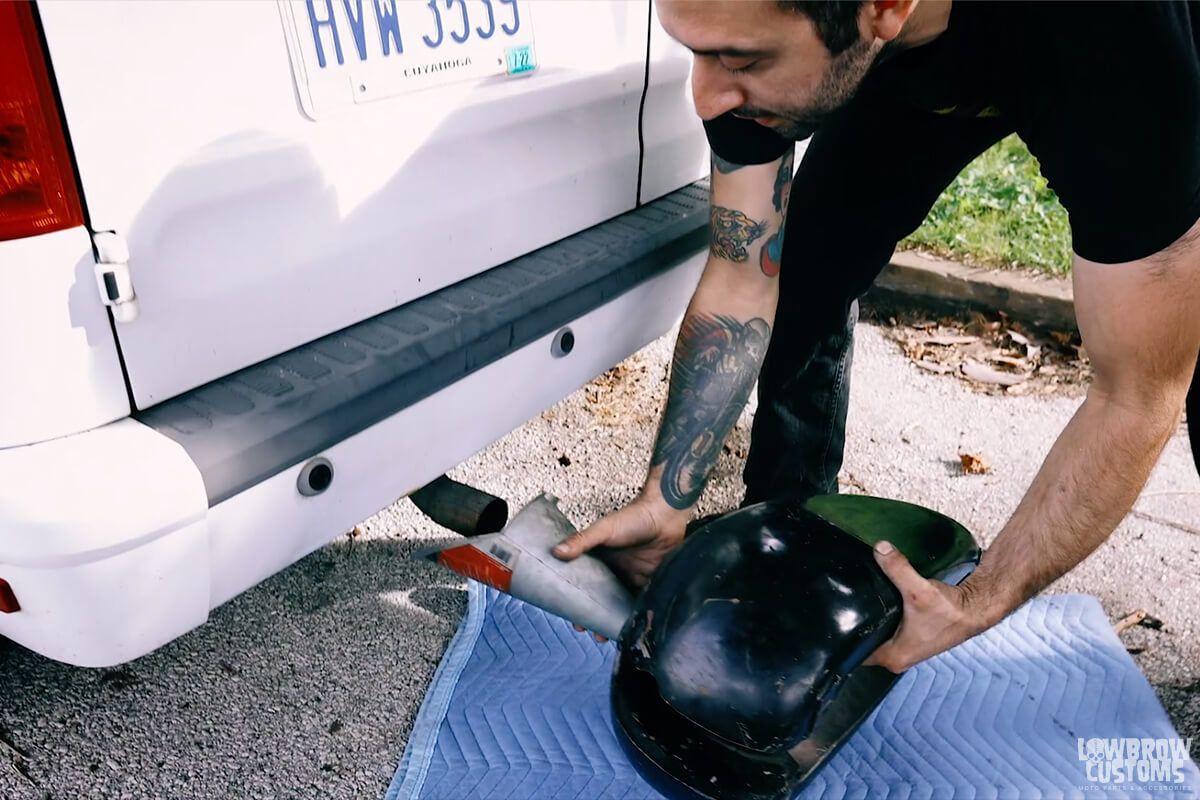 Big side of the funnel goes on the exhaust pipe!
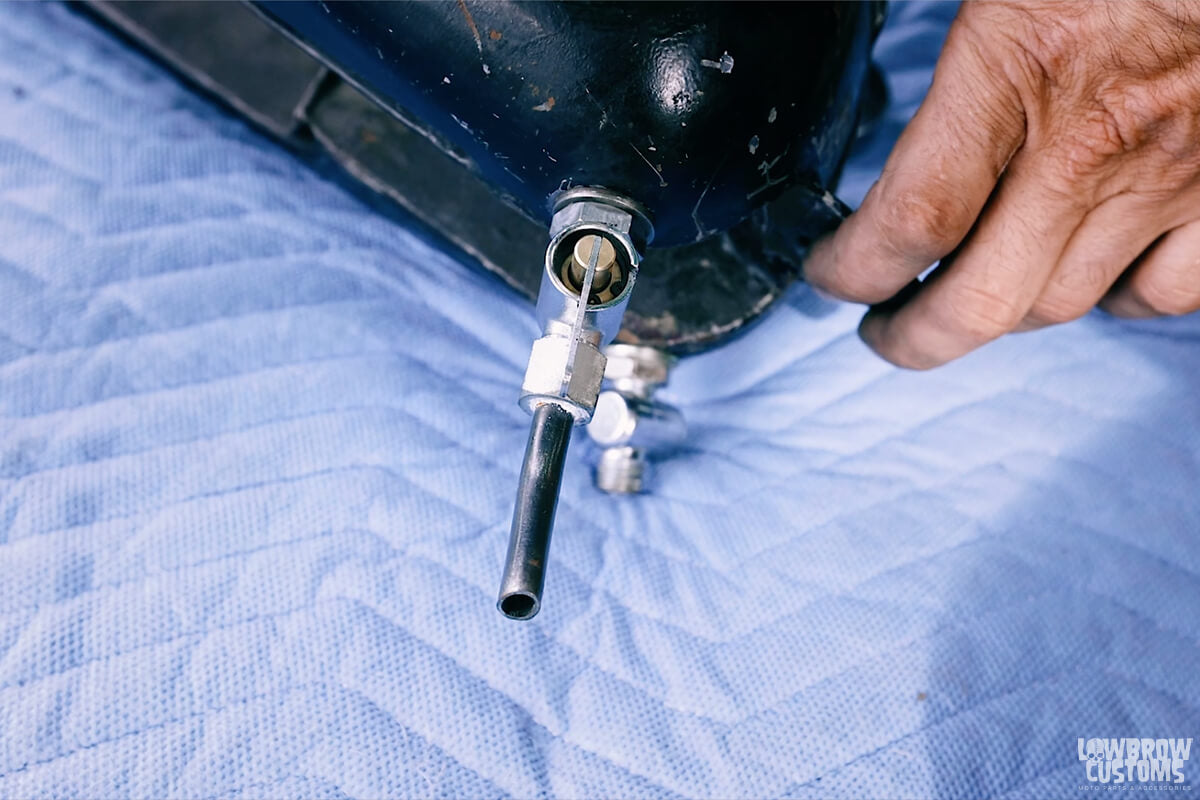 Make sure your petcock or petcocks are open
 Let'r rip tater chip!
 Fancy phone, fancy timer.
 Making extra sure there are no old fumes in there before welding!
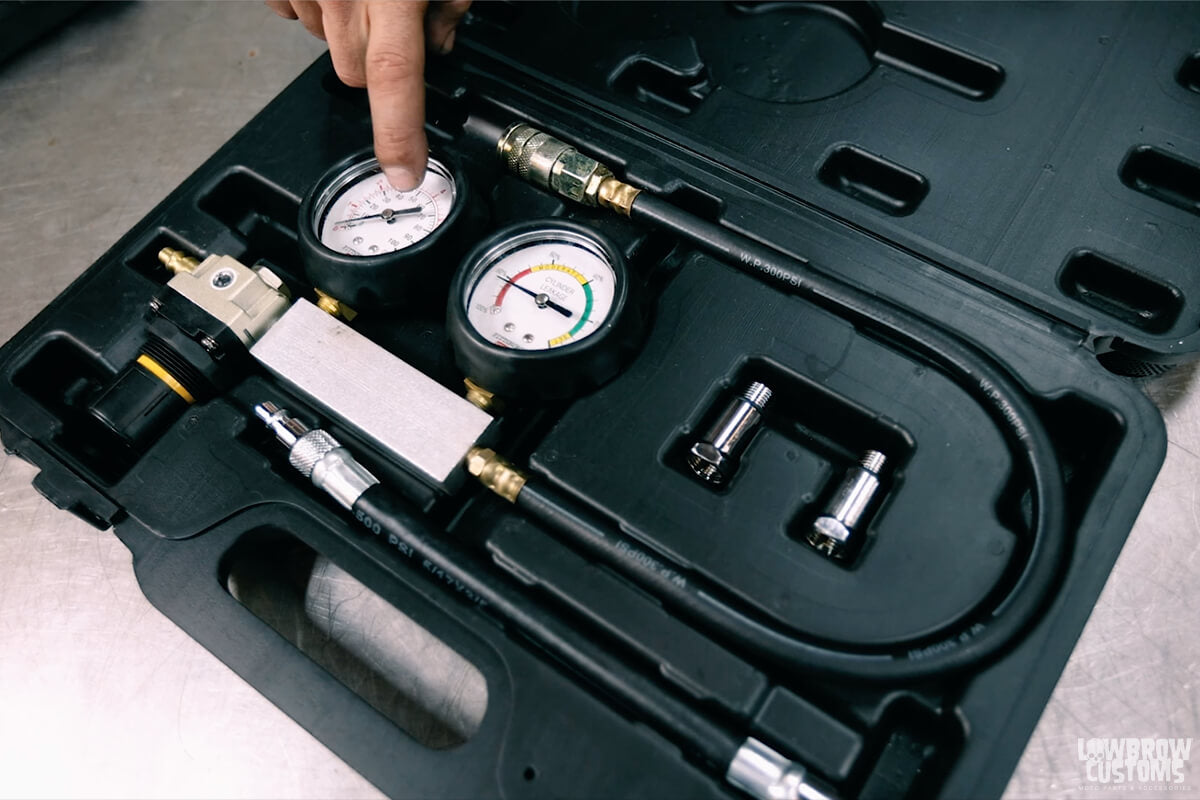 Cylinder leak down tester
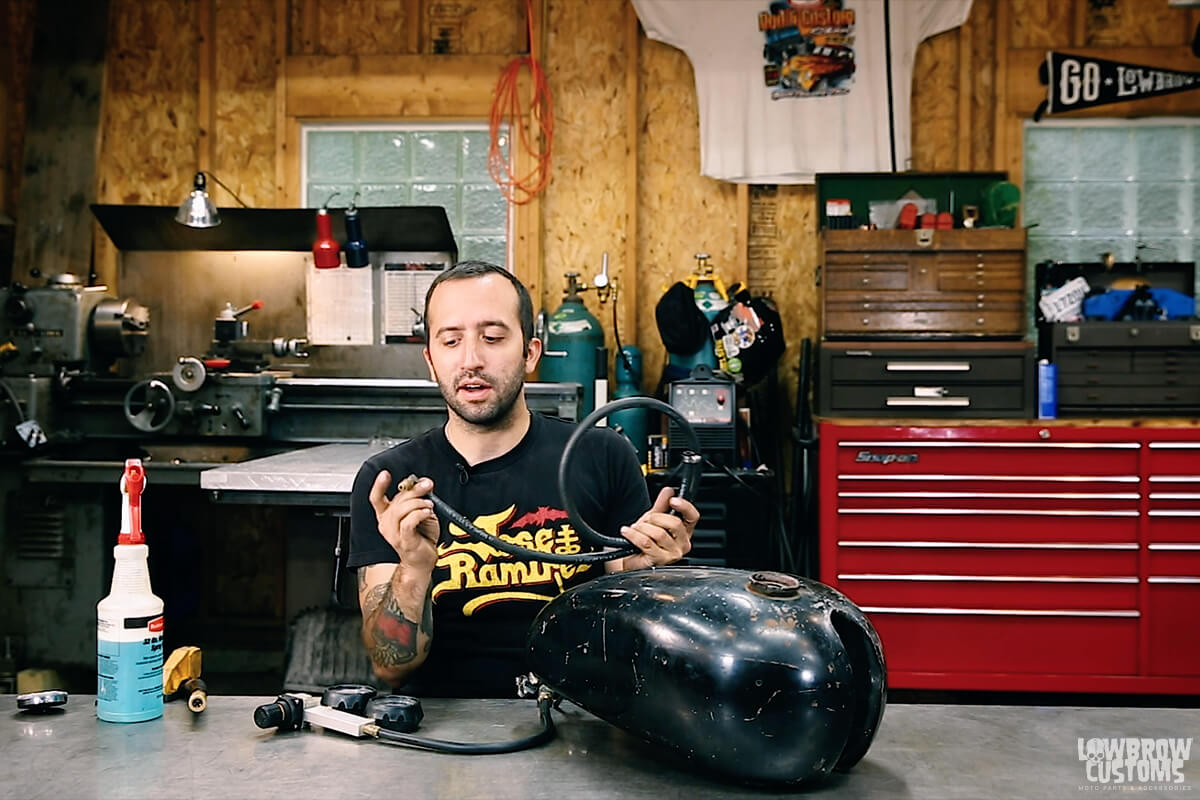 You will need an extra bit of hose and some adapters to hook the tank up to the leak down tester.
 Make sure when connecting the hose to the petcock that your petcock is open. If you have a second petcock be sure to close the one not connected to the leak down tester.
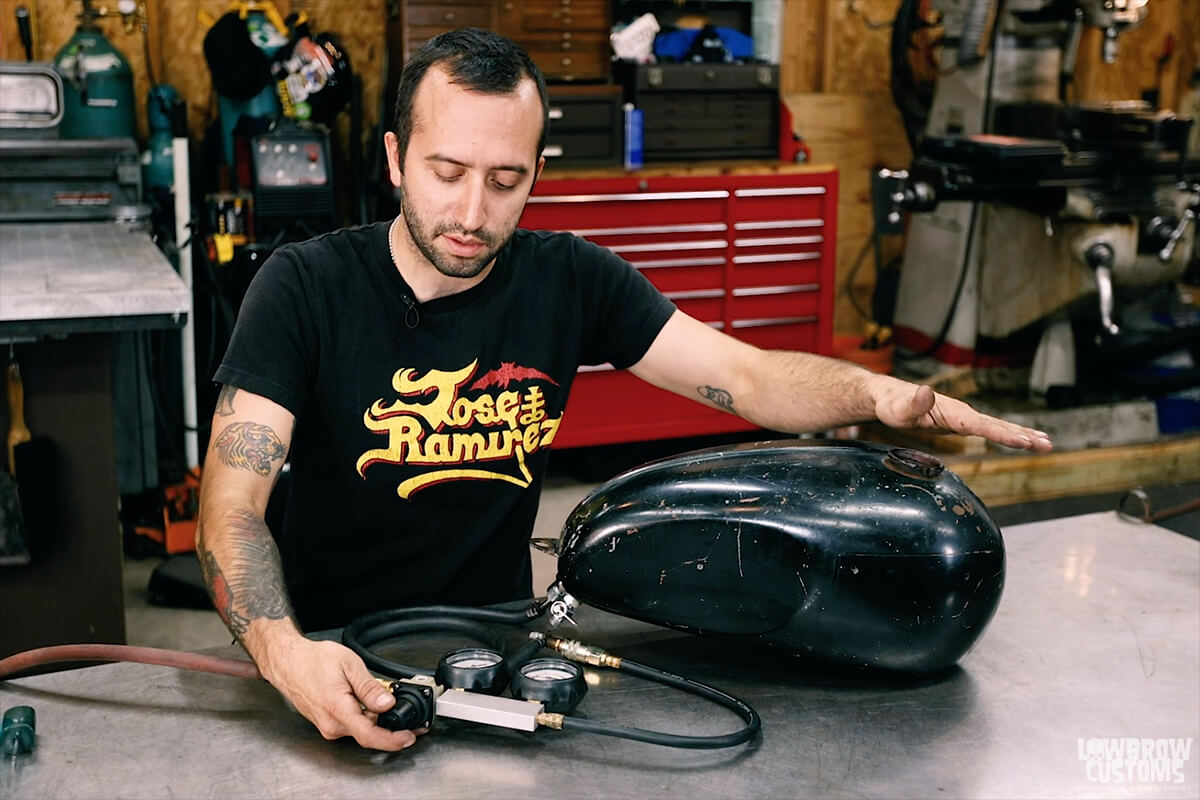 Use your hand to determine if you have too much air going through the tank.
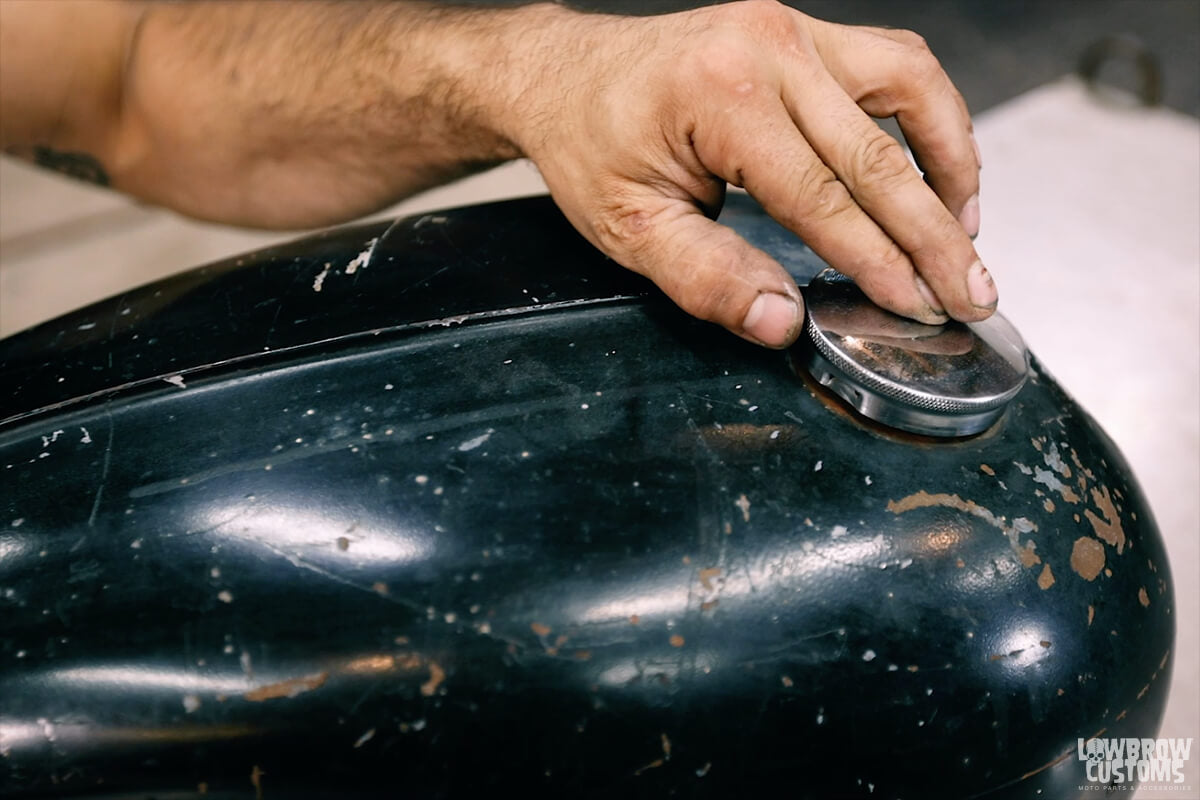 You can put your finger over the vent hole of the gas cap to build pressure in the gas tank.
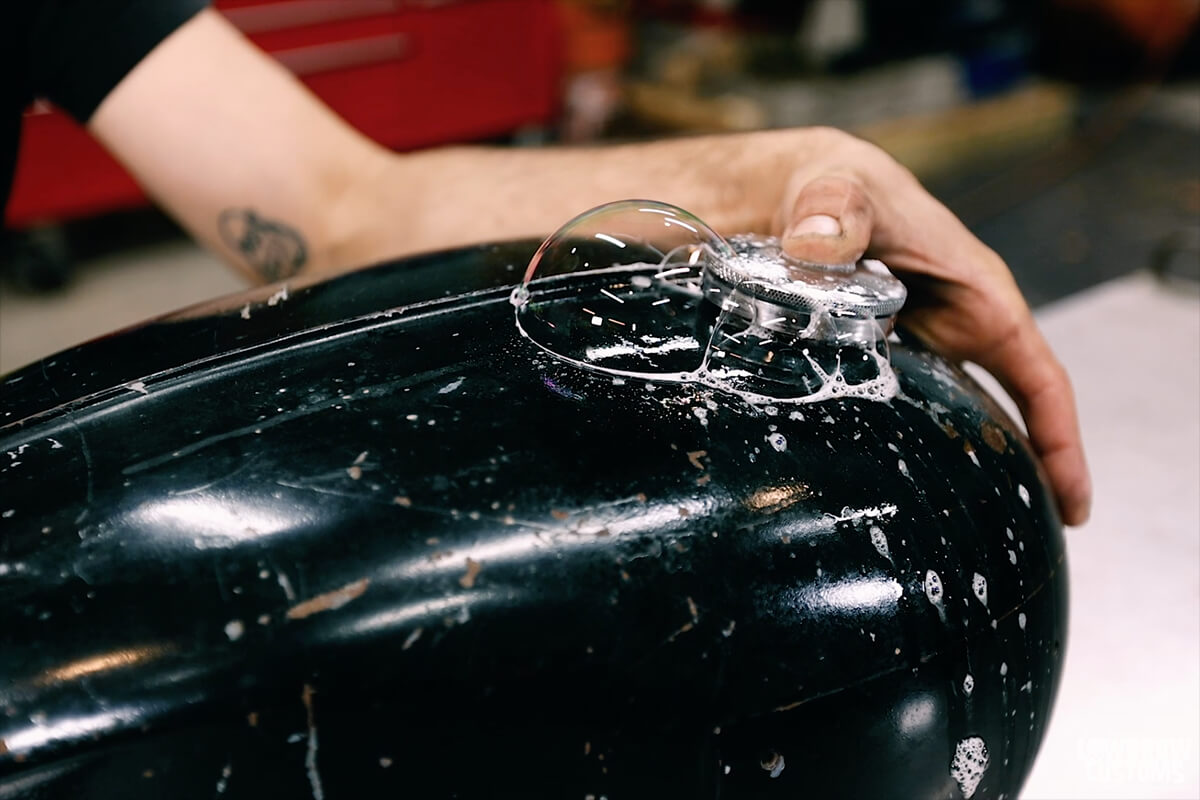 Spraying soapy water by the gas cap and seeing bubbles is common because the gas cap is vented and you will have air leaks there. This is a good way to determine you have enough air going in as well.
 Spray the hell out of it!
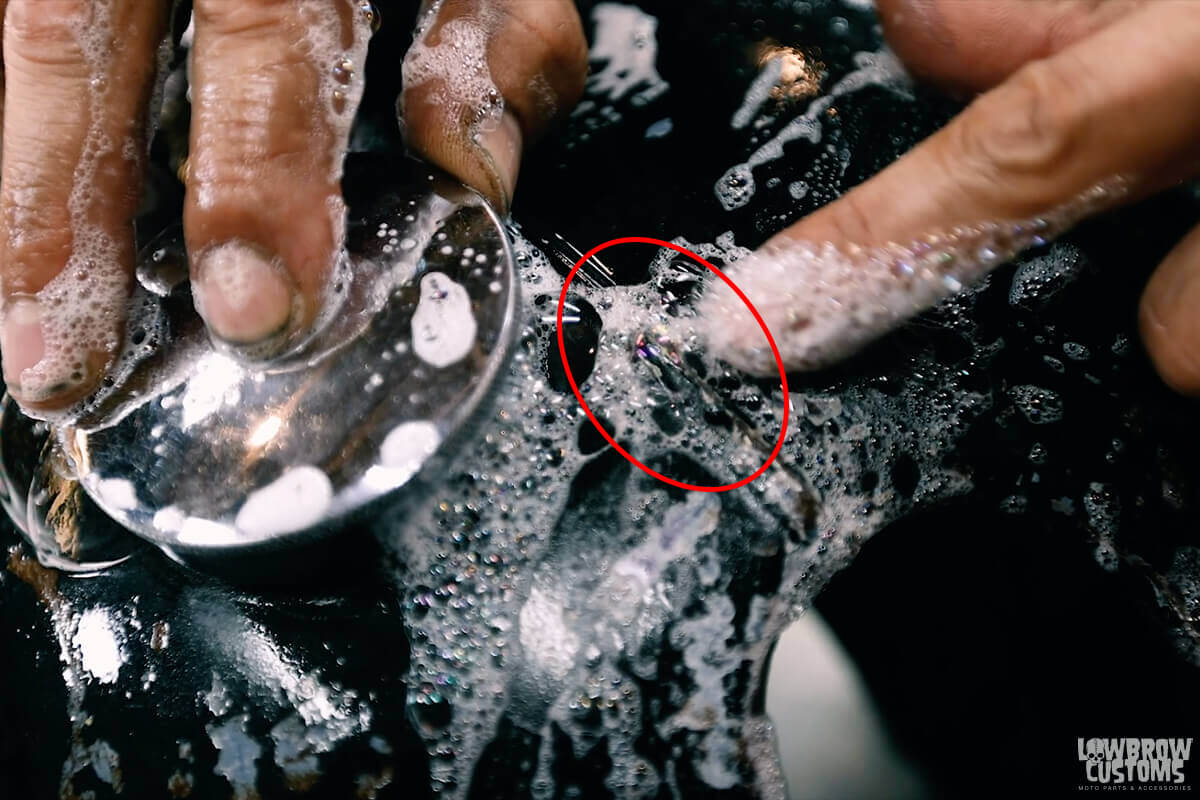 We found a pin hole leak! The bubbles kept coming up on this center seam when we moved them away.
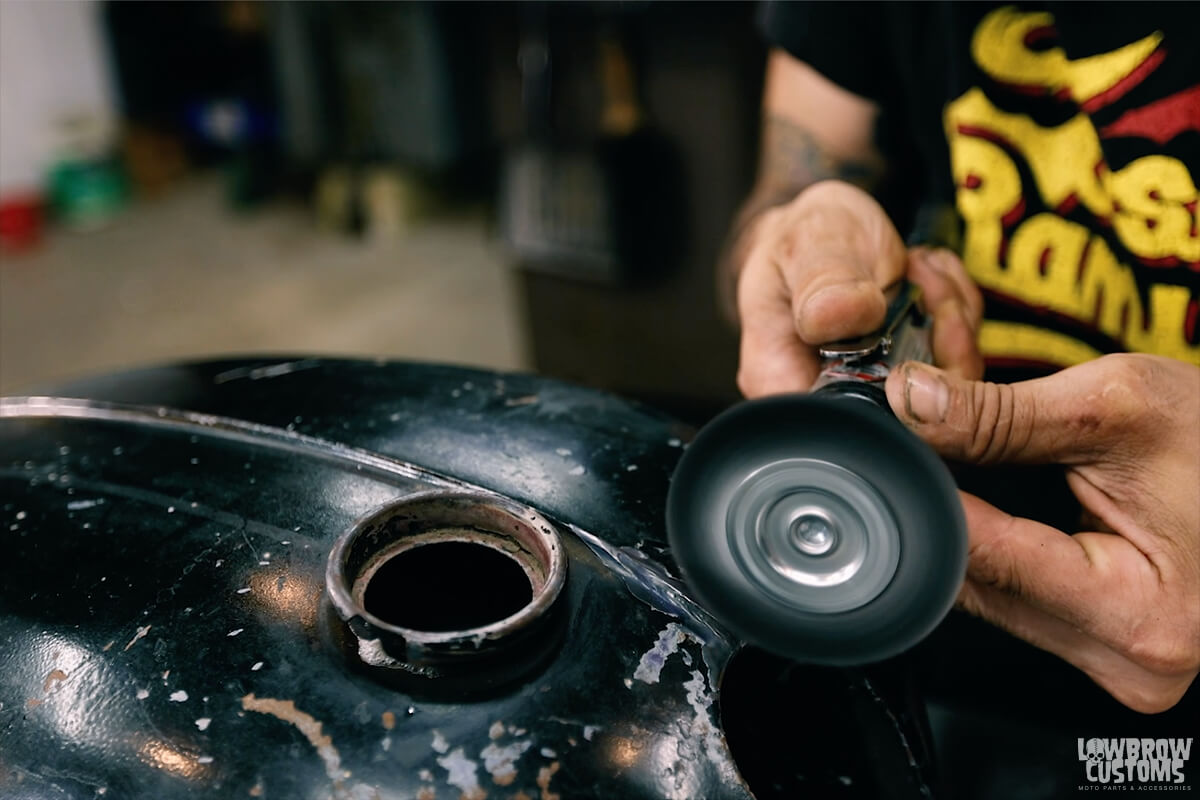 Use an air grinder with a wire brush.
 TIG or MIG weld it up, don't braze it!
 Sprayed more soap in the fixed area with the lead down tester hooked up again. the gathering of bubbles has disappeared, problem solved!
 Tim put a nice weld on that center seam to fix it right up.
 This is for a 2003 Sportster. The master cylinder on the left takes a 20 degree 7/16" banjo fitting and the caliper on the right takes a 90 degree 3/8"/10mm banjo fitting.
 Todd taking an old cloth wire laying around the shop and routing it along the bike how he feels the brake line would look best. Routing from the master cylinder mounted on the handlebars to the caliper on the bottom legs.
 After pinching the line at the desired length, Todd took it to the workbench and laid it flat. He then marked each end on the surface and then used a tape measure to determine the length of brake line he will need.
 Example of how to install the banjo bolt into a banjo fitting correctly.
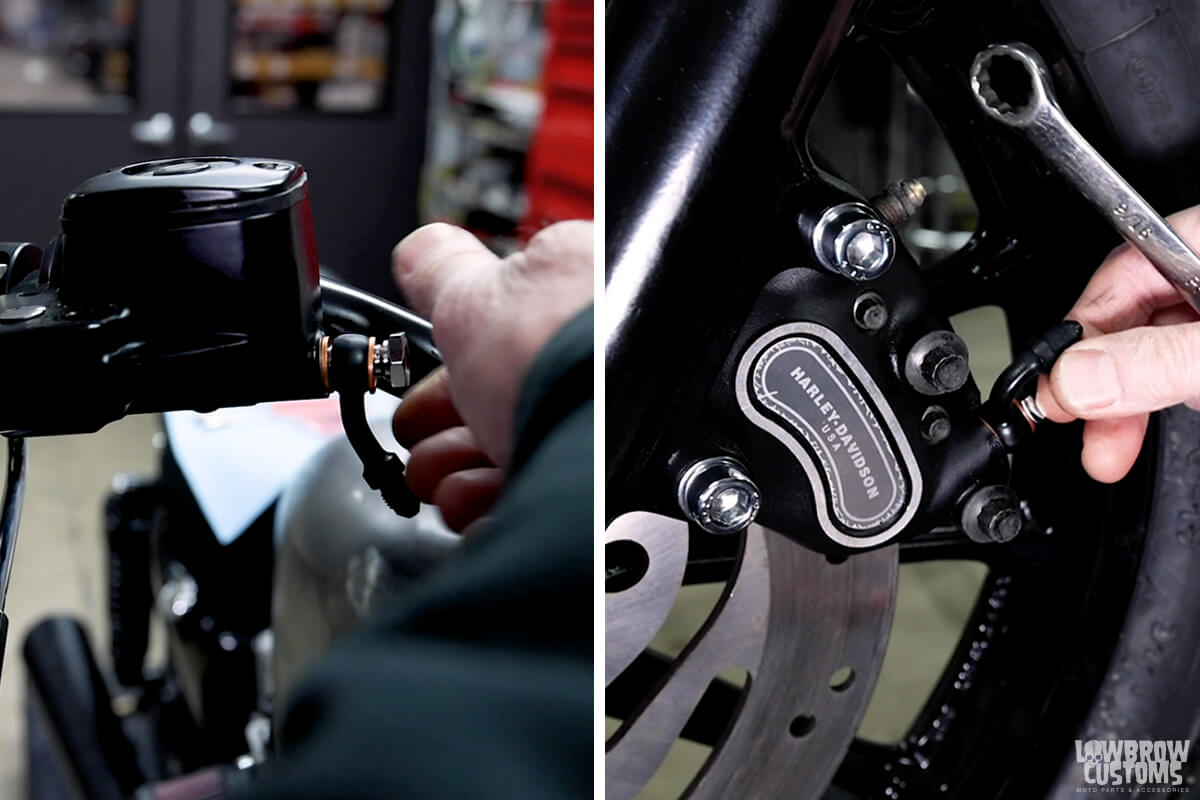 Installing 20 degree banjo fitting on the left and and the 90 degree banjo fitting on the right.
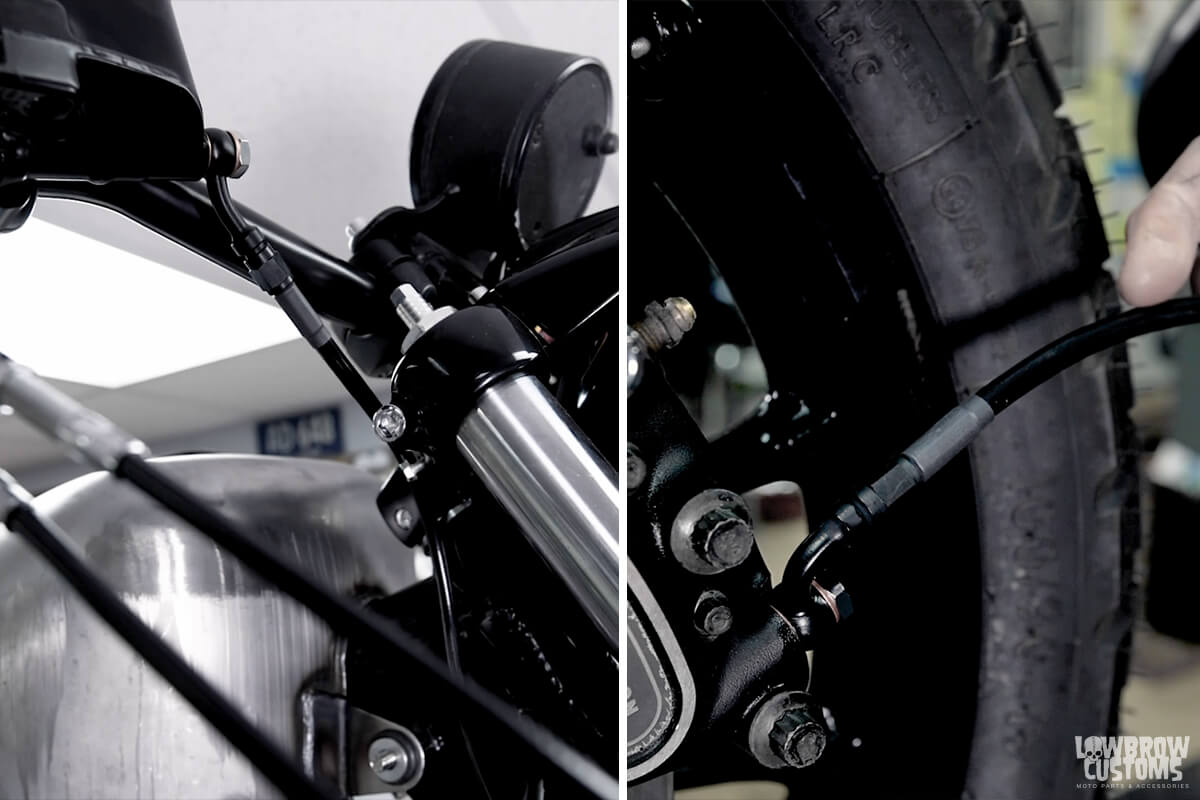 Installing brake lines is easy, just screw them on to the banjo fitting ends and tighten.
 This 2003 sportster takes DOT 5 brake fluid. Do not mix different brake fluids use what your bike recommends. Todd used an air bleeder to help bleed the brakes.
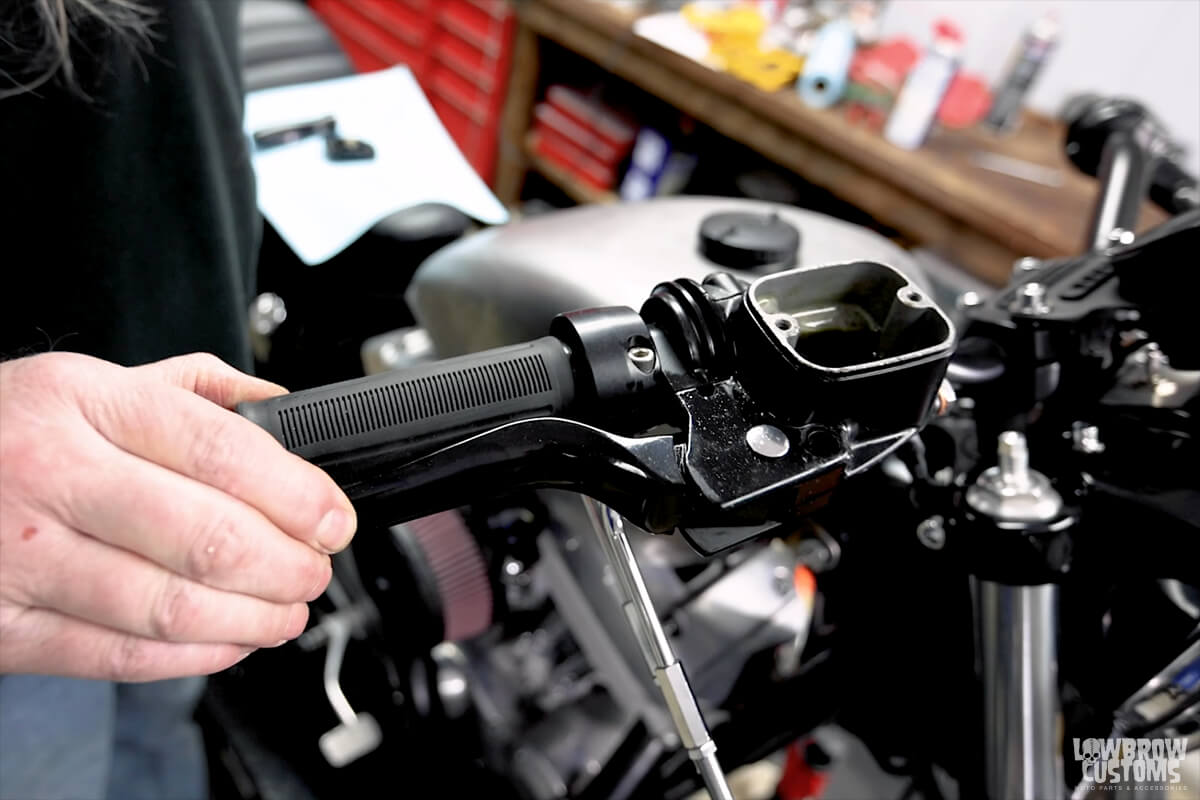 After brakes are bled you will feel the brake lever harden. Make sure brake fluid is filled before putting the cover back on. Be sure to test the brakes before going for a ride.
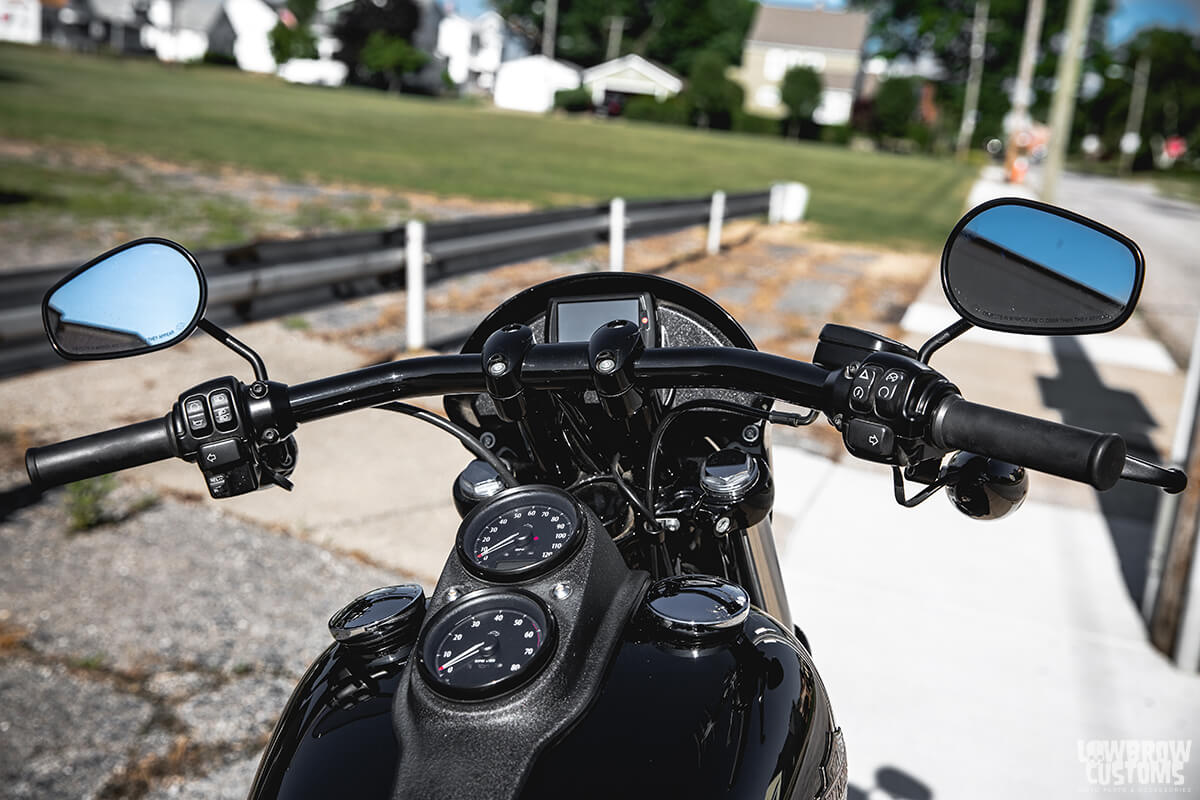 Stock handlebar set up on this 2017 Harley-Davidson Lowrider S. Pretty bulky, low profile and a bit ugly
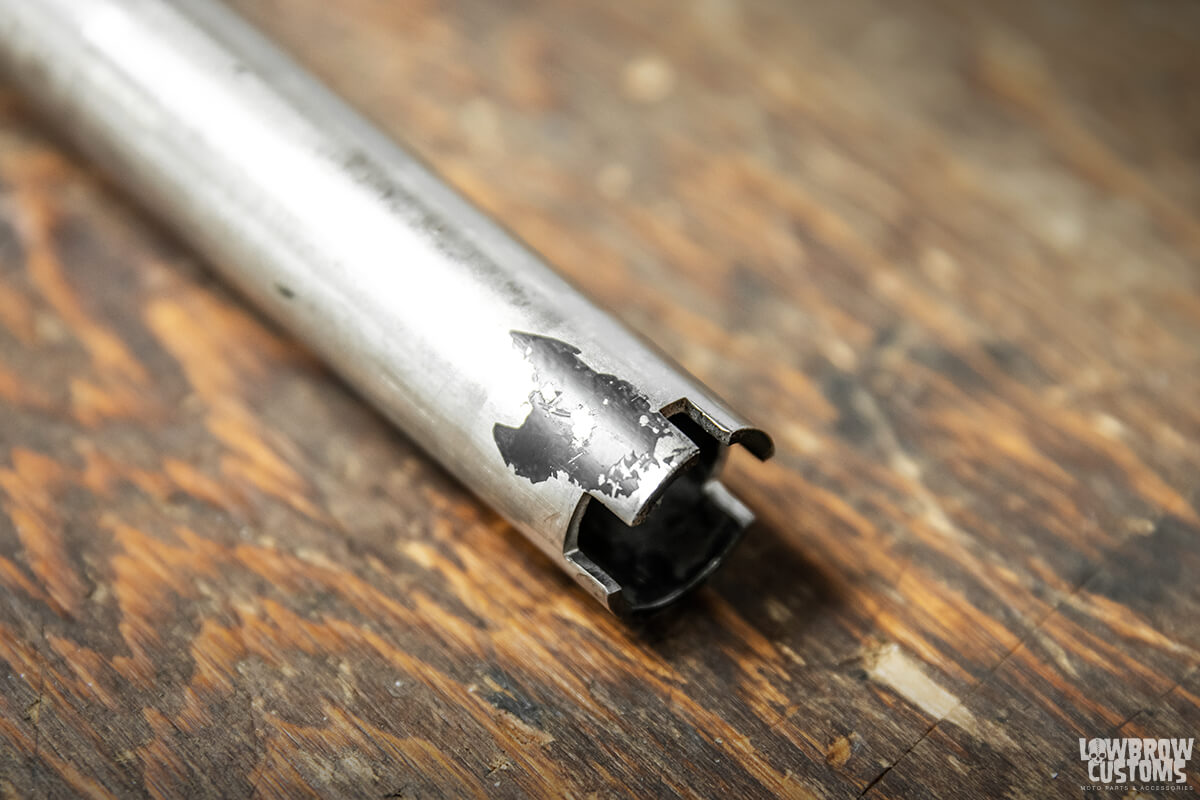 TBW end aka "the castle looking end"
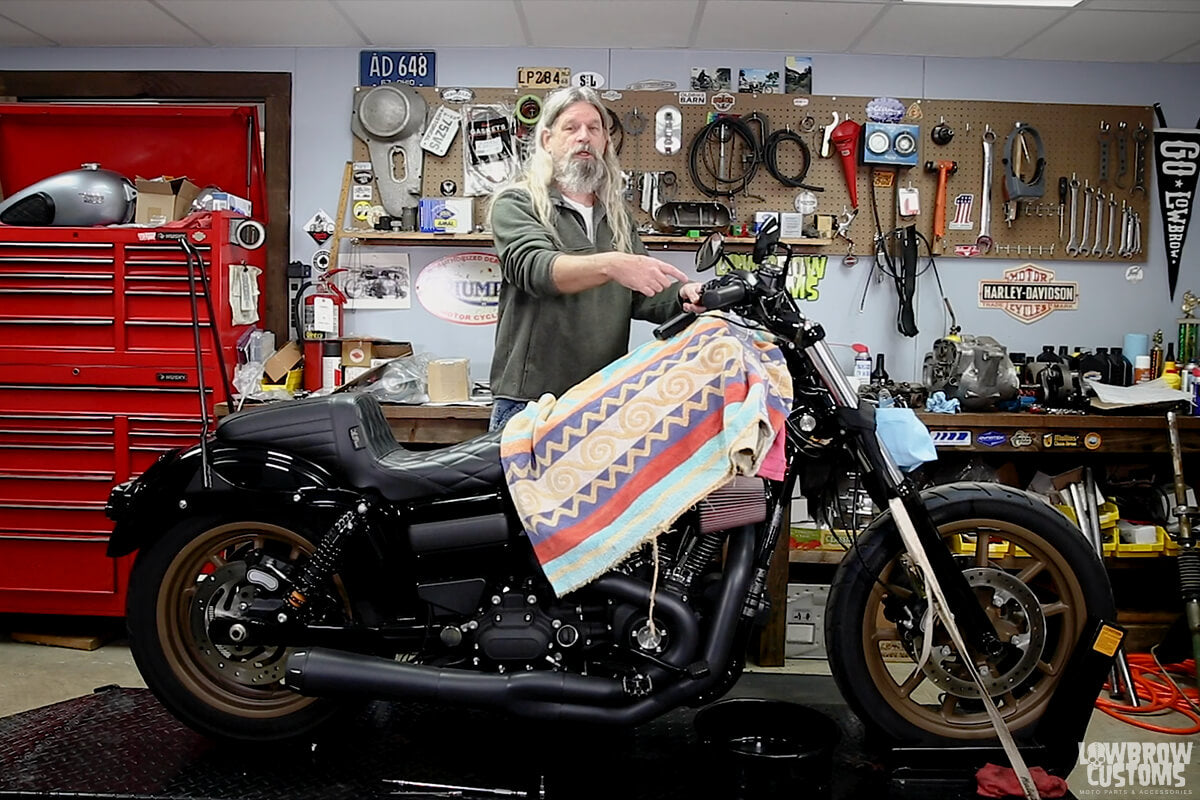
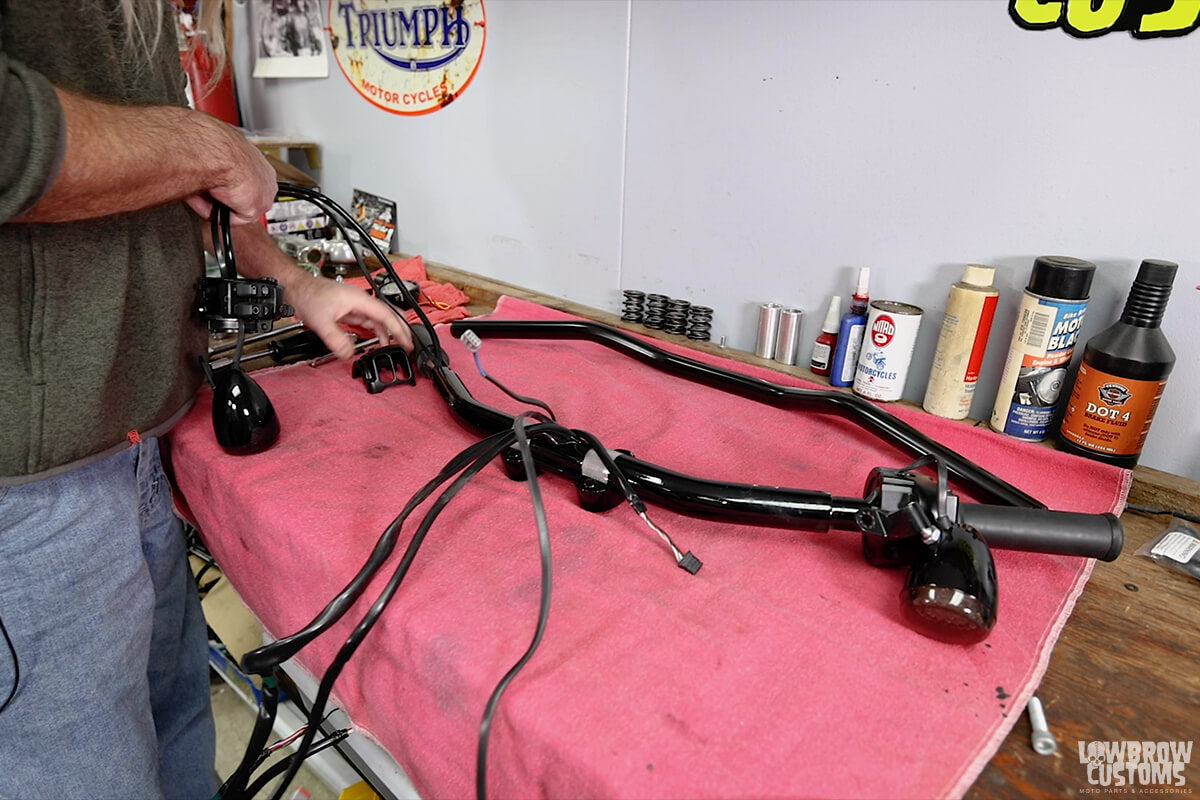
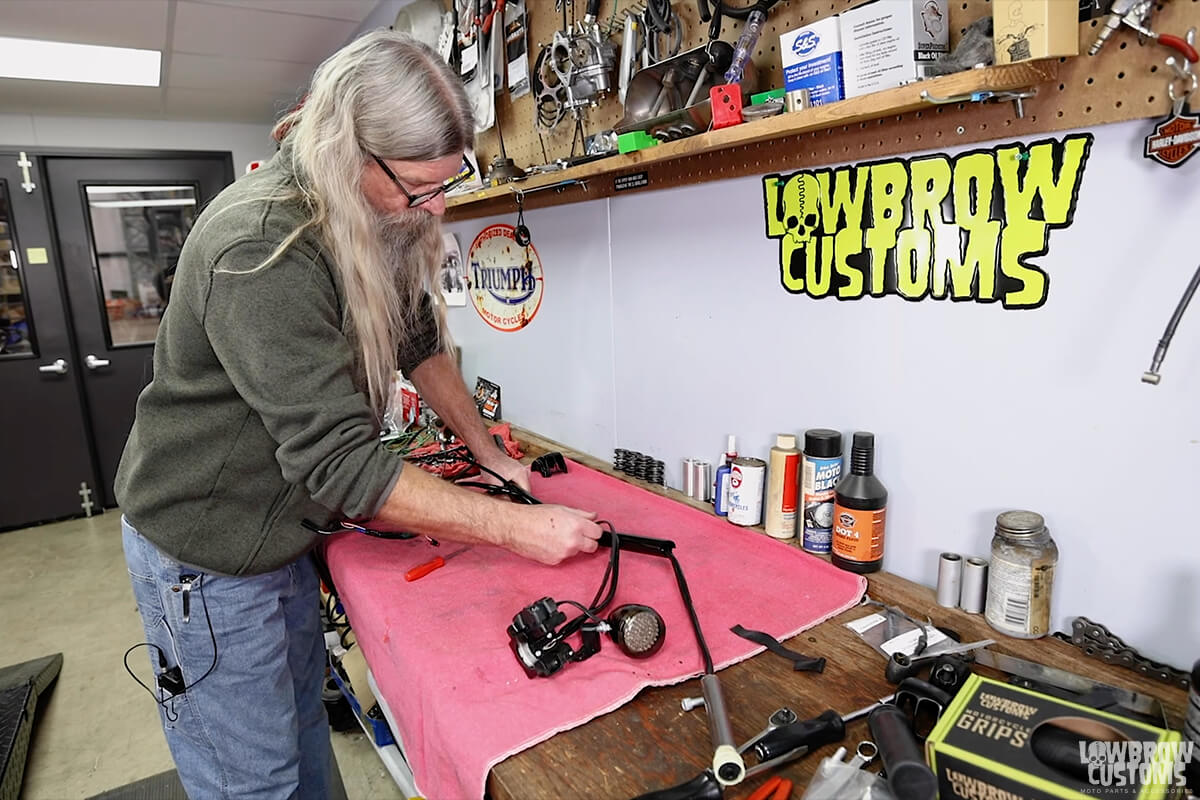
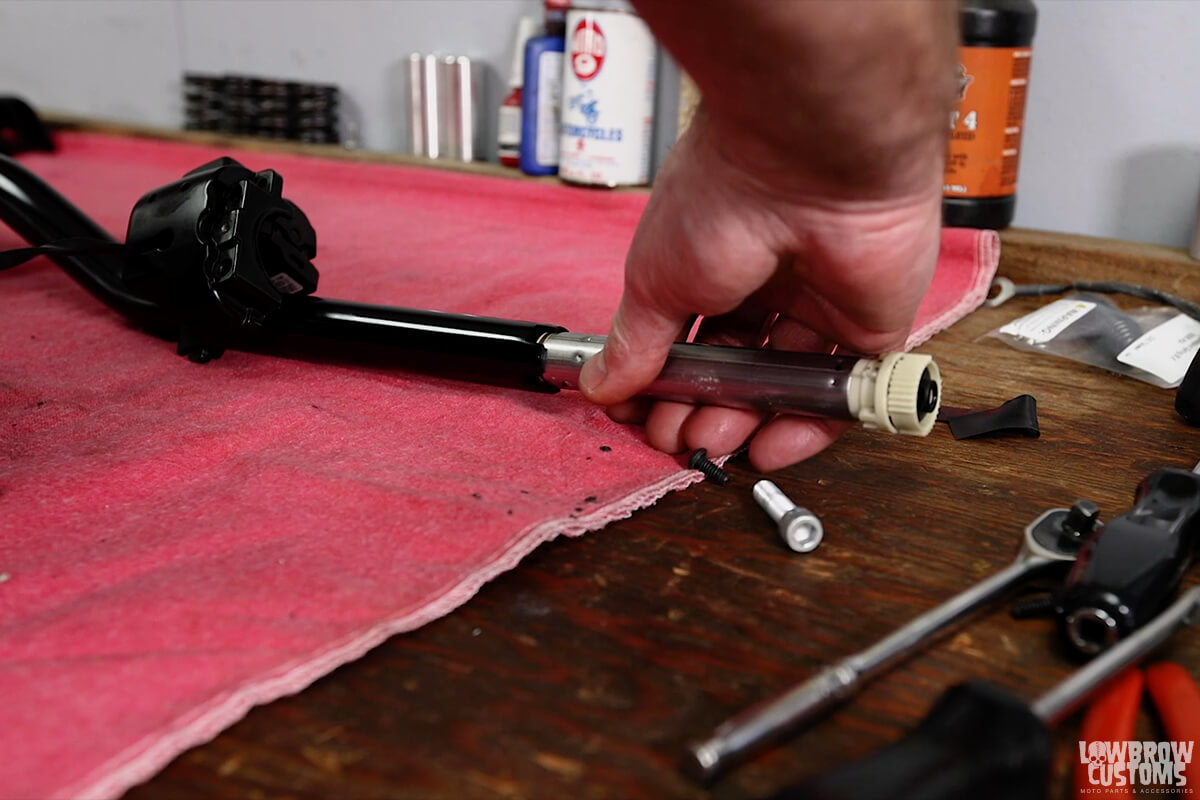

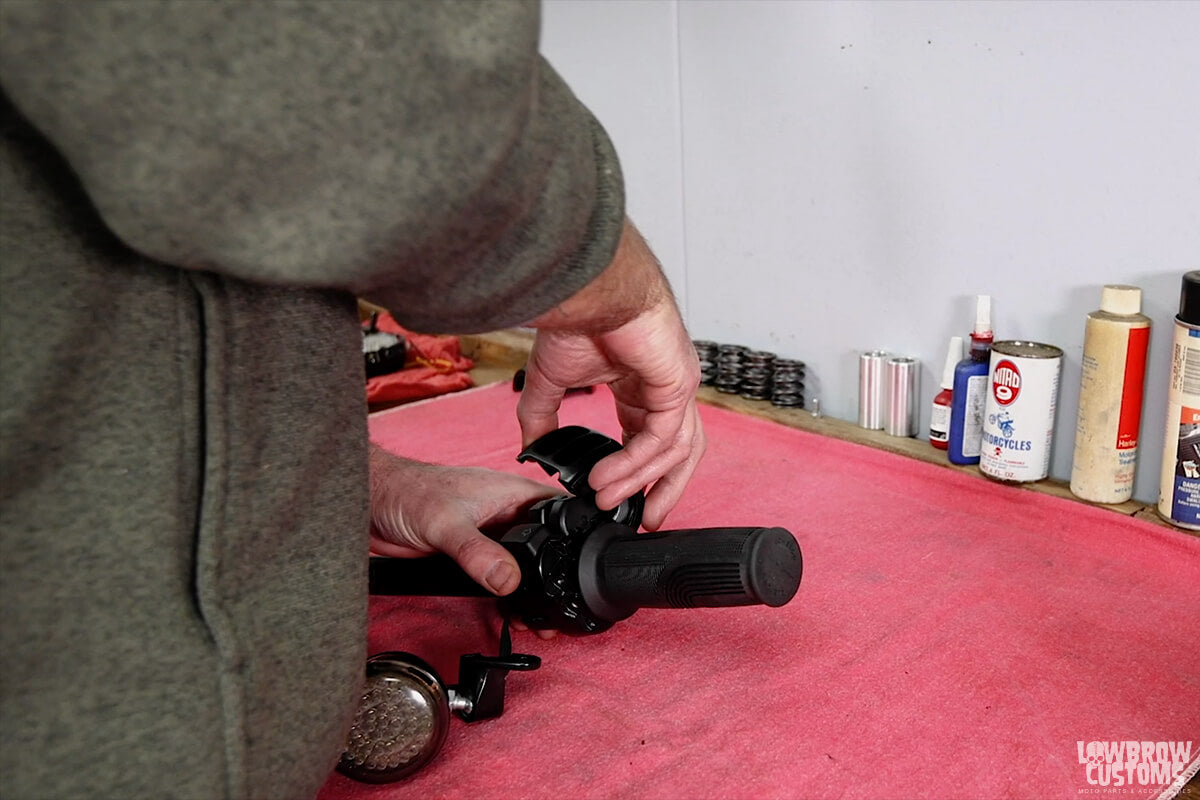

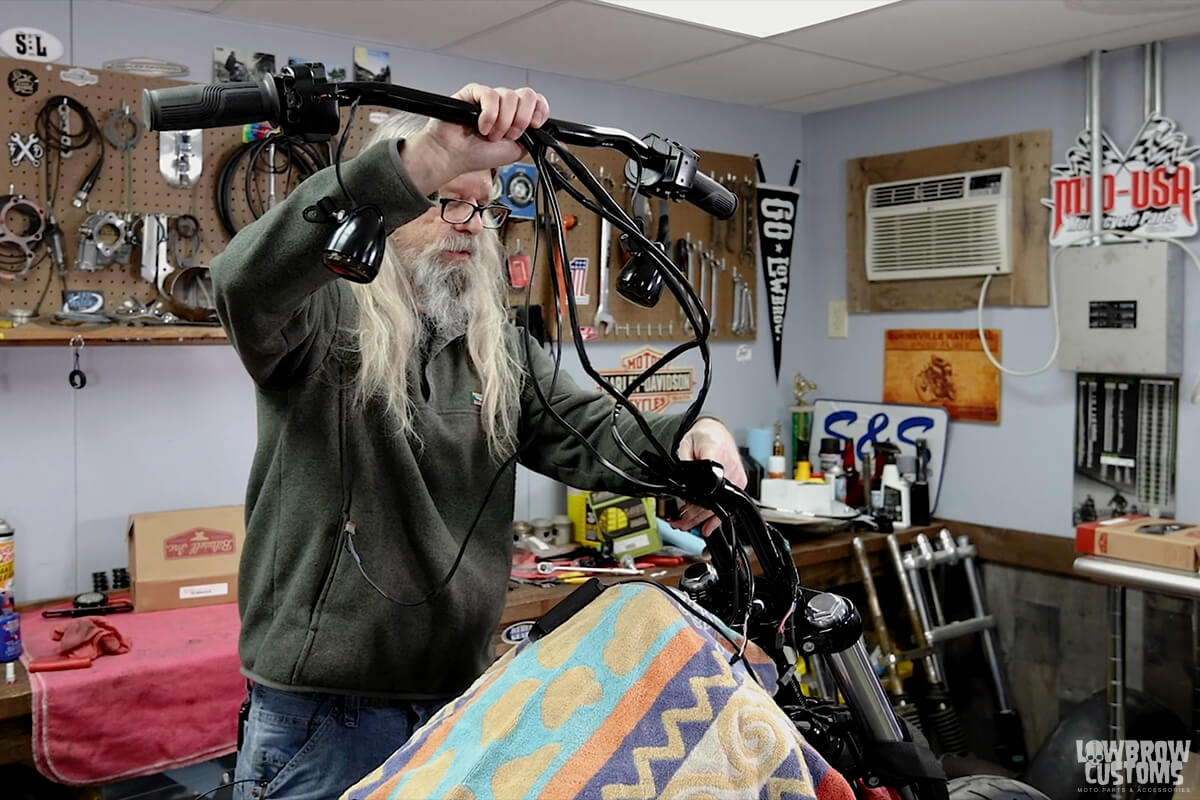
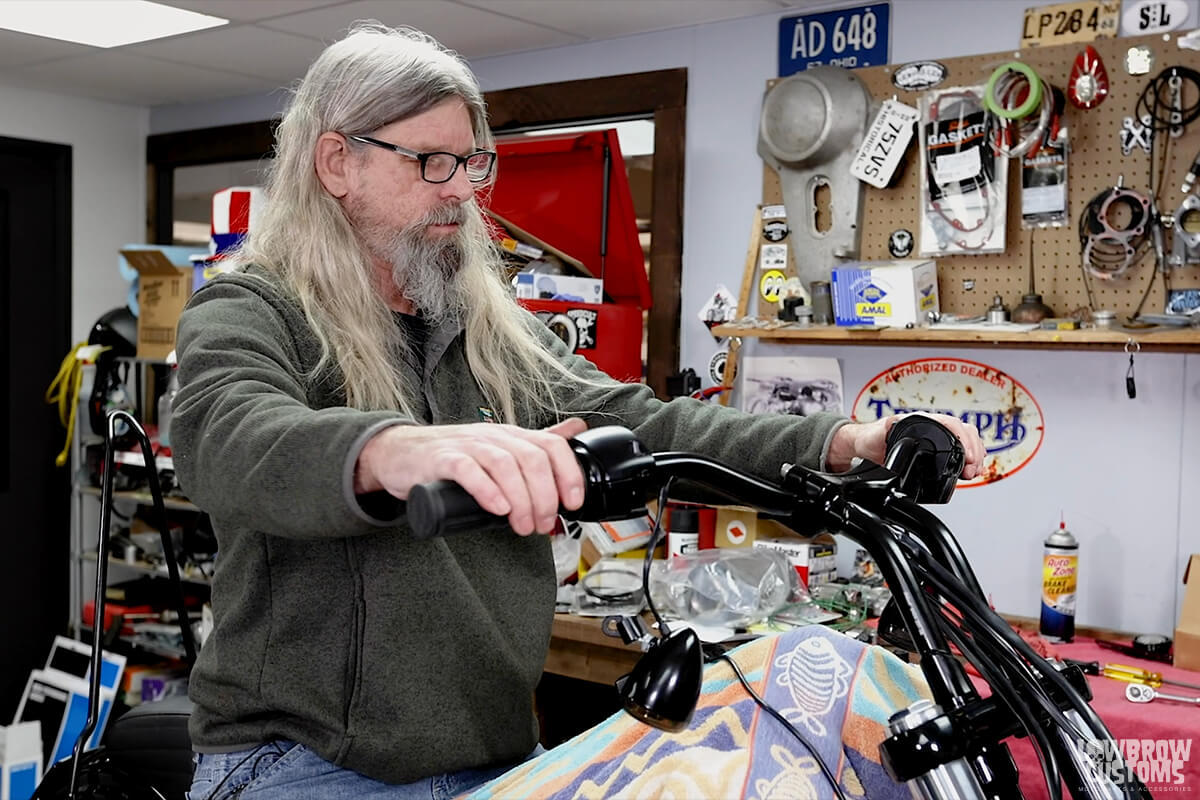
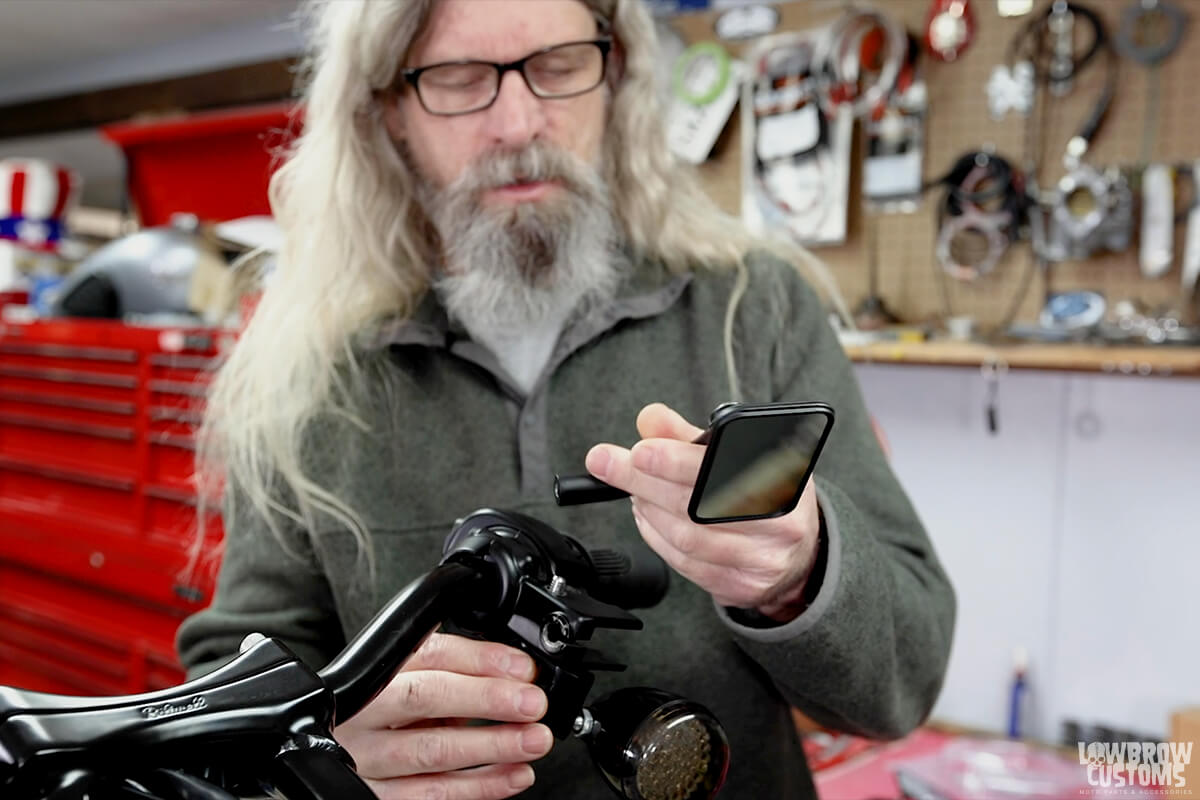
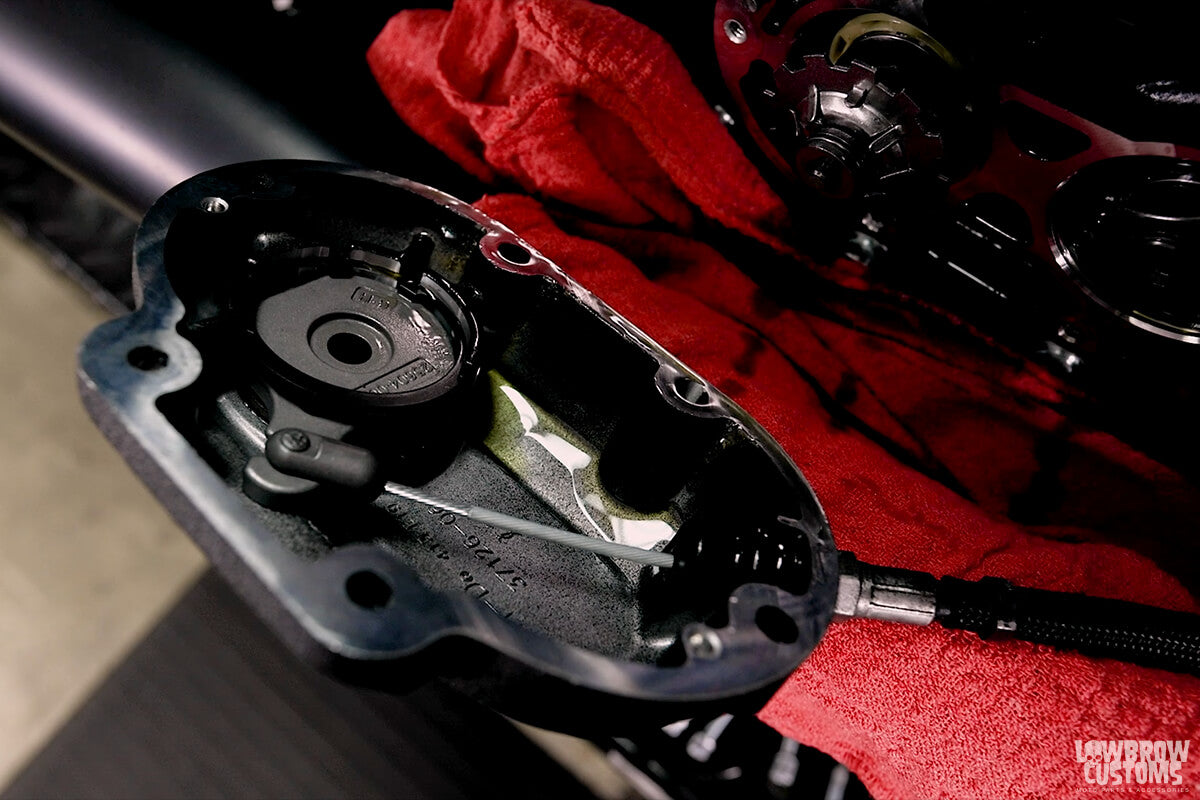
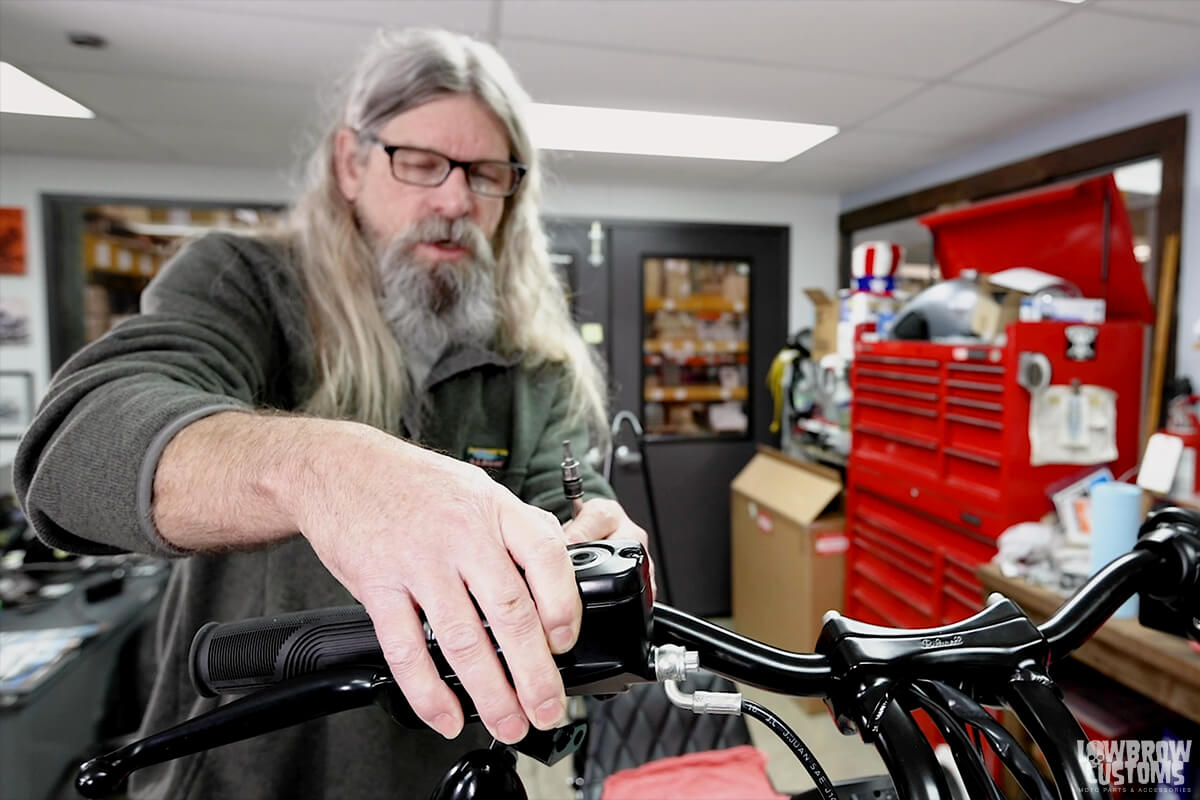
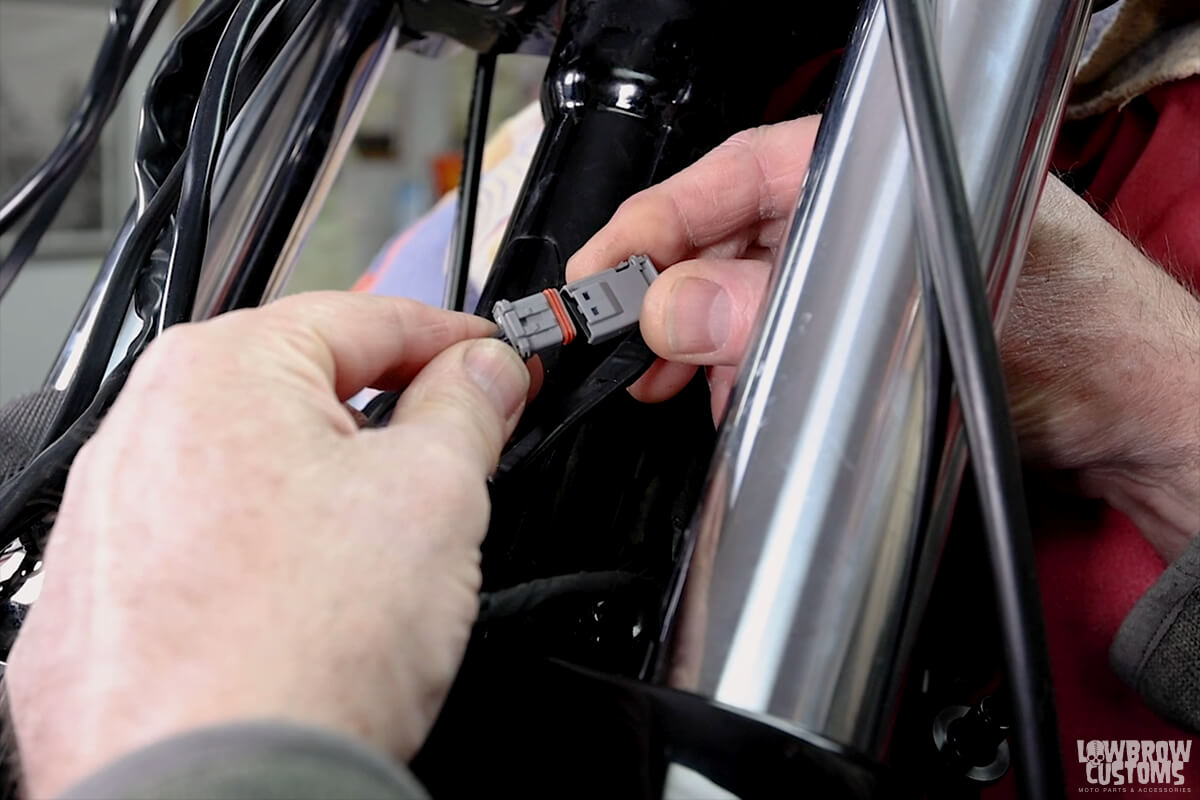

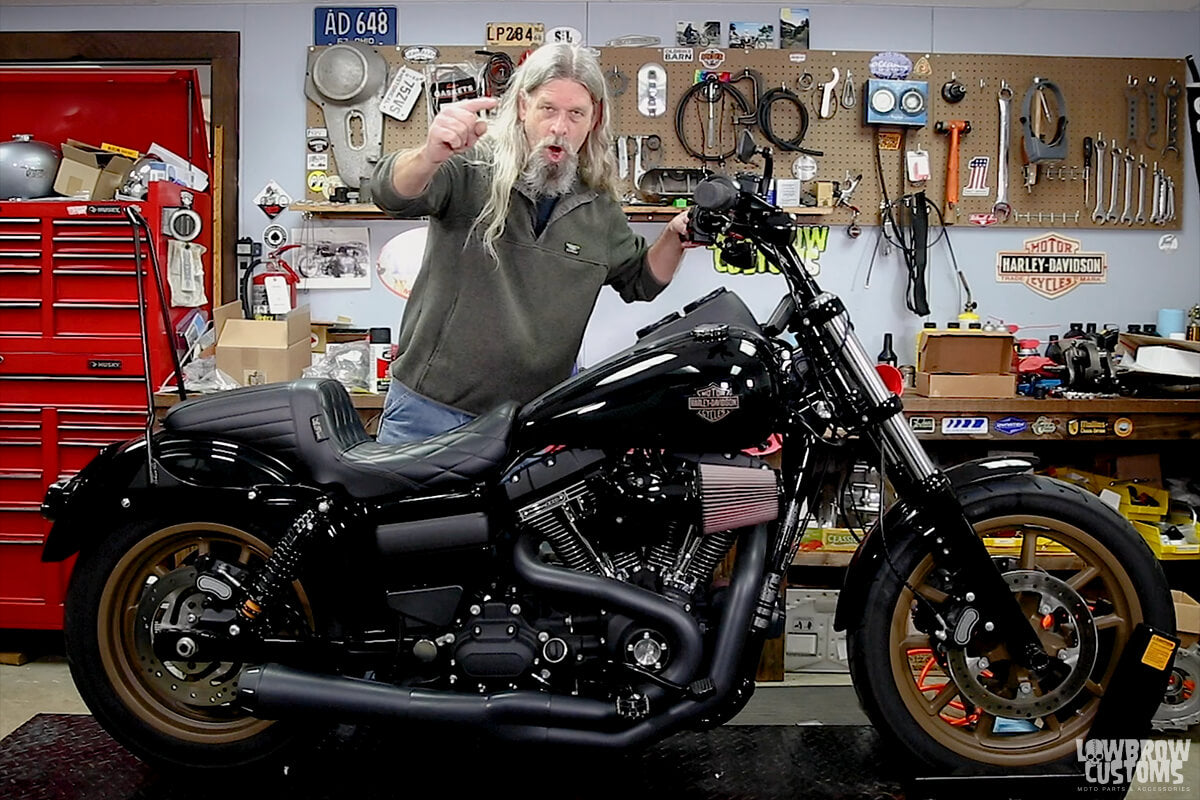

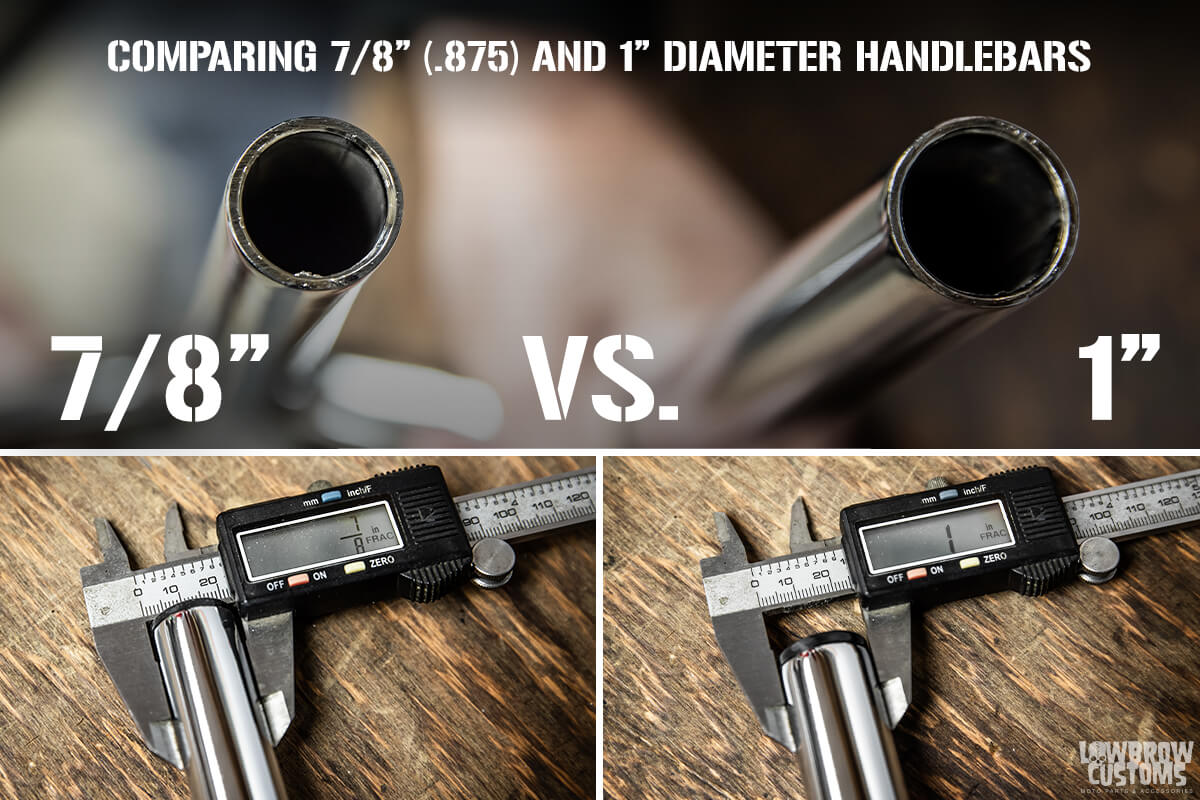 The most common handlebar sizes are 7/8" (.875") and 1" handlebars. You can determine this visually when they are side-by-side. Alternatively, use a tape measure or a caliper to measure across the end of the tubing that makes up the handlebars.
 Measuring the width of your handlebars is easy. Take a ruler and measure end to end. This Cycle Standard No. 10 Off Road Handlebar measures in at 34-1/2" in width.
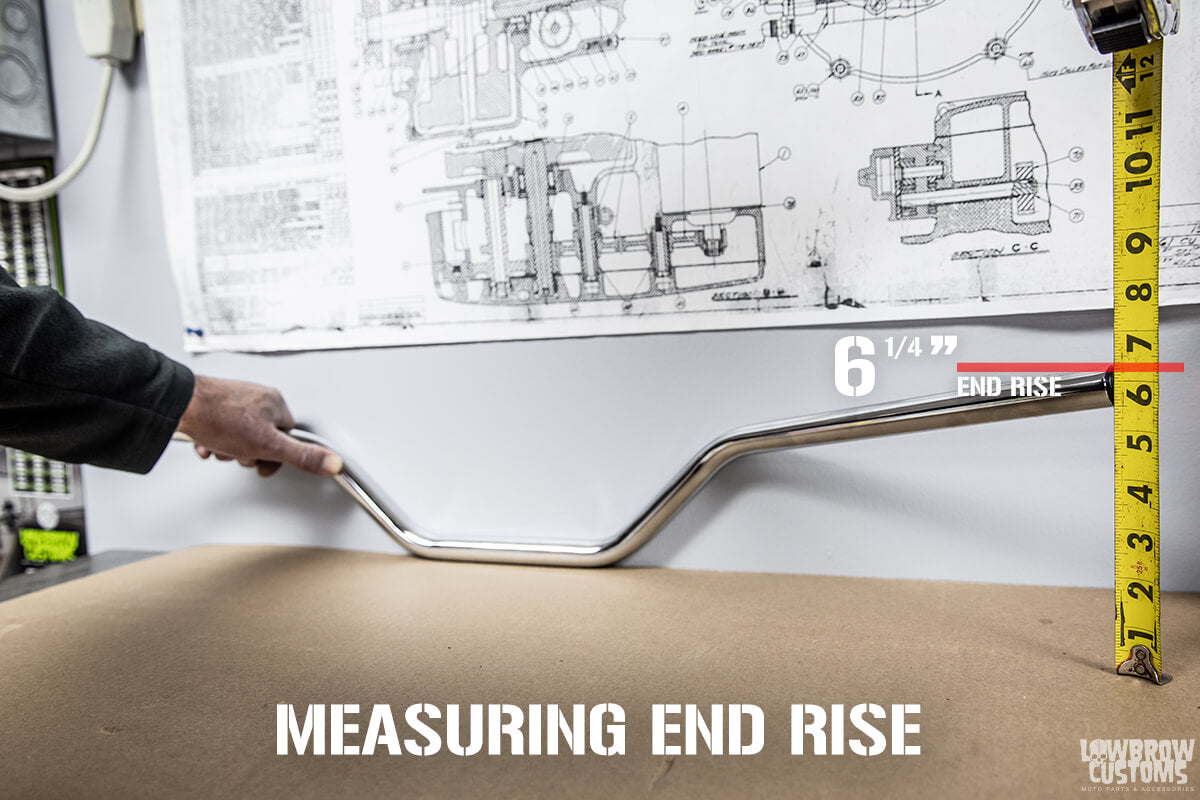 The easiest way to measure the rise of a handle bar is set it on a flat surface against a wall and from the bottom up measure the end of the handlebar. This Cycle Standard No. 10 Off Road Handlebar is measuring 6-1/4" in end rise.
 This Lowbrow Customs Super 4 Handlebar has a center of 5-1/2"
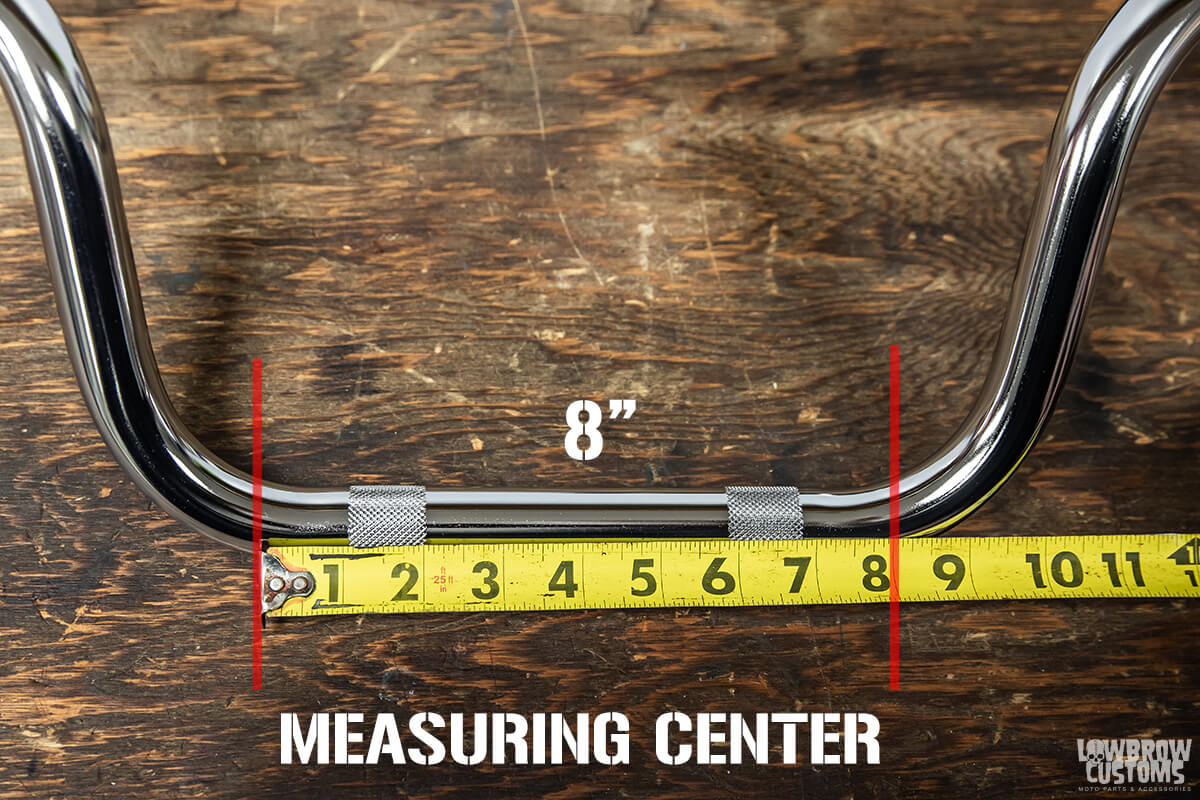 This Lowbrow Customs Mini Ape Hanger Springer style handlebar has a center width of 8". Handlebars meant for springer front ends need a larger center width, as springer risers are 4-3/4" center-to-center, versus the standard Harley 3-1/2" centers found on most front ends.
 The easiest way to measure pull back is by sticking your handlebars on a flat surface against a wall and measure from the wall to the end of the handlebar. This Cycle Standard No. 10 Off Road Handlebar is measuring 6" of pull back.
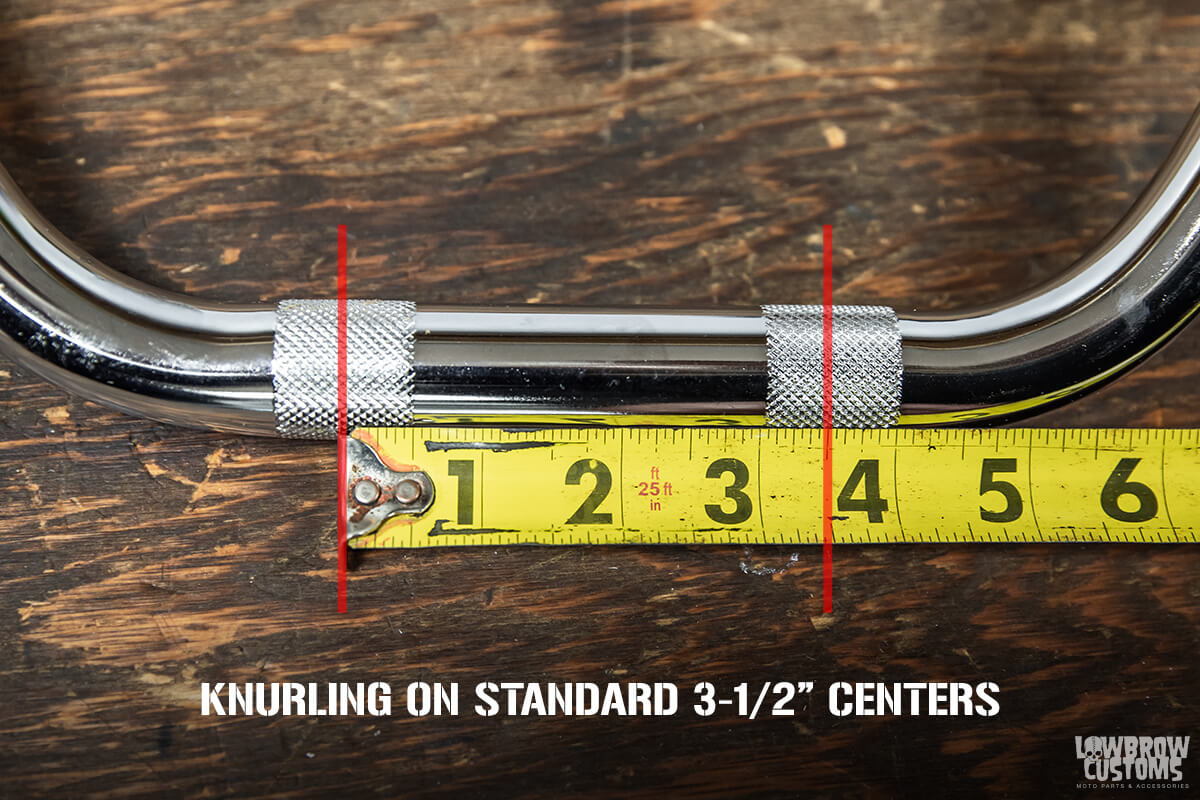 This Lowbrow Customs Super 4 Handlebar has knurling on 3-1/2" centers. This matches the stock center-to-center riser dimension for use on Harley-Davidsons and many other bikes. The risers securely clamp directly onto the knurled part of the handlebars.
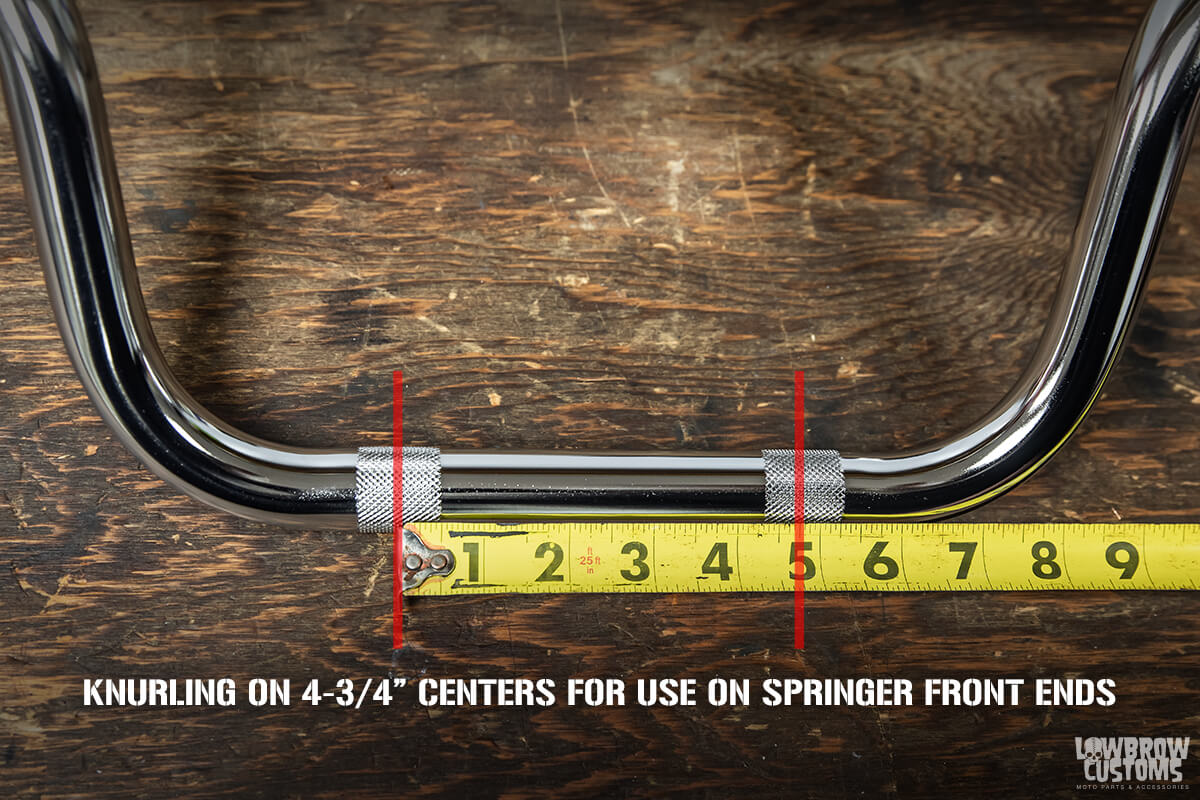 This Lowbrow Customs Mini Ape Hanger Springer Style handlebar has knurling on 4-3/4" centers. Springer front ends have wider riser spacing, and this allows the risers to securely clamp the Springer style handlebars directly on the knurling.
 Brent Maggard's Knucklehead is a great example of having to measure for the right length cables as this is a totally custom handlebar setup. Photo by Ryan Loughridge.
 Here is a stock Harley-Davidson Dyna Throttle By Wire handlebar's underside so you can see what the different parts look like compared to some smooth or dimpled bars.
 You can see the difference here when it comes to Knurled and Smooth bars in the center for risers.
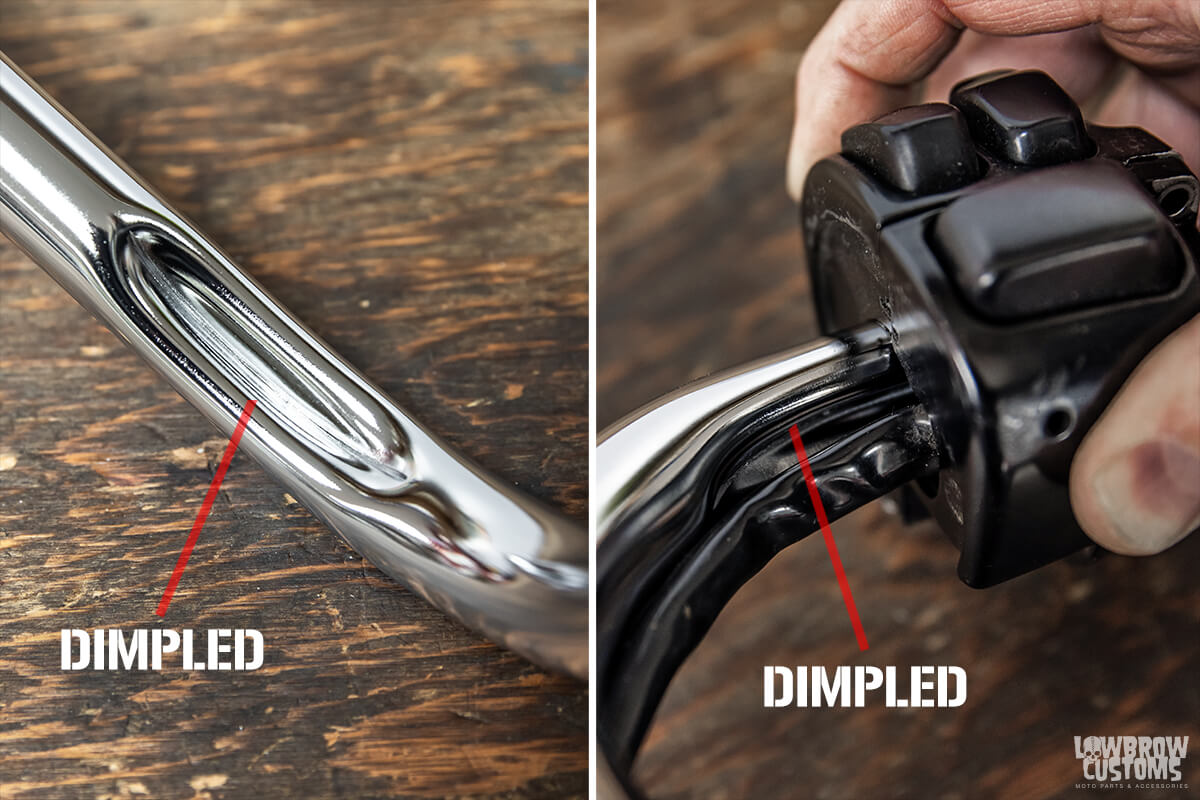 You can see on this photo the dimple and why it is there with the image on the right. The dimple gives enough room for the hand control wiring to go under a clamp for the brake caliper / lever and the clamp for the clutch lever.
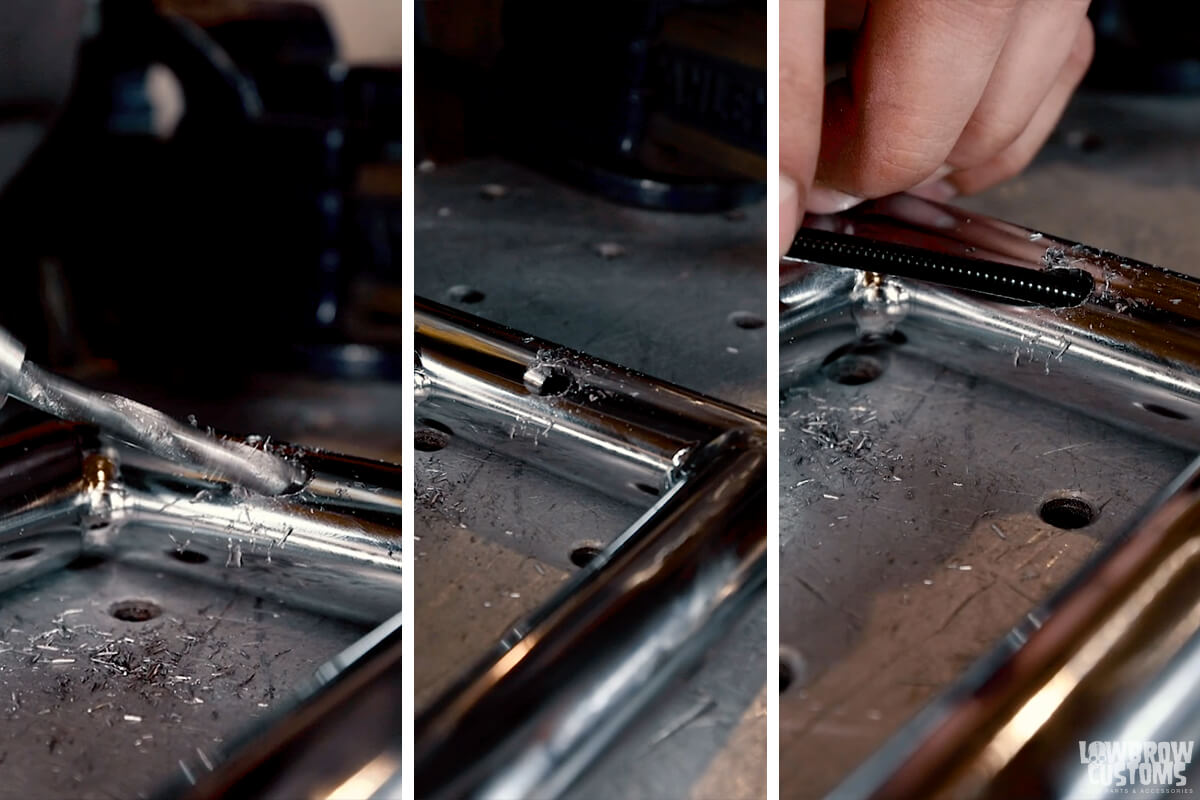 Drilling holes to insert throttle cables and run an internal throttle is a super custom and cool way to clean up your handlebars.
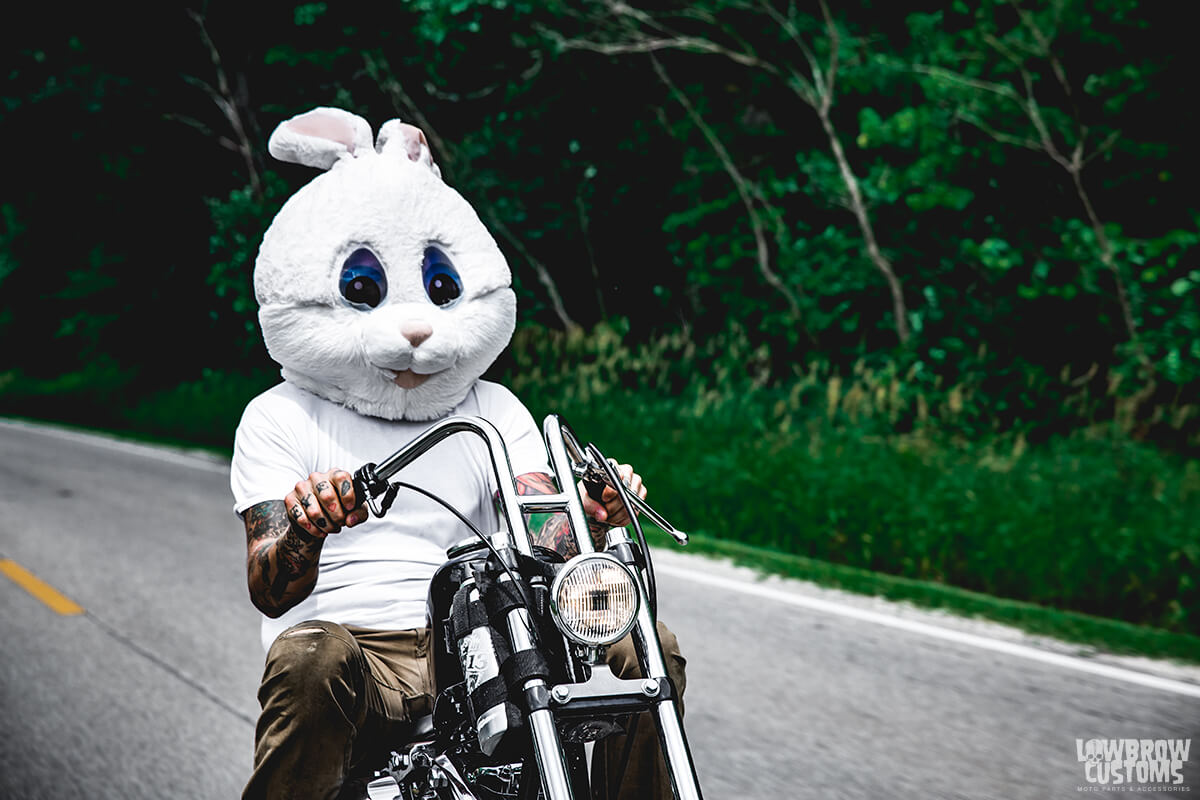 Lowbrow Customs Rabbit Ear Handlebars are a popular choice; even for the Easter Bunny.
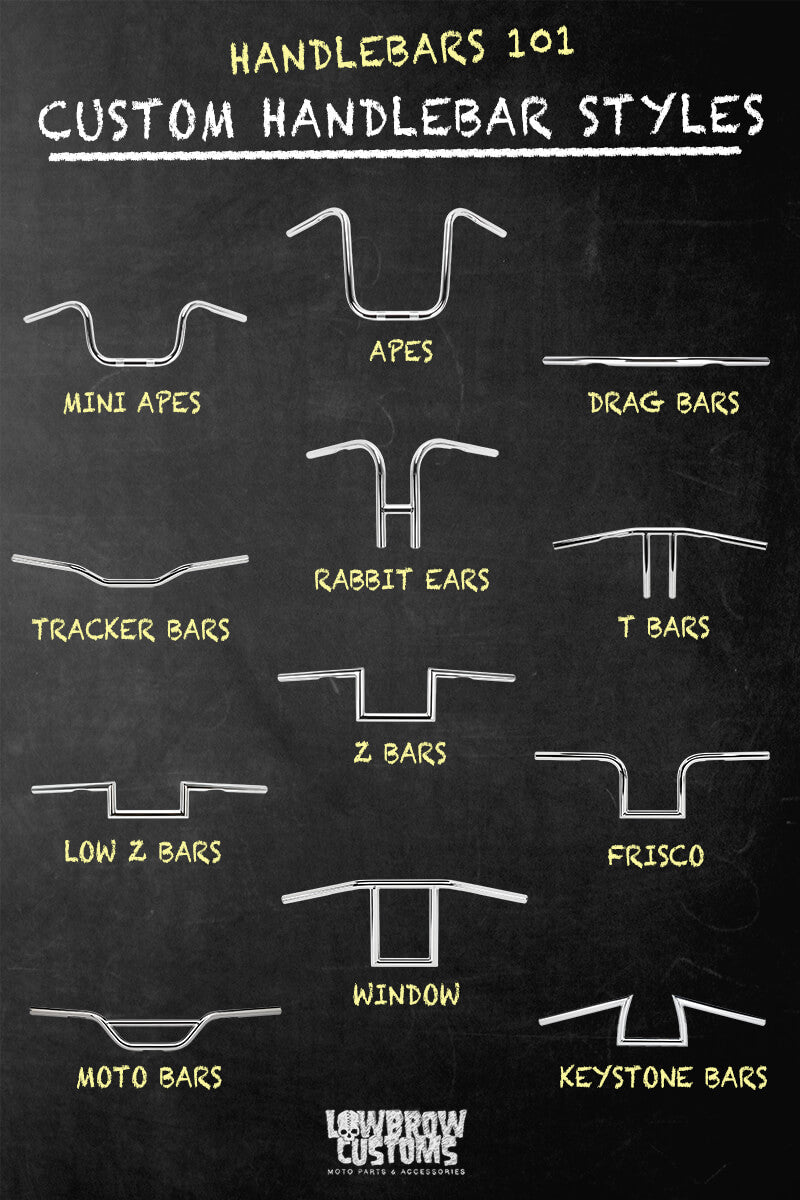
 Lowbrow Customs 9" Mini Apes are also really close to style called Buck Horns. They offer a great pull back with a classic look.
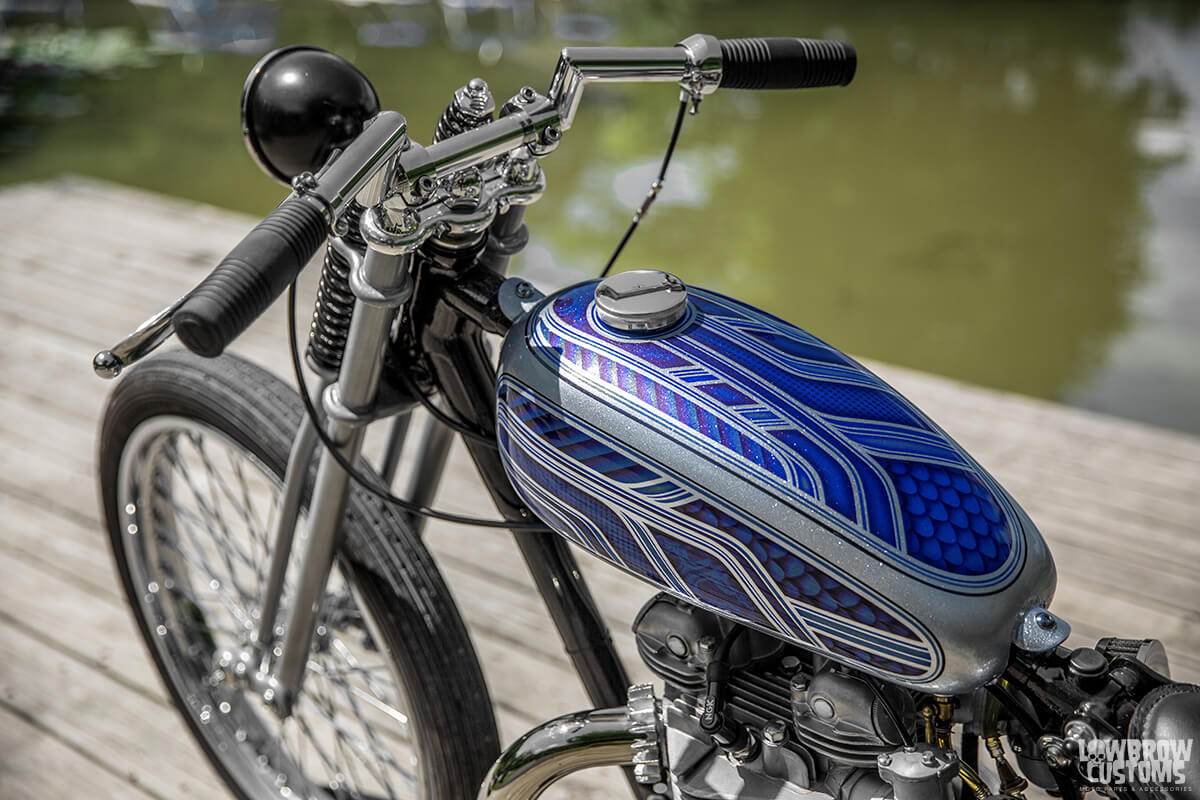 One of Todd's builds with short Z bars and Biltwell risers on a springer front end.
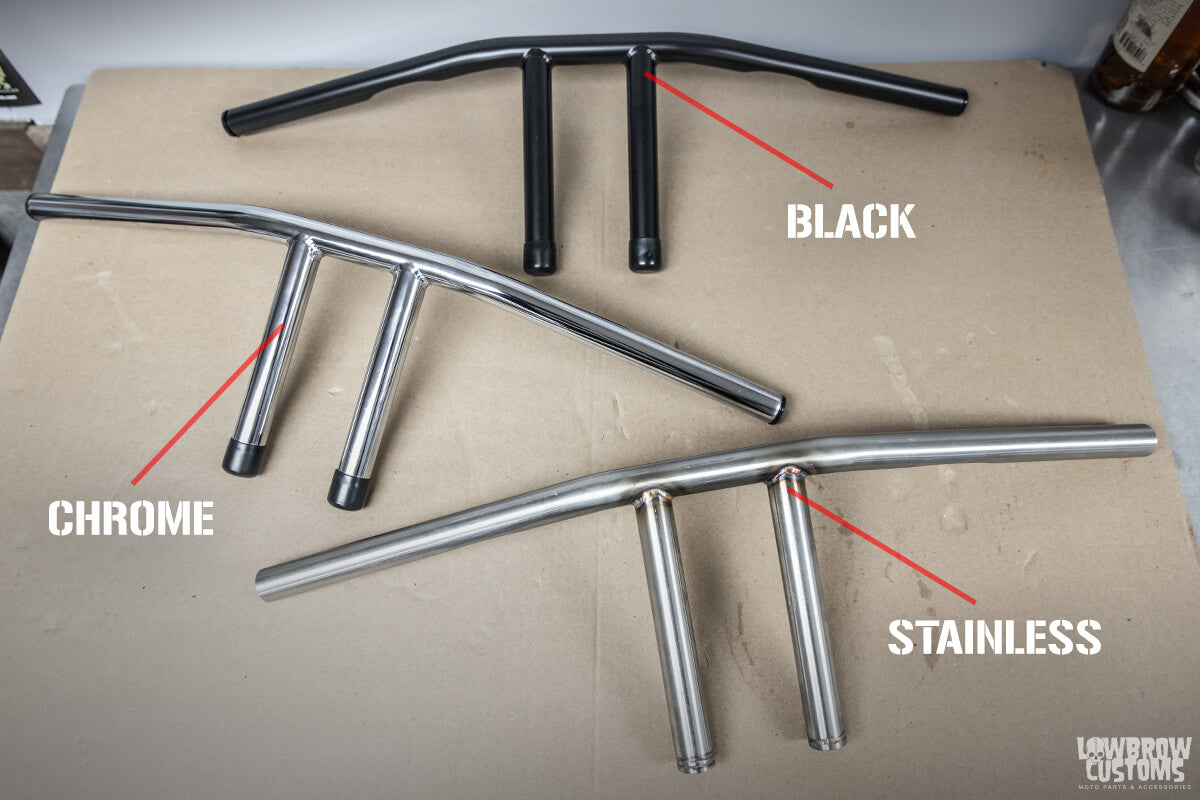 Look at the differences in the these 8" Lowbrow Customs T-Bars. They come in Black, Chrome, and Stainless.
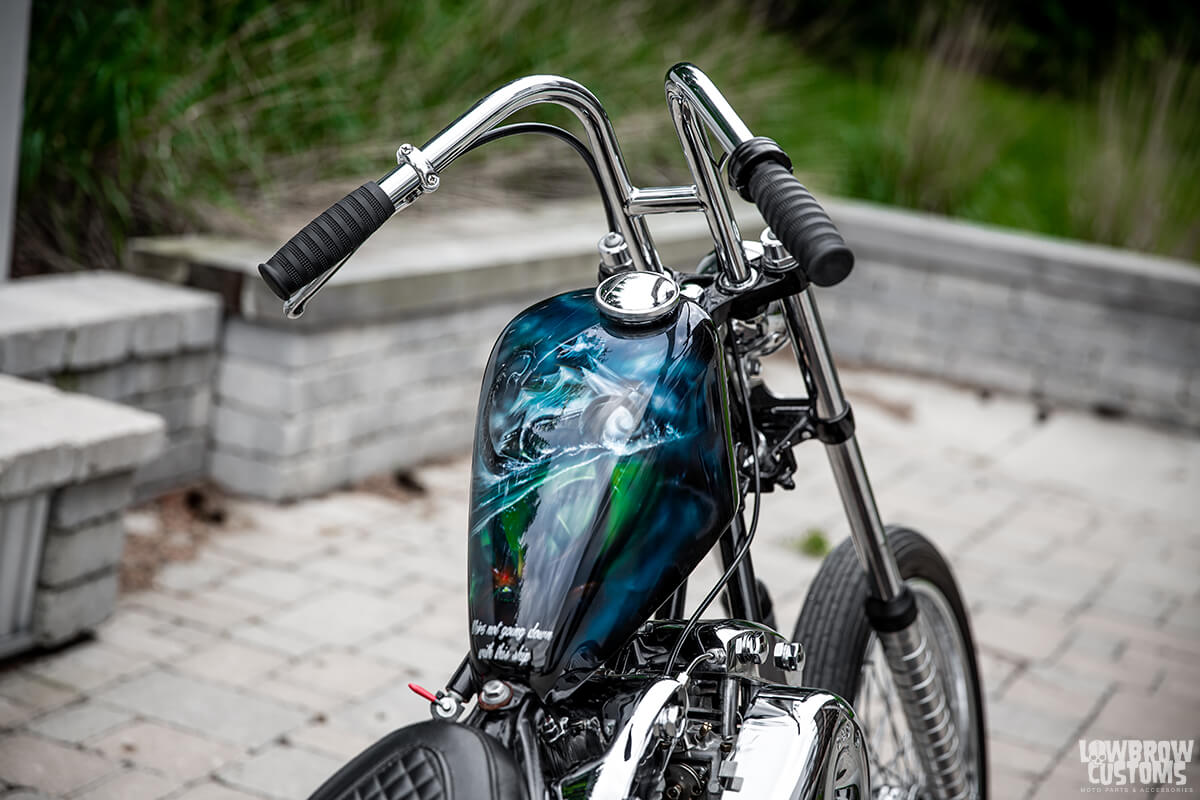 Lowbrow Customs Rabbit Ears have a great pull back, an extremely comfortable riding position, and amazing handling.
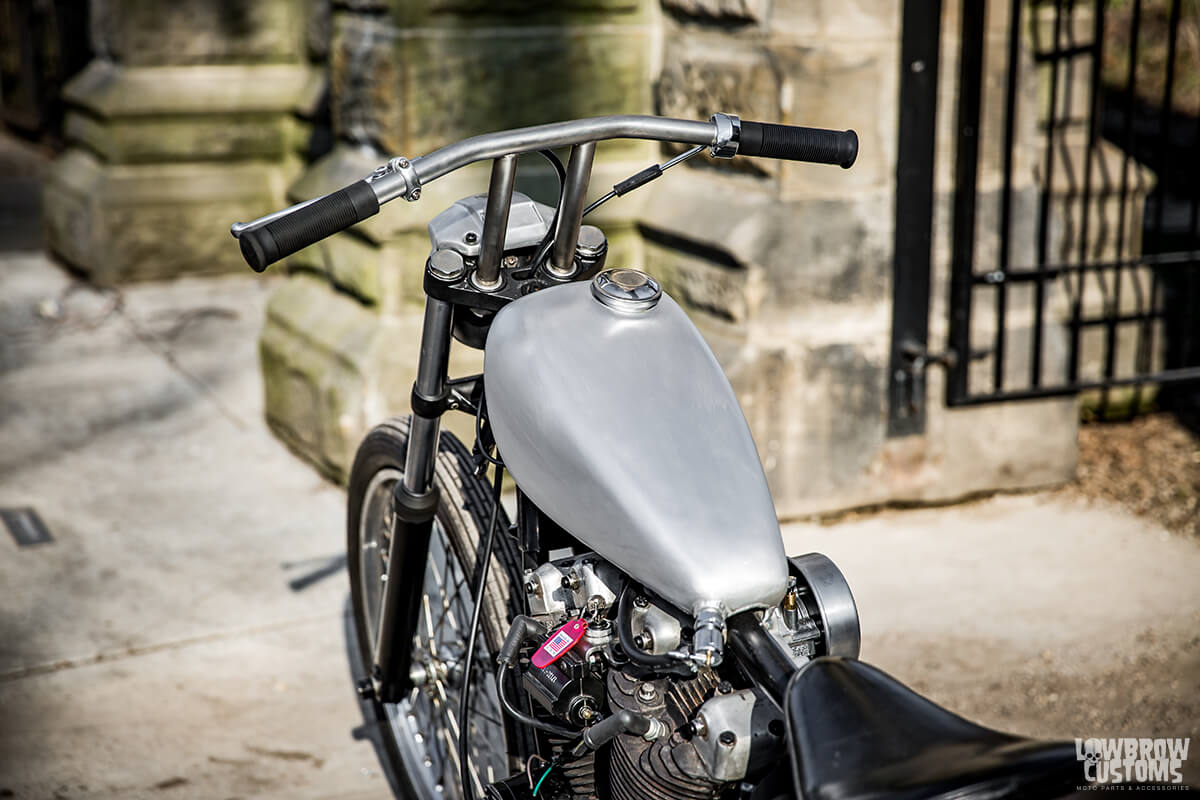 These Lowbrow Customs stainless 8" T-Bars on Tim Fiorucci's Ironhead give off that custom look, aggressive stance, and a perfect fit for this machine.
 The right bar can make all the difference in the world and not only help your bike stand out but handle like a dream. This Mini Apes with a stock riser set up on Kelly Messia's slab-side is a perfect fit! photo by: Ryan Loughridge
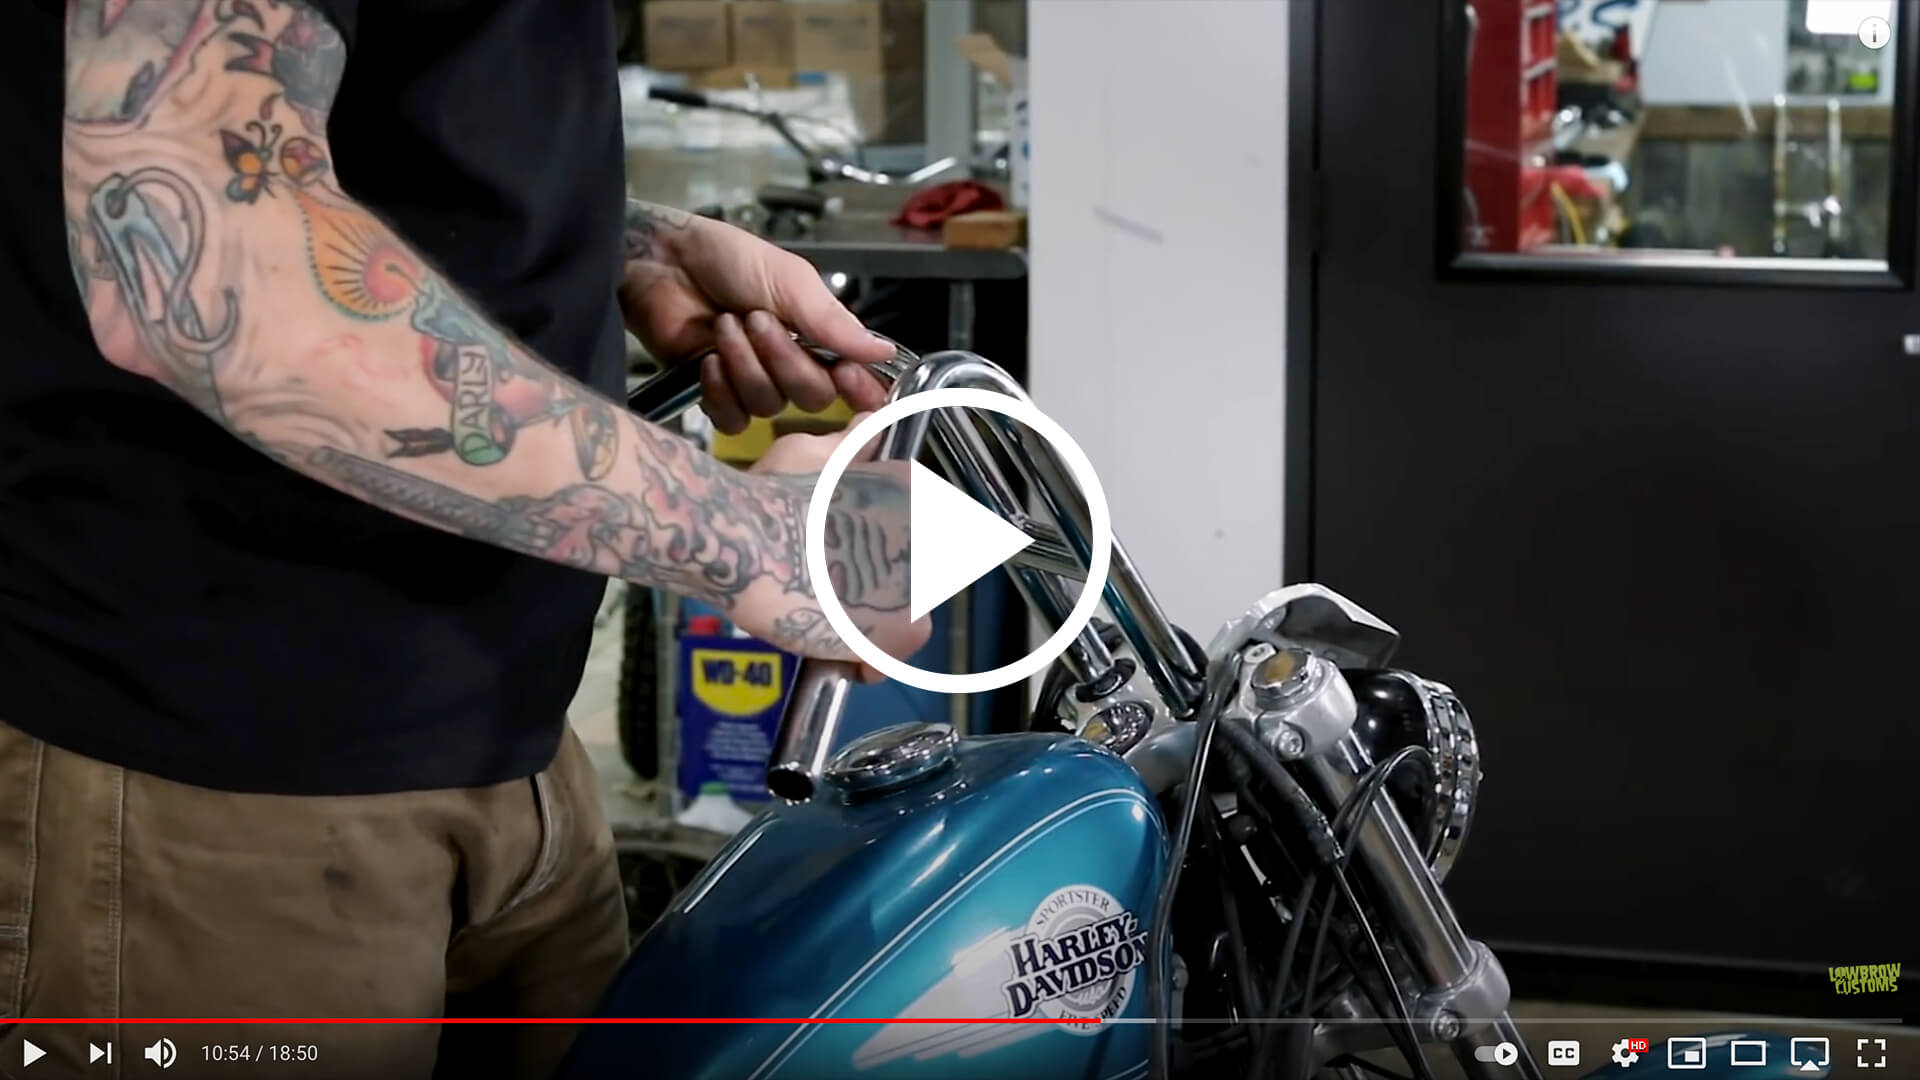
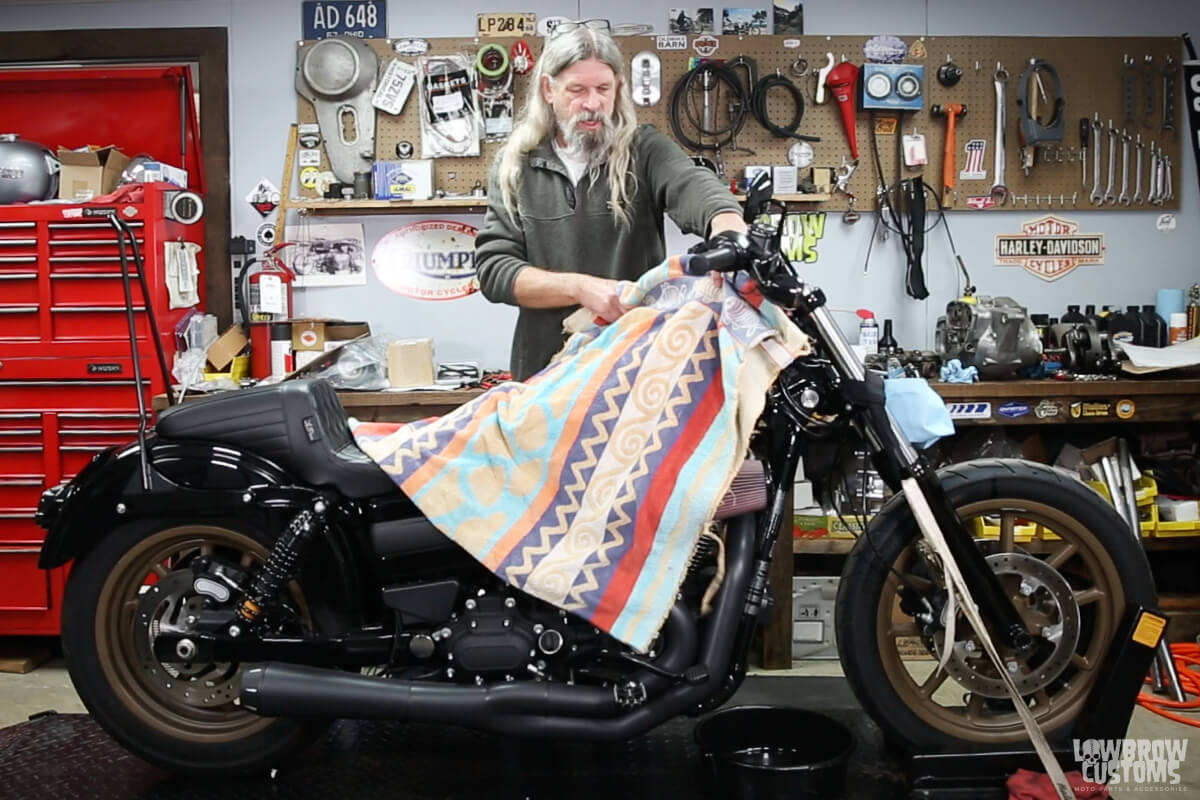 Put a blanket or towel over top of your gas tank that way if anything falls accidentally on it nothing gets dinged or scratched when changing your handlebars.
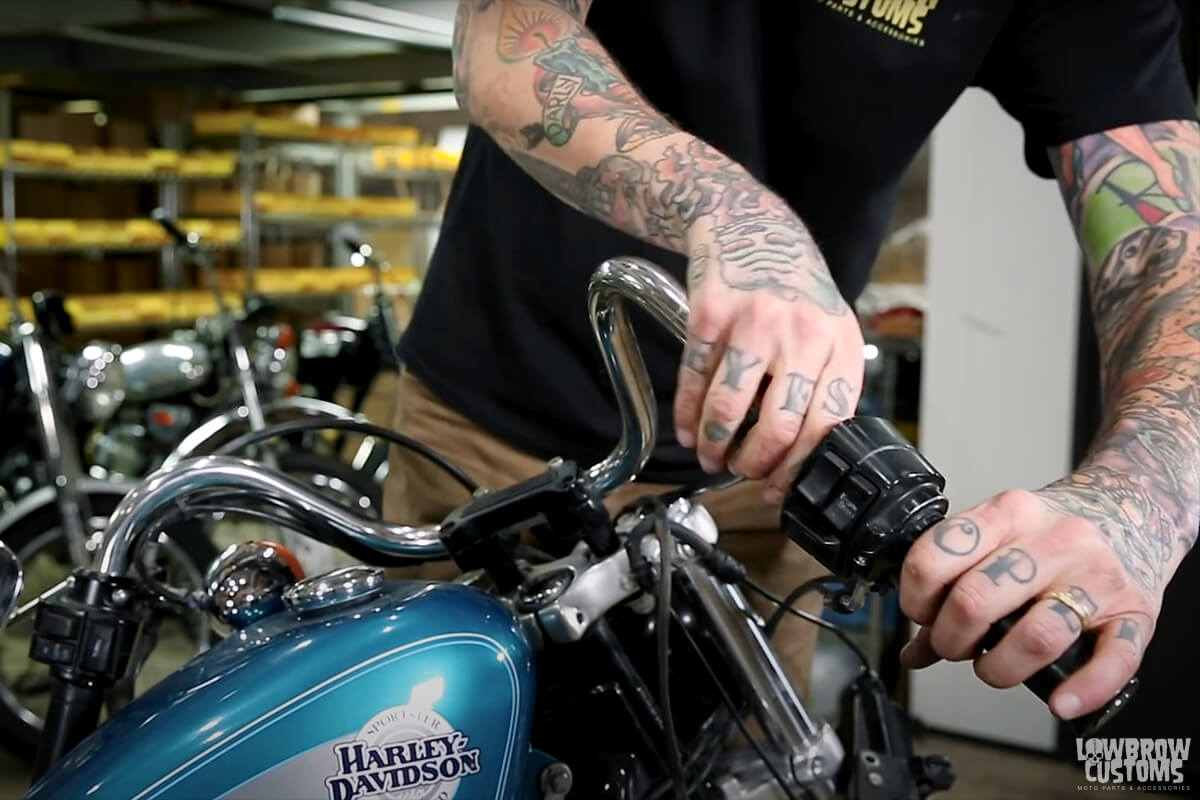 Removing grips and controls is the first step toward changing out those old handlebars.
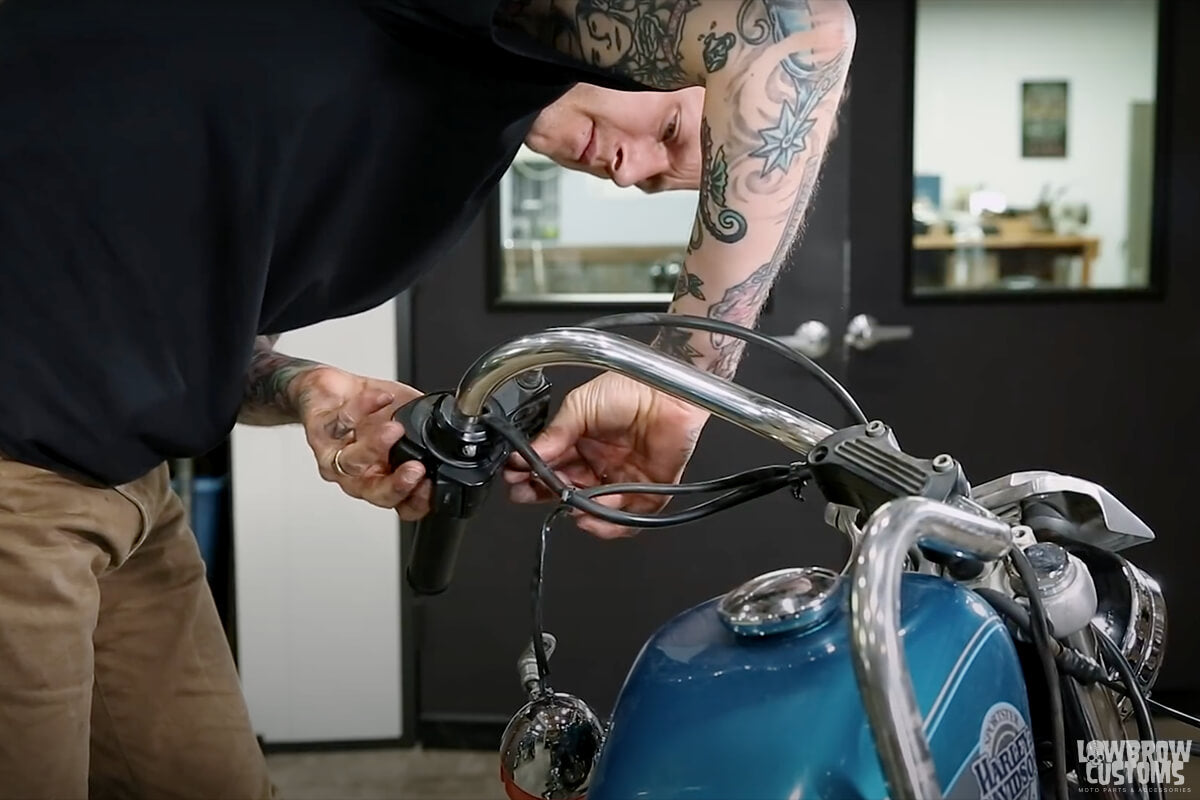 Remove the hand controls on both sides, both clutch and brake.
 Pro tip, loosen the bolts holding the risers on before removing the handlebars from the risers. This will give you enough leverage to loosen them easily.