You may remember the start of this project back in July when I laid out my plans for "Panhead Jim Builds A Sportster Chopper Part 1" on my 1996 XL1200C Sportster. Well, you could say I had a bit of a “weather delay”. Not a rash of tornados or a class 4 hurricane, but about 5 months of perfect riding weather which kept me out of the garage and outdoors as much as possible.
Now that winter has settled in across the southeast, it’s time to crank up the garage heater and get back to work. Step one, evict the gang of spiders that have turned my Sportster into something from the set of Indian Jones…
"Where did they hide that Sportster?"
My background is in vintage motorcycles, so I took some of that mindset to this teardown. That means even though I would have preferred to just cut the wiring harness apart with a pair of dykes and throw all the bolts in a pile, I took my time taking everything apart, keeping all the fasteners with their parts and even putting stuff in labeled ziplock bags.
Right now stock Sportster parts aren’t worth much, but people used to say that about Knucklehead parts too. I just have to wait another 100 years and I’ll be sitting on a goldmine. Seriously though, you never know when you or a buddy might need a spare mirror or factory ignition module, so having every sorted and stored isn’t such a crazy idea even for Sportster parts.
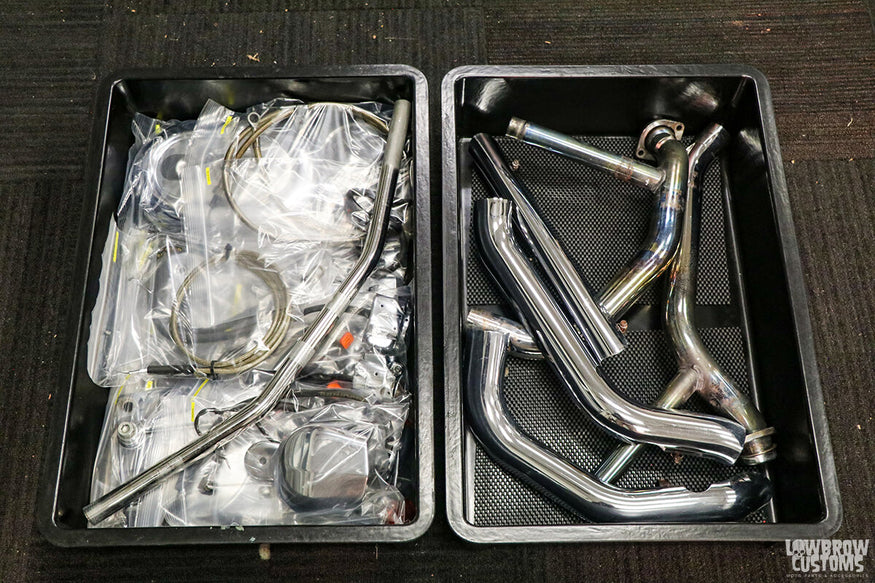
All my unused OEM parts were cleaned, labeled and carefully packed up.
To get started on the teardown, I did just like every high school kid with their first shit-box Toyota Tercel and got new tires (in this case, motorcycle tires). I know, that seems like a dumb way to start, but having the correct tires mounted will help with checking the stance on my rolling chassis. It did mean having to reinstall and uninstall the wheels one more time on my OEM chassis, but who doesn’t like doing the same job over and over again…
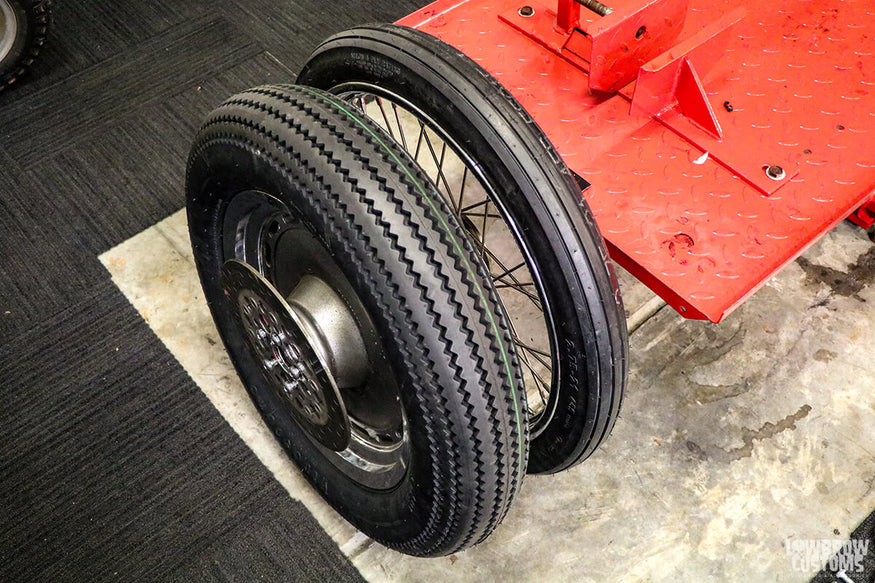
Old school looks with modern construction from Coker Tire.
Before the teardown could really begin, there were two other important steps. The first was to remove the battery. Anytime you’re messing with electrical or removing parts near your wiring harness, removing the battery is always a good way to insure that you don’t accidentally start an electrical fire in your garage.
The second step was to drain the oil, primary fluid and gas. Technically I could have left the primary fluid alone, but it needed to be changed any ways and who knows if I might need to pull the primary cover later in the build.
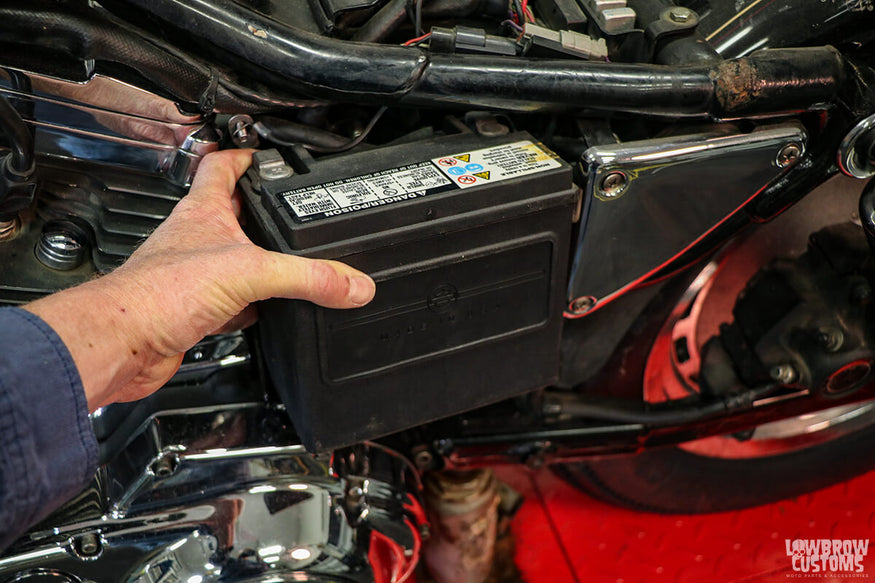
This 2011 battery is probably dead, but I am taking no chances.
Even though my Sportster is almost 25 years old, the painted parts were all still in great condition, so I went ahead and removed the gas tank, oil tank and rear fender to keep them from getting damaged. If I have learned anything from working on antique motorcycles, its that original paint parts always bring top dollar and since my tins were still in excellent shape, they were worth saving.

A good OEM tank is always worth saving.
This brings up a good tip for disassembling your motorcycle and that is to use plenty of zip ties. This may not make sense at first, since you are taking the bike apart, but zip ties are a great cheap way to hold parts temporally in place so they don’t scratch or dent other things while you are tearing the bike down.
Before shoving the tins on the shelf, I also took a couple steps to help preserve them. A thorough wash and wax obviously was the first step, but I also fogged the inside of the gas tank and the oil tank with metal protector to help prevent rust.
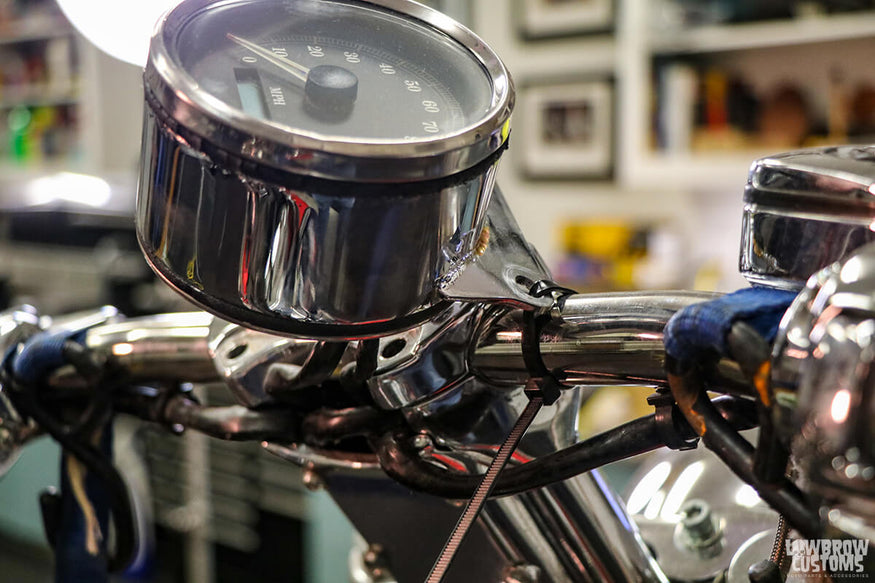
Use a zip tie to hold parts out of the way.
Next to go was the exhaust system. The stock Sportster exhaust system is basically just held together with 6 easily accessible nuts and some clamps which lulls you into believing that it is going to be an easy job. What you need to remember is those exhaust studs and nuts have been heated and cooled thousands of times and probably have a good amount of rust on them as well, so snapping one off in the head is a frequent occurrence.
To avoid the “headache” of drilling out broken exhaust studs, I took the safe route and first soaked them with PB Blaster before even putting a wrench near them. Another quick tip is to use 5/16” socket or nut driver to loosen the hose clamps on your exhaust shields instead of watching your flat head screwdriver slip a dozen times.
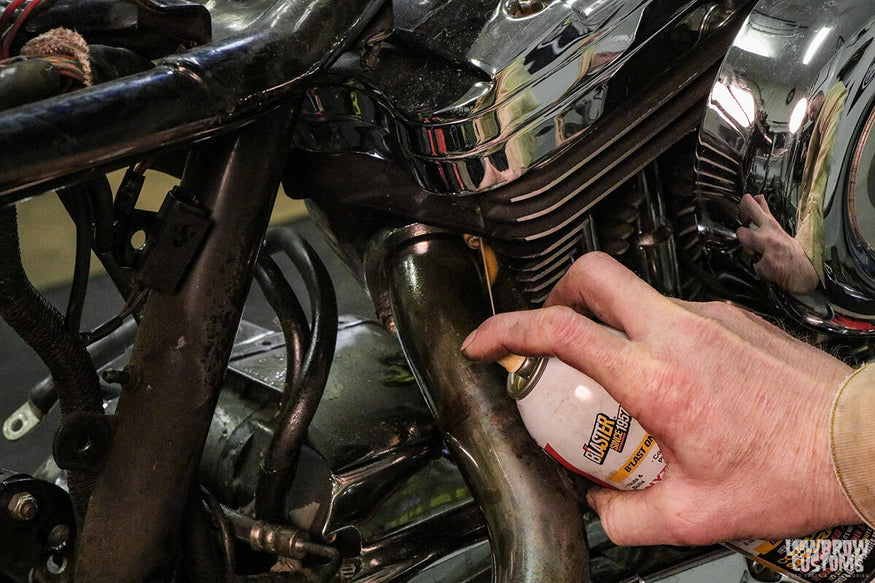
Prep your exhaust nuts for removal with liberal amounts of penetrating oil.
With the exhaust piled nicely on the floor, I started tracing out the wiring harness to see what else needed to be removed in order to access all the connectors. Working my way through the grunge under the motor I saw that the wiring harness tucked behind the front pulley cover, so off came the rear master cylinder and the cover.
When removing the master cylinder, I made sure not to loosen the brake line, but instead kept the brake line attached and passed the master cylinder out between the frame and rear cylinder. This way I didn’t have to worry about spilling DOT 3 all over everything.
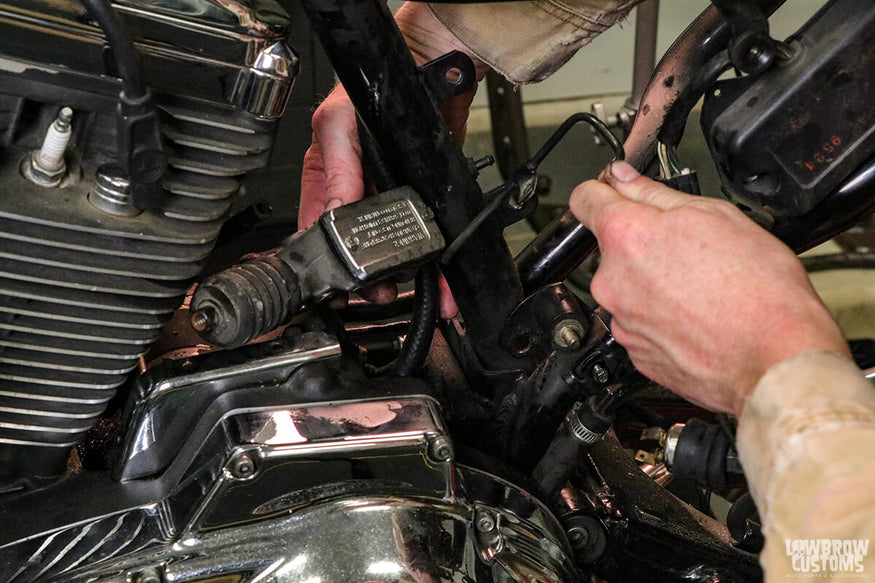
You can skip the mess by leaving the master cylinder attached to the rear caliper.
With the master cylinder out of the way, the sprocket cover was removed along with the belt. This gave me access to all the wiring connectors on the rear of the bike, so there was nothing left to do but start unplugging connectors.
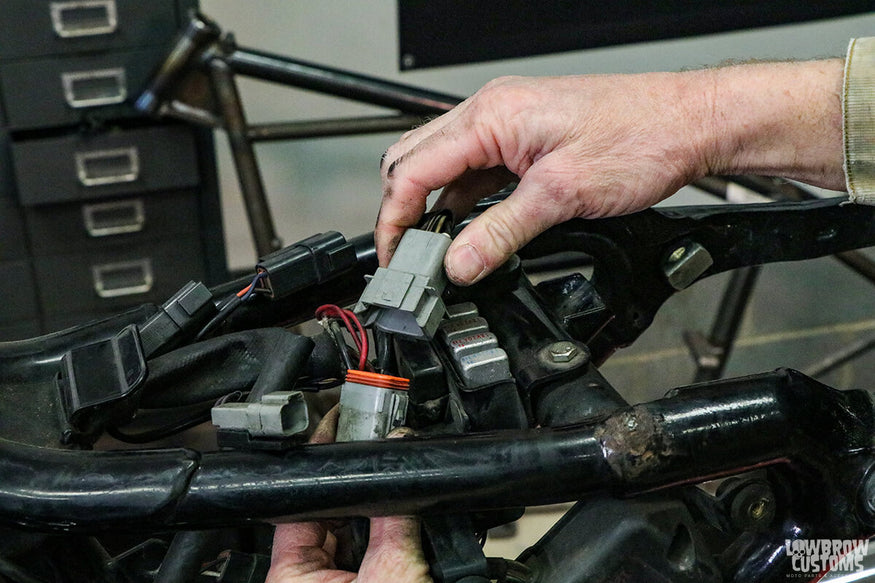
Be patient, the connectors will come apart.
After years of being connected, some of the connectors were a little stubborn, but with patience they were all disconnected and I was able to start working the wiring loom away from the frame. Every connector does have a lock on it that has to be pressed in before the connector will separate and I only found one connector where Harley’s engineers failed to make the lock accessible. Located on the starter was a single wire connector which had the lock facing downward, right up against the case. I found the best way to remove this connector was to use a flathead screwdriver to press in the lock while pulling the connector out.
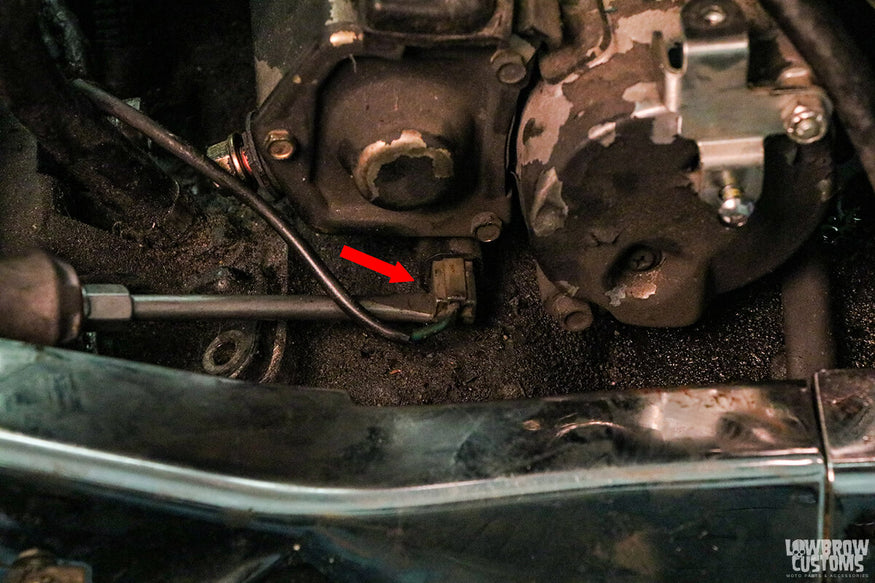
Thanks HD for installing this connector with the lock facing down.
Since I have a XL1200C model, the front connectors for my wiring harness were hidden inside the risers. Once I removed the 6 screws holding the riser cover together, I disconnected the last three connectors and the wiring harness dropped away from the bike.
It was a pretty tedious process to track down each connector and fish it back out, but in the end I had a complete fully functional wiring harness that could go right back on a bike without any splices or repairs.
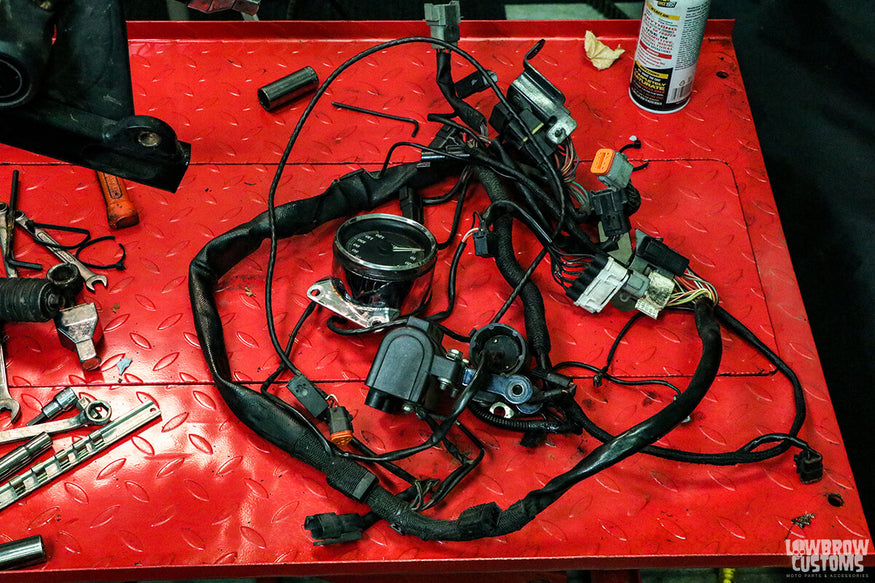
Modern bikes have so many wires...
The engine was next to go and with all the wiring removed all that was left to remove was the motor mount bolts, the clutch cable and the throttle cables. Unlike my old ’33 VL which only has 5 motor mount bolts, the Sportster was secured in the frame with 8 bolts, 2 at the rear, 2 at the front, 2 between the heads and 2 on the front head. I also prepped these with PB Blaster, so they came right out. Some of the motor mount bolts use Torx fasteners, so having a set of Torx bits that fit on a 3/8” ratchet makes the job a lot easier.
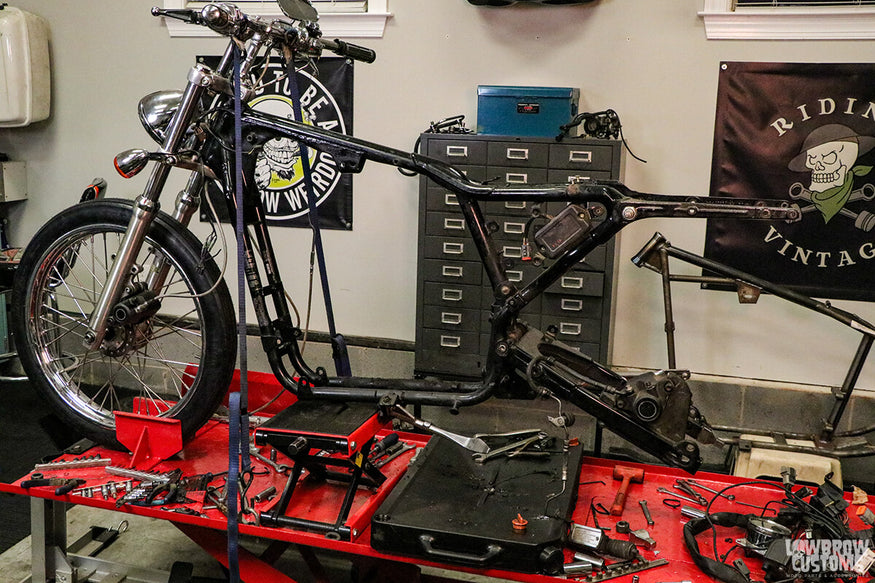
Dropping weight like a UFC fighter.
Last to come off was the front end. I pulled off the switch housings, levers, grips and master cylinder before taking off the top clamp and removing the handlebars. Then I turned around and reinstalled the top clamp when I realized there was no way to remove the risers if they weren’t locked together.
After I removed the front wheel, I loosened the pinch bolts on the triple trees and dropped the forks out the bottom. Then all that was left was to unbolt the stem nut and knock the triple trees apart with a rubber a mallet.
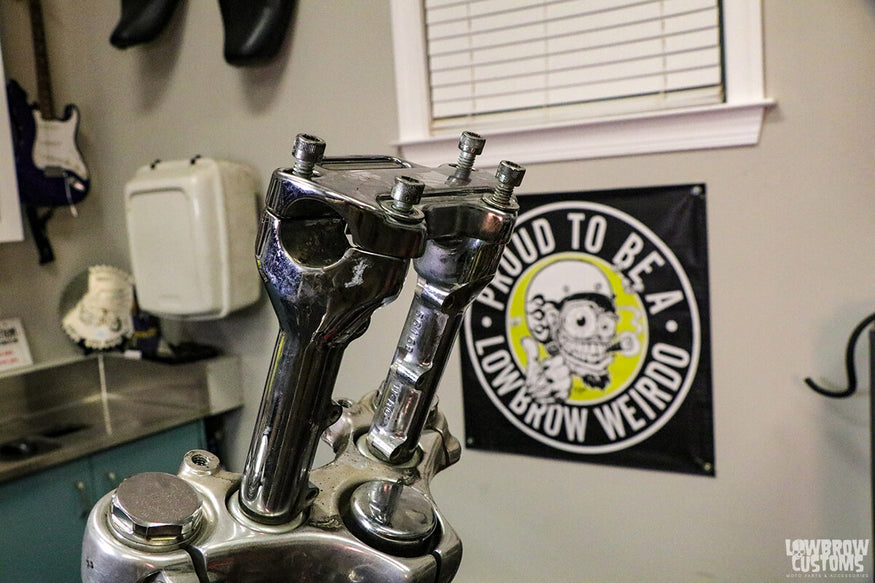
If you forget to loosen your riser bolts first, you'll have to reinstall your top clamp before loosening them.
And just like that I had a pile of parts laying on the floor ready to be cleaned and sorted. As I mentioned earlier, every part was cleaned and polished before being placed in a labeled ziplock bag. That left me with some large parts like the frame and sheet metal to deal with, so I opted to hang them from the ceiling to get them out of the way and keep from safe.
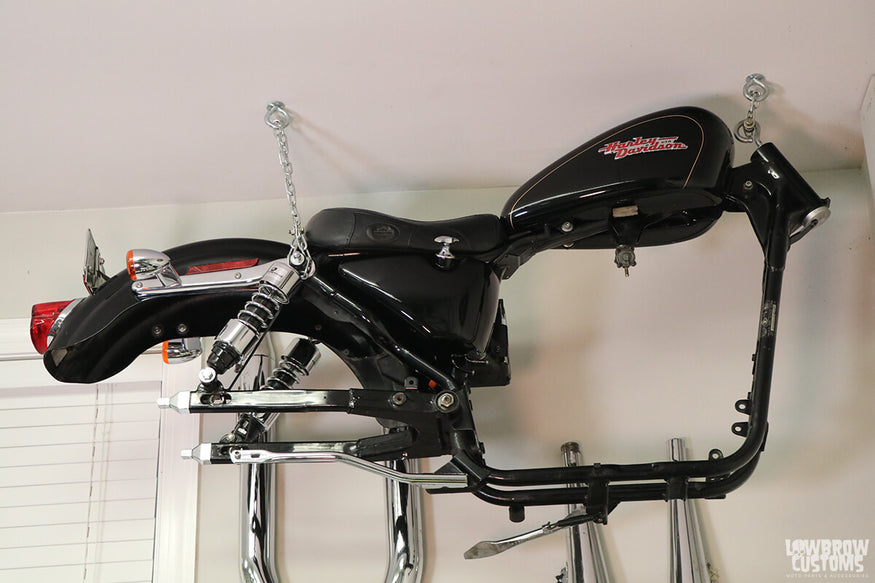
Part storage, part art project.
Up next I will be upgrading the front forks with longer tubes and internal fork stops before piecing together a rolling chassis. Stay tuned…
Related Posts
Related Products


