

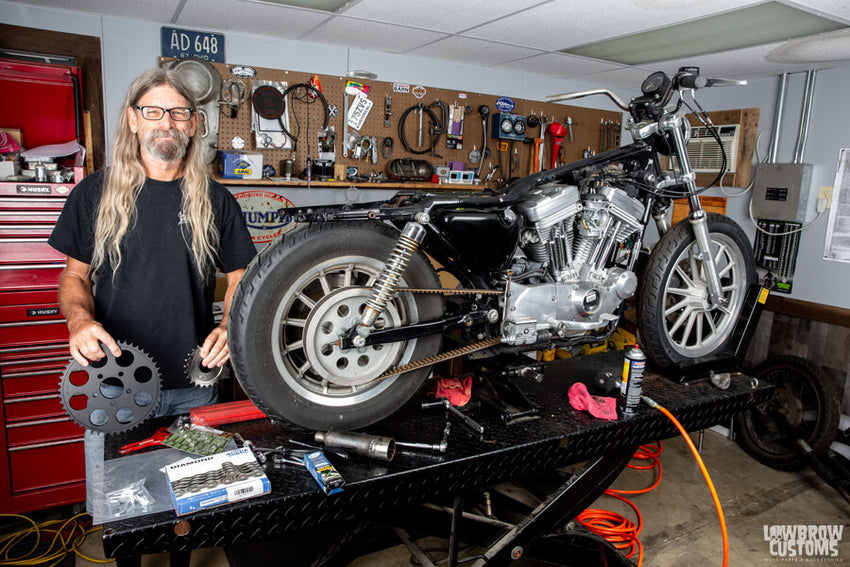
Todd was getting stoked for this tech tip!
You can drastically alter a Harley-Davidson Sportster's look with some very minor changes by adding aftermarket Sportster parts such as replacing your handlebars, gas tank, and or even the seat.
You can drastically alter a Harley-Davidson Sportster's look with some very minor changes by adding aftermarket Sportster parts such as replacing your handlebars, gas tank, or even the seat.
One of our favorite things to do that is extremely easy and takes a Sportster to the next level is getting rid of that pesky belt drive and changing it out for one of our chain conversion kits.
The pulley works wonders but it's really bulky and doesn't nearly look as cool as a sprocket pulling a blingin' oily chain. So get out your tools, your jack and follow along with Todd as he walks you through how easy it is to change out this 2003 Harley-Davidson XL883 belt drive to our chain conversion kit.
Remove the Back Wheel

Step 1: Remove the brake line clamp.

Step 2: Remove the two bolts from the rear master cylinder.
 Step 3: Remove the three bolts holding on the main pulley cover.
 Step 4: Move the cover out of the way.

Step 5: Remove the two socket head screws from the lock plate.
 Step 6: Remove the lock plate.
 Step 7: Using an impact remove the front pulley nut. *This is a left hand threaded nut*
 Step 8: Remove the cotter pin from the axle.
 Step 9: Remove the axle nut completely.
 Step 10: Remove the axle.
 Step 11: Push the wheel forward to allow the belt to pull off of the pulley.
 Step 12: Remove the wheel completely from the bike.
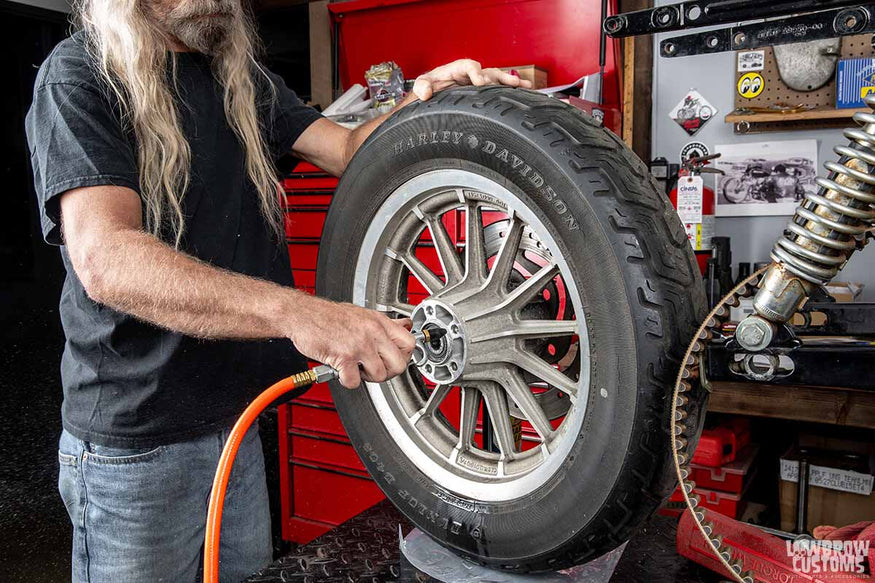
Completely Clean the Wheel
 Step 13: On a work bench or table remove the 5 bolts from the main drive pulley. You can use an impact to remove these bolts

Helpful tip: If the pulley seems stuck you can use a 2x4 piece of wood and put it between the tire and under the pulley. Push down on the 2x4 and it will pry the pulley off easily.

Most threads look like this when you take your wheel off. Clean that Loctite out! Do not reuse old bolts.
 Step 14: Using a 7/16 -14 tap, run the tap into all 5 holes to clean out any Loctite.

"SOOO MUCH LOCTITE!"
Step 15: Spray the wheel's bolt holes with brake clean and blow out any extra residue with air.
Install the Rear Sprocket Into the Wheel Hub
Place the rear sprocket onto the wheel hub, make sure the grooved line that goes around the outside of the sprocket by the teeth is facing out towards you. Place each of the washers down on the sprocket and then match up the holes with the locking tab washer. Using red Loctite, thread each bolt down evenly. In a star pattern torque the 5 bolts to factory specifications for your model. Do Not use an impact for any reason to torque down the bolts. After bolts are torqued properly bend over the locking tab on each bolt. 
Step 16: Align the sprocket with the grooved line that goes around the outside by the teeth faced towards you.

Step 17: Use washers provided.
 Step 18: Align the locking tab washer over the five separate washers.

Step 19: Use red Loctite on provided bolts.
 Step 20: Snug each bolt down.

Important Tip: DO NOT USE AN IMPACT TO TORQUE BOLTS!

Step 21: Using a torque wrench torque each bolt in a star pattern to your wheels correct torque specs.
Remove the Belt
To remove the belt from the bike all you have to do is remove the bottom bolt from the rear shock. Move the rear shock out of the way and pull the belt off of the bike.
 Step 22: Remove the bolt holding the rear shock on the right side of the bike to allow the belt to be removed easily.
 See ya belt! Bada-Bing Bada-Boom.
Place Front Sprocket Into the Main Drive Splines

Step 23: Remove the front pulley.

Step 24: Use a wire brush / brake clean to remove any rust from the main drive splines. Use air to blow off any residue.

Step 25: Slide on the new front sprocket on to the main drive splines, the beveled end should face in towards the motor leaving the flat side with a small edge facing out towards you. Hand tighten the nut on the front sprocket. You cannot torque this nut before putting on the chain, all it will do is continue to spin.
 Step 26: Install the front sprocket nut by hand.
Reinstall the Rear Wheel
 Step 27: Reinstall the rear shock on the right sides bottom bolt.
 Step 28: Don't forget to put a ton of anti-seize on your axle.
 Step 29: Reinstall the rear wheel, making sure the brake caliper and wheel spacers are all lined up correctly and reinstall your axle.
 Step 30: Loosen axle adjusters completely and move the rear wheel forward as far as it can go in the swing arm.
Install the Chain Conversion Kit

Step 31: Place your chain on to both sprockets feeding from the rear to the front and back around to make it easier to measure.
 Step 32: Pull the chain tightly and determine which link needs to be removed. Paying attention not to remove the wrong link so you will be able to put the master link in. Use a maker to designate which pin you will need to remove.
Before moving to next step, we have a little note on shorten a motorcycle chain with a chain breaker
“A common task with a custom bike is having to install a motorcycle chain that is longer than stock. A good way to do this is get a chain that is a bit longer than you need and cut, or break, it down to size using a chain breaker. There are also other handy but necessary tools, such as a chain puller that helps tension the chain just right for you to install your master link on your drive chain or primary chain. Shortening a chain is an easy task, here we show you step-by-step if you haven't done it before. Well this will teach you how to install your chain now that you ditched the belt!
If you have a hardtail frame on your motorcycle with any stretch to it, that is longer wheelbase than stock, you will need a longer chain. Fit your chain around the sprocket on your motor and rear wheel. On a bike such as a unit Triumph a bit of heavy grease on the end of the chain will help hold it in place while you turn the drive sprocket by hand (with the bike in neutral) to thread the chain around it. If you already have a chain on a bike a simple way to thread the chain is to attach the new chain to the end of the old chain with a master link and pull it through.”
 Step 33: Use a chain breaker at the spot you marked to set the right length.
 Step 34: Once broken use the master link that comes with your chain and slide the larger part in from the inside of the chain.
 Step 35: Install the side plate on the outside of the chain

Tip: Some chain master links may need pressed on like the one we are using. It depends on what chain you have purchased.Using a small socket and channel locks you can press it on easily.
 Step 36: Install the clip with needle nose pliers, be sure the clip’s closed end is facing towards the direction of rotation.
Step 37: Tighten chain in order to be able to tighten the front sprocket nut.
 Todd tightening the chain's tension.
Step 38: With the motorcycle wheel on the ground use your torque wrench to torque the front sprocket nut to your model’s torque specification. (Remember this is a left hand threaded nut) If the wheel wants to move have a friend hold down the rear brake pedal. Install the locking plate for the front sprocket nut, use blue Loctite on the screws.
*Left hand threaded nut* Torque the front sprocket nut to your motorcycles correct torque specifications.


Step 39: Reinstall the locking plate for the front sprocket nut

Step 40: Reinstall your cover, master cylinder, and brake line clamp

Step 41: Check your axle alignment. Make sure both sides of your axle line up the same based on your measurements.
Tip: Sportsters have a hole in the swing arm that you can use a coat hanger with a 90 degree bend inserted into the hole and then with a small zip tie that can slide, check from side to side from the hole to the center of the axle. It should be the same on both sides.

Step 42: Adjust free play on bottom run of chain with rider weight on bike. Then proceed to torque the axle nut and reinsert your cotter pin.
Finished!
That's it! You’ve done it, your bike went from ordinary to extraordinary in less than an hour! Now get out there and GO FOR A RIDE!


HOW-TO INSTALL A LOCKING TAB WASHER FOR HARLEY-DAVIDSON REAR WHEEL SPROCKET PULLEY
In this last section, Todd goes over proper installation of the pulley or sprocket hardware on your Harley-Davidson motorcycle. Without the correct preparation, use of thread locker, and proper torque, the pulley / sprocket hardware can loosen. When this happens, it is common that the bolts get sheared off as you hit the throttle, because the sprocket or pulley is slamming against the loose bolts. Watch this quick video and you will be glad you did, as you can completely avoid this common issue, which is a complete pain to fix! Todd also shows how to use the stainless steel, locking tab washer from Lowbrow Customs. This inexpensive part is easy to use and is a physical lock which will stop your hardware from loosening. One is included with every Lowbrow Customs Belt to Chain Conversion Kit for Harley-Davidsons, available for Sportster and Dyna 1994 to current!


Related Products


