

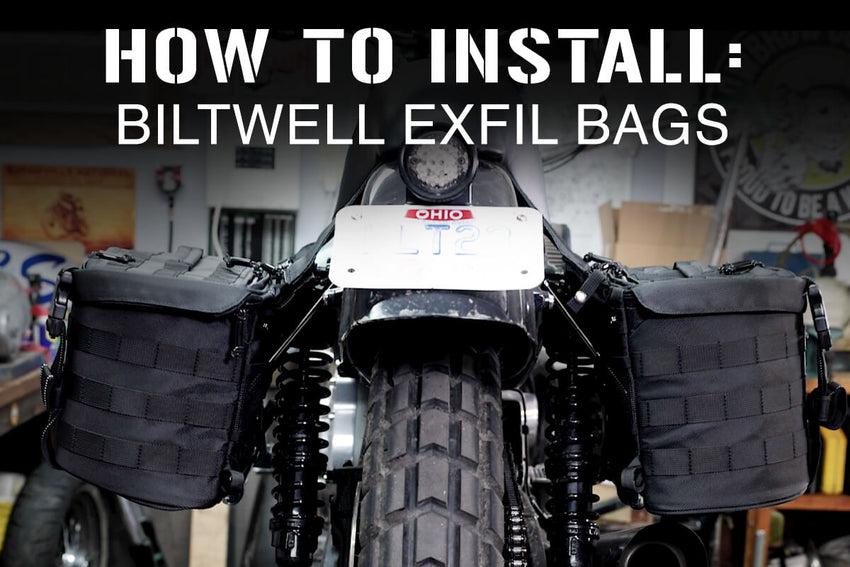
READY FOR ANYTHING: INSTALLING BALLISTIC NYLON MOTO BAGS ON A HARLEY
Fitting the right amount a gear on a custom motorcycle can sometimes prove to be a real challenge. Trying to keep your bike looking stellar while also being a workhorse can be a tough balance.
Sometimes you need to haul some gear, and it is ideal if your bike is already set up so you can do so with ease. Making it look good is another thing...
Hell, putting a set a saddlebags on a chopper or a slimmed-down, performance-based Dyna seems sacrilege at times.
Well, fear not my friends!
Biltwell has come out with some killer motorcycle luggage options for your choppy bob and Dyna bois that keep them looking hella-good while carrying all your junk on the road. Pair your EXFIL bags with some saddlebag support brackets for a bullet-proof setup that is a breeze to install.
Function, style, and ease. The Biltwell EXFIL Utility Bag series makes everyones life easier when traveling on two wheels.
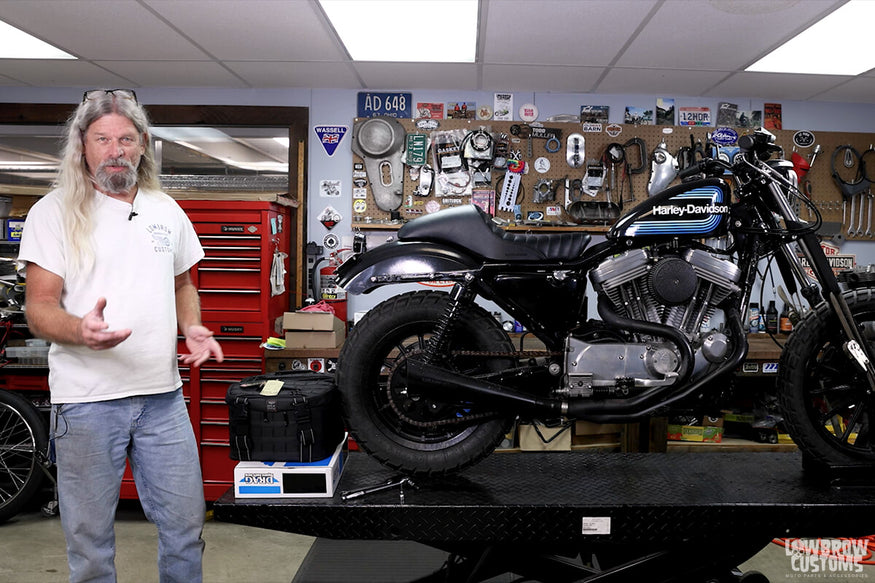
WATCH VIDEO: INSTALL BILTWELL EXFIL-18 MOTORCYCLE UTILITY BAGS ON HARLEY SPORTSTER
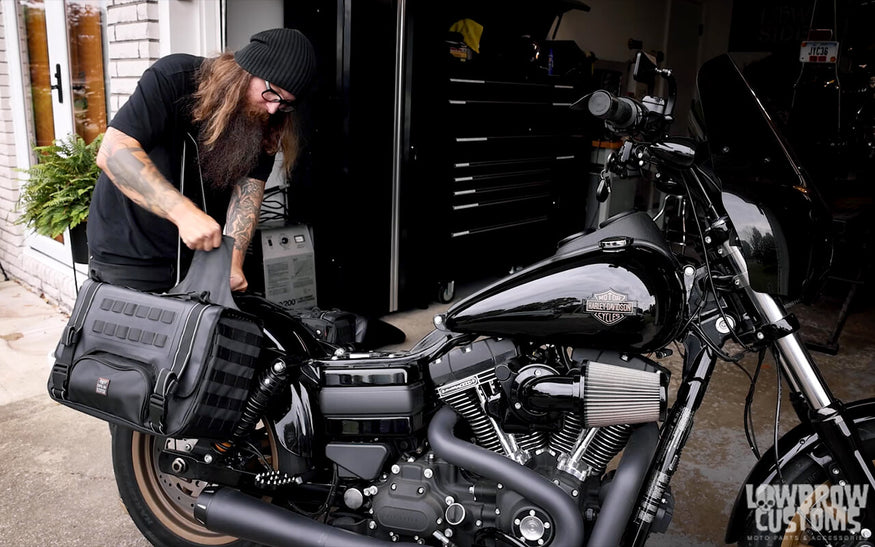
In this video Todd teaches you how easy it is to install Biltwell's EXFIL-18 Motorcycle Utility bags on the Saturday Sportster Tracker utilizing Drag Specialties 1994-2003 Saddlebag Support Brackets.
With some patience and a few hand tools, this job is a breeze and a lot of fun, because Todd's on the job!
Versatile functionality with a compact look gives you just enough space to enhance your adventure no matter what motorcycle you put these bags on.
The compact size of these bags, the adjustable throw-over main mounting strap, and all of the molle webbing mounting points let these EXFIL-18 bags be mounted on pretty much any motorcycle!
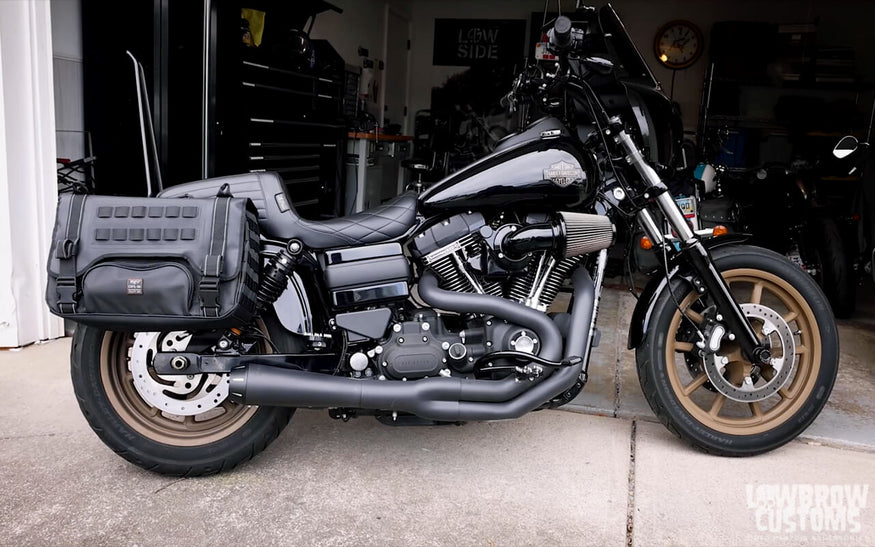
WATCH VIDEO: INSTALL BILTWELL EXFIL-36 MOTORCYCLE UTILITY BAGS ON HARLEY DYNA LOWRIDER S
In this video you will see how easy it is to install the Biltwell EXFIL-36 Motorcycle Utility Bags on ay 2017 Harley-Davidson Dyna Lowrider S using a set of Drag Specialties 1991-2017 Dyna saddlebag support brackets.
With only a few hand tools and a few minutes of your time, you can throw these bags on with ease and get read to go on your next adventure.
And fear not, If you don't have a Dyna, these EXFIL-36 Motorcycle Utility bags still fit a wide variety of other motorcycles. Featuring universal mounting strap and velcro adjustment straps, these bags are easy to throw over any rear motorcycle fender and get them secure.
With the wide range of mounting points, the basic principles of this video install still apply to most any motorcycle. You just need to make sure to find and install the correct saddlebag brackets for your model bike, if needed to keep them away from the tire or chain / belt.
5 EASY STEPS: INSTALLING BILTWELL EXFIL-18 MOTORCYCLE UTILITY BAGS ON YOUR SPORTSTER
"We are going to get these bags on here in no time!" - Todd
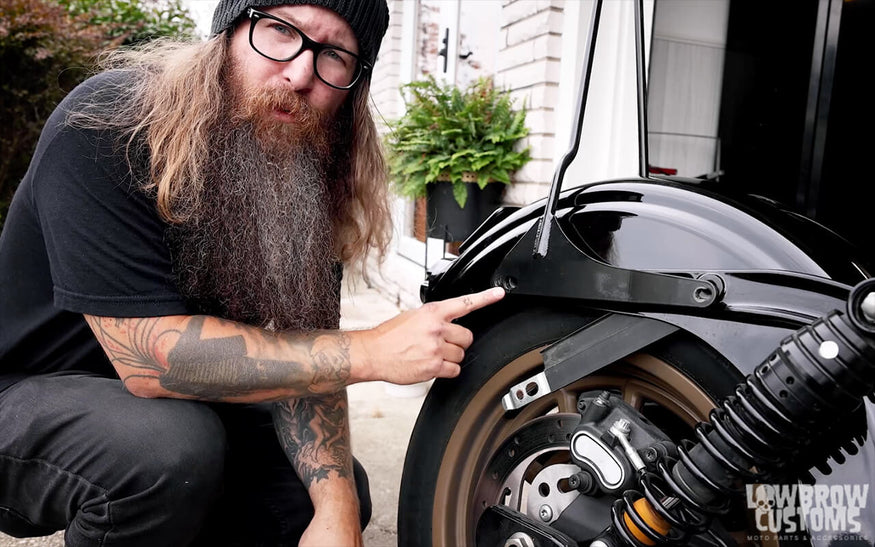
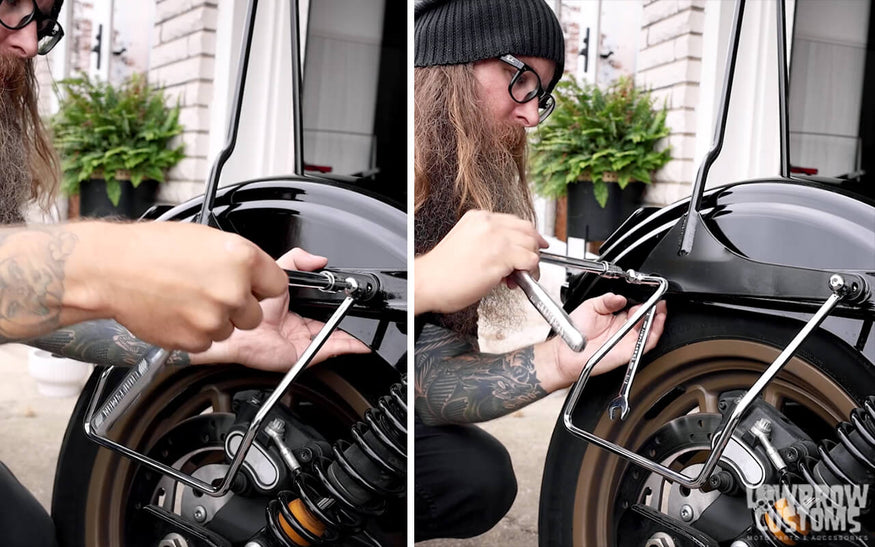
STEP 1: REMOVE YOUR FENDER STRUT BOLT SHOCK BOLT
Do this part one side at a time and use a scissor lift style jack under the bike to make sure the shock eyelet holes stay in line. Make sure to not remove both shock bolts at the same time, with out a scissor lift you will be in a world of hurt, trying to get your bike back into position to put the shock bolts back in.
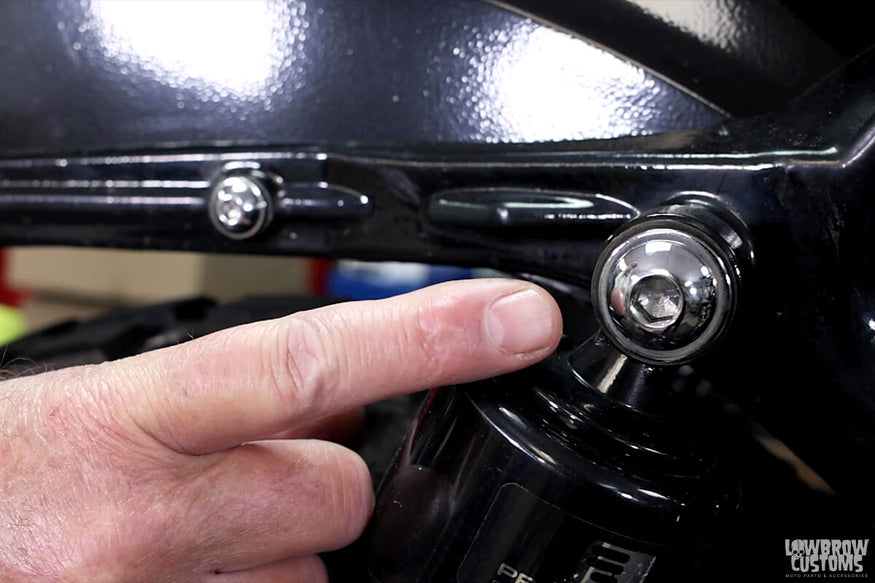 Here is where your shock bolt is located and behind that is the first strut mount that will need removed.
 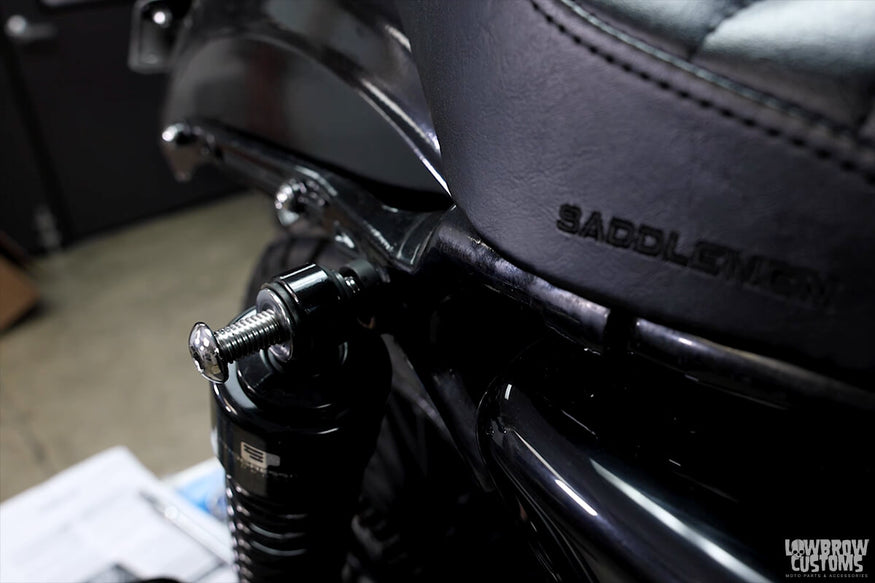 Note how the shock is not lined up to the hole of the strut.
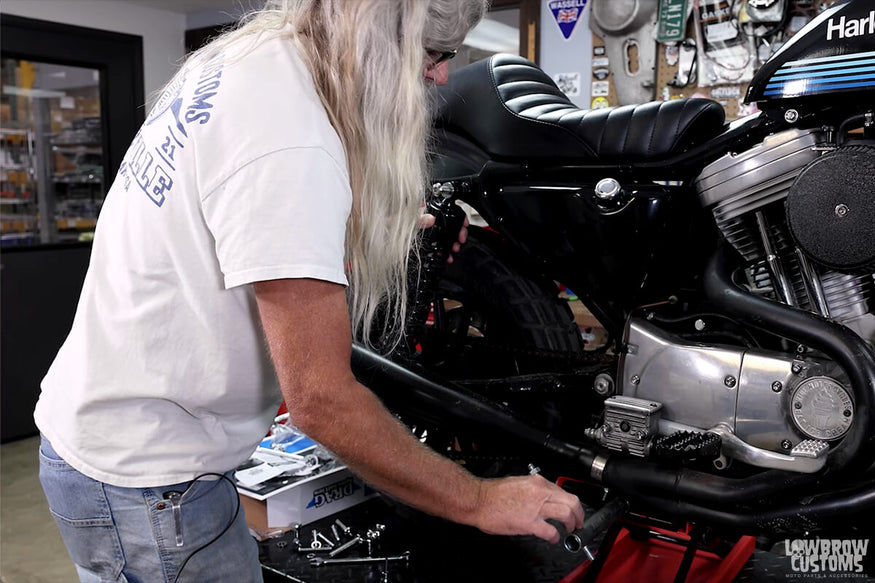
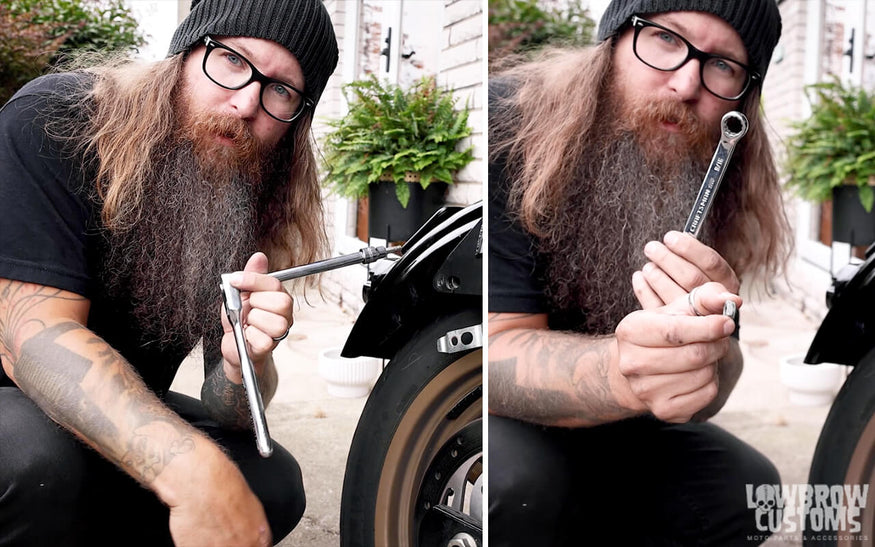
Using a scissor type jack lift will help you line up your shock to the hole in the strut properly.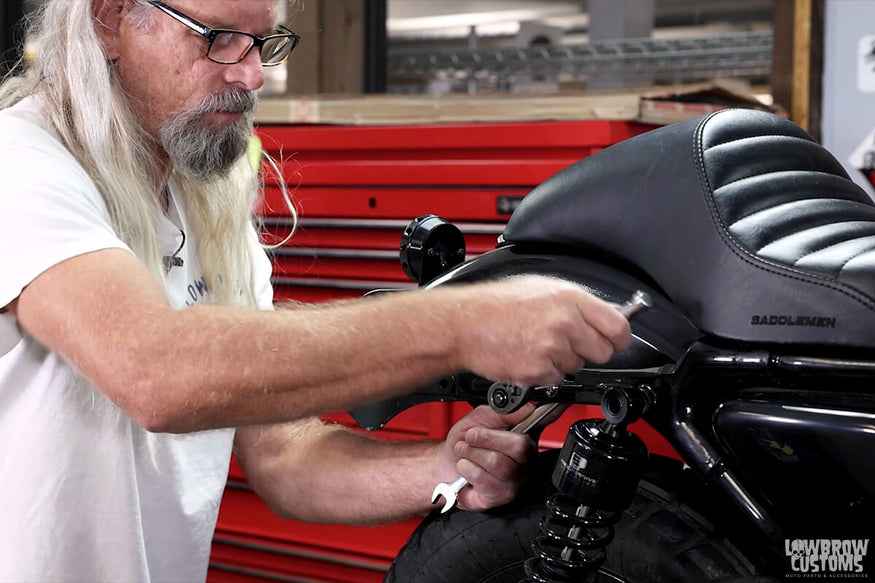 Todd's removing the front strut mounting bolt.
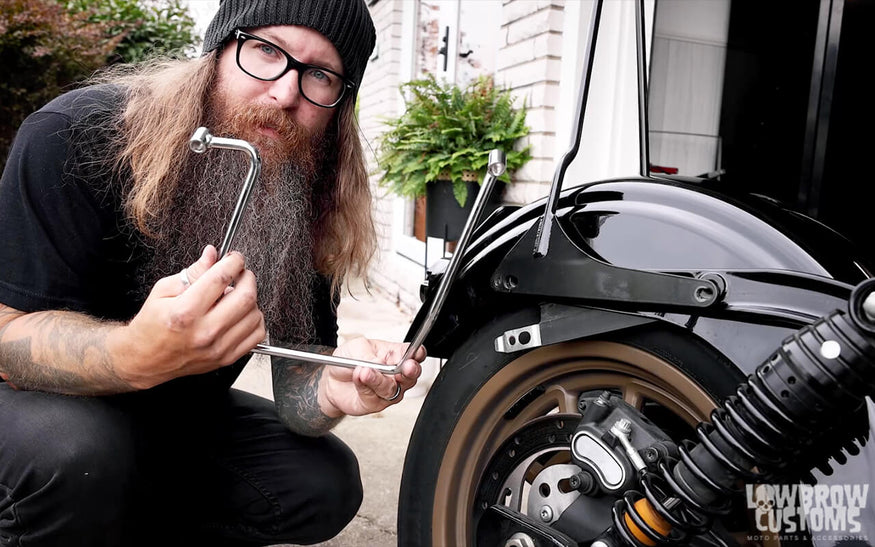
STEP 2: INSTALL BRACKET
Use red loctite on the shock bolt. Make sure to reuse any shock mounting hardware like spacers if was used beforehand.
 Red loctite those shock bolts.
Don't fully tighten the shock bolt until you get the rear strut bolt in. This will help align everything and make sure it finds its home.
 After both bolts are loosely tightened make sure to torque them to spec that your workshop manual for your model recommends.
*Repeat step on other side of the bike.*
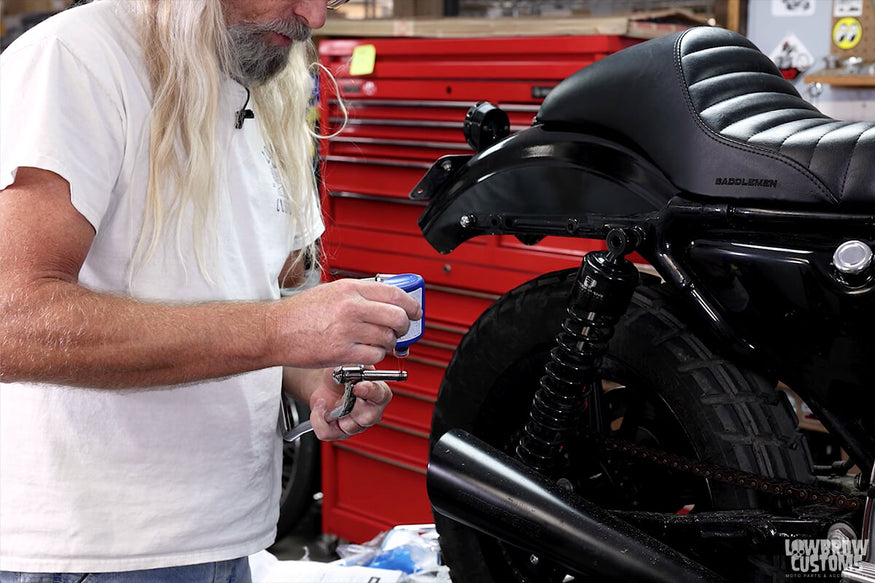
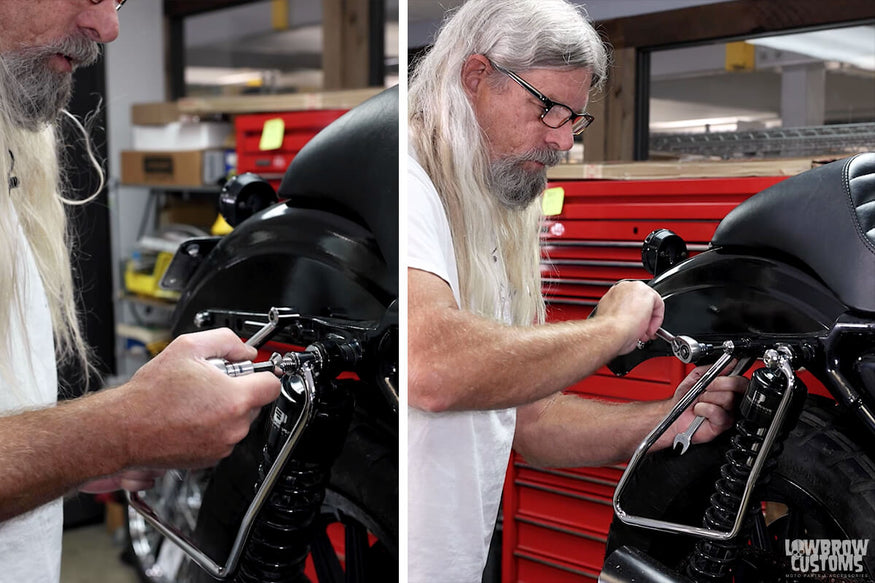
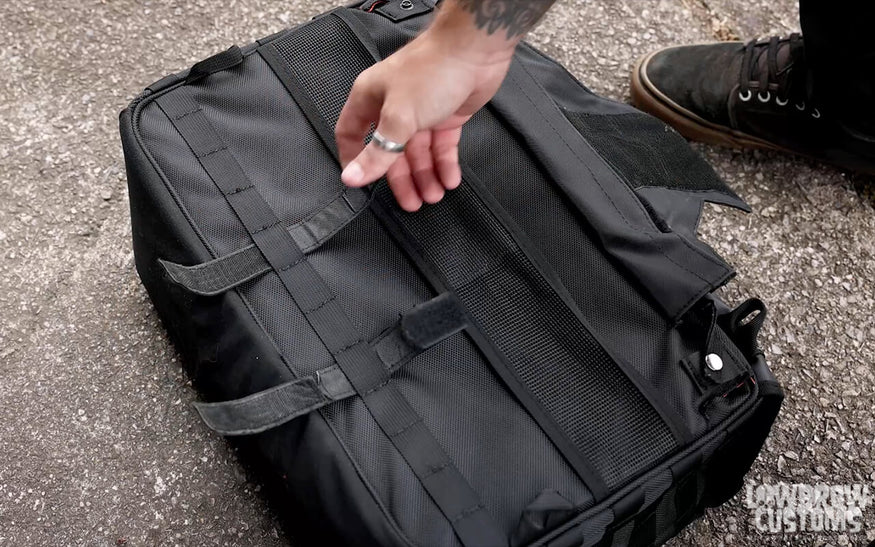
STEP 3: INSTALL THE BAGS ON TO THE BRACKETS
First use the supplied velcro and set them up on each bag's back lowersides to how you want them to sit on the saddlebag rails.
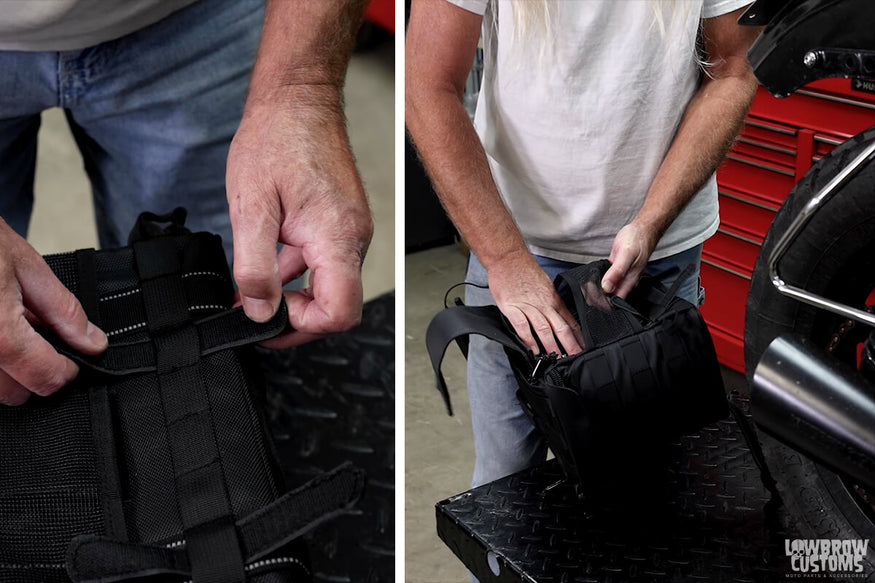 Install velcro straps onto the bags. Then separate the middle velcro larger strap from the bag to get ready to put on the brackets.
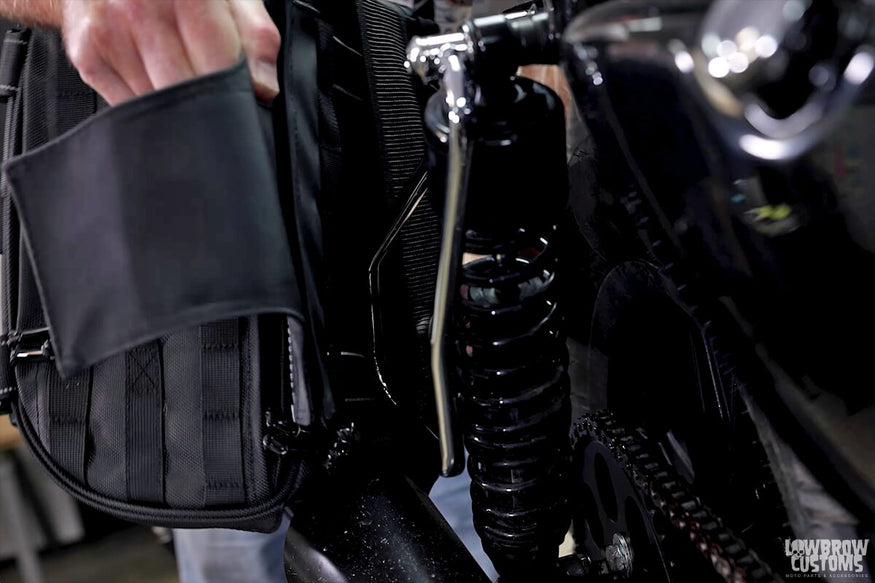 Install bags onto the saddlebag mounts. Once slipped over, press firmly on the middle of the back to connect the large strips velcro.
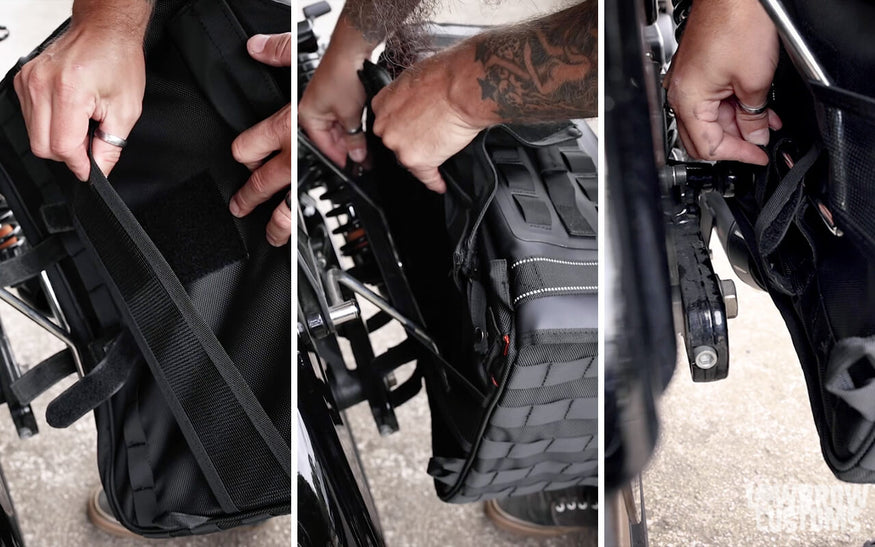
STEP 4: REMOVE SEAT AND SECURE BAGS TOGETHER ON EACH SIDE
Remove your seat so that the two velcro straps will link them together. Align them in the way of your choosing and then put your seat back on. Tighten the bottom rail straps to desired location.
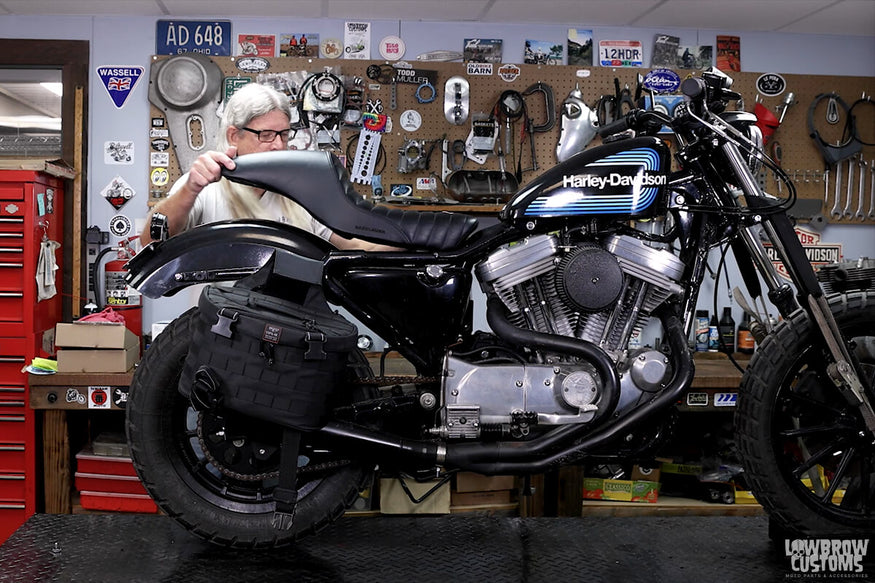 Remove the seat.
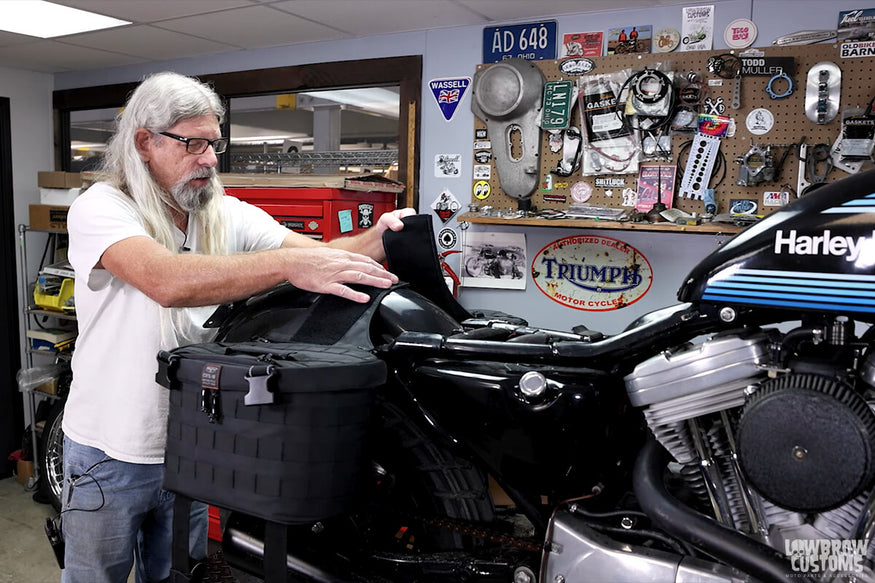 Pull the right middle bag strap up then the left bag strap overtop and secure how you would like. Here's the time to step back from the bike and make sure it looks pleasing to your eye.
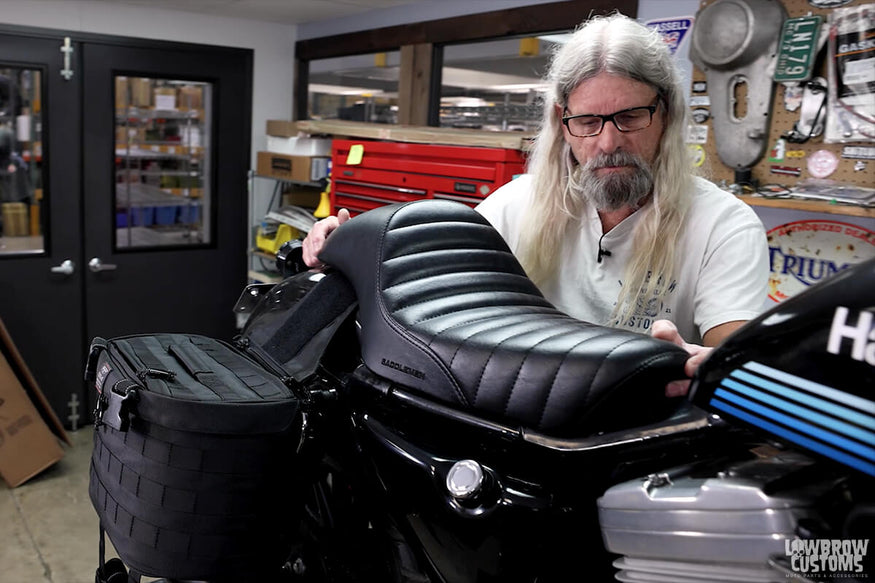 Reinstall your seat.
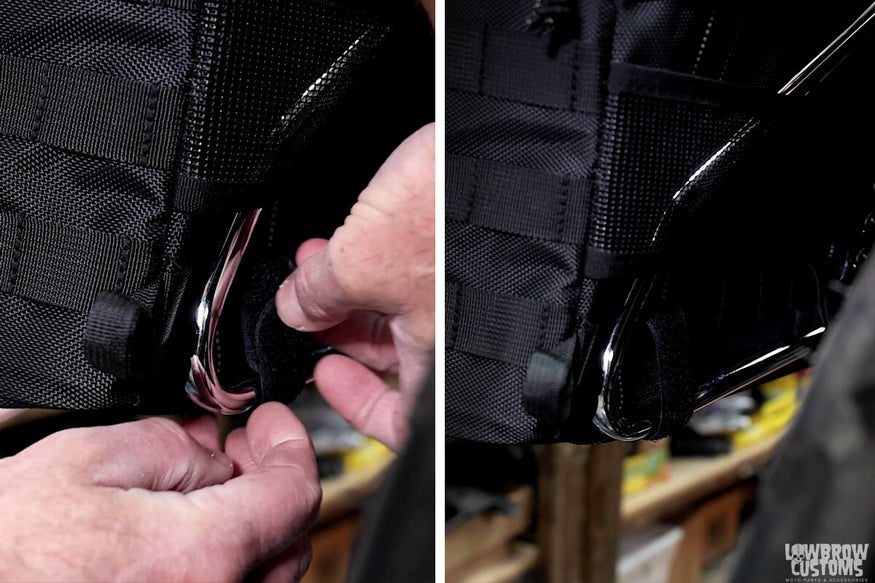 Fasten all four bottom velcro straps to the saddlebag support bracket. you can roll them around to hide the connections and keep a snug fit.
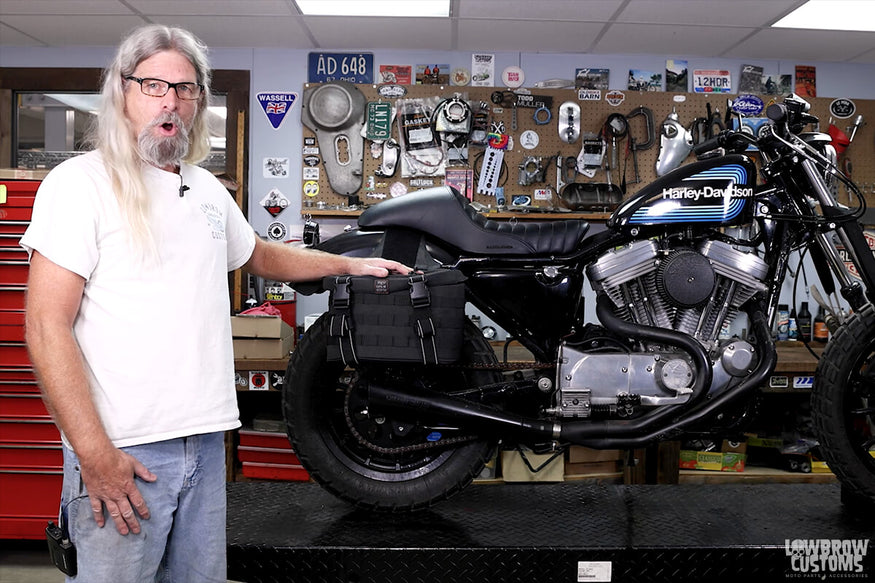
STEP 5: WOOOOOHOOOO GO FOR A RIDE!
4 EASY STEPS: INSTALLING BILTWELL EXFIL-36 MOTORCYCLE UTILITY BAGS ON YOUR DYNA
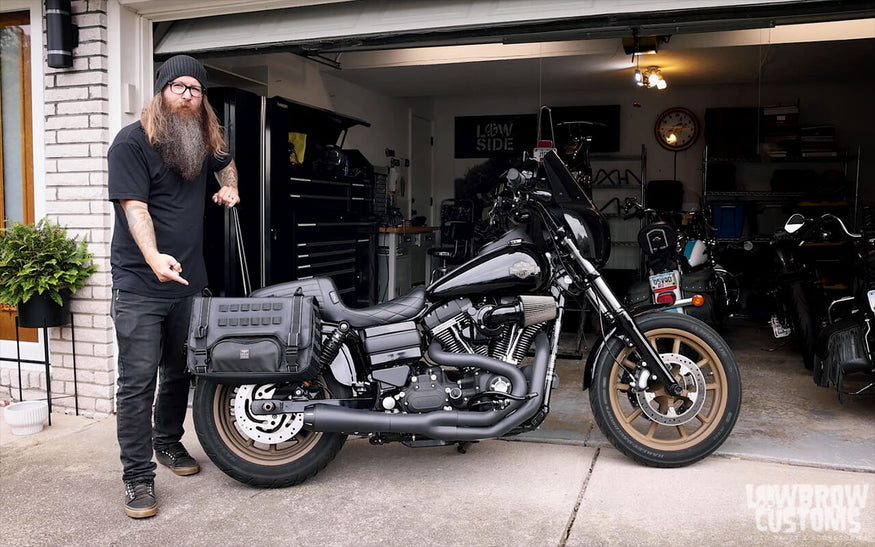 "I'm going to show you how easy it ist to install Biltwell's EXFIL-36 Motorcycle Utility Bags" Say that five times fast.
STEP 1: REMOVE YOUR FENDER STRUT BOLTS
Do one side at a time. Remove fender strut bolts. If you remove all 4 fender strut bolts at the same time your fender could drop onto your tire. This could also make it more difficult, juggling the fender, say a sissy bar if you have one and other stuff while installing the saddlebag brackets.
 Remove your fender strut bolts.
The front bolt is held in by a bung / long thin bracket that holds turn signal wires away from the tire. The rear bolt you will want to use a nyloc nut. The nyloc takes a 9/16" wrench and the bolts provided in the kit takes a 7/32" allen wrench. I used a long extension as well to keep from hitting my shocks and other parts on the motorcycle.
 7/32" Allen wrench for the bolts. 9/16" wrench on the nyloc nut.
The saddlebag support bracket we are using is a Drag Specialties brand bracket made to fit 1991-2017 Dynas. Insert the bolts into the bracket and put a dab of blue Loctite on the front bolt.
 Here is the Drag Specialties 1991-2017 Dyna saddlebag bracket that you need to purchase separately from the bags.
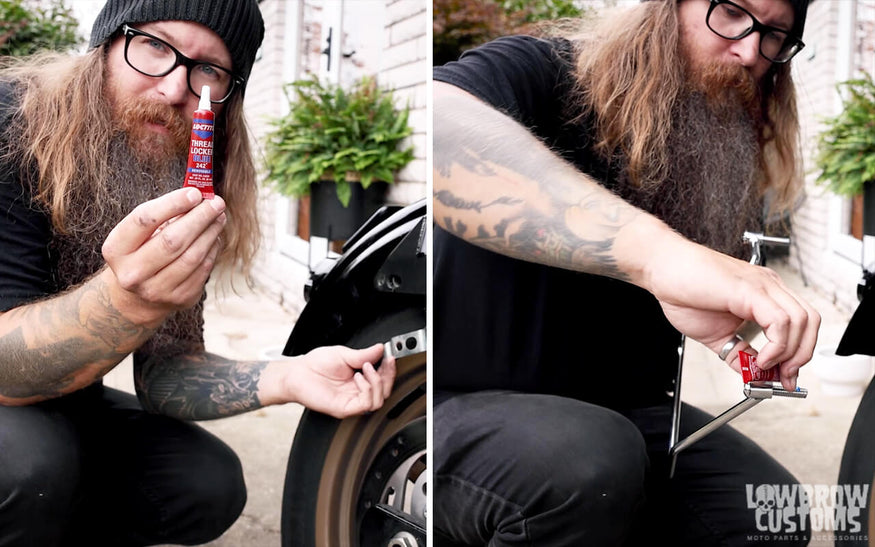 Use blue Loctite on the front boi because it goes into the bung on the thing inside fender bracket that keeps the turn signal wires off the tire.
Loosely install the saddlebag bracket front and back evenly before torquing them down. This will ensure you properly aligned the bracket to the holes.
 Installing the saddlebag bracket.
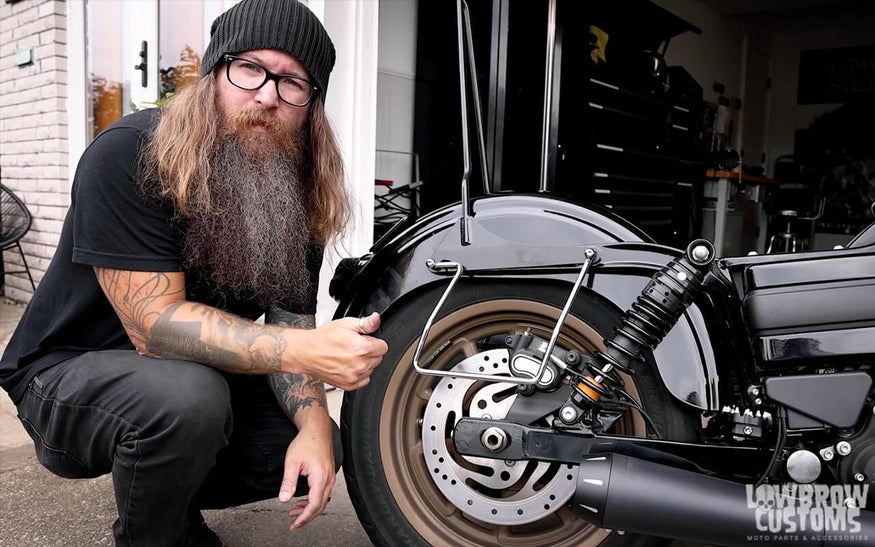 Bam side one bracket installed! Now repeat this step on the other side of the motorcycle...
STEP 2: INSTALL THE BAGS ON TO THE BRACKETS
On the back of each bag there are loops that you can feed the provided velcro straps into.
 These two areas on the bottom of the bags work best for the saddlebag brackets on this bike for me. There are multiple options and you can utilize these in many ways.
Next, pull the large middle strap on the back of the bag to open the velcro. Slide the strap under the bracket rail and then firmly secure the velcro. Then attach the bottom smaller velcro straps loosely so you can adjust the bags height when put together with the middle bags straps.
 Do this on both sides.
STEP 3: REMOVE YOUR SEAT AND VELCRO BOTH BAGS TOGETHER
On the top middle of each bag is a long velcro strap. Pull the left bag on the left side of the motorcycle up towards the fender first and then the right bag towards the fender and affix the velcro together.
 Pulling up from the left bag then the right bag.
You will then want to adjust the height where needed to make them sit evenly and aesthetically pleasing to the eye. Once at desired position tighten the bottom velcro straps on each side.
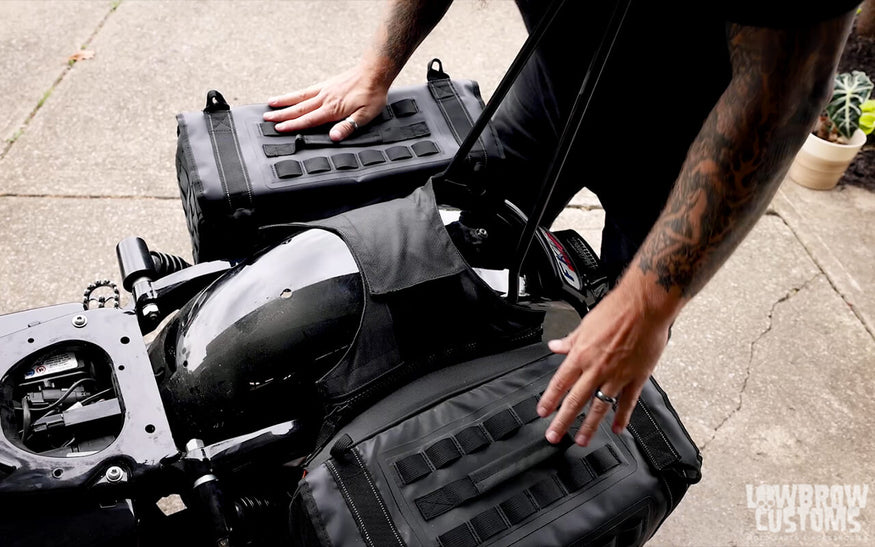 Move left or right and or adjust the middle velcro strap to lower or raise the bags do desired position. It helps to take a few steps back and really look at the angle of the bags to the bike.
 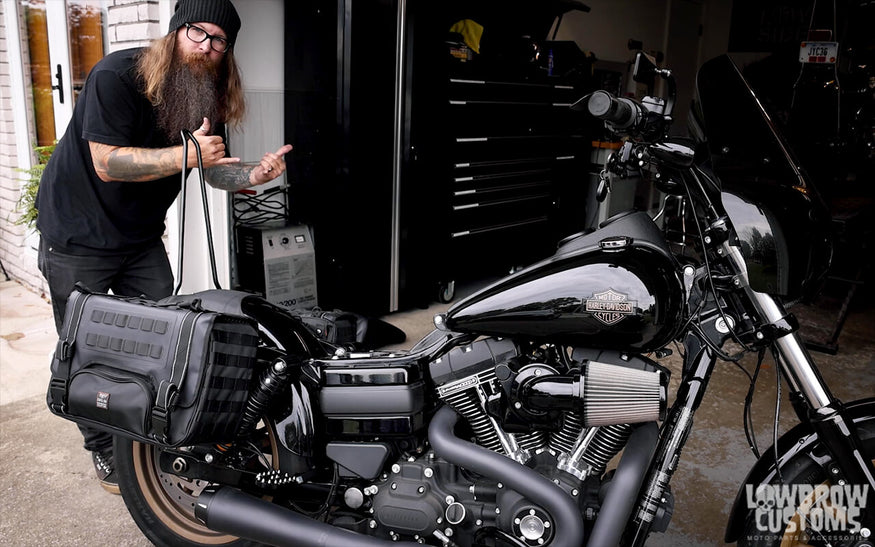 These bags are rad!
STEP 4: PUT YOUR SEAT BACK ON AND GO FOR A RIDE!
All we have left to do is put your seat back on.
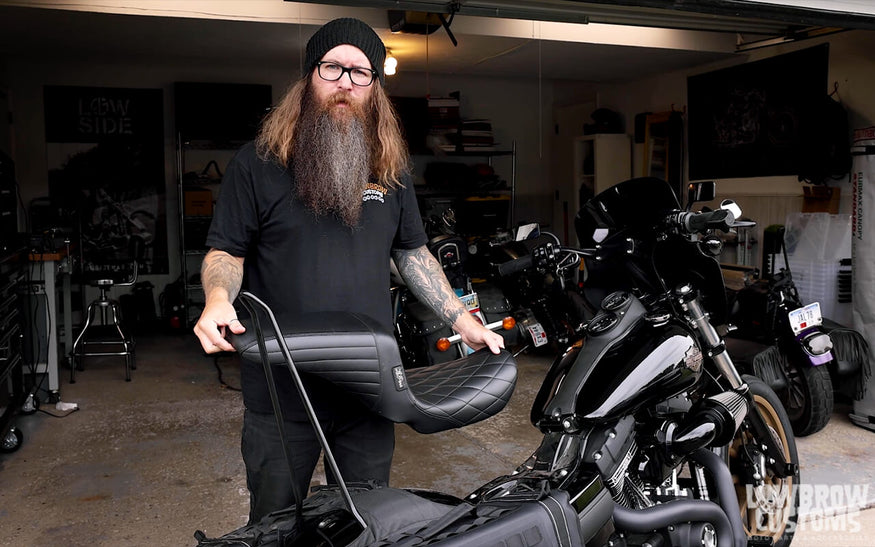 Check out that Lepera Kickflip seat. Super comfy on the hiney.
And there you have it.
 Bam we are ready to rock and roll.


Related Products


