Shotgun Exhaust Pipes by Lowbrow Customs are available for Harley-Davidson Sportsters from 1990 through 2021. There are two year ranges, 1990-2003, and 2004-2021.
Shotgun Exhaust Pipes, part of our Chrome Motorcycle Exhaust collection, are proudly made in Cleveland, Ohio, USA. 🇺🇸
Follow along with Todd and see how easy it is to install a set of Shotgun Pipes on your Harley-Davidson Sportster.
A popular addition to Shotgun Pipes are a set of cast aluminum heat shields, which give some added heat protection to the rider and passenger's right leg.
WATCH THE 1990-2003 SHOTGUN EXHAUST PIPE HOW-TO INSTALL VIDEO
1990 - 2003 Sportster Shotgun Exhaust Pipes Installation
Tools You Will Need For The Job:
- 3/8 drive Ratchet
- Torque wrench
- 1/2 inch socket for removing and reinstalling the flange nuts.
- External lock ring pliers for removal of rings on old exhaust and replacing on new pipes.
- 2 x 1/2 inch wrenches for the back bracket nuts and bolts that connect the pipes to the bracket. 1/2 inch also removes stock mufflers.
- 1/4 drive 5/16 inch socket with 1/4 nut driver for removal of heat shields
- 9/16 wrenches or sockets for bracket bolts a 3/8 air ratchet optional.
Step 1: Stock Sportster Exhaust Removal
Remove nuts from exhaust flanges at cylinder heads with 1/2 inch socket (front & rear).
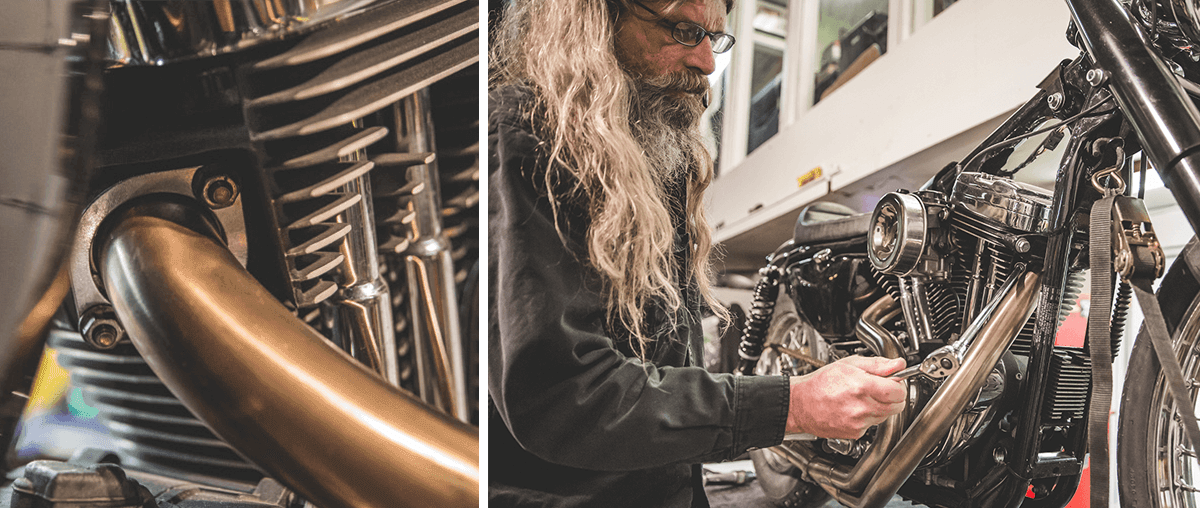
Exhaust is held to the cylinder heads by four nuts, two front two rear. We'll go ahead and take those off. Locate the exhaust flange nuts, 2 per side. Using a deep socket and long extension, remove the exhaust flange nuts on both sides. Make sure to set these nuts aside.
It's also a good idea to set these nuts aside because they are flange nuts and they are fine thread. If you accidentally pick up some other nut laying around your lift or garage and try to put a coarse thread nut onto a fine stud that's probably not going to be a good situation.
Remove muffler mounting bolts with 1/2 inch socket if needed and then remove the complete exhaust system.
If you do have a stock exhaust system on your bike there is really no need to remove the mufflers from the head pipes you can remove the entire system as one unit by simply removing the two flanges from the cylinder heads and whatever bracketry or bolts that are holding the mufflers on.
Remove the mount hardware at the mufflers. Remove the complete exhaust system. Remove the flange snap ring with special pliers - OR - use a pick to roll the ring over the exhaust edge.
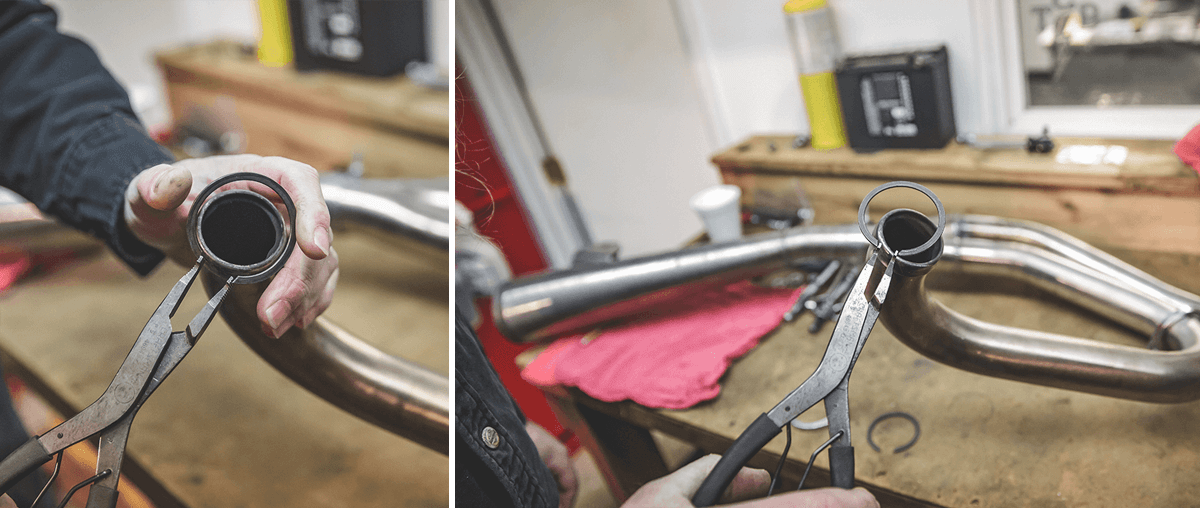
Remove retaining rings & flanges from stock exhaust using external lock ring pliers.
We're going to take this over to the workbench and we'll go ahead and remove these flanges because we will be reusing these on the new exhaust system. Like I said, we're going to reuse these flanges. You have these snap rings that keep the flange onto this portion of the pipe and we need to remove these. You have these snap rings that keep the flange onto this portion of the pipe and we need to remove these.
*Note: Check your exhaust gaskets in your head. If they need to be replaced, do it now. Press them evenly!
Step 2: Install Your Shotgun Exhaust On Your Sportster
Grab your new Lowbrow Customs Shotgun Exhaust Pipes
When you order custom motorcycle pipes, your new exhaust system will arrive nicely packaged with front and rear pipes, rear mounting bracket, and mounting hardware (excluding the flanges, snap rings, and fine thread nuts discussed earlier).
We do have some on the rear bolts that are flange head. They're going to have a nice nyloc on there to keep your new exhaust system securely attached to your motorcycle. Some protective covering on the pipes. These are available in chrome. Included in the package and extra info:
- Mounting brackets in your favorite color, black.
- Mounting hardware.
- Requires use of your existing stock exhaust flanges.
- Compatible with Lowbrow Customs Cast Heat Shields.
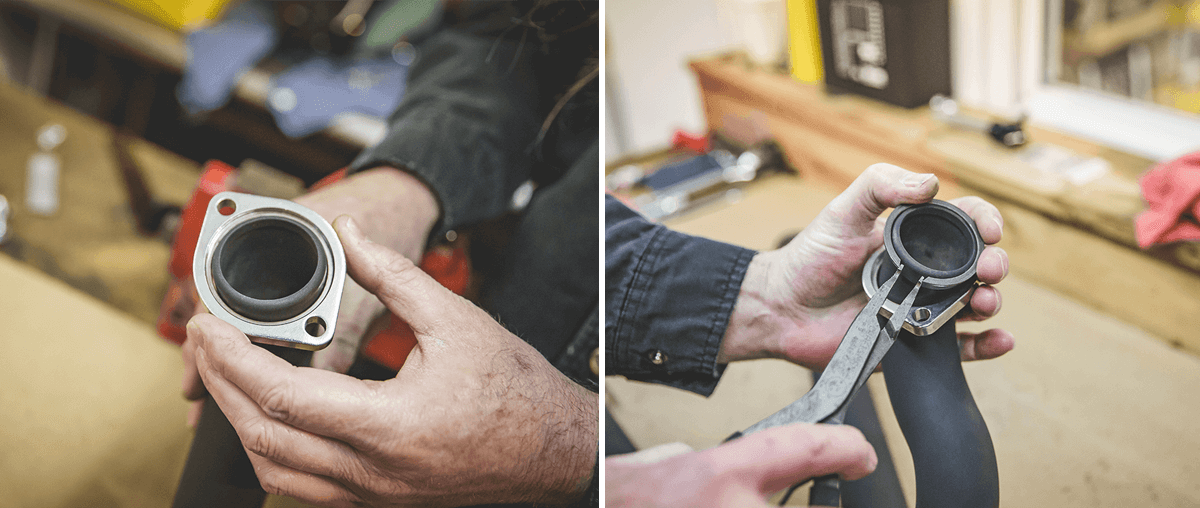
Re-install rings and flanges on new pipes using exhaust using external lock ring pliers. (note make sure the flange goes on first before ring and with the lipped indention facing out)
We're going to put a chrome set on. They're also available in black. For both of the year ranges we have the chrome and black. We're going to get these rings installed on the new pipes.
It is also important to note that it has this little lip where this snap ring resides once its installed and basically that keeps this flange from coming off the pipe in conjunction with the flange on the pipe.
Exhaust flange first with the snap ring groove facing engine
Correct orientation of the flange, just like so. See how that fits in that groove, rides up against that. Do the other one. Pretty simple.
Next thing we're going to do, we're going to install this bracket where it'll attach to these mounting points on the rear of the pipes then I can go back over to the motorcycle.
Locate top two motor mount bolts by using 9/16 wrenches or sockets, a 3/8 drive air ratchet is optional.
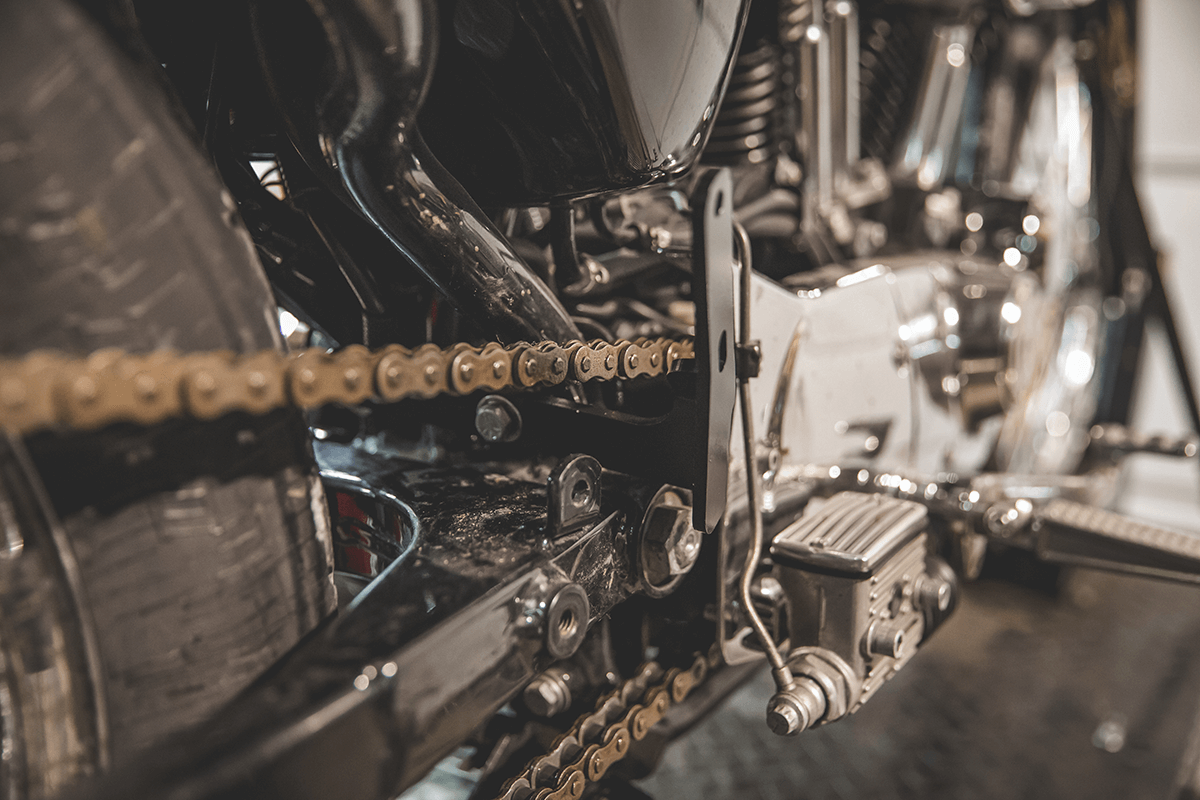
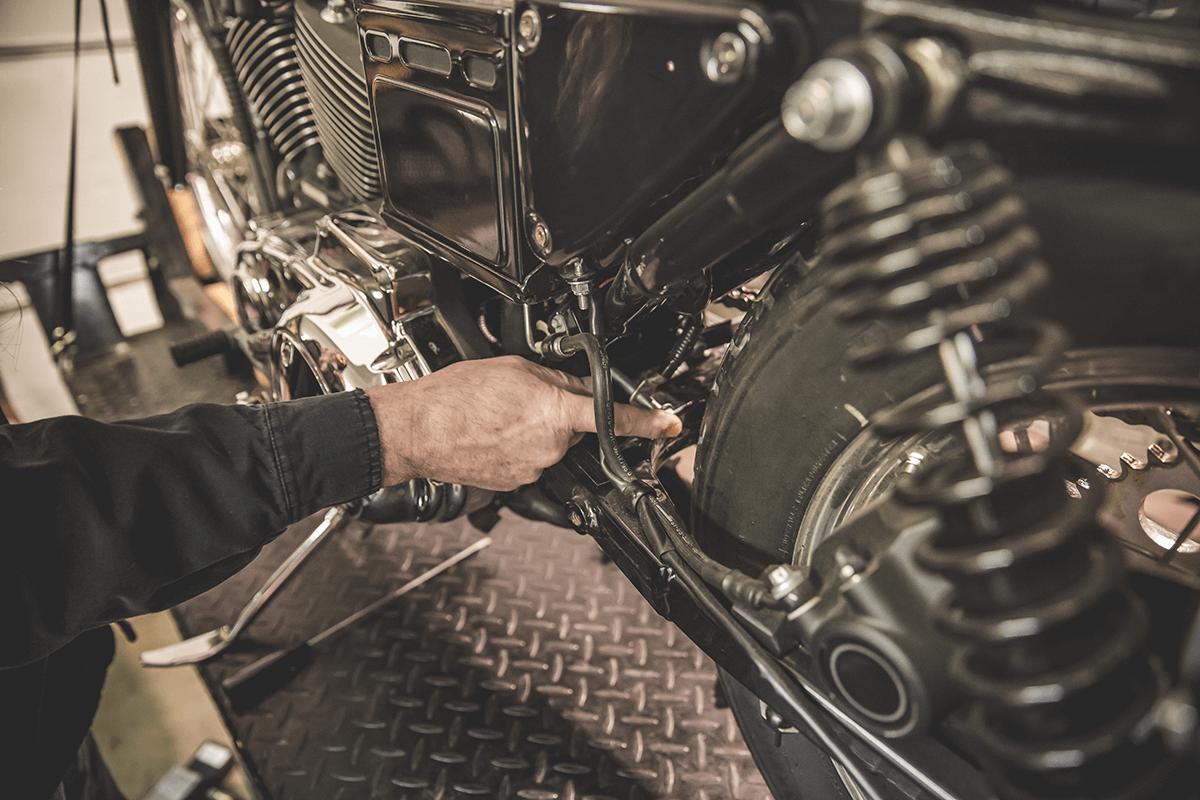
The next thing we need to do is we need to remove these two rear top motor mount bolts one on each side because the new bracket will be attaching to those two mounting points.
If you do have an air ratchet that will make your life a little easier. Although it still can be done with simple hand tools you don't have to have this I just prefer this method.
All right doesn't hurt to have a magnet handy to retrieve your fine thread and nyloc out of there that's attached to that. If you look down in there, you'll see the other nut that we're removing.
*Safety First: Disconnect the battery before you wrench on these bolts. The nuts are very close to live battery cables. You want to be careful because this is your positive connection from your battery to your starter motor. Obviously if your boot is in poor shape or not there you don't want your wrench touching that or you will be welding with wrenches.
One other thing worth mentioning, there is a negative ground wire on the backside of this bolt be sure that's on there. You don't really need to even remove the bolt from the wire and you want to be sure those two ground wires are back on the stud, the motor mount bolt, when you're done with the job or you may find that something electrical on your bike is not working.
I'm just going to essentially, just snug them up I'm not going to final tighten them until I get everything all together, bolt pipes on in both rear bolts.
Snug up the rear bolt and nut
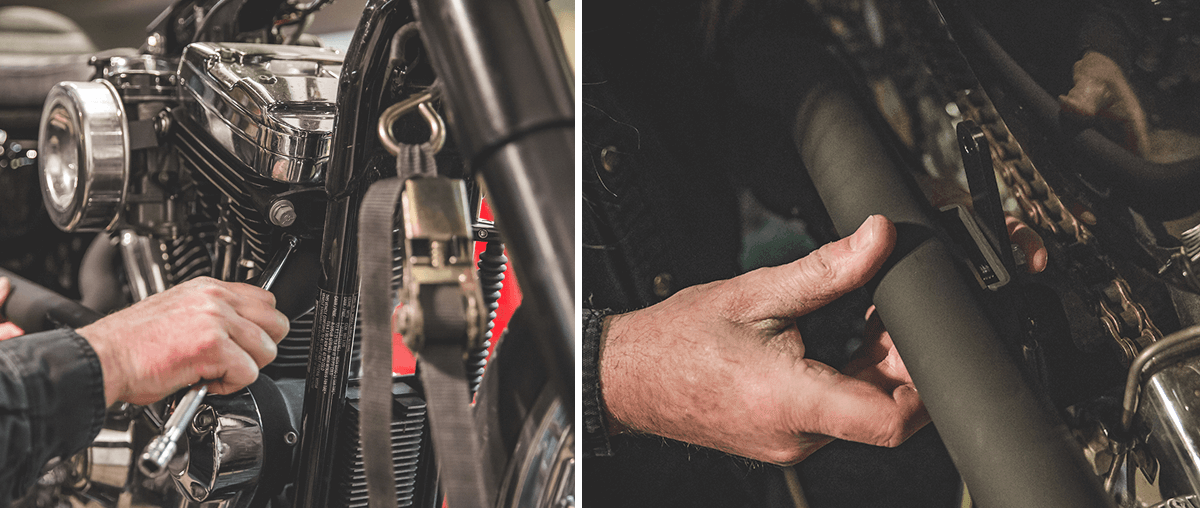
I'm not going to final tighten it just yet. Just want to be snug so we can still move the pipe to align it unless we get the front pipe on. This one you could generally reach the rear one pretty easily by hand with no tool to get that started so, you don't have to hold the pipe the entire time here.
We've got the two front nuts started on the cylinder head studs. We put the rear one on now.
Final tighten the four nuts. If it's pulling that pipe up which will probably correct this line here, that I noticed wasn't fully lined up. One important thing to note here is when you are tightening these four, it's best to tighten them evenly. You don't want to over tighten these or you can warp that flange that we were looking at earlier.
Tighten down the nylocs on the rear
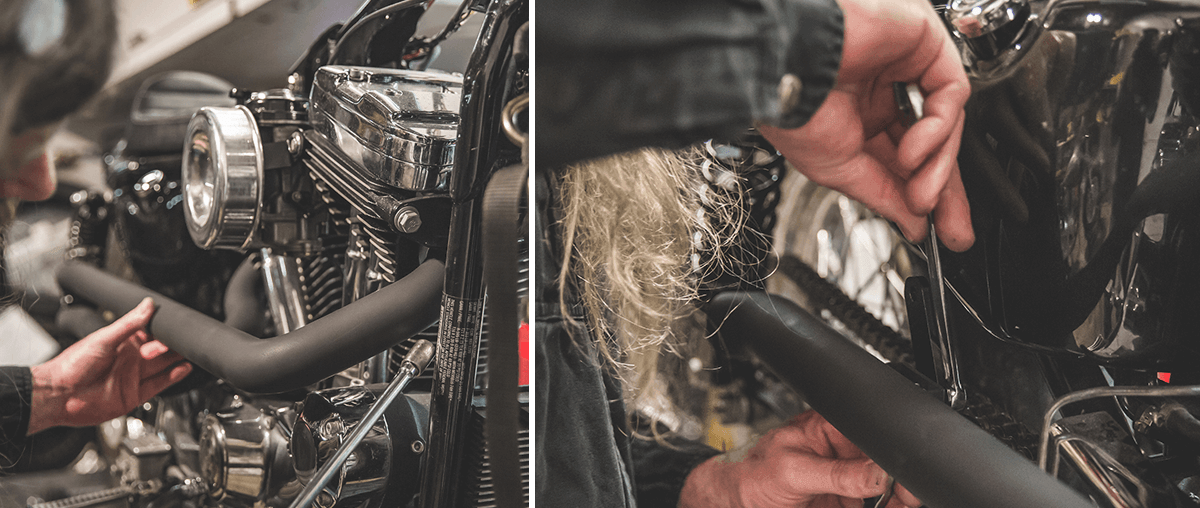
Another thing worth mentioning is if you're installing chrome pipes, it's a good idea to use some Windex or some type of cleaner before you start the bike the first time or possibly your fingerprints may get burned into the chrome and that's not a good thing when you're installing a new set of pipes.
An air rachet works wonders here. Next best would be a rachet box end wrench. Remove these bolts, install the new exhaust support bracket and tighten it back up. Make sure to torque to factory spec.

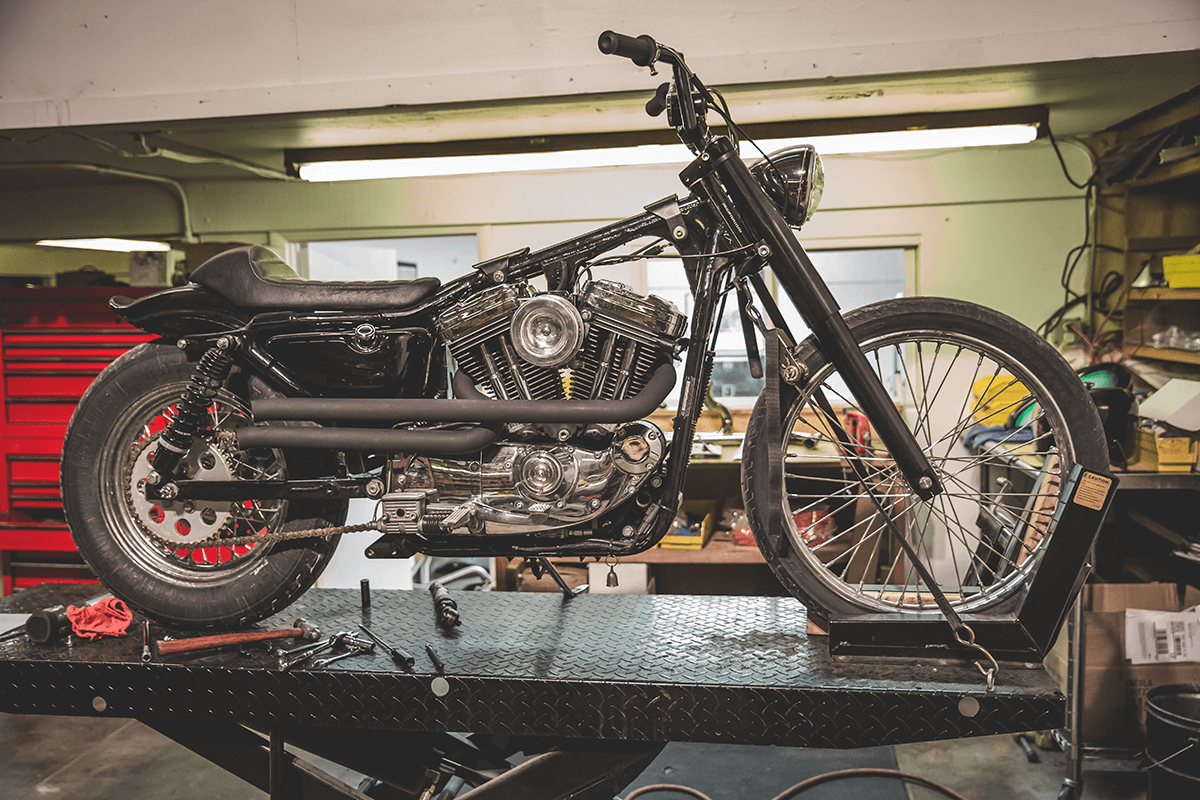
Note for Sportster Shotgun Exhaust Pipes Installation
Use a shallow socket with a long extension when starting the exhaust flange nuts. Pop the nut into the socket and hand start the nut onto the stud. Then switch to a deep socket and tighten them up snug. Attach the exhaust support bracket hardware. Use a screwdriver, pick or a thin open-end wrench to hold the nut in place as you thread the bolt from the backside.
Once you're finished, make sure to tighten everything evenly. Clean the pipes off you want to get these fingerprints off of the new pipes. You don't want to just start the bike with all-- you can see my fingerprints all over the pipes. There is a chance that those could get burned into the chrome so, it's a good idea to go ahead and get that cleaned up before you fire up your bike.
Your carb will need to be adjusted after installing straight pipes.
• As with any new exhaust, you may need to change carburetor jetting or use of an aftermarket fuel injection control module for peak performance.
• There is no warranty on exhaust pipes and mufflers with regard to any discoloration. Blueing is caused by tuning characteristics, cam timing, carburetor jetting, overheating, etc. and is not caused by defective manufacturing. No refunds on exhaust pipes once motorcycle is started unless there’s a manufacturer’s defect.
• DISCLAIMER: NOT LEGAL FOR SALE OR USE IN CALIFORNIA
WATCH THE 2004 - 2021 SHOTGUN EXHAUST PIPE HOW-TO INSTALL VIDEO
2004 - 2021 Sportster Shotgun Exhaust Pipes Installation
We're going to show you how to install our Shotgun Exhaust system on this 2009 Sportster. This is a fuel injected bike (aka EFI, or electronic fuel injection). The Shotgun Pipes for 2004-up Sportsters has the proper bungs on the pipes for the O2 sensors so that's not going to be a problem. Well, the new system is going to work for '04 and up Sportsters.
Tools You Will Need For The Job:
- 3/8 drive Ratchet
- Torque wrench
- 1/4 drive 5/16 socket with 1/4 nut driver for removal of heat shields
- 1/2 inch socket for removing and reinstalling the flange nuts.
- External lock ring pliers for removal of rings on old exhaust and replacing on new pipes.
- 7/8 inch opened end wrench for removal of the 02 sensors and putting on the new pipes.
- 3/16 allen socket for removing and reinstalling the pulley cover
- 5/16 allen socket also to remove and reinstalling pulley cover. Needed for installing the new rear bracket back onto the pulley cover. Also needed for removal of the crossover mount.
- T30 Torx bit for the removal of the brake rod and reinstallation.
- 2 x 1/2 inch wrenches for the back bracket nuts and bolts that connect the new pipes to the new bracket. 1/2 inch wrench will also remove mufflers
Let's go ahead and get started.
Step 1: Remove Stock Exhaust
Rear O2 clip is under side cover. Just pull the cover off

Disconnect the O2 sensors from each pipe in the areas detailed above. There's quite a few wires over here if you just trace the one coming off of the 02 sensor, there's a metal on your frame, you could just pop. A simple deutsch style connector easily disconnects by pressing up on the tab and pulling apart.
Remove front rear heat shields so we can get to the four nuts that are attaching the pipes to the cylinder heads. A little bit of WD40 on these holes clamps before you start doesn't hurt anything. They do tend to get a little dry on there from the heat of the exhaust pipes and also if you have a drill motor with an adapter, you could put a 5/16th bit in there and just zip them right off.
Remove the sprocket cover by removing the bolts.
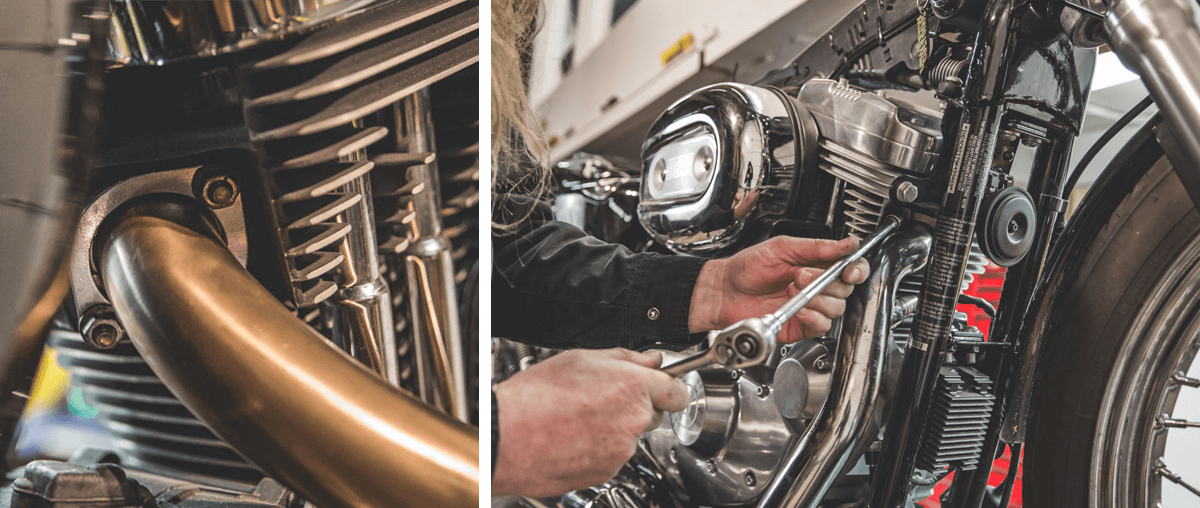
Loosen three clamps on the front heat shield use the nut driver on hose clamps. There really isn't any need to remove the muffler separately, you can remove the entire exhaust system in one lump sum
Remove nuts from exhaust flanges at cylinder heads (front and rear) with 1/2 socket.
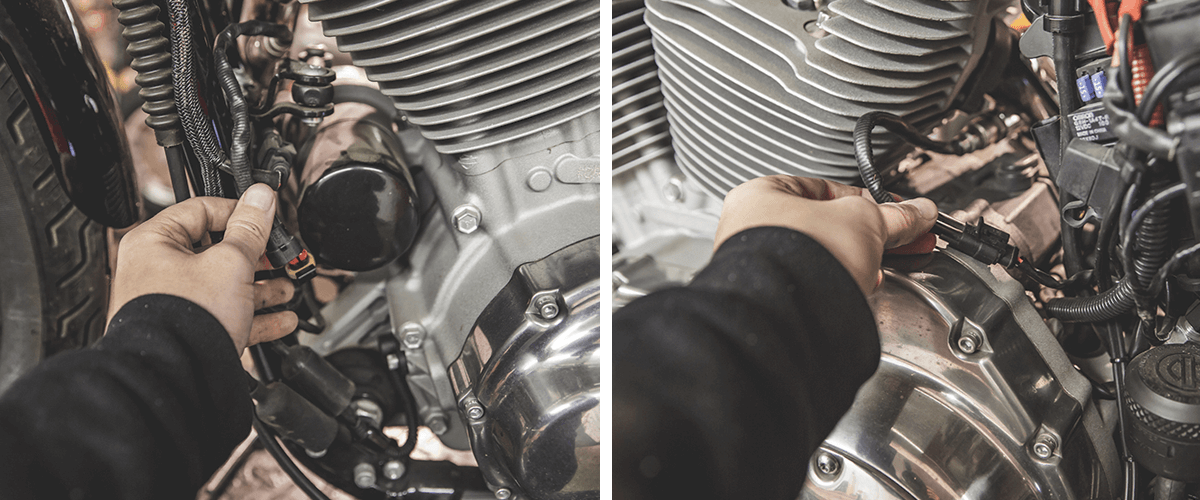
Next thing will do is go ahead and disconnect four bolts holding the mufflers to the crossover tube. Now, we'll go ahead and take the two nuts off of the pipe, attaching it to the cylinder head.
In order to remove this crossover here where the pipes connect together, you will need to remove this cover, we have a chain drive on this bike. We're just going to remove those three fasteners right there. You will be reusing this one for the new exhaust.
Remove the original exhaust bracket
Now we can get to the bolts holding this bracket on but in order to remove the racket off the bike, the brake lever is going through this, so we’re going to go ahead and remove that. Torx-head, this one is locked tighted so make sure you have the correct size bit in there so you don't strip the head of the fastener, take that off of there.
Unplug O2 Sensors (front and rear)
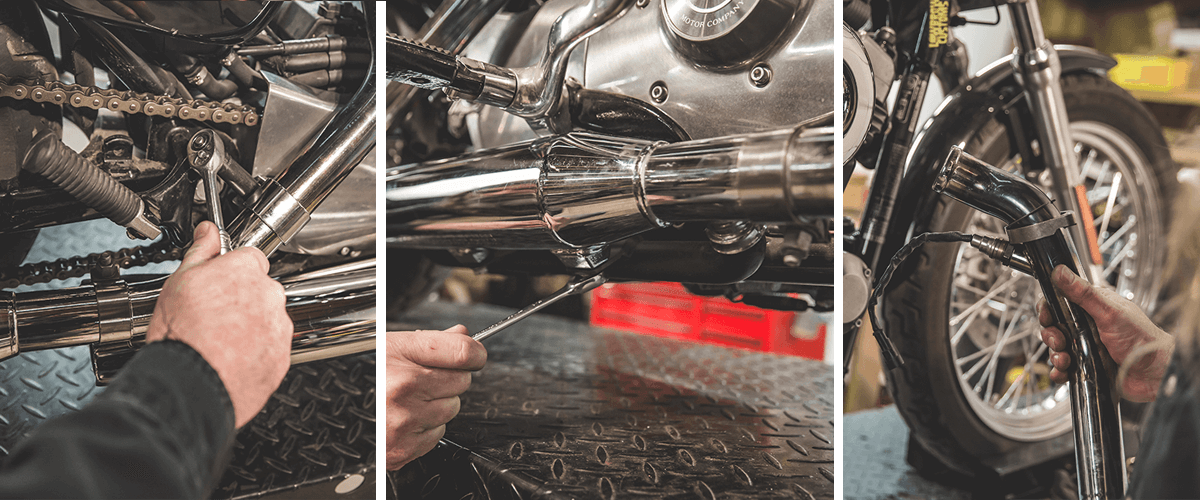
We're also going to remove the 02 sensor because we need to put that onto the new exhaust or the computer would be confused and also you'd have some open holes in your pipes that wouldn't work very well.
Remove muffler mounting bolts with 1/2 wrench, and then the complete exhaust system.
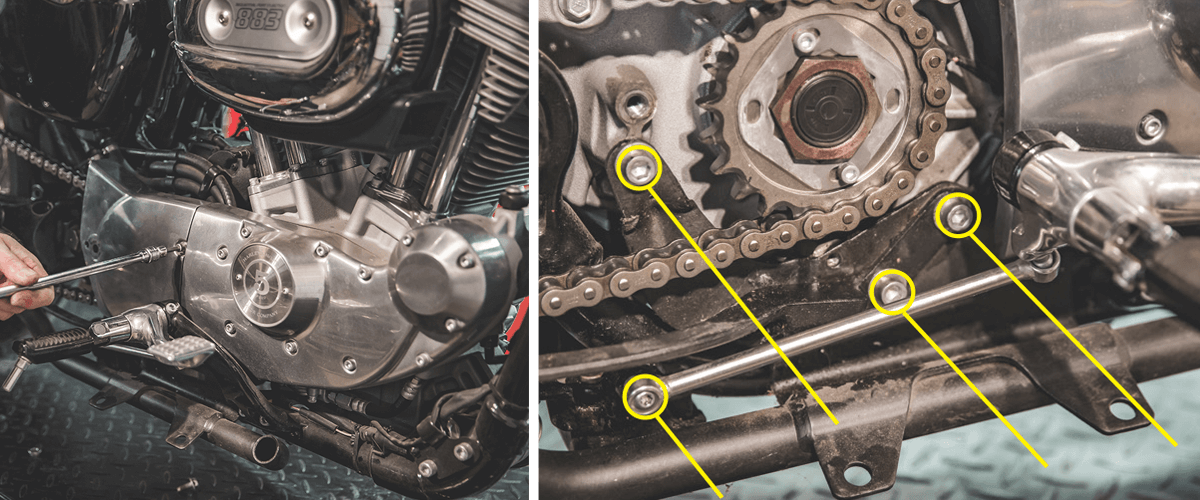
Remove pulley cover using a 3/16 allen socket and a 5/16 allen socket, disconnect brake rod with a T30 Torx head and then you can remove the crossover pipe with a 5/16 allen socket.
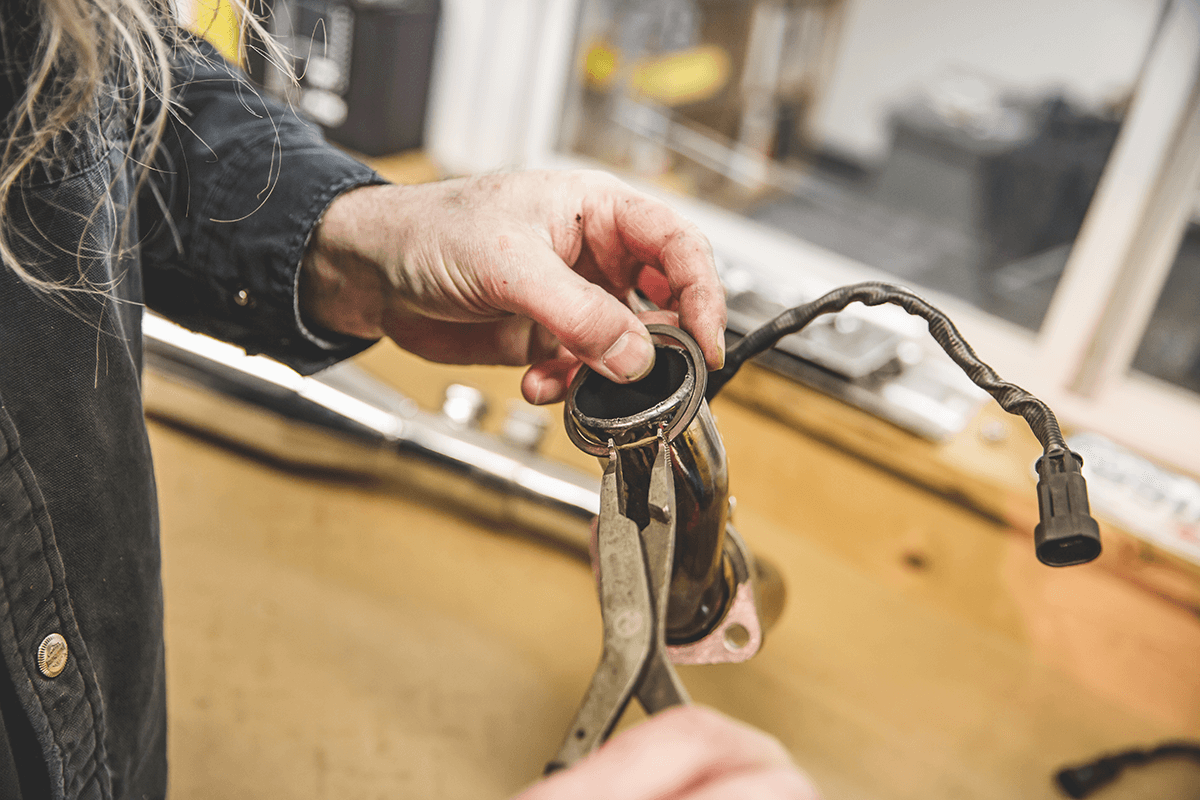
Remove retaining rings & anges from stock exhaust using External lock ring pliers.
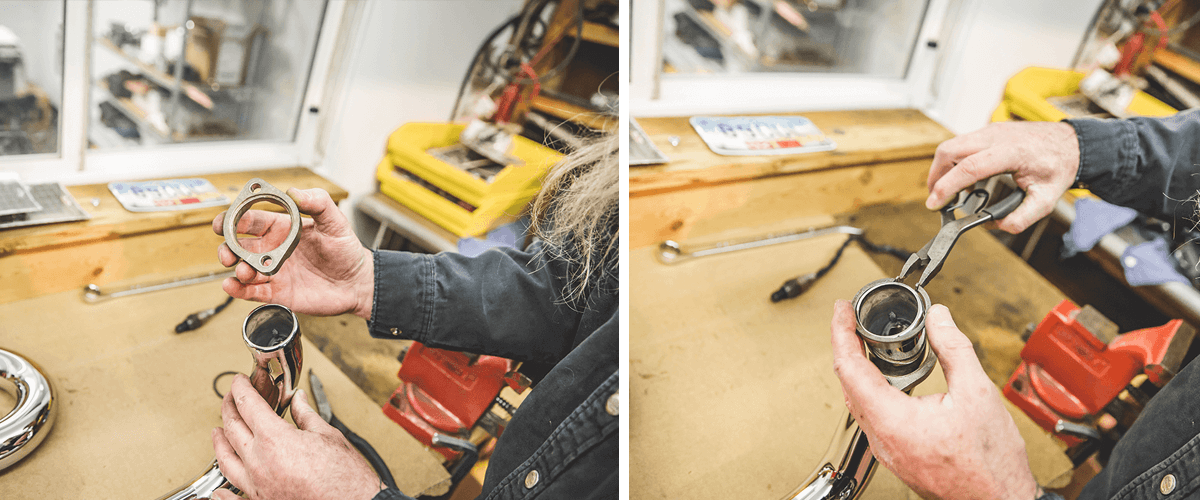
Do a quick inspection on what holds the flange on the pipe and when we're going back together, obviously that side needs to go on first like so, so that when this ring is on, it engages in that groove and keeps this from coming off the pipe which in turn when it's tightened keeps it on the cylinder head.
Step 2: Install New Shotgun Exhaust in Reserve Process
Grab your new Shotgun Exhaust Pipes
This is a very simple kit, consists of two pipes, one bracket and the mounting hardware. We also have this pipe set available in black ED. This is we're going to put a chrome set on today on this bike. Included in the package and extra info:
- Mounting brackets in your favorite color, black
- Mounting hardware
- Requires use of your existing stock exhaust flanges
- Compatible with Lowbrow Customs Cast Heat Shields
- Shotgun Exhaust Pipes include 02 sensor bungs to accept your stock 02 sensors, plug and play! Please note that while this exhaust is bolt-on fitment for 2004 - 2006 XLs, these carbureted bikes will need block-off plugs (not-included) for the 02 sensor threaded bungs.
We also have these pipes available for '86- '03 models. We’ll go ahead and get the exhaust flanges installed on the new pipes.
Reconnect the rear brake linkage. Reapply Loctite to the threads and torque to factory spec.
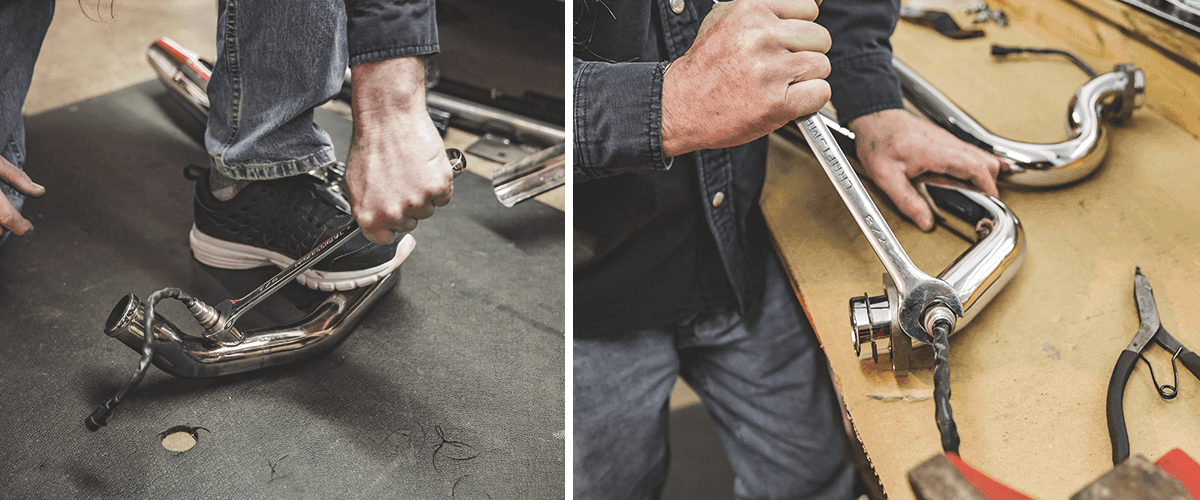
There probably is a torque spec on that in your factory workshop manual and this is the bracket and that's simply going to go right there in place of the stock bracket. Utilizing the stock hardware that we removed from that location.
Remove O2 sensors with 7/8 wrench, & re-install on new pipes.
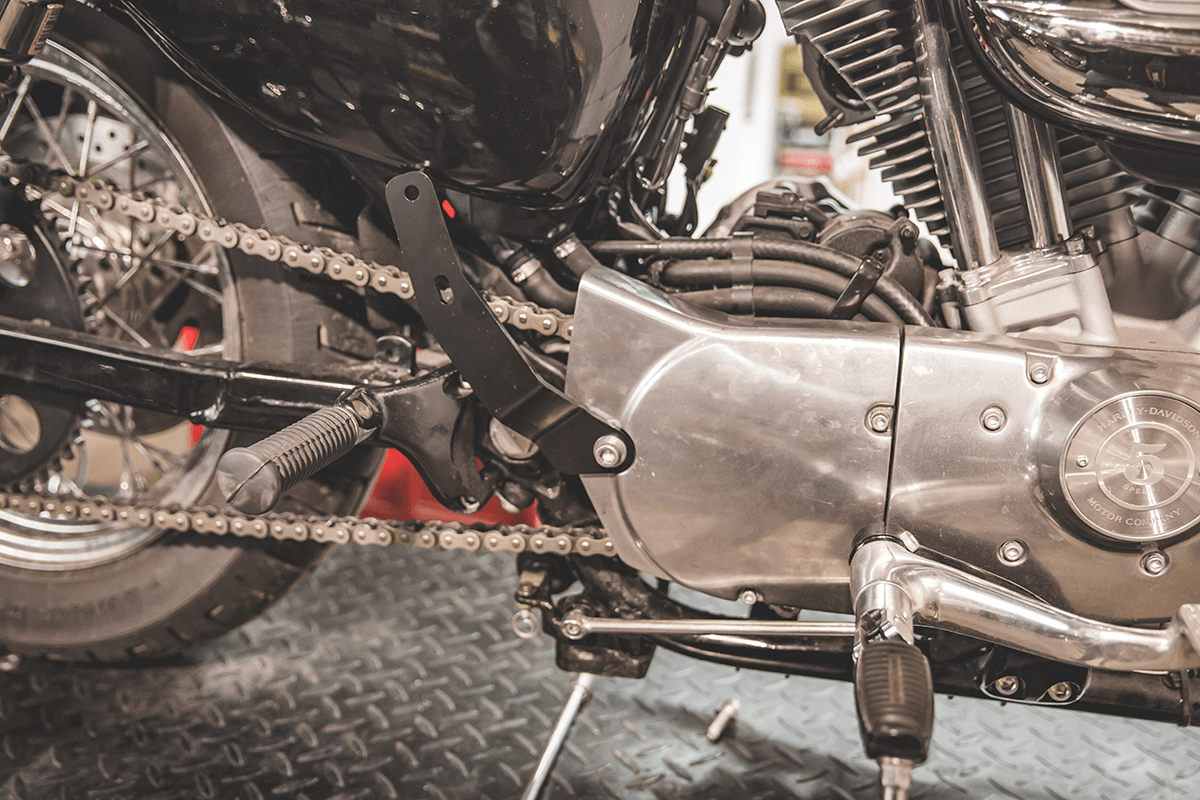
Now we're ready to put our custom exhaust pipes on. We want to install the rear pipe first because it's on the bottom, that will make it easier to get the other one. It crosses over the top of it. Feed your 02 sensor through there, make sure it doesn't get hung up on anything.
Loosely install pipes on cylinder heads with 1/2 socket & rear nuts and bolts to the new bracket/pipes by hand.
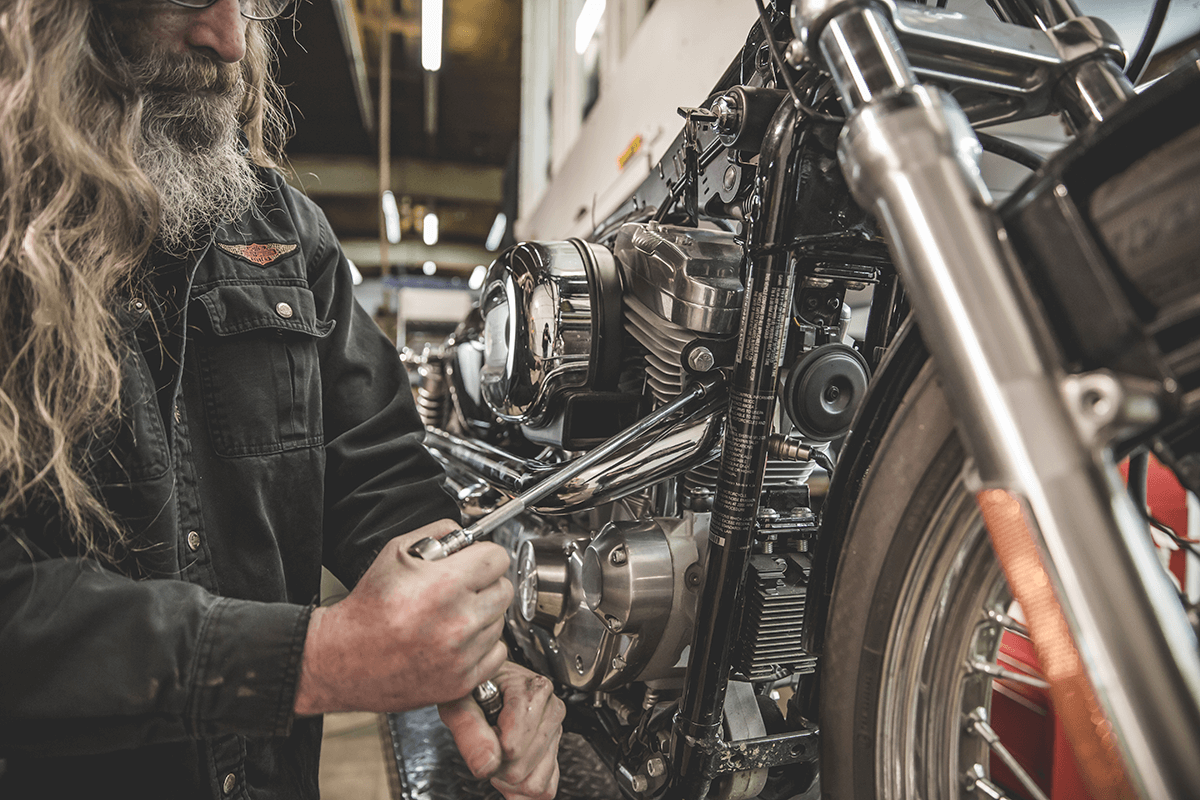
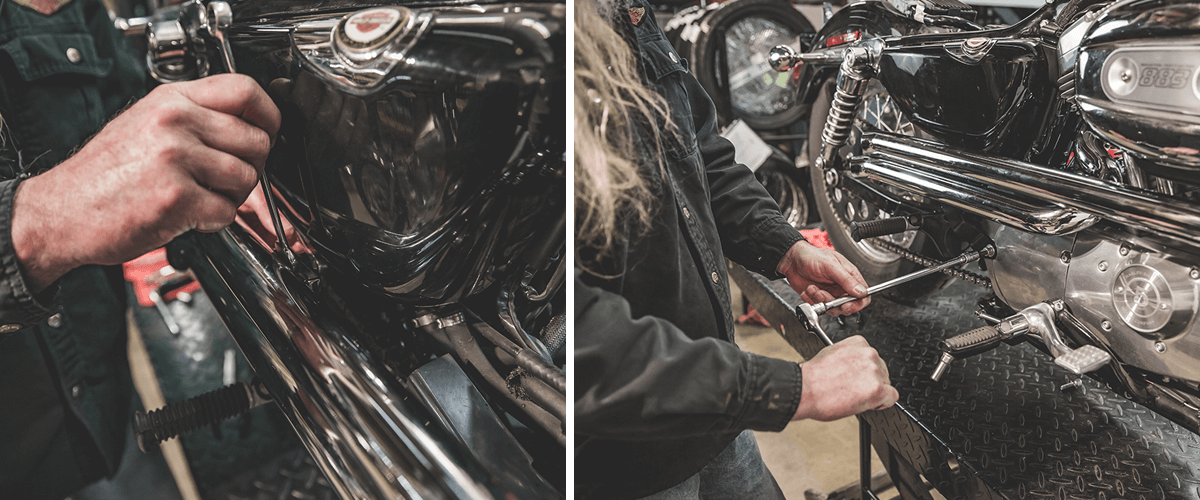
Pipe poked into the hole on the cylinder head and it would help if I could see what I was doing. Get your two nuts, attach the pipe, flange the cylinder head. That will start it pretty good. Sometimes it’s easier to go around the other side to get this one started when you have the 02 sensor bottom on the pipe.
The other thing to pay attention to when you're tightening these two nuts on the head is you want to try to draw that flange down evenly, you don't want to just crank one all the way down then move to the second one. You want to pull it down evenly because you do have a seal up inside the cylinder head head that seals the pipe to the head. We’ll go ahead and get one of the rear fasteners on here so it seems to be staying there pretty well. Now going to come from the back side and then you're going to slide the nut down into this channel.
Place your pipe in a vice. Make sure to protect the finish with towels.
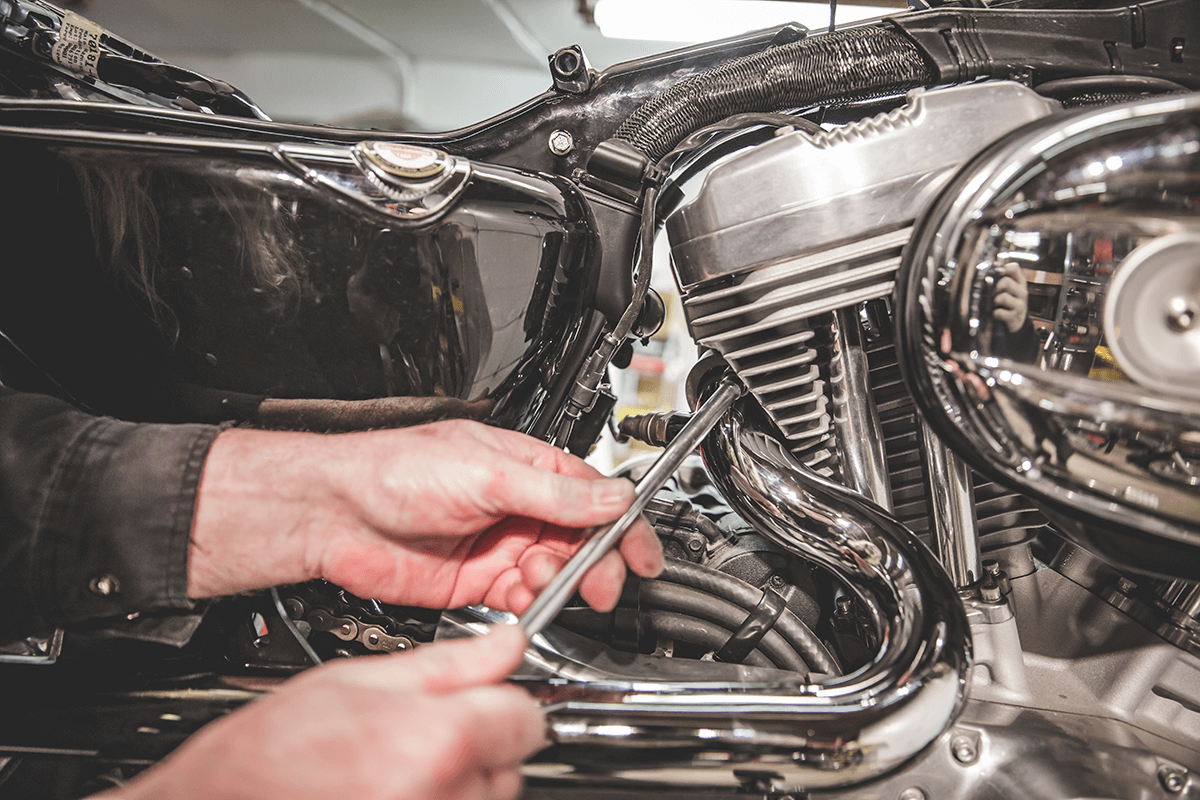
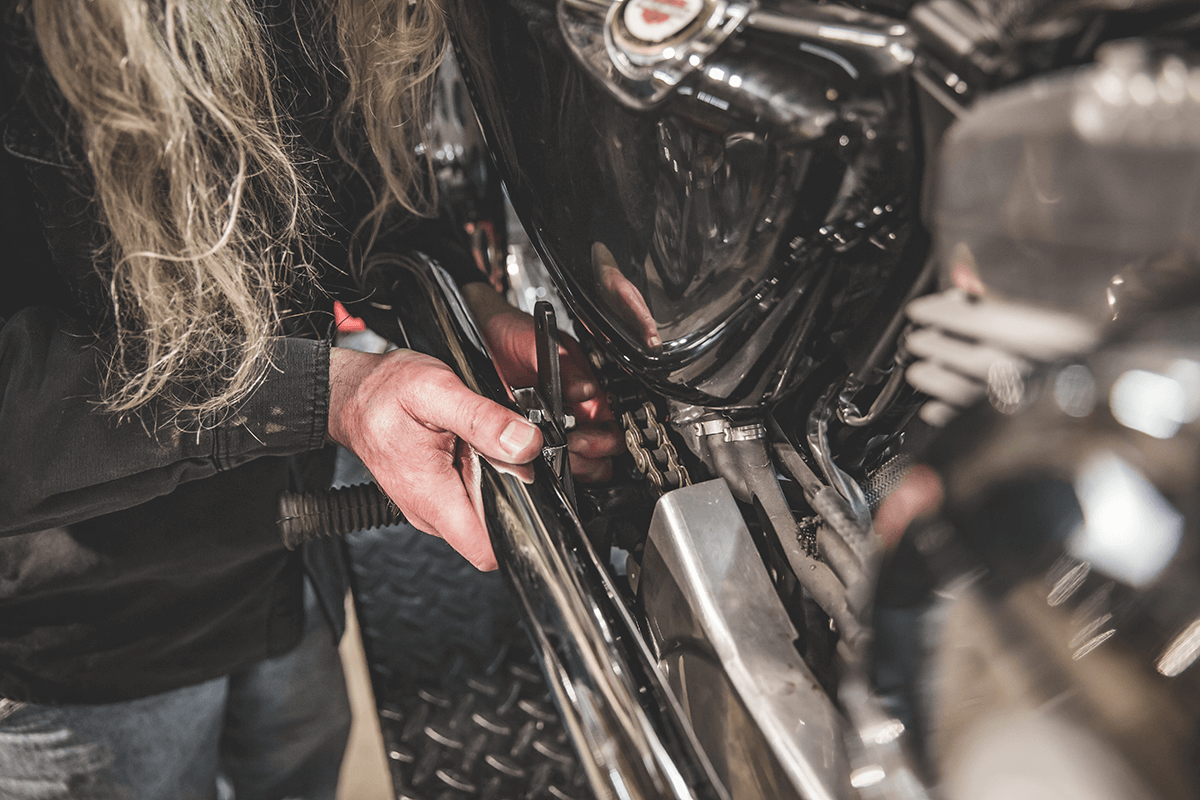
We have the real pipe on, just snugged up the two nuts on the head, and this started the real ones to keep it in place. Like to see it still can move a little bit, we want to leave it loose until we get both pipes on and get everything and we'll tighten it all at once.
I’m going to put the shop towel on here to protect that because as I'm putting the front pipe on, it’s going to want to lay right there. Your 02 sensor through there so it doesn’t get hung up on anything.
Make sure to install your old O2 sensors to your new exhaust
Tighten the two rear mounting bolts. Last thing we need to do is go ahead and plug in the 02 sensors. If you don't plug in the 02 sensors when you start your bike, it will trip a code and you'll have a check engine light on the speedometer. Make sure you plug it back in when you get done and go around the other side of the bike and get those plugged in.
One other thing worth mentioning, if your bike is fuel-injected and not carbureted and you are changing to a free-flowing exhaust system, it is highly advisable that you also put a high flow air cleaner on there in conjunction with your custom sportster exhaust and once those two things are done it's also a good idea to remap your ECM. This is your ECM on the motorcycle, this is your brain, it tells the motorcycle when to fire. It tells the injectors when to squirt gas and once you've opened up the system, in other words you could think of your motor as a large air pump. The more air you can get in it, the faster you can get that air out the other end, the more power you're going to make.
In order to do so it has to have the fuel requirement spikes. These bikes are set up very lean from the factory so it is once again highly advisable that you remap it.
Before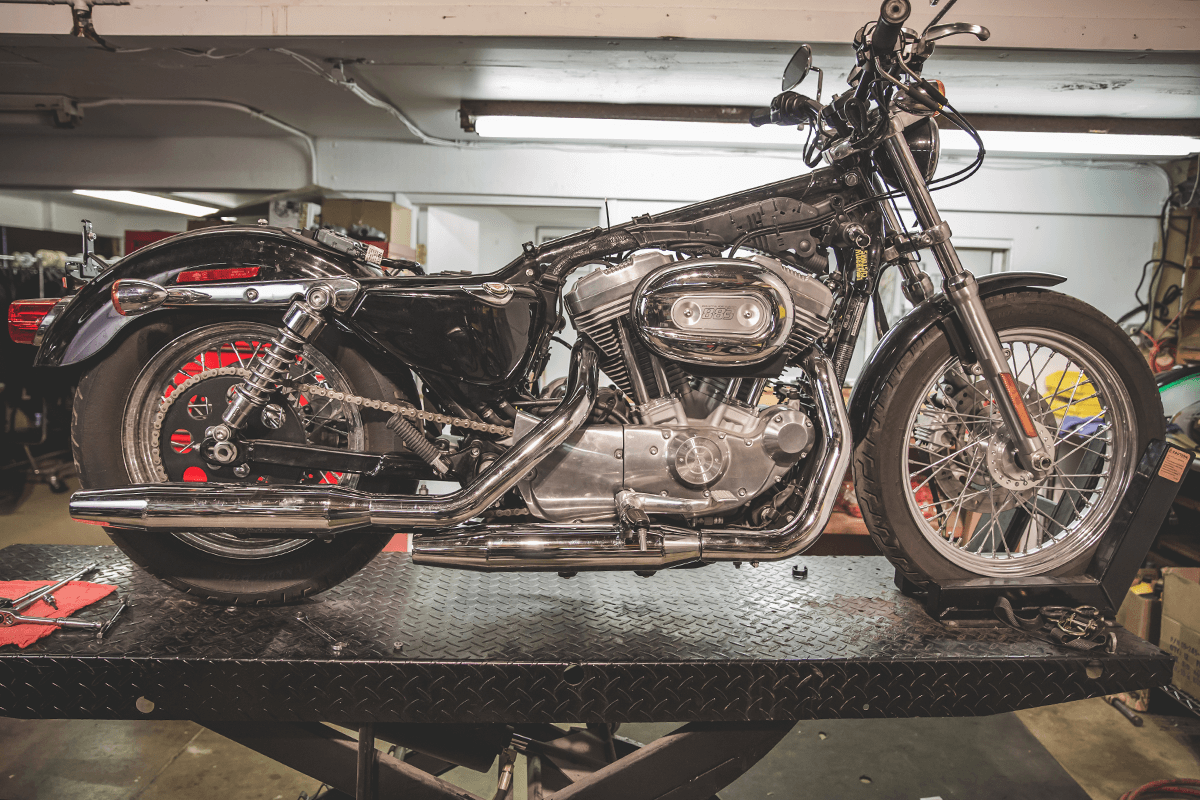 After
After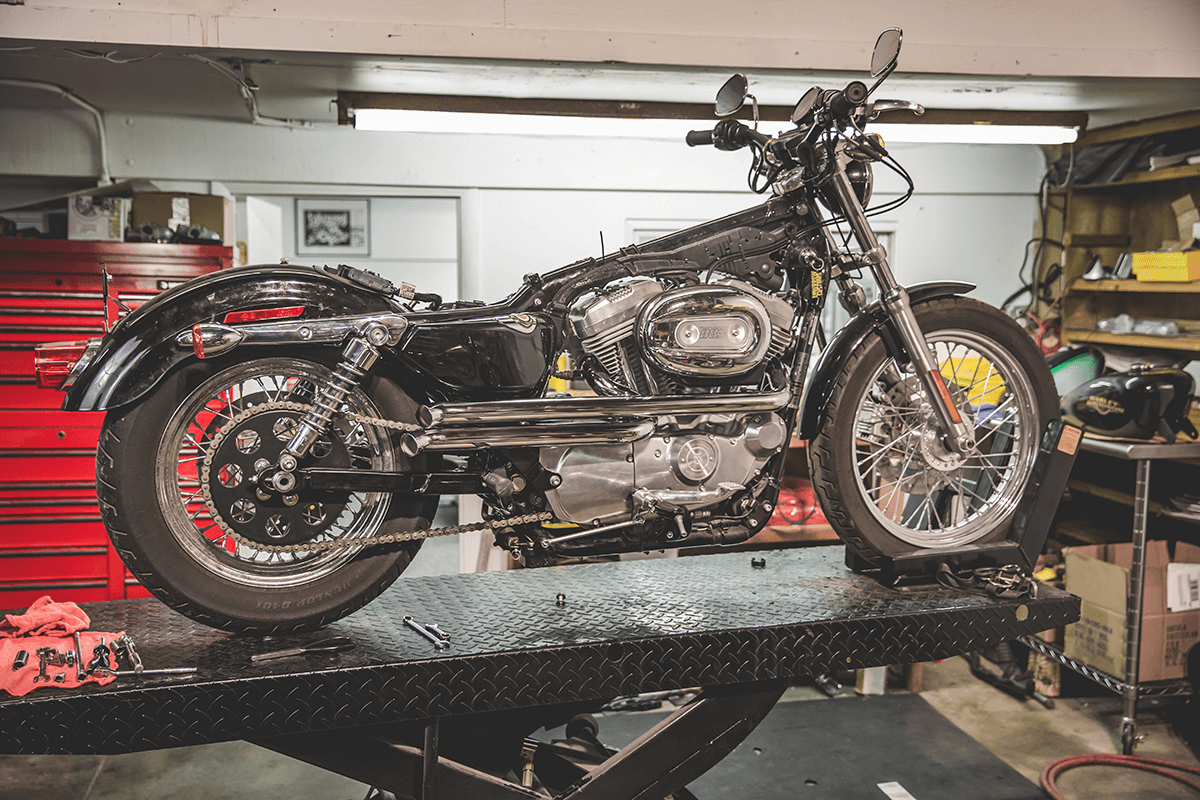
Important Exhaust Notes:
• Note: As with any new exhaust, you may need to change carburetor jetting or use of an aftermarket fuel injection control module for peak performance.
• There is no warranty on exhaust pipes and mufflers with regard to any discoloration. Blueing is caused by tuning characteristics, cam timing, carburetor jetting, overheating, etc. and is not caused by defective manufacturing. No refunds on exhaust pipes once motorcycle is started unless there’s a manufacturer’s defect.
• 2015 & Up XL models may need an O2 sensor adaptor to be installed correctly.
• DISCLAIMER: NOT LEGAL FOR SALE OR USE IN CALIFORNIA
Related Posts
Related Products


