Follow along in this detailed, how-to tutorial as Tim Fiorucci of Fiorucci Fabrications walks you through step by step on how to install an ignition switch on motorcycle using our Lowbrow Customs Hummer Style Ignition Switch Kits and 2.5 Gallon Frisco Sportster Tank. This same technique could be used on any motorcycle gas tank you like!
Modeled after the old Harley-Davidson Model 125 and Model 165 gas tanks (often referred to as Hummer gas tanks, though the Hummer actually did not have the ignition switch located in the gas tank), we thought it would be super cool to offer a DIY kit for adding an ignition switch into any style of gas tank.
In addition to this kit, make sure to purchase the USA-made, spring steel Ignition Switch Bezel by Colony Machine (SKU 011353) and also the 5 post key switch (Harley OEM #71500-36 style switch) and mounting hardware (SKU 011483) to complete the job right.
Watch Our Video On How To Install a Ignition Key Switch On Motorcycle's Custom Chopper Gas Tank
In this video, Tim goes through the entire motorcycle ignition switch replacement process on a motorcycle gas tank, step-by-step. This is a job that can be accomplished with some basic tools and a bit of welding.
You can also check out the custom motorcycle gas tank fabrication process below in article format, with each step accompanied by a photo for easy reference. Enjoy!
How To Install a Ignition Key Switch Into a Frisco Sportster Tank
Step 1: Get Rid of Gasoline (or fumes) Remaining In The Gas Tank
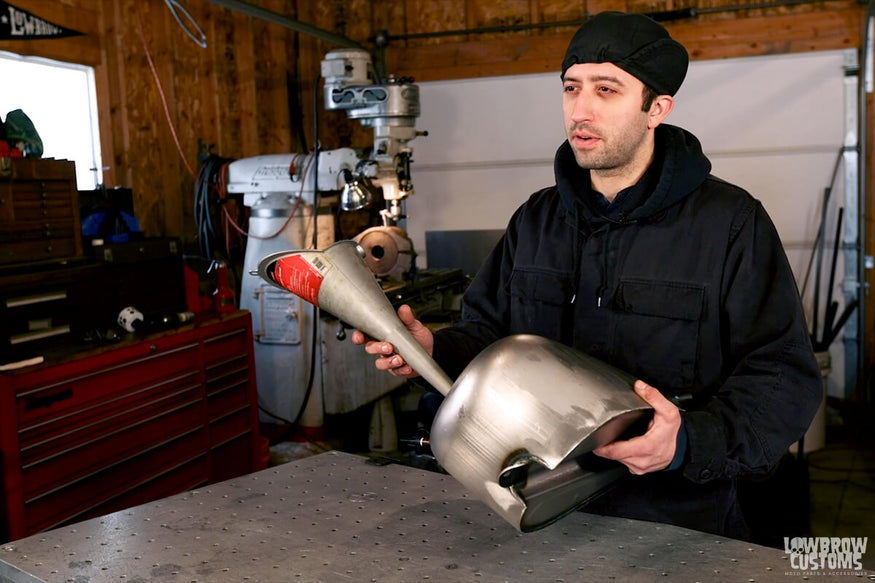
Safety Tip: Before you weld on a used gas tank (one that has held gas, even a long time ago), be sure to purge the tank and get rid of any lingering gas fumes. Your tank could blow up on you!
If you have a brand new tank, you can skip this step.
To get rid of gasoline fumes left in the gas tank, take your gas tank outside with a funnel and set it up in a way that your car's exhaust is pointed into the funnel, which should then blow into the gas tank. This will run carbon monoxide fumes through the empty gas tank.
Run your car for about 30 minutes. This will help rid of any of the gas pockets of fumes that may be lingering inside. When you come back inside it's also a good idea to put a bit of flame from a MAP gas or propane gas torch inside the gas tank filler to see if it gets any other pockets of gas fumes. If there are any present, they will ignite quickly with a POOF.
Step 2: Cutting and Drilling Holes in Gas Tank for the Key Switch
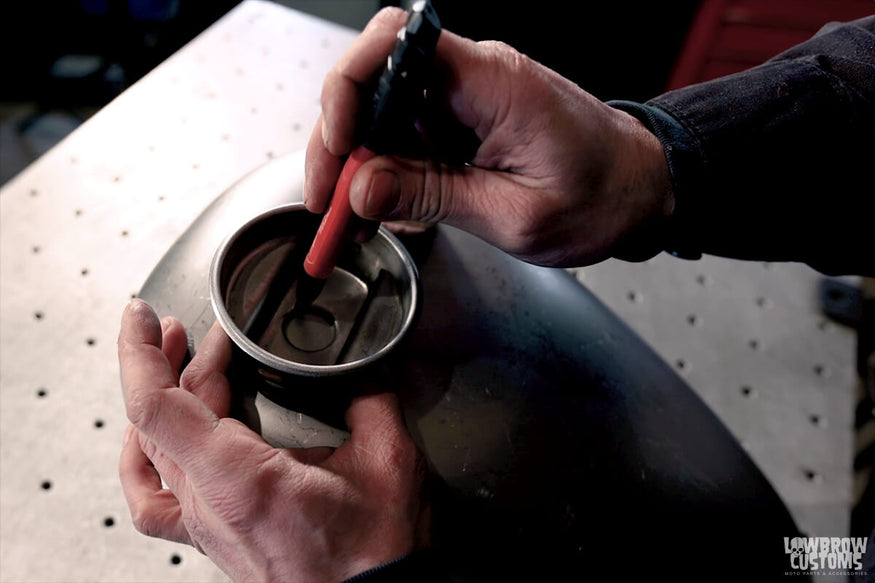
Use your part to mark out the center hole
After finding a pleasing location for your ignition key switch housing use the center hole to mark where you are going to drill the hole in the gas tank using a hole saw.
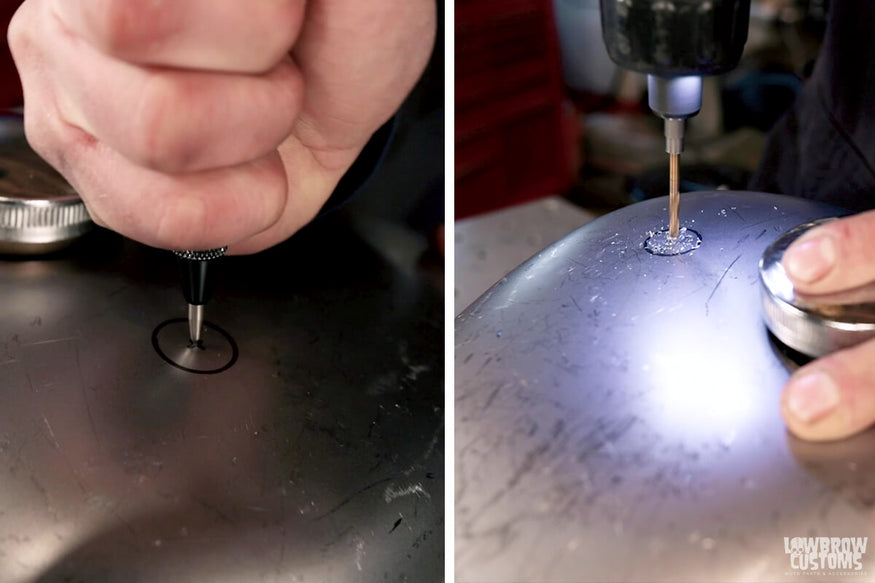
Use an automatic center punch to mark the center of your hole and drill a small pilot hole before using the hole saw. Always be careful when drilling holes in gas tanks.
Determine the center of your mark and use an automatic center punch to help guide your drill. Don't use a normal punch with a hammer on sheet metal you could dent or distort the gas tank and cause more work for yourself.
After using the automatic center punch drill a small pilot hole. The center punch keeps the drill bit from wandering and keeps the location of the hole right where you want it.
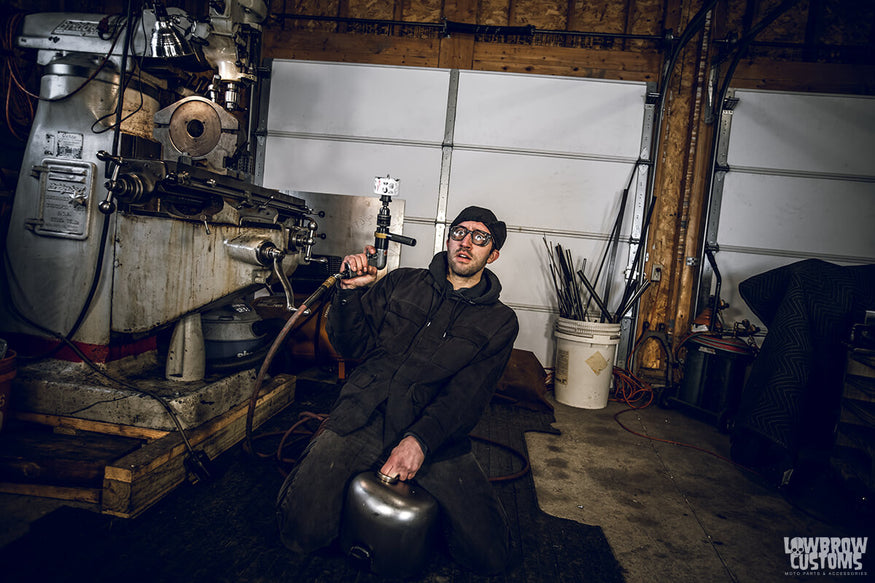
Straddle that thang!
There's no real easy way to hold a gas tank while cutting into it with a hole saw. One way is by straddling the tank on the ground using your knees to hold the tank in position. Be sure to keep the hole saw moving fast and don't go slow, this too can warp the shape of the tank if you are trying to cut it too slow.
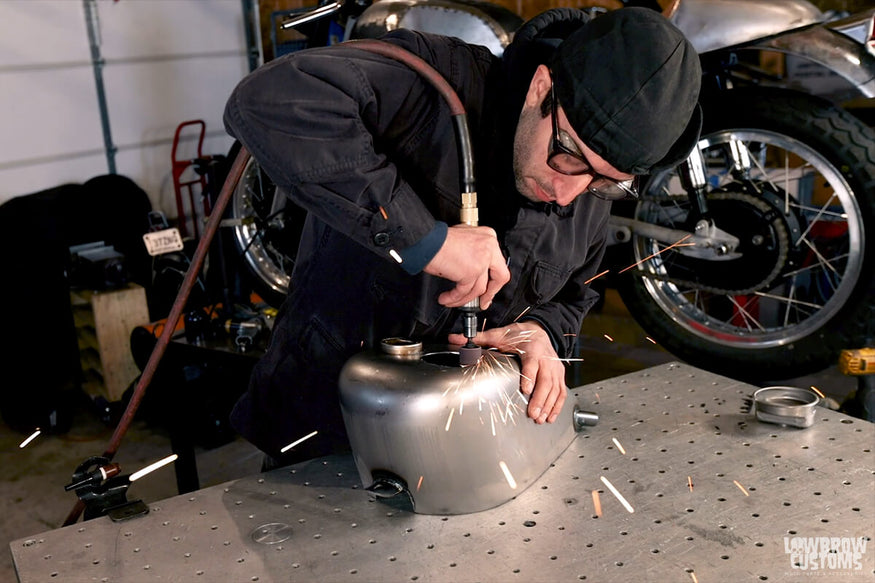
Grinding with a barrel sander to take off excess material.
After cutting out your hole using the hole saw, put the key switch housing in and determine if you need to grind away any additional material to make a snug fit. Grind where needed and keep trial fitting till you reach desired fit. Take your time here! It is easier to remove material than put it back.
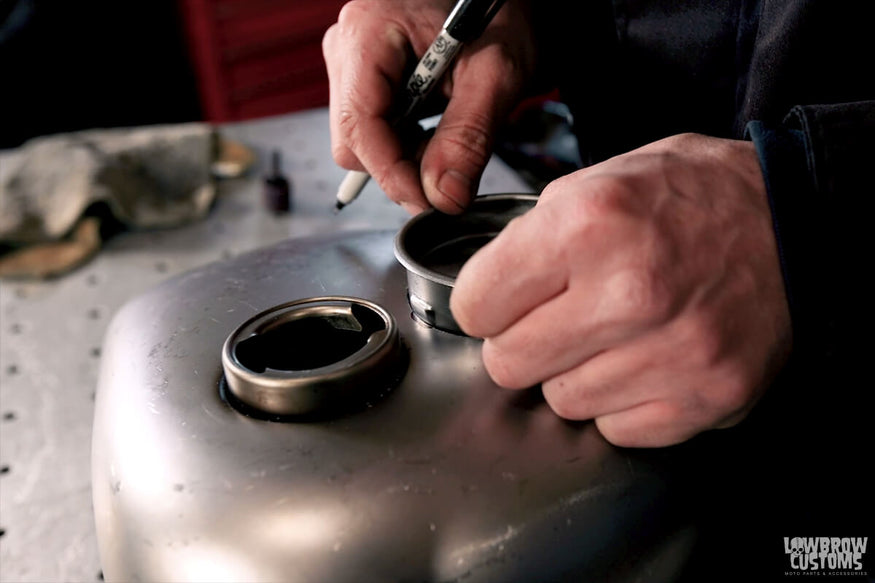
Mark out your tangs on each side of the key switch housing.
Using a marker, trace out each tang and grind away so that the key switch housing can drop in place cleanly. You don't want to push these tangs in without grinding space away, it could get stuck. You are going to have to take this in and out still a few more times before welding.
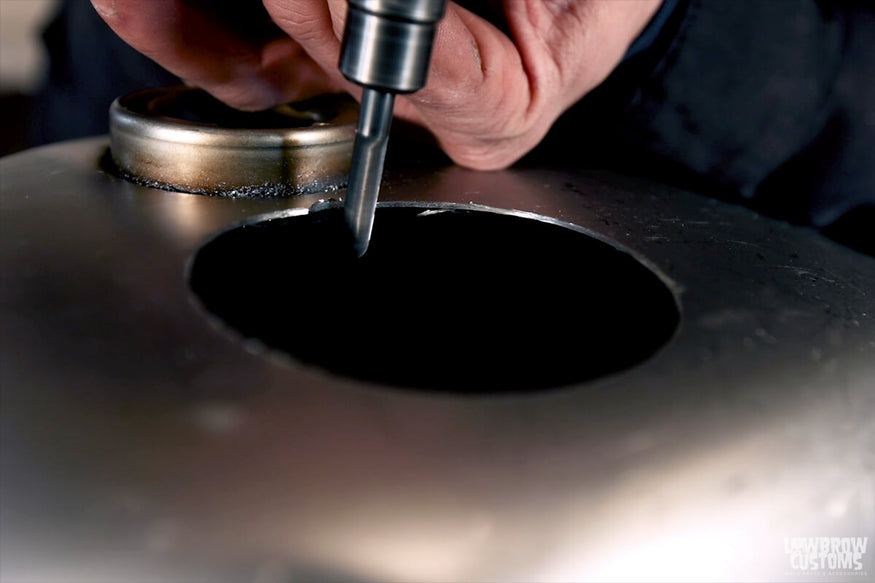
Grind the tang spots til desired fit.
Grind both spots you traced where the tangs will fit, and carefully continue to grind until desired fit. Your main goal here is to get the key switch housing to fit as tight as possible but not force it in to where you can't pull it back out. You want to try and not to leave large gaps to make it easier for yourself when welding.
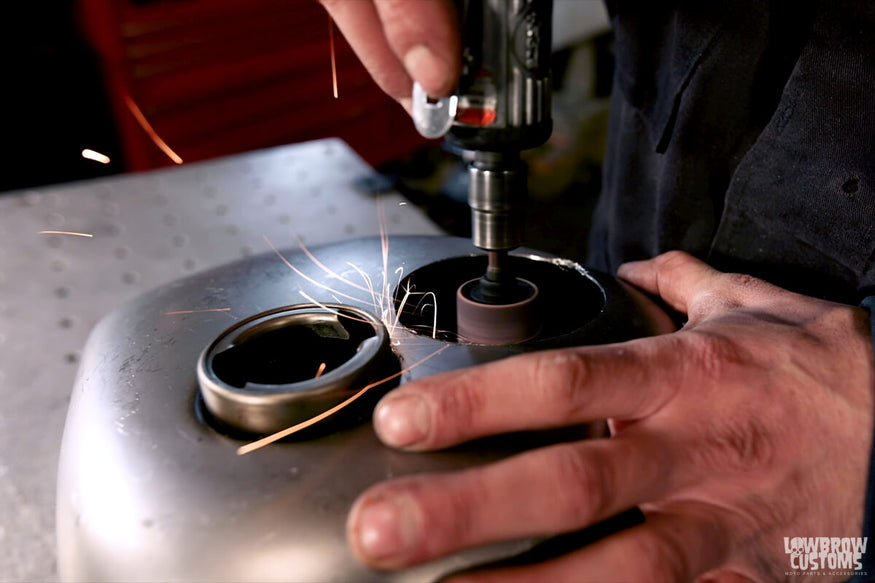
Grinding out a little more of the large hole.
Once you have the tangs fitting properly and how you like them, you will notice the key switch housing has a slight bevel and will not seat fully. Using the barrel grinder again open up the hole a little more till the lip of the key switch housing sits flush with the gas tank.
Using a deburring tool to get out any sharp metal shards from the grinding and cutting
Use a deburring tool to get out any metal shards or sharp edges and clean up your gas tank. Put the key switch housing back into the newly cut hole.
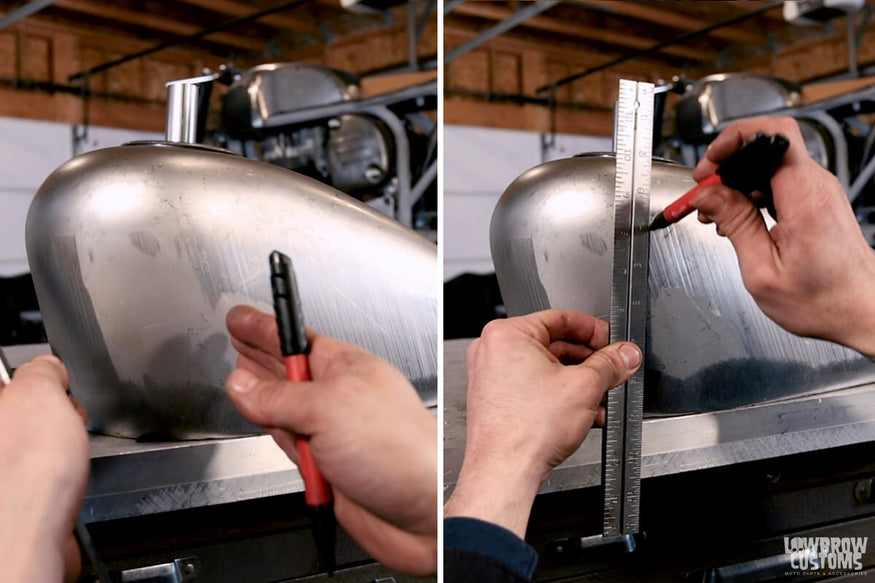
Determining where the wire tube is going to be located you have to use your x-ray vision goggles.
Step 3: Cutting Hole for the Wire Tube
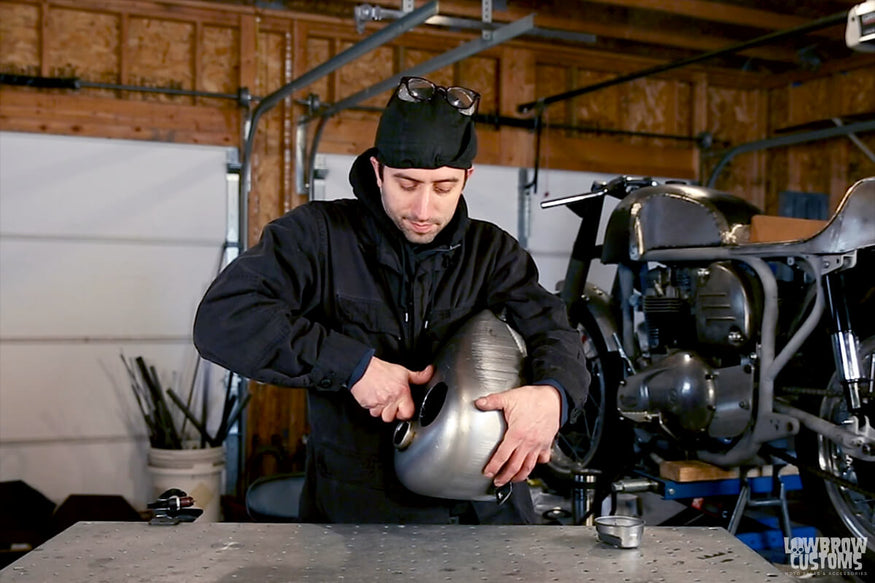
This part is a little tricky in the whole Harley-Davidson ignition switch installation process. Drop the wire tube into the hole and set it away from the tunnel in a spot that's pleasing to you. Set your gas tank at the edge of the table and look at it level and as straight as you can.
Using the weld seam line of the wiring tube, use a straight edge to trace a line to the bottom of the tank following the weld seam. This will give you a better reference to where the wiring tube needs to go in on the bottom of the gas tank.
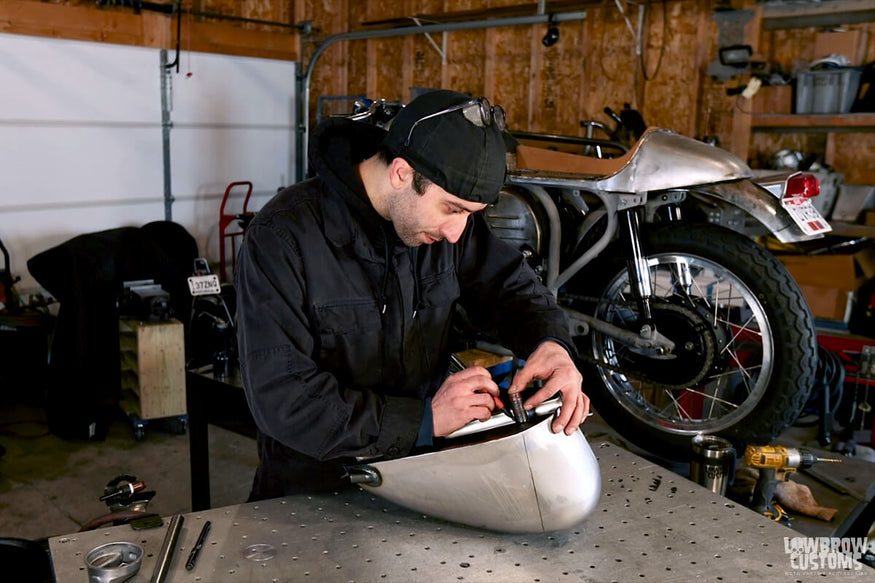
Using your 7/8" hole saw draw a circle.
Flip the tank over and use your straight edge, draw a line to the tunnel from the line you just put on the side of the tank. Move a bit away from the tunnel and use your 7/8" hole saw as a template to trace another circle. The wire tube outside diameter is 7/8".
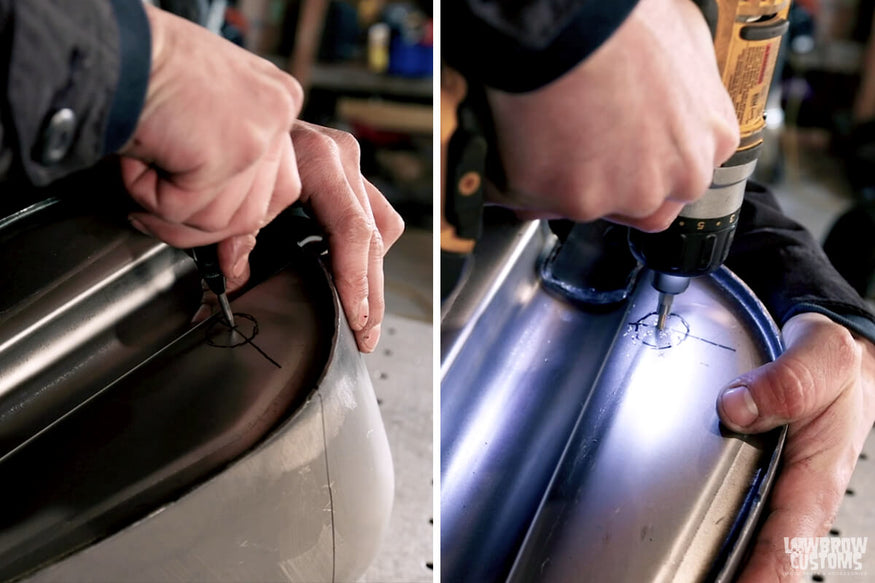
Automatic center punch and drilling small pilot hole again.
Determine the center of your hole, use an automatic center punch for a guide and drill a small pilot hole on the bottom of your tank.
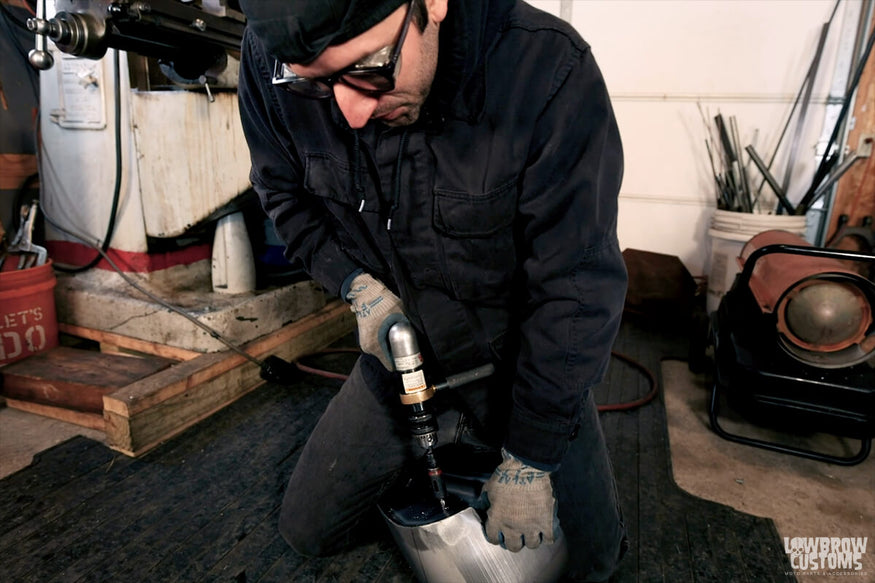
Yup, more straddling.
Straddle that tank one last time and use your 7/8" hole saw to drill out your hole for your wiring tube.
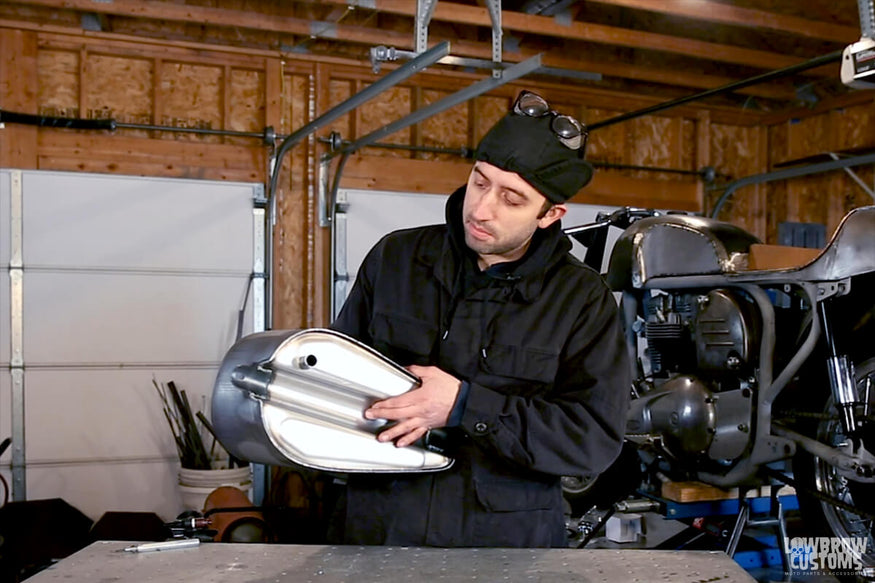
Bam! Verify the tube goes from the top through the bottom hole!
Drop your tube in from the top key switch housing and verify it fits out the bottom hole. This wiring tube can move around a bit and if you need to open up the hole on the top to give a little more wiggle room you can.
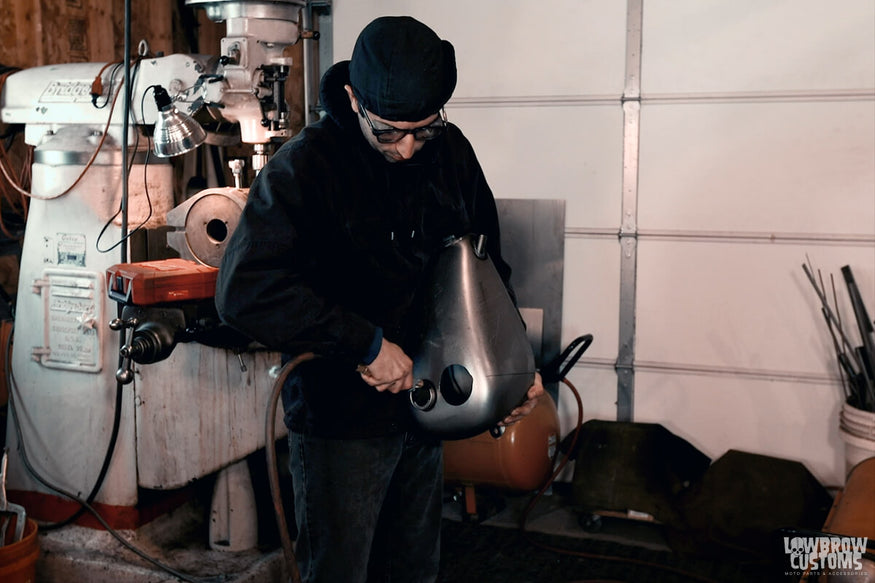
Using some air to clean out the tank.
Make sure your holes are all deburred, any metal shards and the cutouts are all removed from the gas tank. Last thing you want is some metal shards floating in your gas.
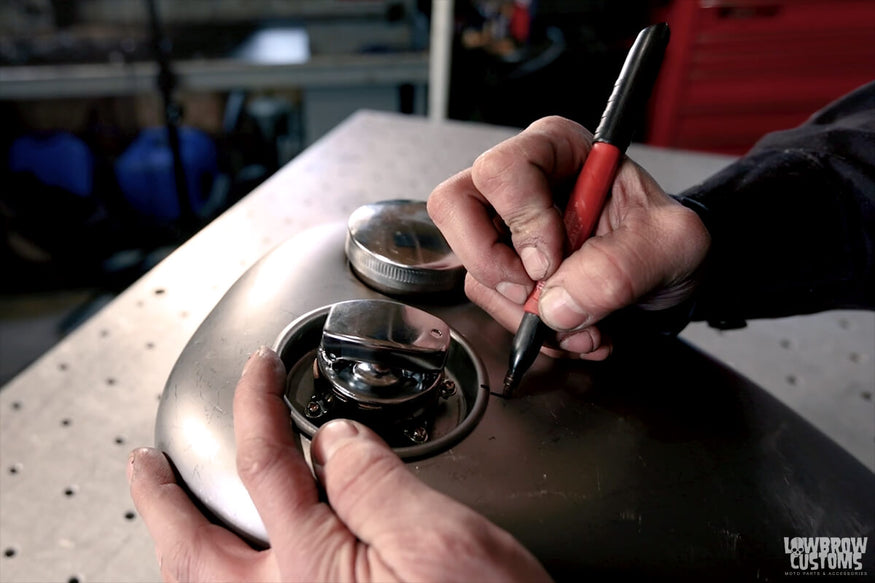
Determine the final place you want your key switch housing to be.
Step 4: Installing The the Key Switch Housing
Once your gas tank is clean: Put your key switch housing back into the top of the tank, bolt the key switch to the mounting plate and drop it in.
Determine the final placement by orienting the housing into a position that works best for you and is visually pleasing. Use a marker and draw a line on the lip of the housing and connect that line to the tank.
This will give you a great reference mark in case something moves while you are setting up your welder or if the housing isn't sitting that tight.
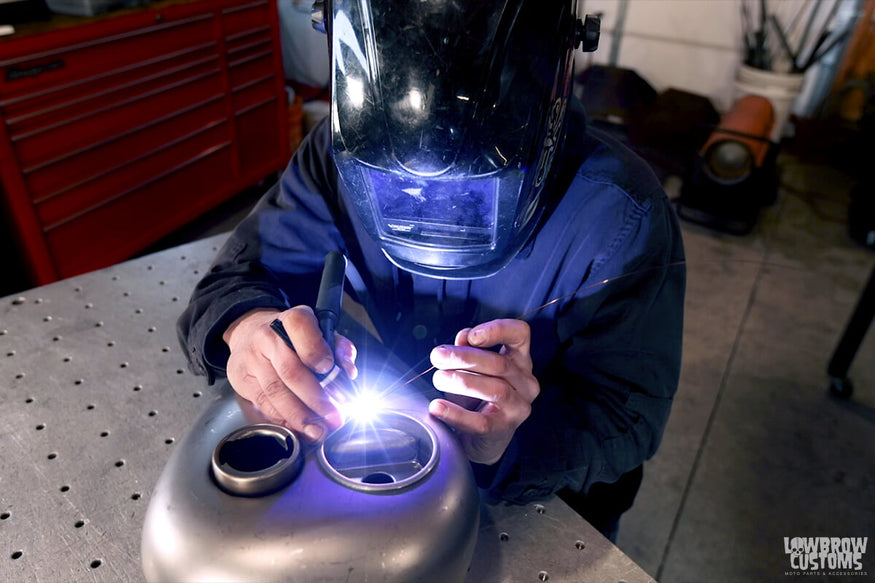
Tack it up!
Tack weld four sides of the key switch housing.
Step 5: Adding the Wiring Tube Into the Tank
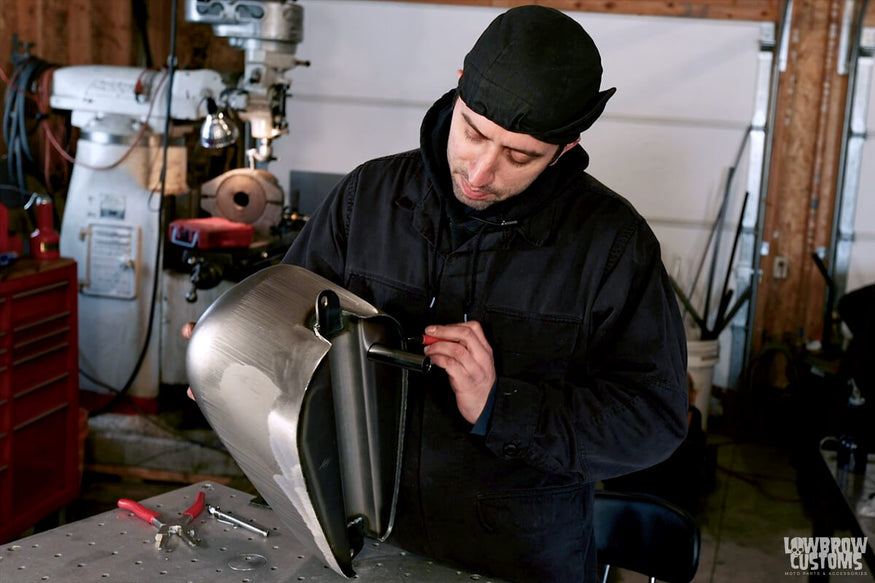
Determine how much you need to cut off of the wiring tube.
Insert the wiring tube flush to the hole in the key switch housing and on the bottom side determine how much you need to cut off. Mark a line around the tube where you want to cut.
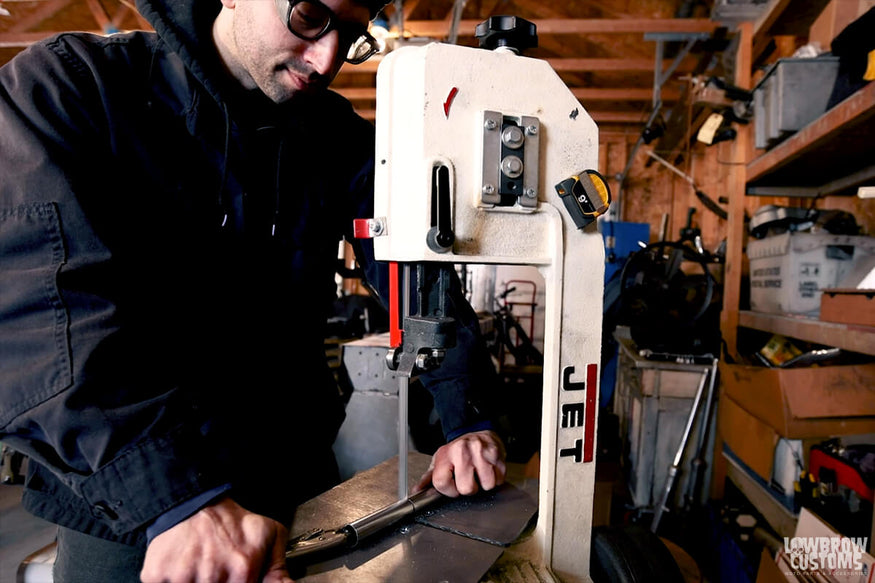
Power tools! Hooo Hoo Hoooo! - Tim The Tool Man Taylor
Cut your wire tube down to the proper length
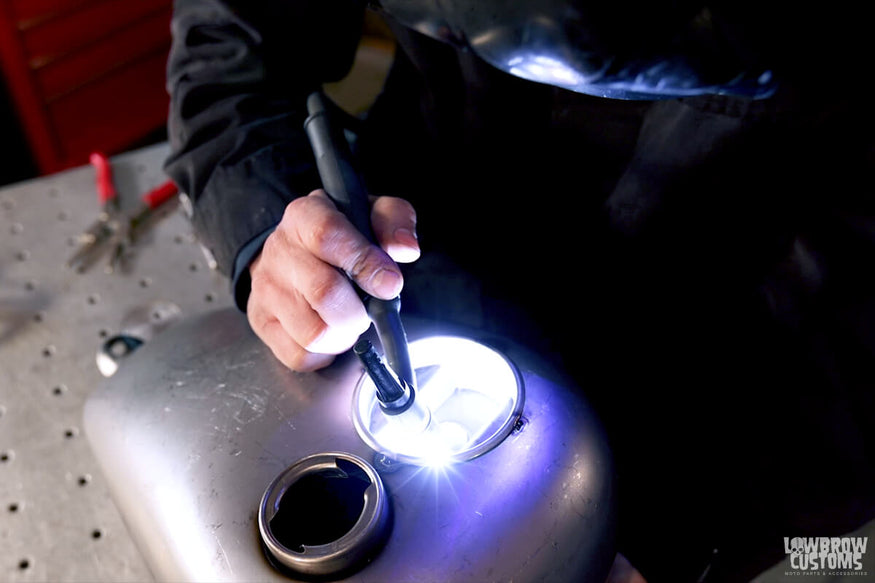
Tack the wiring tube from the top.
Holding the wire tube flush in the bottom of the key switch housing tack weld 4 corners.
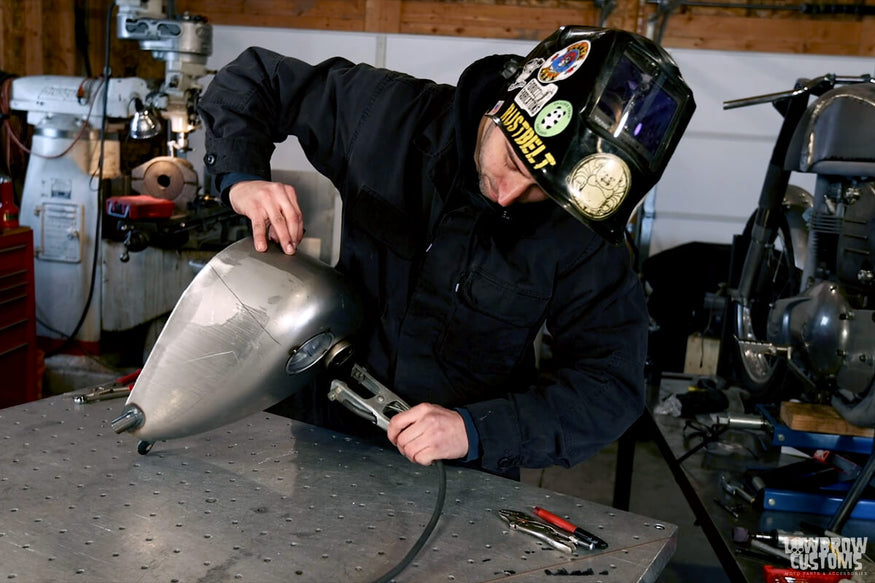
When not laying flat use a grounding lead directly clipped to the tank so the tank doesn't arc if it moves. Last thing you want is to blow a big hole in your tank.
Flip the tank over and tack weld the bottom part of the wire tube on four corners.
Pro Tip: use a lead clipped directly onto your gas tank to ground it properly when upside down. If the tank rotates or moves the tank and table could break ground and cause arcs to happen; possibly melting a hole into your sheetmetal gas tank.
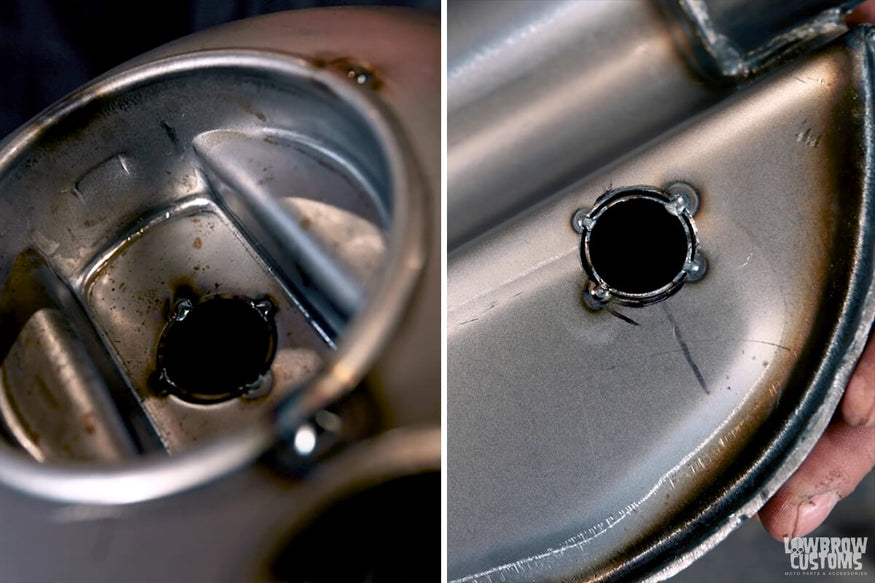
Tack welds on 4 sides of both top and bottom of the wiring tube.
You are now ready to finish weld. On the top lip of the key switch housing add some more tacks in a staggered star pattern to allow for less movement. Then finish weld in four small sections at the top of the wiring tube.
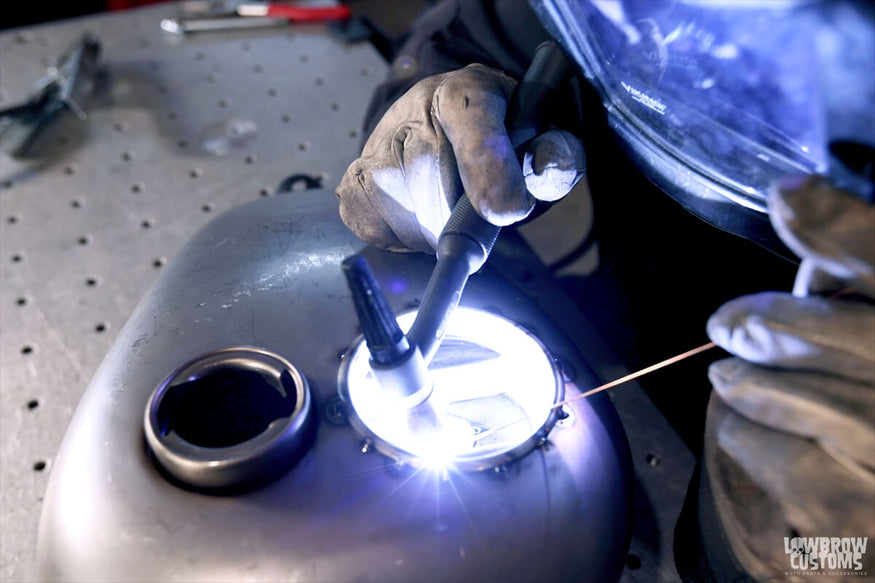
Note: See more of the tacks around the top and then finish weld the wire tube.
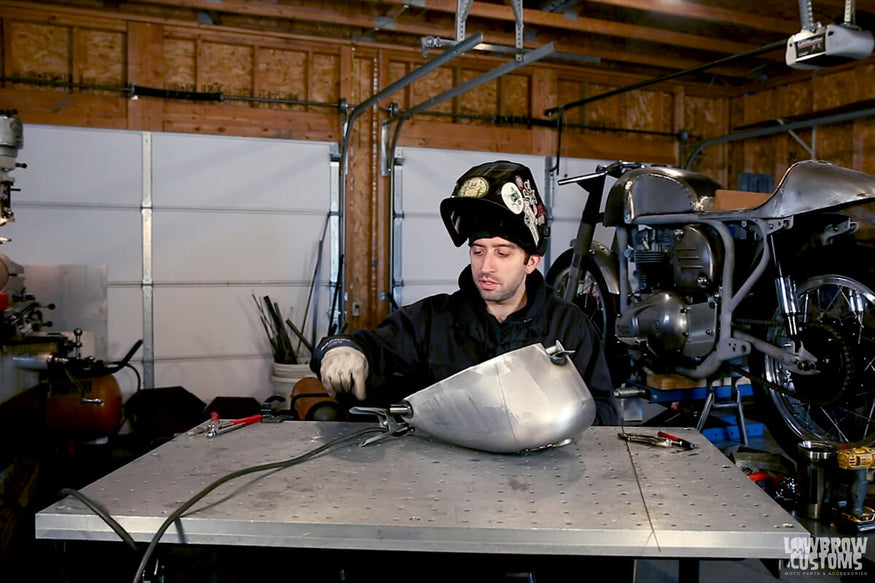
Again when welding with the tank being able to move attach a lead directly to the tank to ground it.
Finish weld the bottom of the wiring tube in four small sections completely.
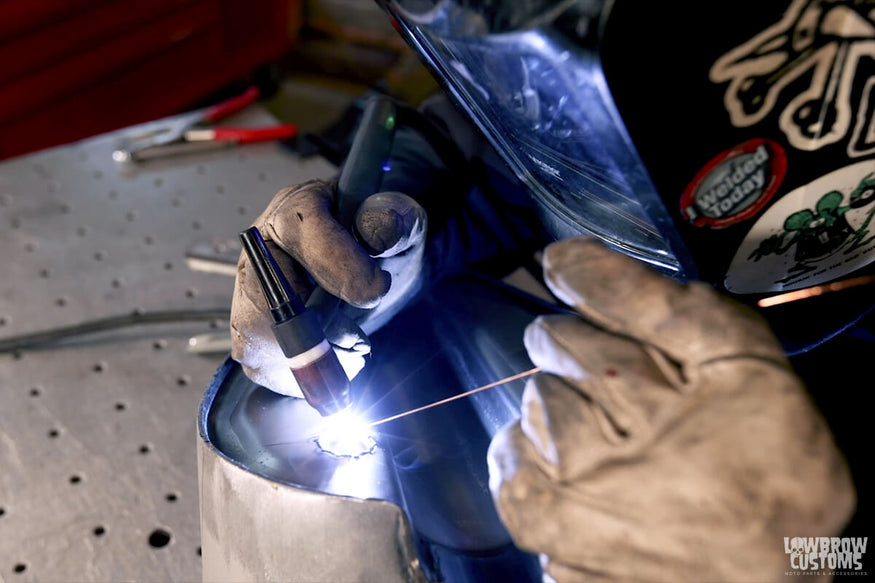
Finish welding.
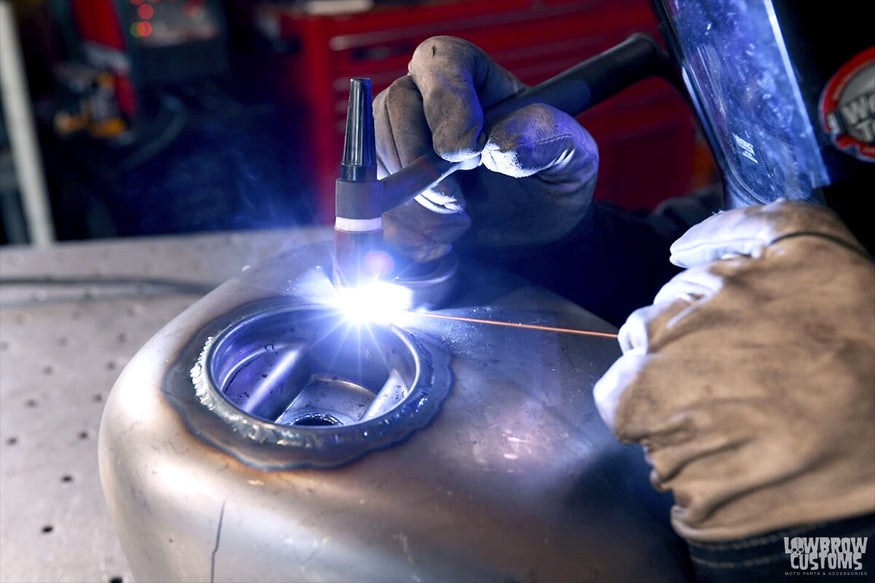
Finish weld the top lip of the key switch housing.
With gas tanks being thin sheet metal, it is important to stagger your welds when finish welding. Do small sections from tack to tack and rotate them in a star pattern to keep the heat down. The last thing you want is your tank to look like a ruffles potato chip.
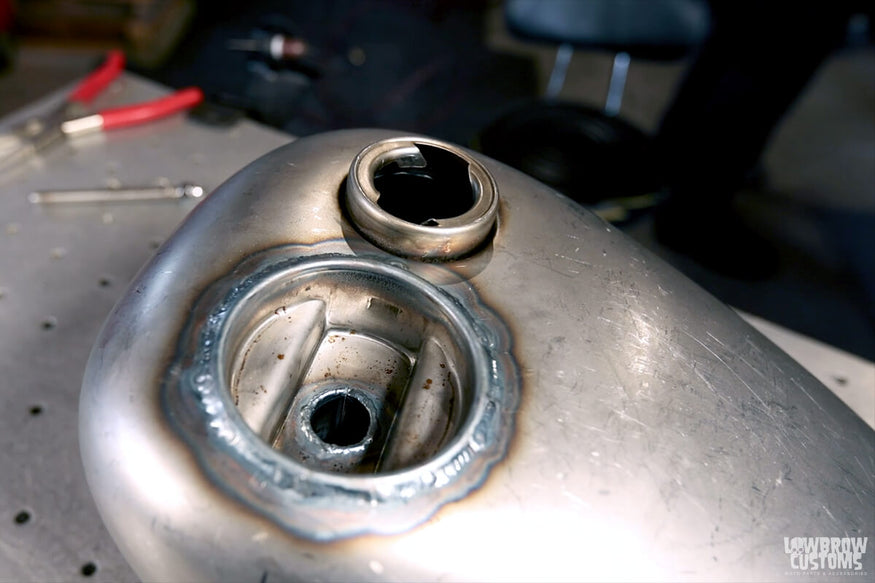
Looking good!
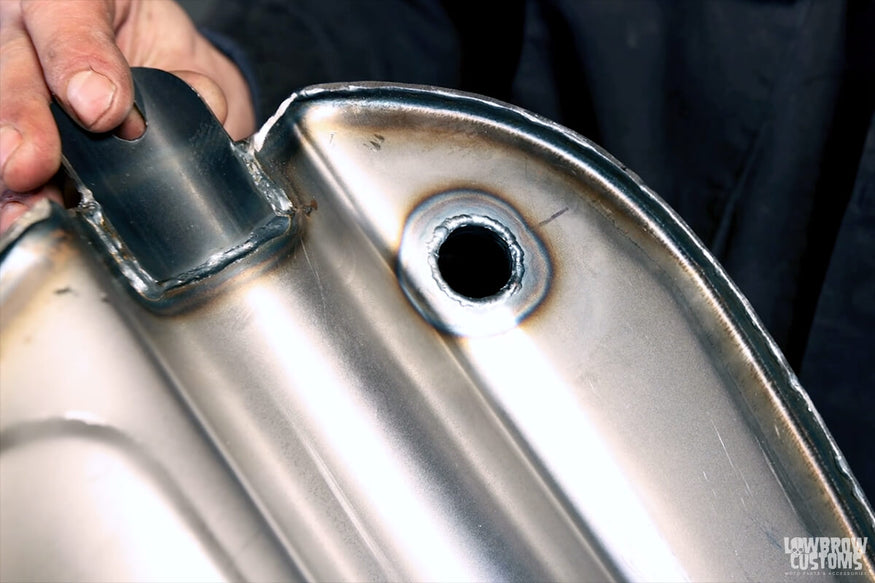 We are on the home stretch!
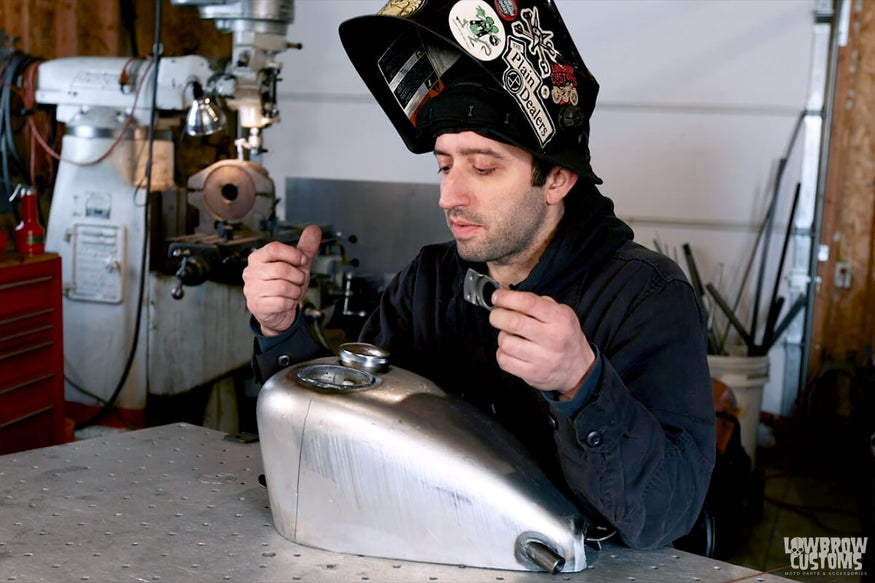 You need to tac in the middle and 4 corners of the Key Switch mounting plate.
Step 6: Secure the Key Switch Into the Housing
Drop your key switch mounting plate into the housing and tack the center and the four corners of the plate to secure it in the housing.
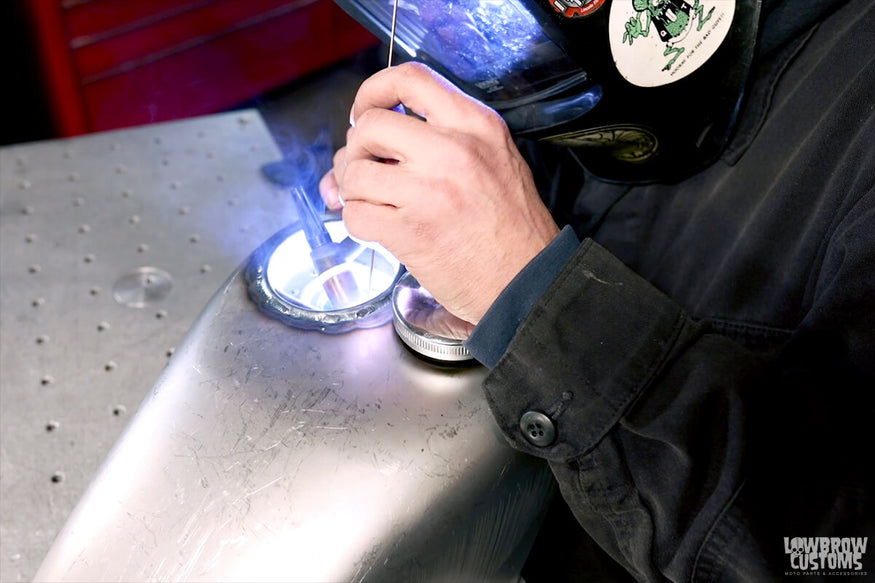
Tacking the key mounting plate into the housing.
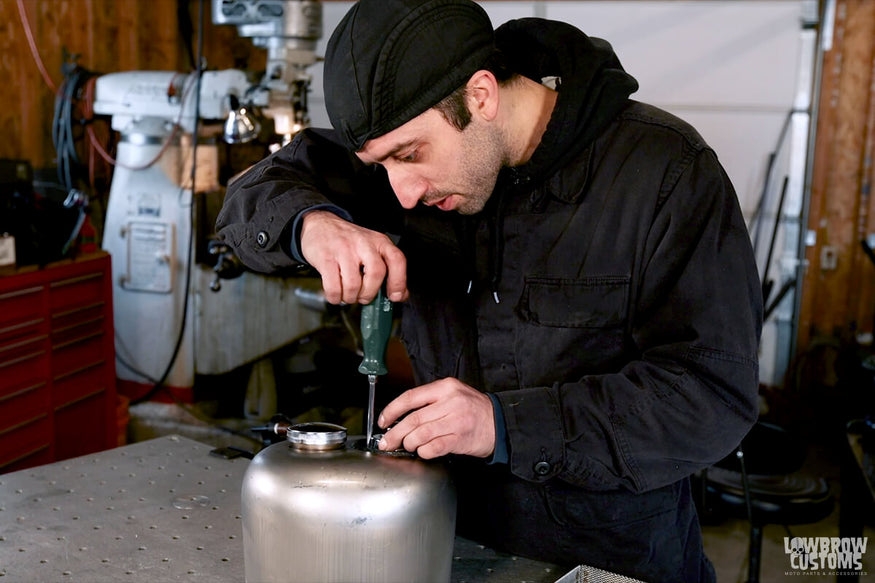
Bolt your 5 post key switch to the mounting plate with the mounting hardware.
Using the mounting hardware install the key switch to the mounting plate. Then simply push the ignition switch bezel into the tangs.
Step 7: Pressure Test and Ready to Go
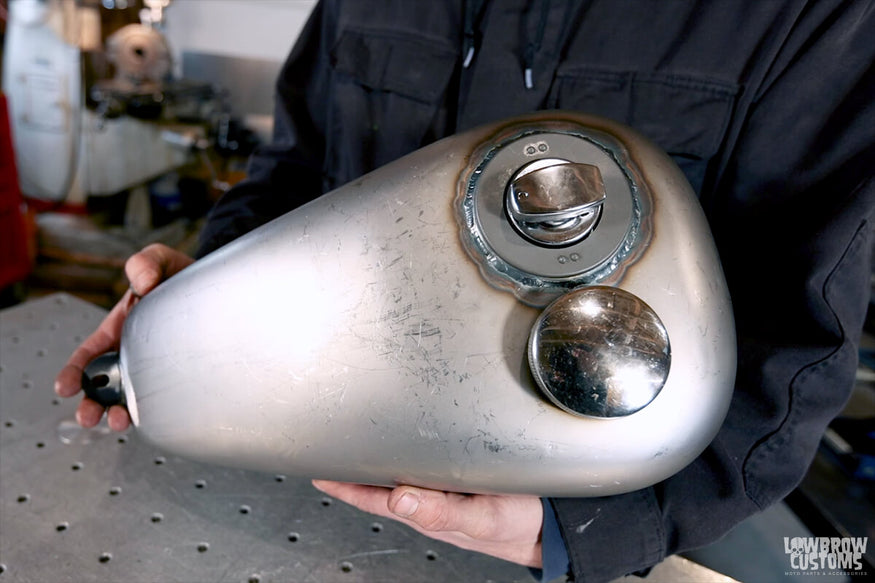
Whoa! That's it!
All that's left is to pressure test your gas tank and make sure you don't have any pin holes in your welds, and then this baby is ready for paint!
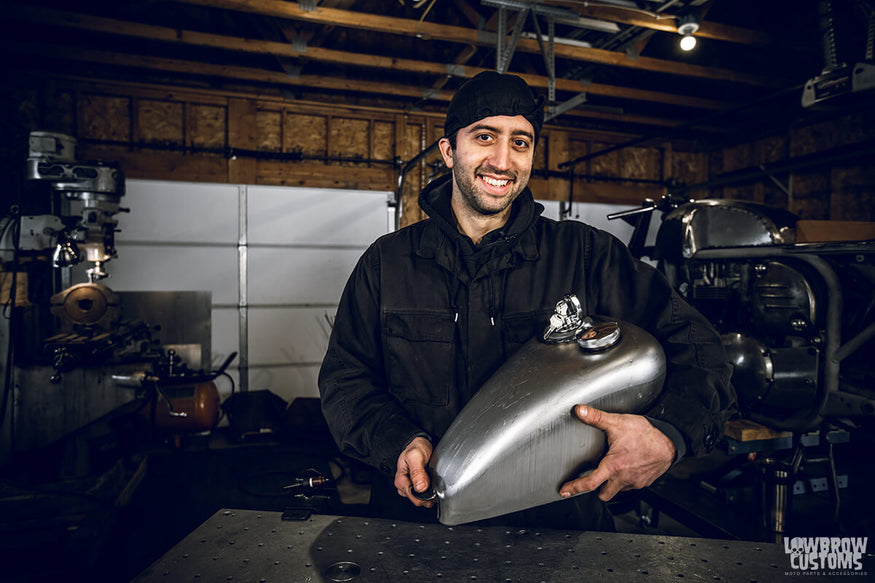
Chopperin made easy with Tim Fiorucci
Related Products


