


Customizing your motorcycle is more than just a hobby; it's a passion that allows you to express your unique style. One popular modification in the world of custom motorcycles is the installation of bolt-on hardtails. These modifications replace the rear suspension with a solid frame, offering a distinctive and classic bobber look.
In this guide, we'll delve into the world of bolt-on hardtails, specifically focusing on how to install a Triumph bolt-on hardtail.
Benefits of Installing a Triumph Bolt-On Hardtail
Before we dive into the nitty-gritty of installation, let's explore why you might consider installing a Triumph bolt-on hardtail. These modifications offer several benefits, including improved stability, a unique aesthetic, and enhanced handling. Whether you're looking to transform your ride or seeking a more comfortable and controlled experience, a bolt-on hardtail can be an excellent choice.
How to Hardtail a Motorcycle with Triumph Unit 650 CC
Lowbrow Customs Triumph Unit 650 cc Bolt-On Hardtail install easily by bolting on to your stock Triumph front frame section perfectly. These hardtails fit Triumph 650 unit motorcycles from 1963-1970 and are made right here in Cleveland, Ohio USA. With a 4 inch stretch and a 2 inch drop, these hardtails are the perfect solution for your next Triumph chopper / bobber project.
Though installation can be a simple, we thought it would be a great idea to share how easy it really can be and install one on Todd's latest project.

The Stock Triumph frame.
- Step 1 - Jack your bike up with a scissor lift and or floor jack to get your rear wheel off the ground.
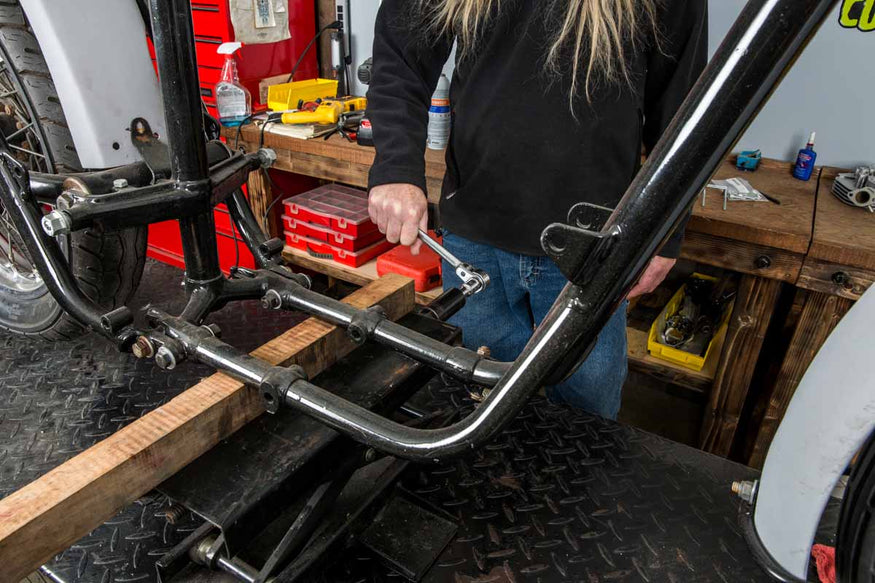
Make sure to use a jack to get your rear wheel off the ground.
- Step 2 - Remove the chain, brake rod, brake stay and rear wheel.
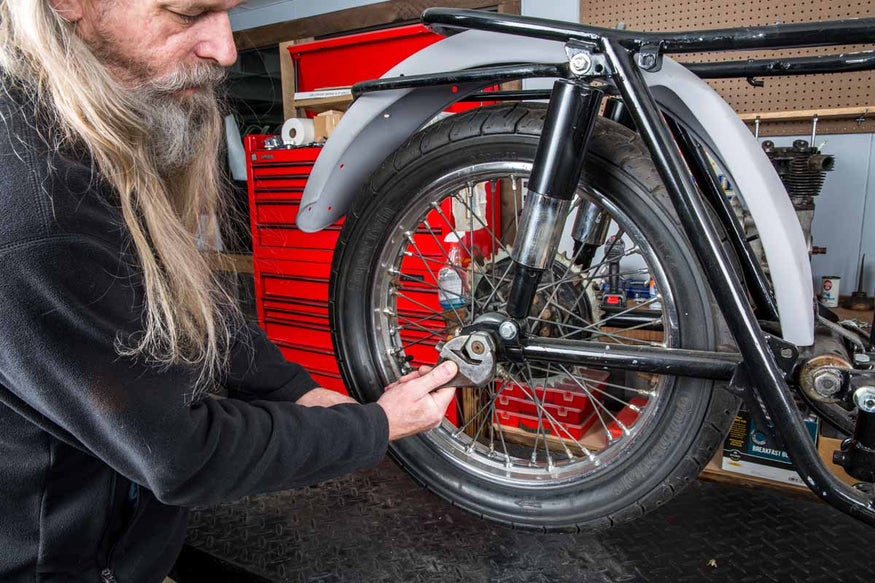
Remove the axel.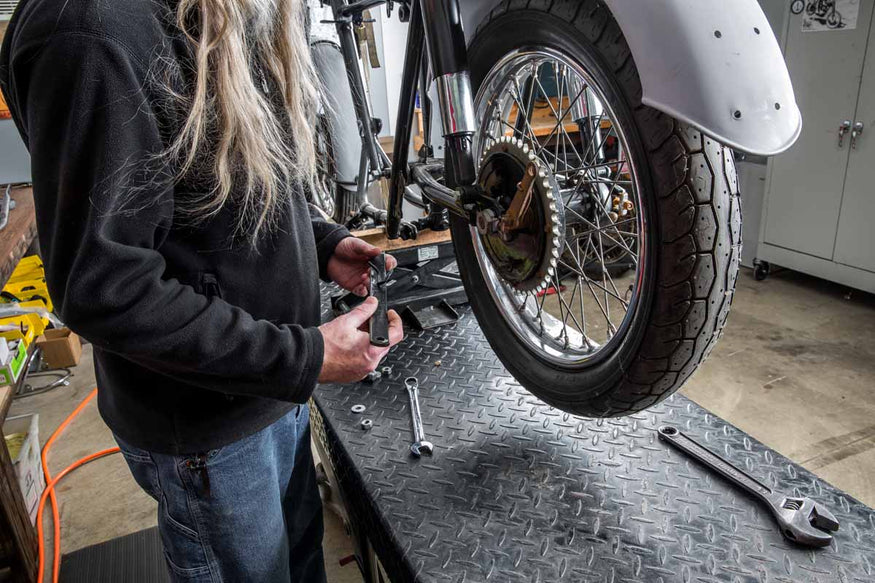
Remove the brake rod.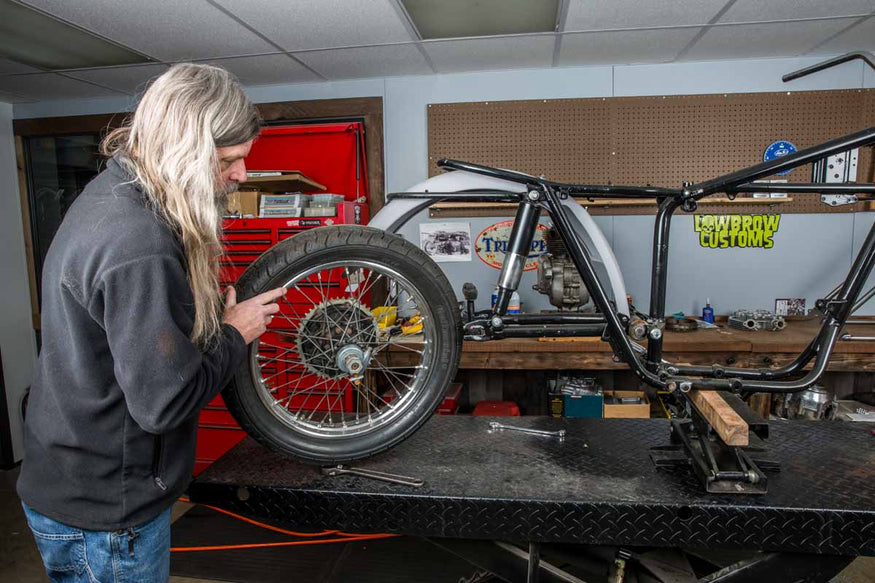
Remove the rear wheel.
- Step 3 - Remove the shocks from the rear stock frame and swing arm.
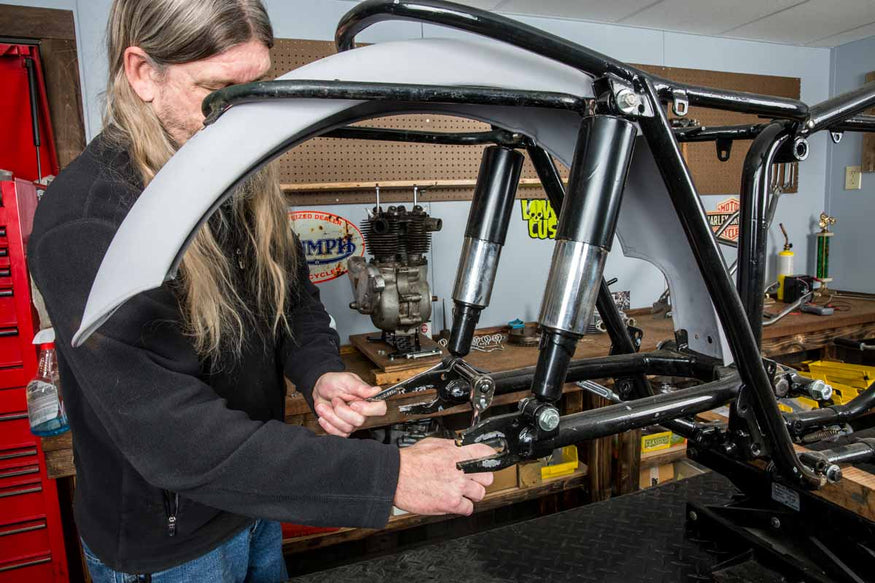
Remove the rear shocks from the swing arm.
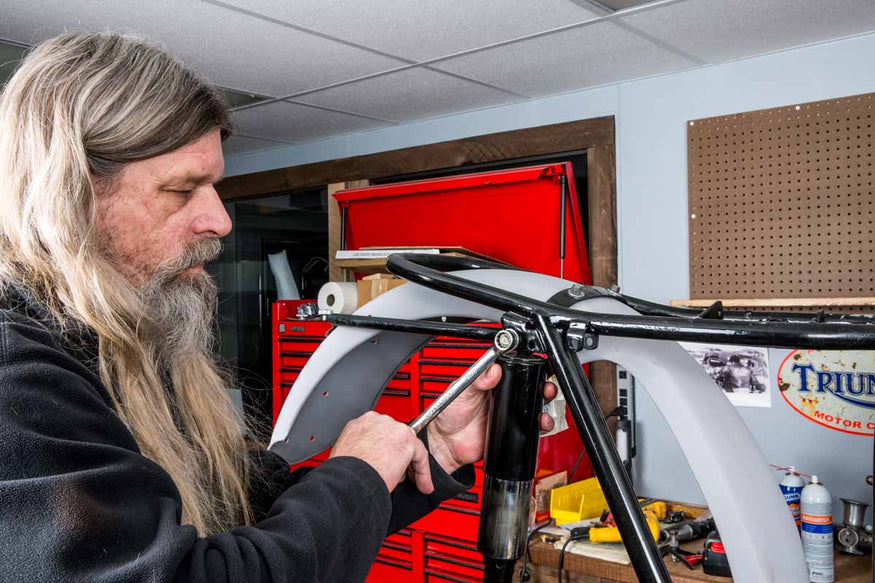
Remove the shocks from the rear frame section.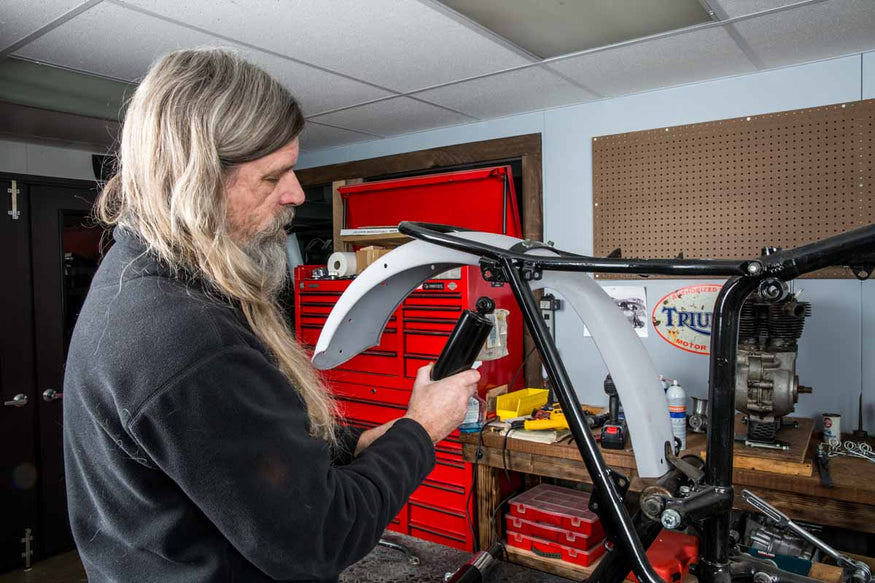
Remove the shocks.
- Step 4 - Remove the rear fender to make more room and easier access to the frame bolts.
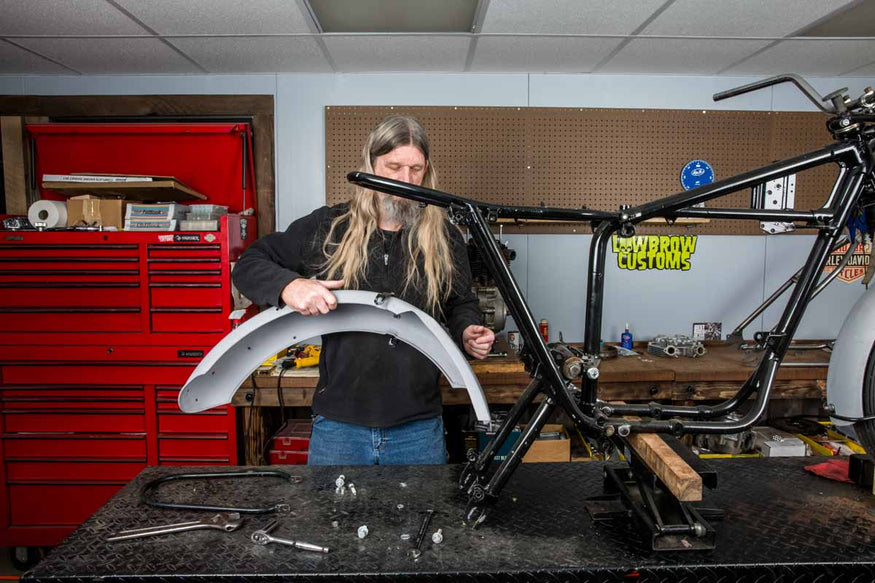
Remove the rear fender.
- Step 5 - Remove the swing arm. *Note, there is a lock tab that needs bent up in order to remove the nut on the left side of the swing arm. After the lock tab has been bent up you can remove the left nut. Next remove the long bolt through the swing arm located on the right side. The swing arm should be able to be removed from the frame, you may have to carefully pry the swing arm from the frame mount depending on its fitment.
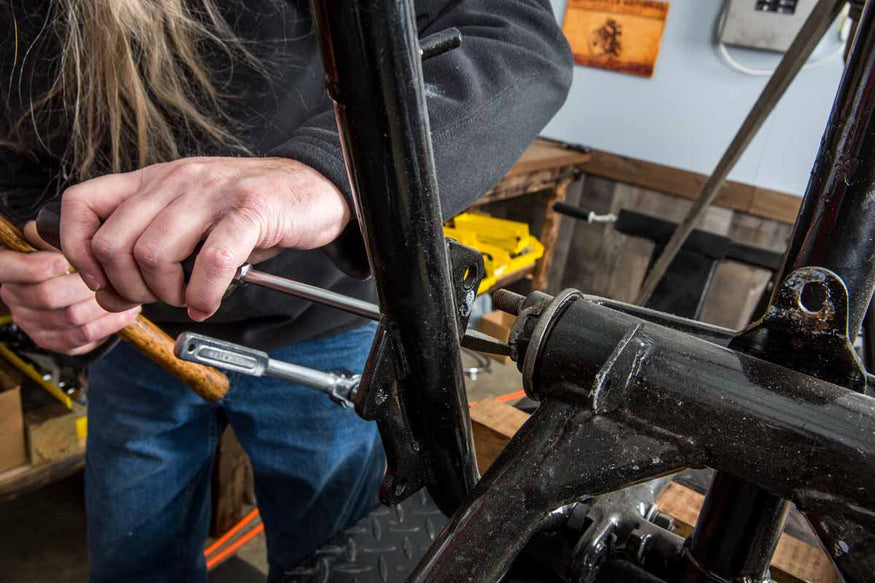
Bend the lock tab up on the swing arm nut.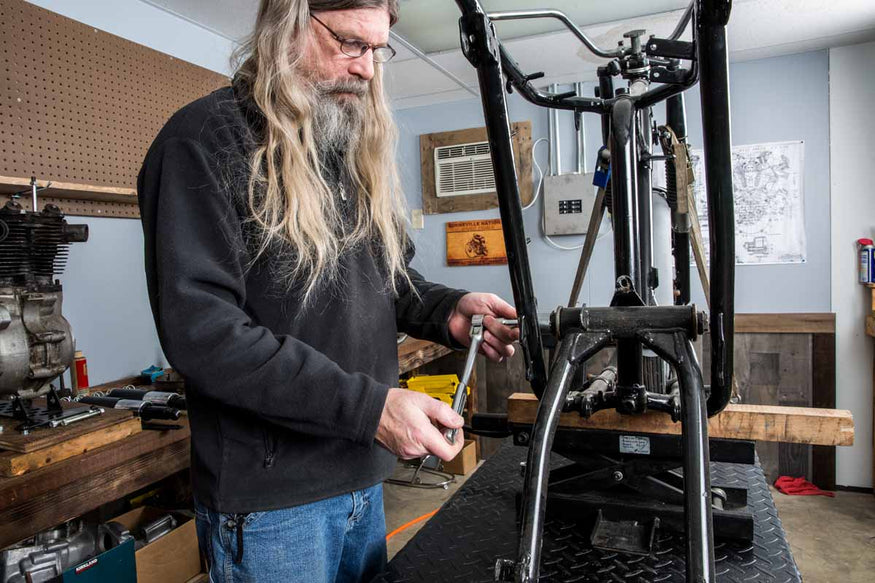
Remove the nut on left side of swing arm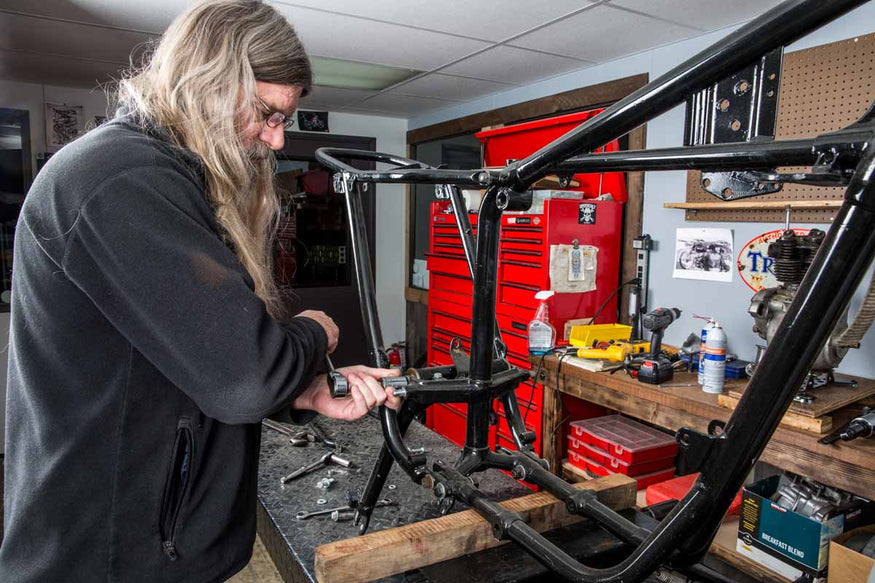
Remove the right side long bolt that goes through the swing arm.
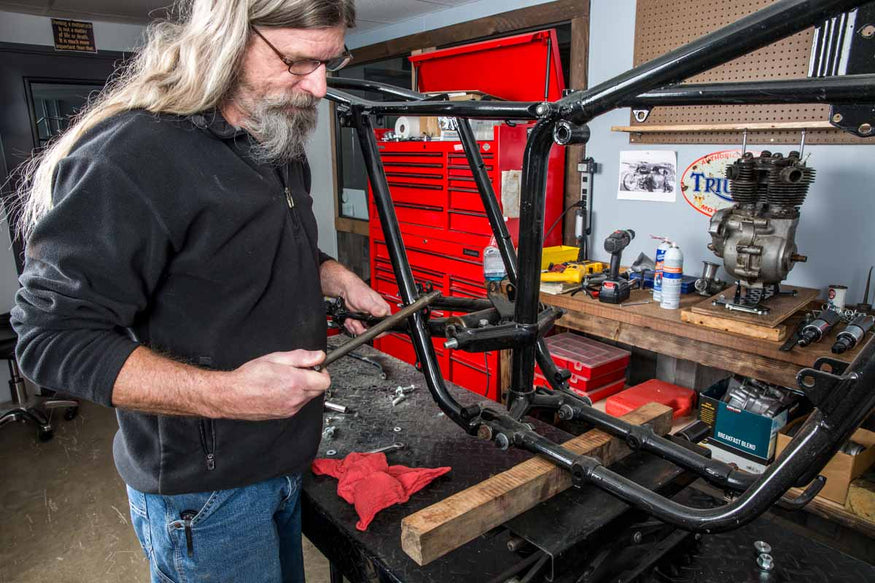
Remove the right side long bolt completely.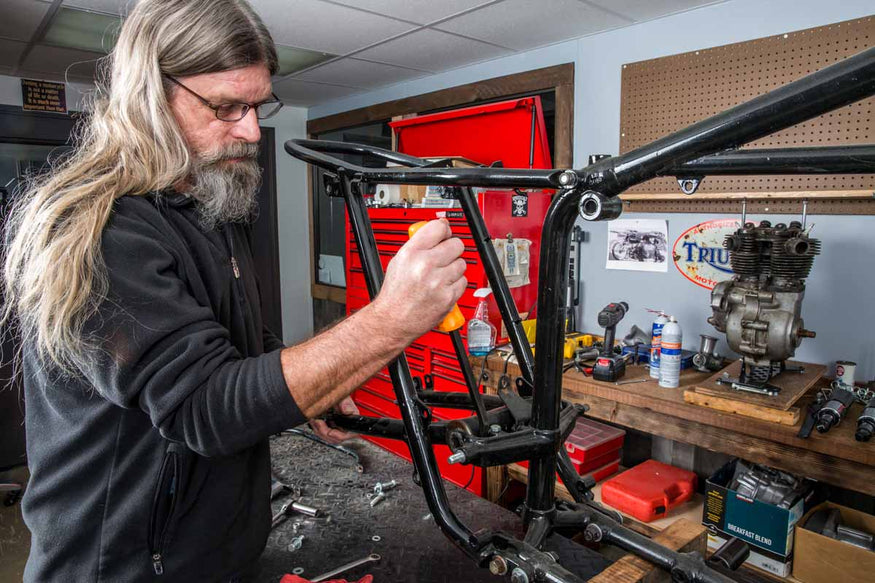
Carefully pry the swing arm from the frame if you need to.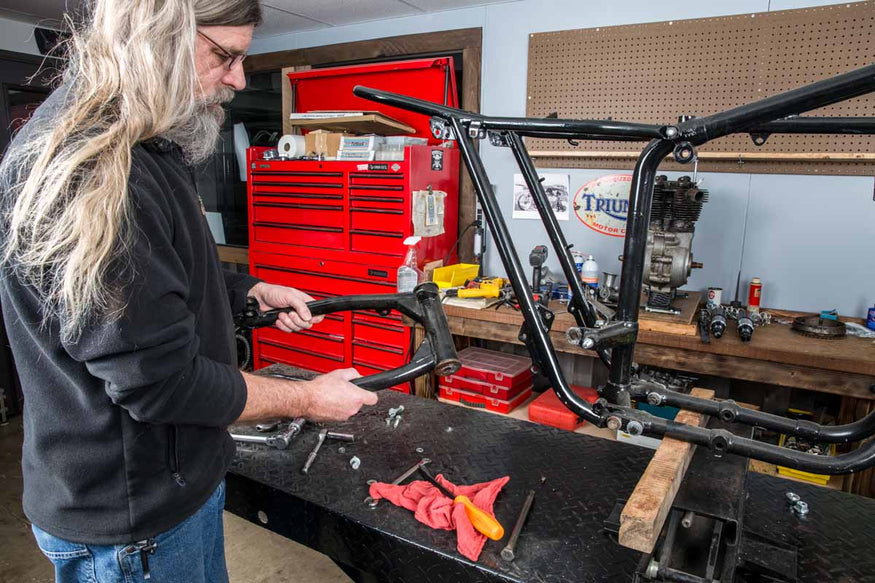
Remove the swing arm from the frame
- Step 6 - Remove the rear frame section from the bike. There are 5 bolts to remove, one on the top of the frame and then two on the right and left bottom sections located near the rear down tube. It’s easier to start on the bottom bolts and work your way to the top.
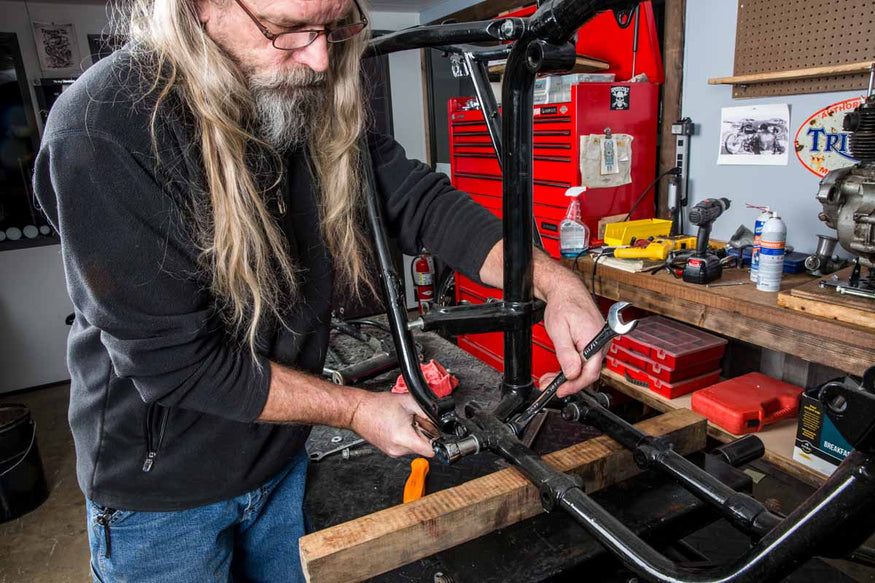
Start with the four bottom bolts that attach the two halves of the frame together.
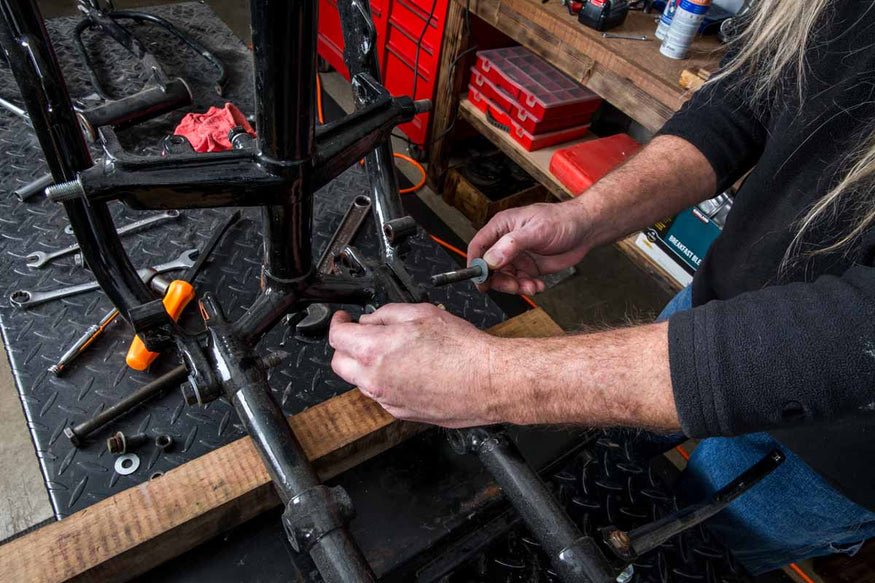
Remove all 4 bolts on the bottom section where the two halves of the frame meet.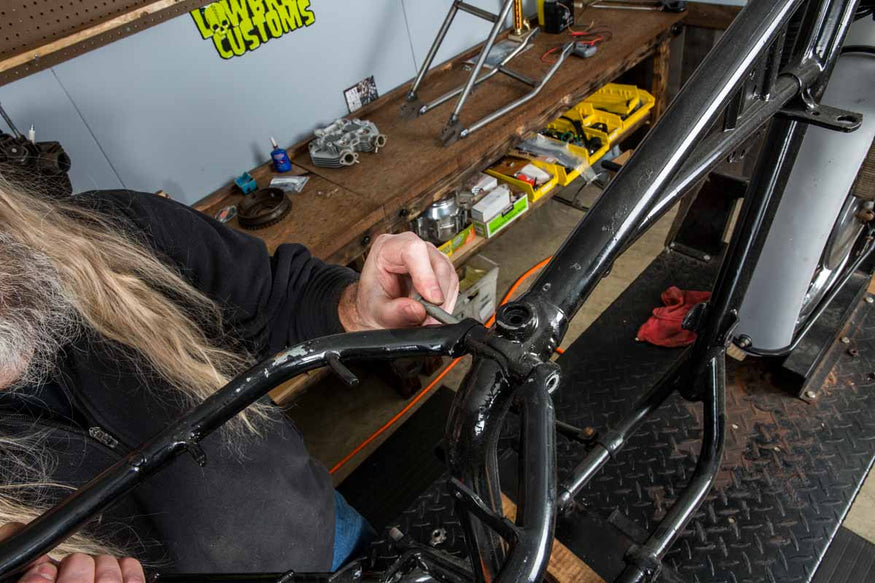
Remove the top bolt from where the two halves of the frame meet.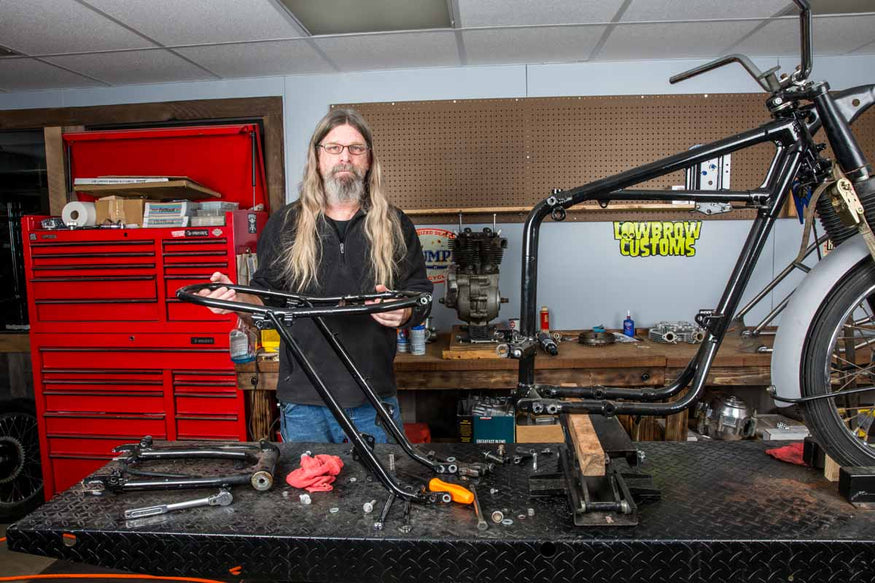
See ya later stock rear section!
- Step 7 - Install your new Lowbrow Customs Triumph Bolt on hardtail utilizing the same 5 mounting points you just removed the bolts from on the stock rear section. It is easier to loosely install the bolt on the top first. Two of the bottom bolts are threaded into the original front loop, make sure they are lined up correctly and threading nicely before tightening. Start all 4 bottom bolts before fully tightening down.
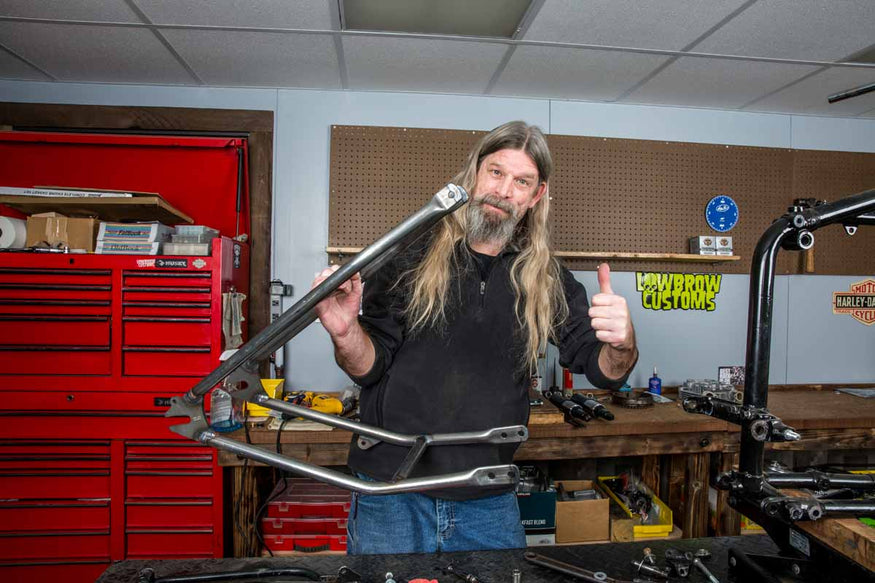
Hello Lowbrow Customs Triumph Bolt-On Hardtail!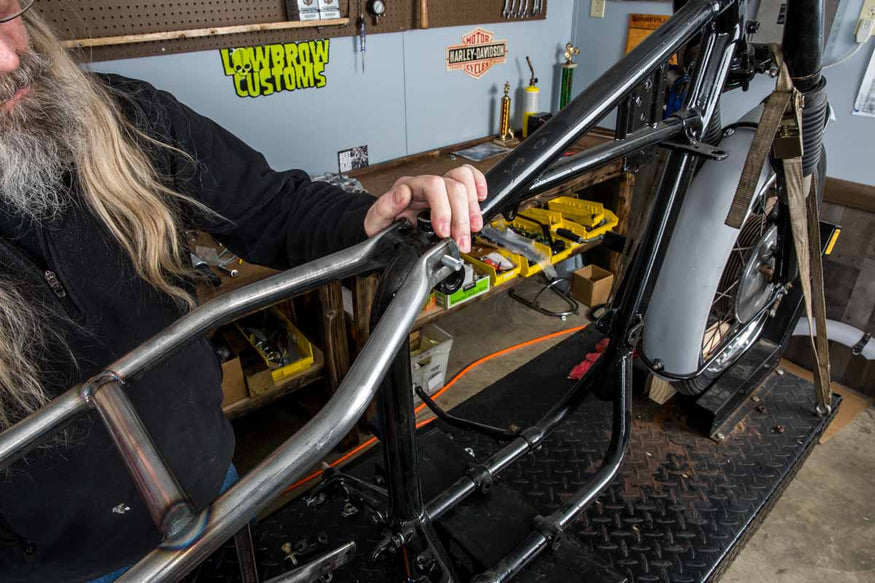
We found it easier to start at the top single bolt on and then work down to the bottom four bolts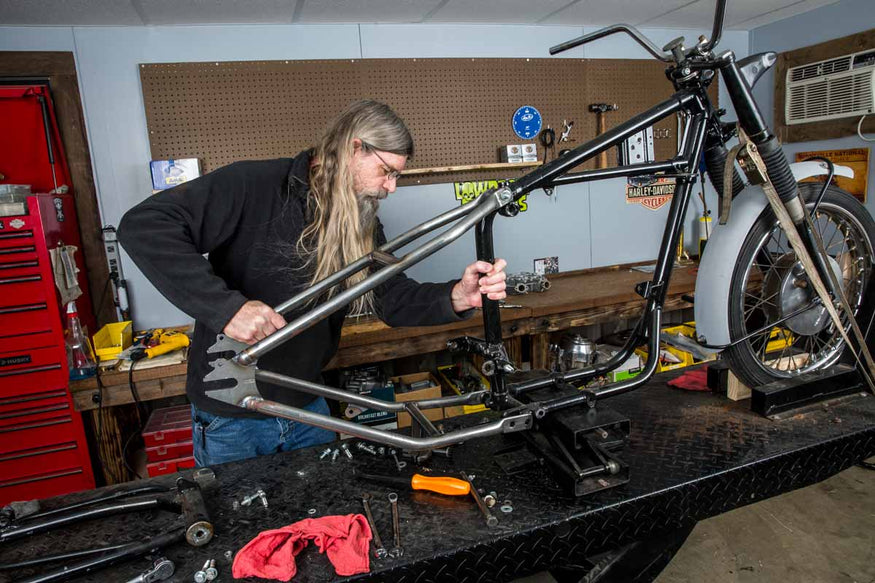
Having the top bolt secured loosely allows it to push the bottom section on easier and line up the holes evenly without having to fumbling around.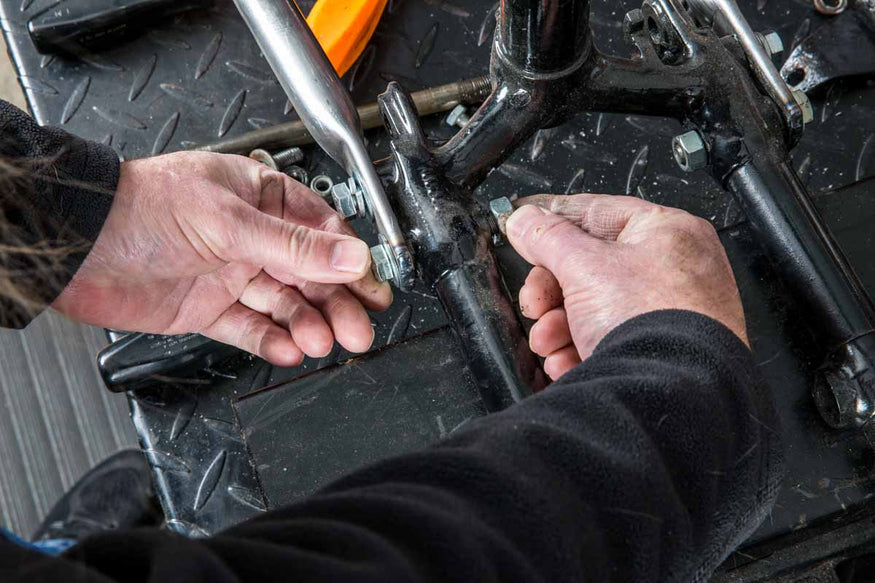
Install all 4 bolts on the bottom section of the frame.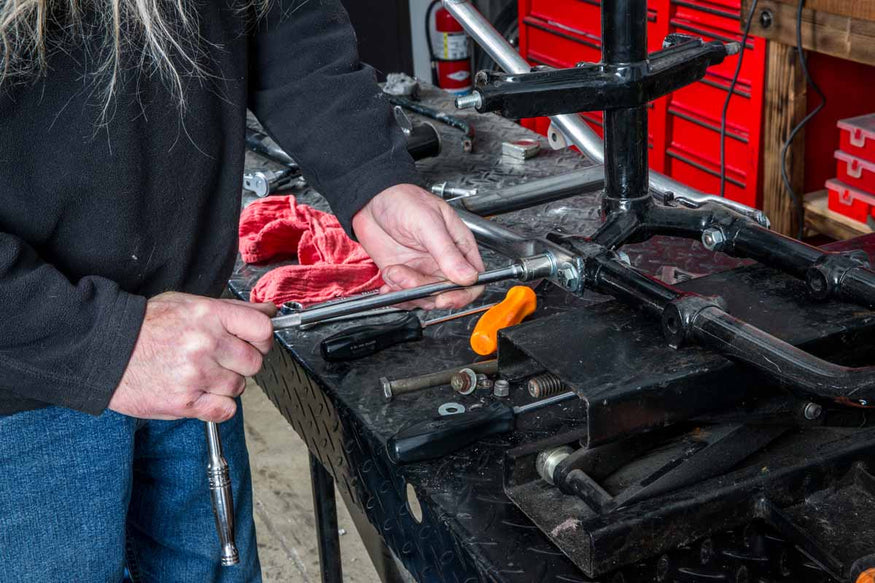
Securely tighten all 5 bolt locations.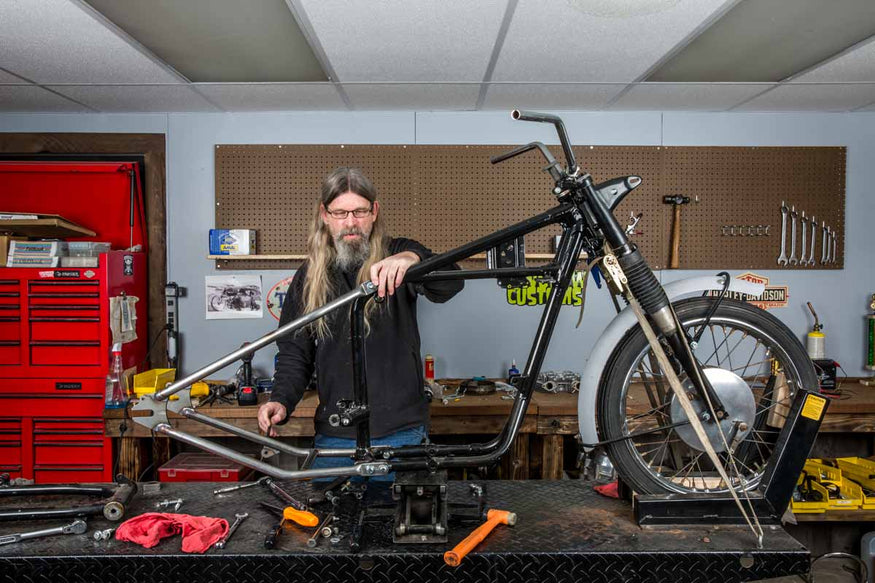
Securely tighten all 5 bolt locations.
With the motor in the front loop and the rear wheel in the new hardtail, re-install your chain and be sure to check the front to rear sprocket alignment. Now would be a good time to mock up your rear fender and figure out where your mounting points will be.
Most customers using hardtail sections will also changing the following parts, oil tank, seat, battery location, fender struts or sissy bar, tail light and license plate mount.
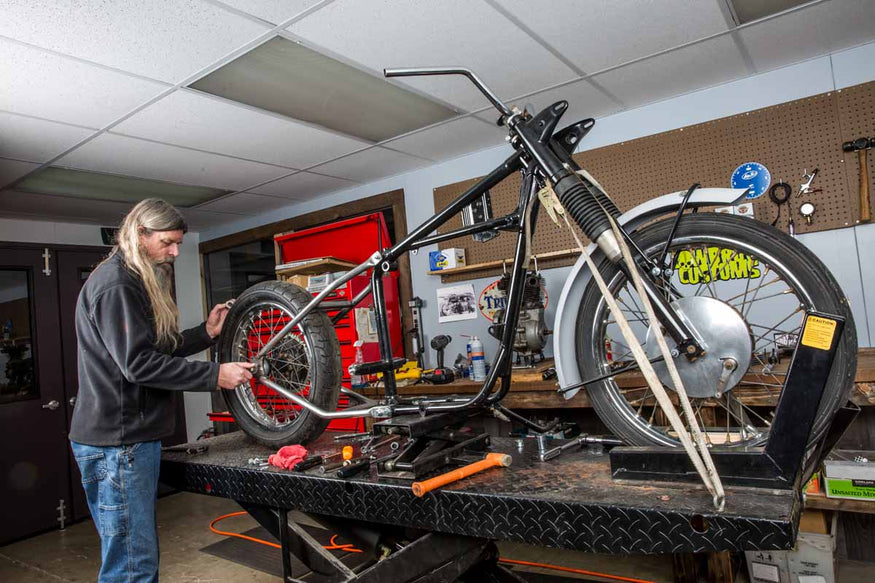
Re-install your rear wheel to make sure for chain clearance.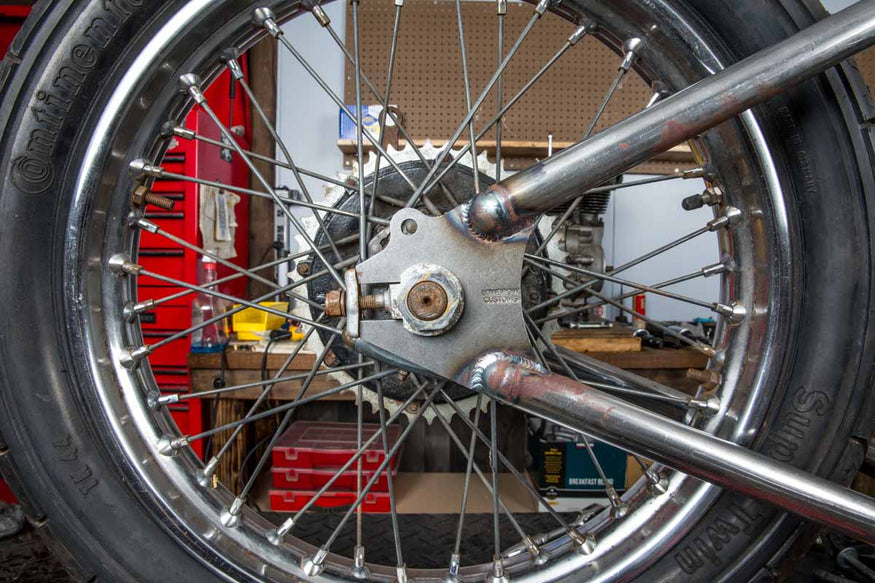
Lowbrow Customs stamp of approval.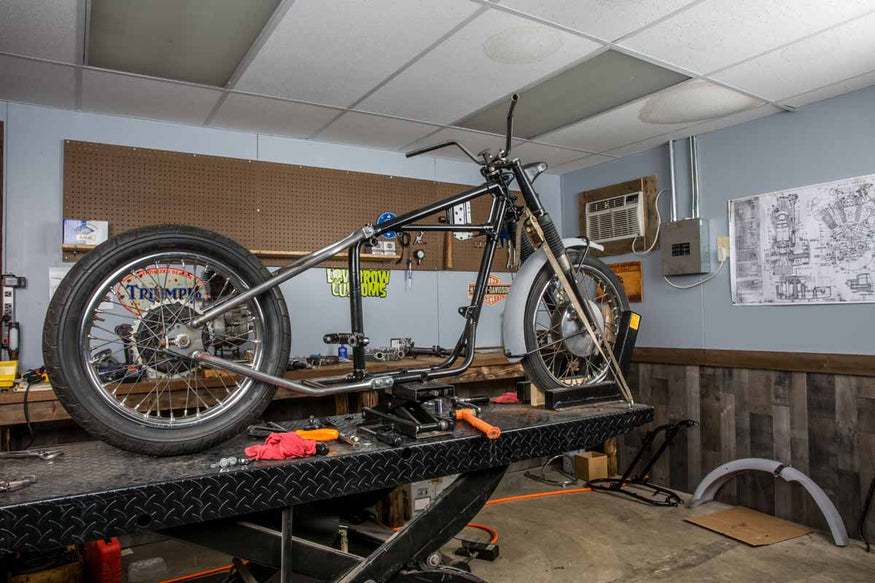
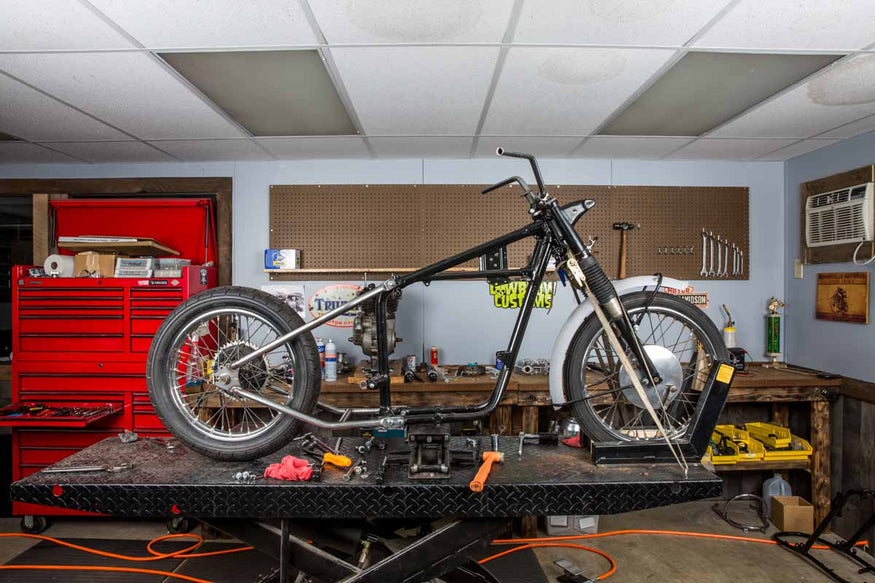
Boom! Hardtail complete.
Embracing the Ride of a Lifetime
As you take your newly customized bike for a spin, you'll embark on a ride of a lifetime, enjoying the benefits of your hardtail installation.
Installing a Triumph bolt-on hardtail is a rewarding endeavor that enhances both the appearance and performance of your motorcycle. With the guidance provided in this article, you'll be well-prepared to undertake this exciting modification. Enjoy the journey of transforming your ride into a true expression of your style and passion.
If you have a Harley Davidson, check out our posts on how we install hardtail Sportster frames with ease.
- INSTALLING A 1954 - 1972 SPORTSTER DAVID BIRD HARDTAIL
- INSTALLING A DAVID BIRD 1973 - 1978 SPORTSTER HARDTAIL FRAME
- INSTALLING A DAVID BIRD 1979 - 1981 SPORTSTER HARDTAIL FRAME
- HOW-TO INSTALL: LOWBROW CUSTOMS 1982-2003 HARLEY-DAVIDSON SPORTSTER HARDTAIL
FAQs
Q: Does installing a bolt-on hardtail on a Triumph require updating the motorcycle's title or registration?
A: In most US states, yes — replacing the rear frame section is considered a significant modification that should be disclosed to your DMV. The original front frame section retains the VIN and remains the legal identity of the bike, so a title change is not always required. However, some states require an amended title noting the frame modification, and others require a VIN inspection before re-registering a significantly modified motorcycle. Contact your state DMV before starting the conversion to understand what documentation you will need after the install.
Q: How does removing the swingarm suspension change the way a Triumph 650 rides?
A: The ride becomes significantly firmer — every road irregularity that the swingarm previously absorbed now transmits directly into the frame and rider. On smooth roads, the difference is manageable and many riders find the direct feedback enjoyable. On rough pavement, cobblestones, or gravel, the impact force is noticeably greater. Seat choice becomes more important — a thicker or sprung solo seat compensates partially for the lack of suspension travel. The handling also changes: hardtails feel more planted in corners but require more careful road reading at speed.
Q: Which specific Triumph 650 unit construction models fall within the 1963–1970 fitment window?
A: The hardtail fits all unit-construction Triumph 650 twins from 1963 to 1970, which includes: the T120 Bonneville (650cc twin carb), the TR6 Trophy (650cc single carb), and the T6 Thunderbird and T120TT variants. The key identifier is unit construction — engine and gearbox sharing one crankcase — which Triumph introduced for the 650 in 1963. Pre-1963 pre-unit 650s use a different two-piece bolt-together frame design that this hardtail does NOT fit. From 1971 onward, Triumph revised the frame design, which also changes the mounting compatibility.
Q: After installing the hardtail, how do I set the chain tension correctly with the new axle position?
A: With the hardtail installed and the rear wheel fitted, adjust the axle position within the hardtail's adjustment slots until the chain has approximately 1/2 to 3/4 inch of vertical play at the midpoint between sprockets. More important is checking front-to-rear sprocket alignment — the front engine sprocket and rear wheel sprocket must be in the same vertical plane. Use a long straightedge laid across the rear sprocket face and check that it meets the front sprocket at both points. Misalignment causes rapid chain and sprocket wear and potential chain derailment.
Q: Does converting a Triumph 650 to hardtail affect its insurance coverage?
A: It can — most standard motorcycle insurance policies cover the bike as described at the time of policy issuance. A significant frame modification like a hardtail conversion may not be covered under a standard policy without disclosure. Notify your insurer of the modification. If your current insurer will not accommodate the change, specialty agreed-value insurers (Hagerty, Markel) are accustomed to insuring custom and modified motorcycles and will factor the modification into the policy terms. Failure to disclose frame modifications can result in a claim being denied.


Related Products


