

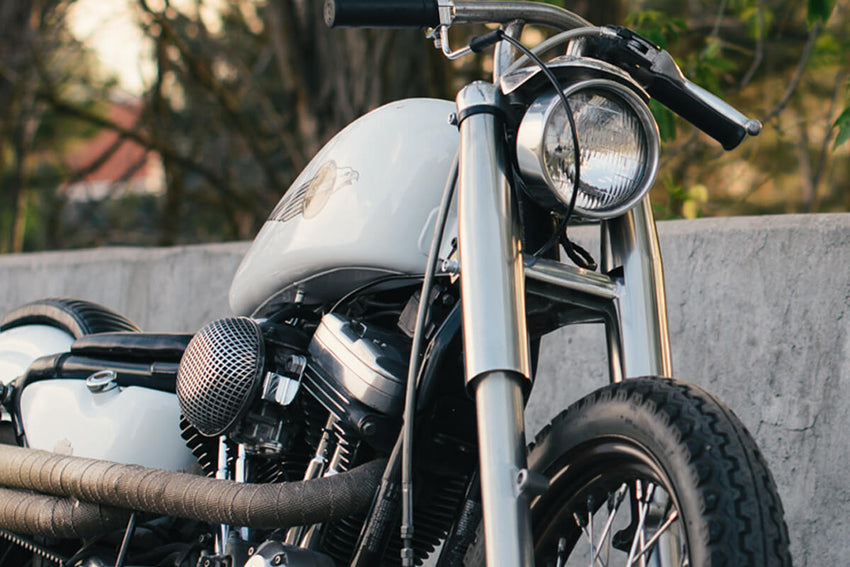
39MM FORK SHROUDS - QUICK & EASY CUSTOM STYLING
Lowbrow Customs' 39mm Fork Shrouds clean up the look of your front end with real iconic style. All Lowbrow Customs 39mm Fork Shrouds include allen hardware for an E-Z bolt-on installation.
WATCH VIDEO: LOWBROW CUSTOMS 39MM FORK SHROUD INSTALL ON A SPORTSTER
This install does require you to remove and get rid of that front fender, but that's ok, your bike will look better without it. This also gives you an opportunity to clean up the lowers and shave down your fender tabs before putting things back together.
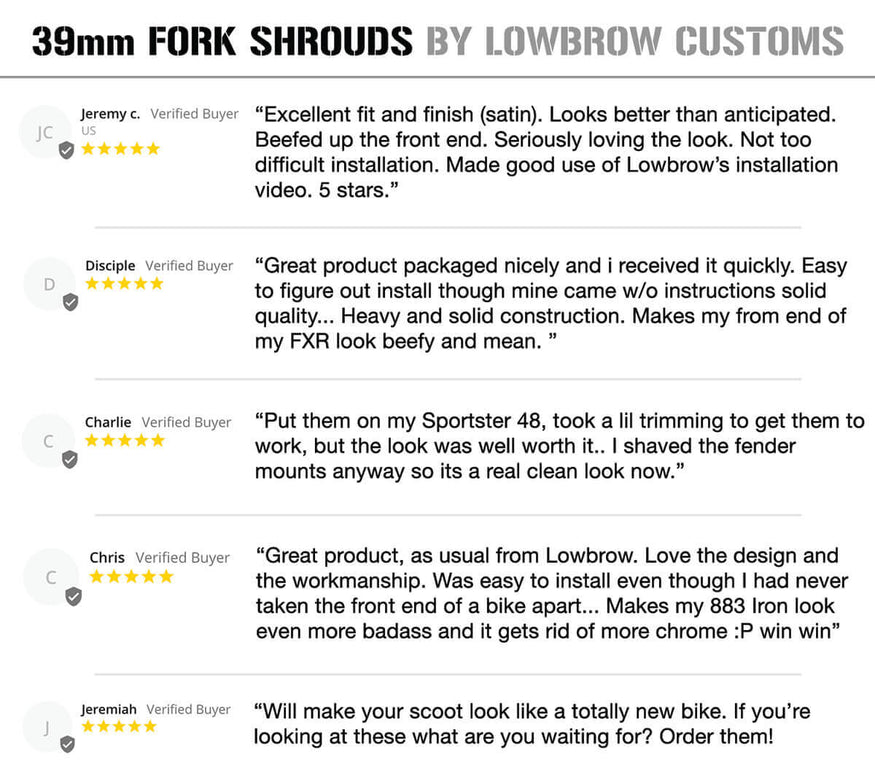
FORK SHROUD CUSTOMER REVIEWS
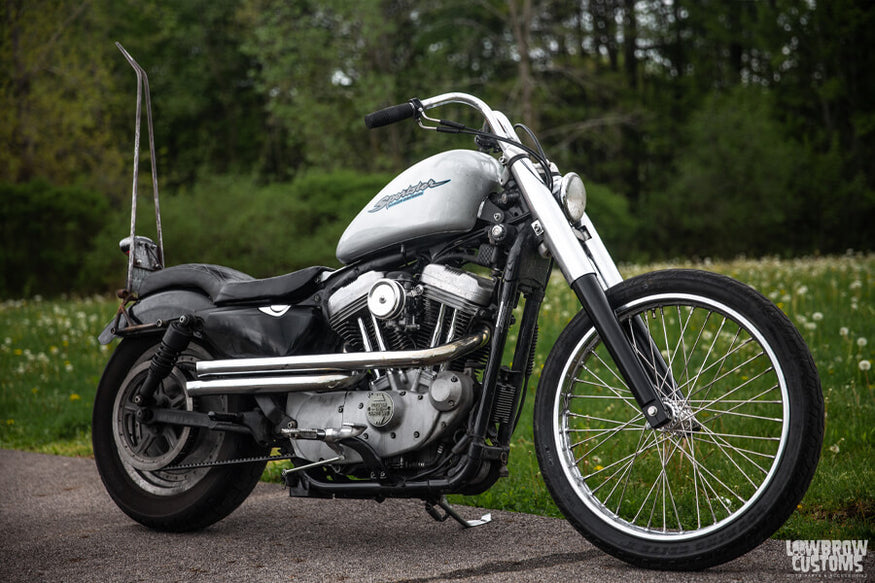
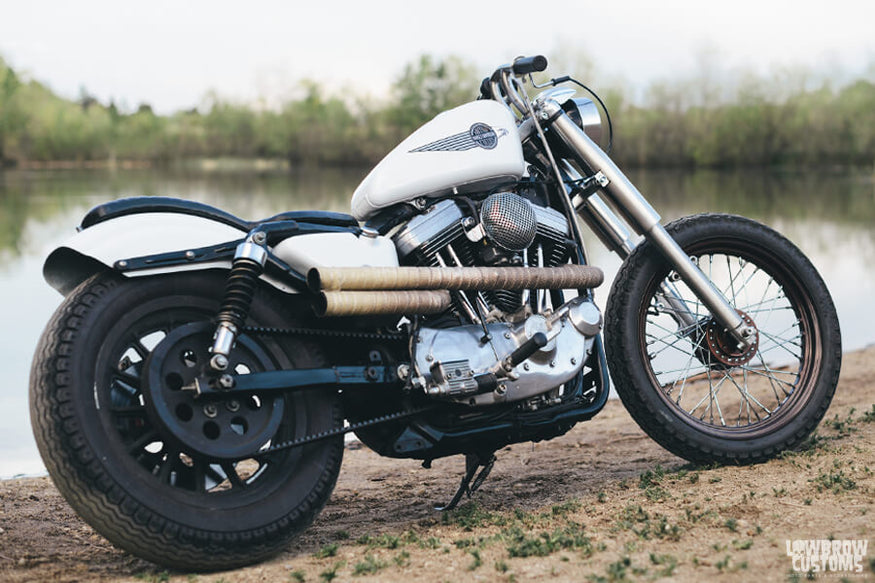
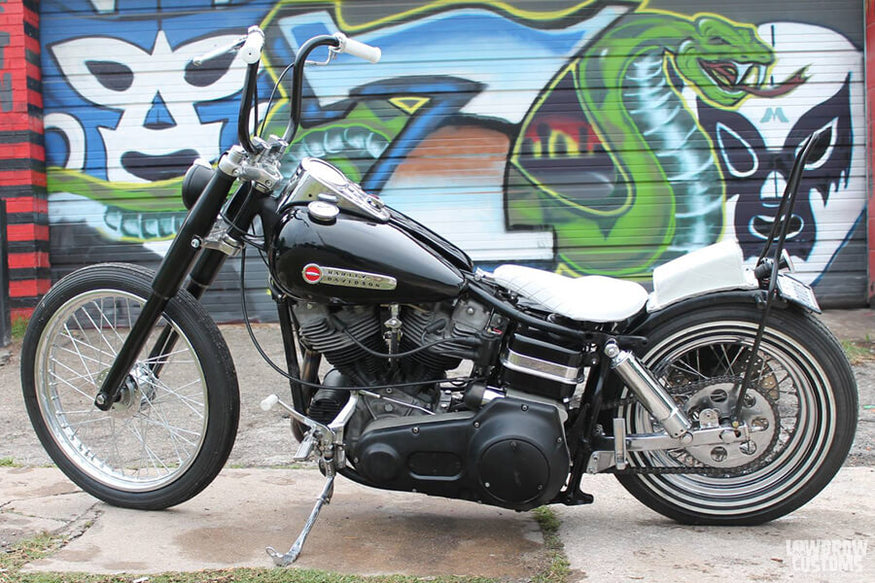
PHOTOS OF 39MM FORK SHROUDS IN ACTION
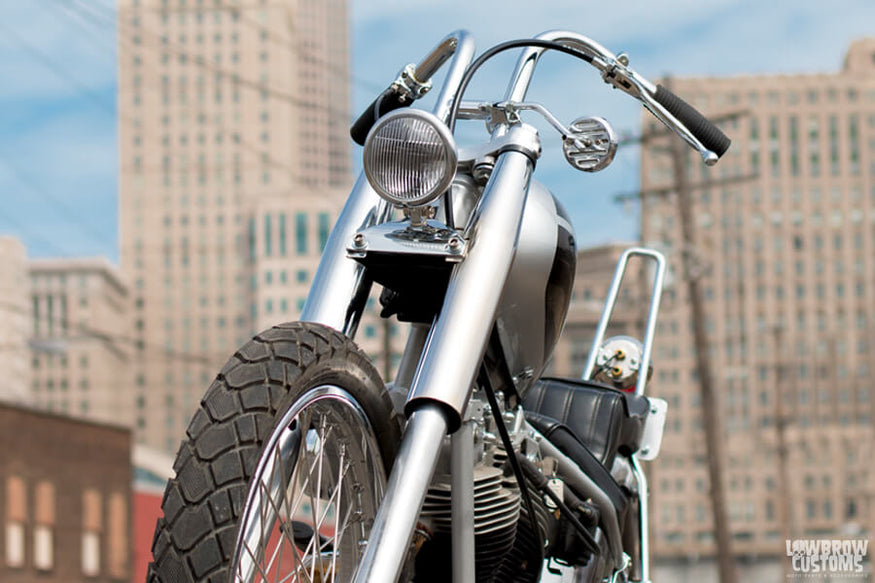 Paco's Harley-Davidson Shovelhead.
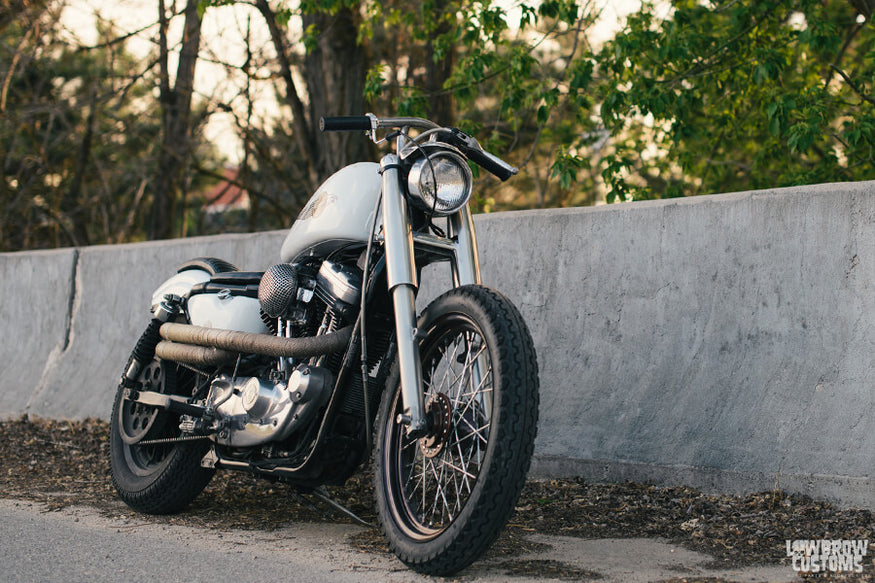
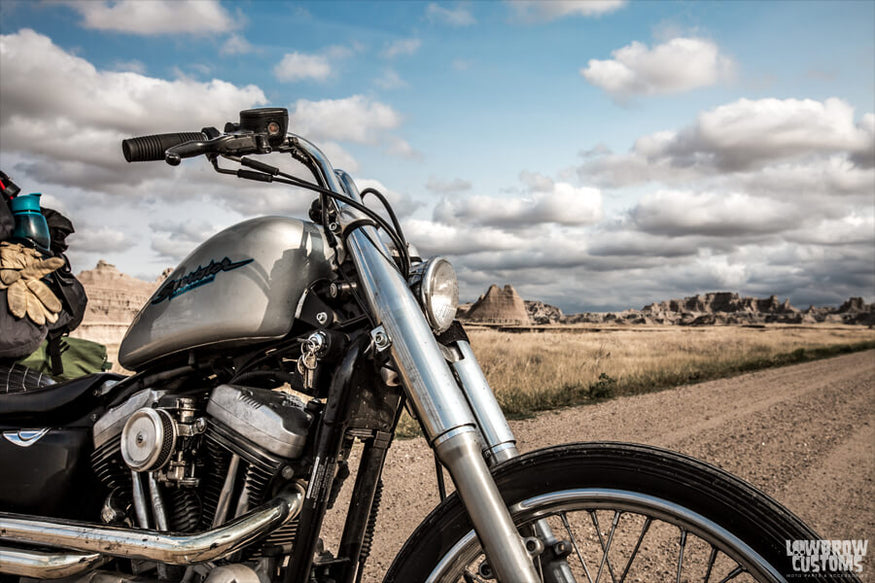 Mikey's 2006 Harley-Davidson Sportster in the Badlands.
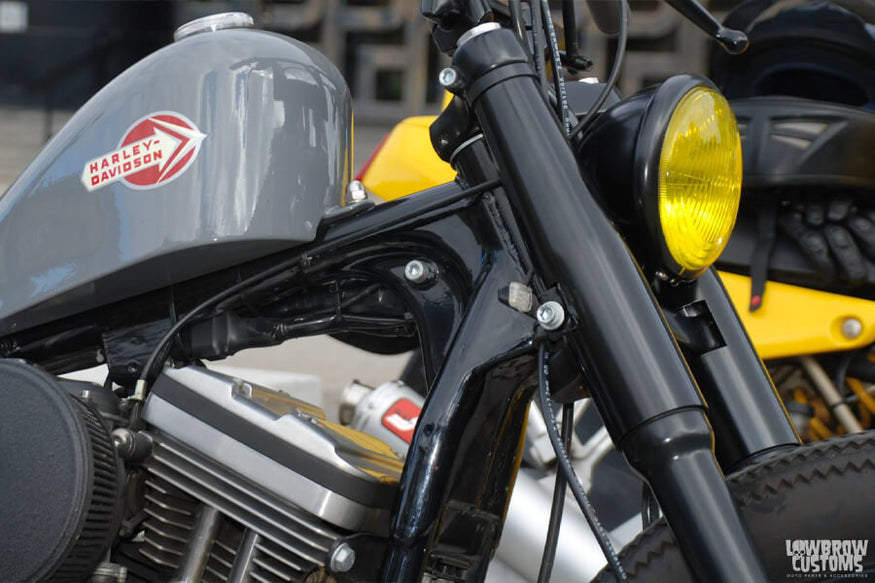

HOW TO CUSTOMIZE YOUR 39MM FORK

This tech tip comes you from our good friend Andy at Pangea Speed on how to install Lowbrow Customs 39mm Fork Shrouds, Lowbrow Customs Tapered Lowers (Editor's note: Lowbrow no longer makes the Tapered Fork Lowers), and a Pangea Speed Headlight Mount to give your 39mm front end (found on Sportsters and some Dyna models) on your bike a truly custom look.
Installing a custom motorcycle part front end on your motorcycle is one of the best ways to set your motorcycle apart from the crowd, consequently it also can spiral into a massive undertaking as well. Here at Lowbrow, we have come up with a few new parts to make your life a whole lot easier.
Prepare to Customize the Front End
This is what Andy started with:
- Harley Sportster 39MM front end.
- Lowbrow Customs 39MM Tapered Lowers
- Lowbrow Customs 39MM Fork Shrouds
- Lowbrow Customs 39MM Radius Fork Caps
- Lowbrow Customs Radius Stem Bolt
- James Gasket Harley-Davidson 39MM fork seal/rebuild kit
- Pangea Speed Headlight Mount
Remove and Clean the Fork Components
Start out by breaking the fork caps loose with a large crescent wrench, don’t fully remove the cap just get them loose.
Now remove the oil drain plugs at the bottom of the slider and drain the oil into a pan.
Remove the damper rod allen bolts from the bottom of the slider. (tip: leaving the top caps on keeps spring pressure on the damper rod which helps to keep the rod from spinning. Also an impact wrench helps remove these as well if you have the luxury.)
Now you can remove the top caps, I removed the tube from the triple tree and clamped it in the vise for 360 degree access but be careful not to scratch the tube.
Go through and break the entire fork apart and clean everything. If you feel like you are going to forget how it goes back together, bust out that iPhone and snap some photos as you go.
Install the New Fork Tube Caps
We are now on to reassembly, take the tube and drop the damper rod assembly in and then the fork spring. Now you are ready to install the new caps.
The caps are genius, grab a 3/8 socket handle and pop the cap on like a socket and screw the cap on to the tube while pushing the spring down. Don’t go super tight, as you will need to remove the caps again when you fill them up with oil.
Insert the Tube Assembly and Replace the Seals
Insert the tube assembly into the slider and tighten the bottom allen bolt down.
One thing to mention is that the brass bushing should be checked out and replaced if the tube has a sloppy fit.
A trick I use is placing an old seal spacer on top of the new seal, this allows me to knock the seal into place without damaging the rubber on the seal.
With the old seal spacer on to I use a flathead screwdriver and a mallet to gently tap the seal into place.
Remove the seal spacer and install the seal retainer clip, rubber dust seal, and chrome dust shield.
Installing the 39mm Fork Shrouds
At this point you could install the legs into the trees and call it a day, but I want to run the fork shroud covers. One cool part about the Tapered Lower kit is that it comes with a custom 3/4in front axle.
Slide the shrouds over the bottom tree and install the bolts and spacers.
You can see here how slick the top caps look when paired with the matching stem nut. At this point I would suggest popping the top caps off and filling the tubes with your favorite fork oil, there are a bunch of different versions of the 39mm fork oil, so make sure to check the specs for your front end. The oil weight and volume really do matter so take care to fill them properly.
The Pangea Light mount installs to the handlebar riser bolts. This allows you to get rid of your sportster headlight eyebrow and run a traditional bottom mount light.
Here it is, The complete front end unit ready to be installed on your motorcycle. The only aspect that we have not covered here is the front wheel. You will need to come up with some spacers to match the wheel that you choose to run.
ADDITIONAL NOTES: While you have the front end apart it is a great time to consider shaving the unused bosses off the triple trees. I also would suggest polishing or chrome plating the triple trees, sliders, axle, and wheel spacers while everything is apart.
If the above method doesn't work for you, we still have another way as below.


Related Products


