


How to Build a Motorcycle Exhaust with Biltwell's Custom Exhaust Kit
A motorcycle is a valuable asset and should always be maintained and taken care of. This includes making sure your motorcycle has a well-functioning exhaust, which can be customized. Making your motorcycle exhaust system by yourself is not a difficult job if you have some basic piping tools and clear instructions. You can choose the look, color, and finish of the exhaust system you want. If you’ve ever wanted to expand your skills and learn how to build motorcycle parts from the ground up, here’s a step-by-step guide to building your own motorcycle exhaust.
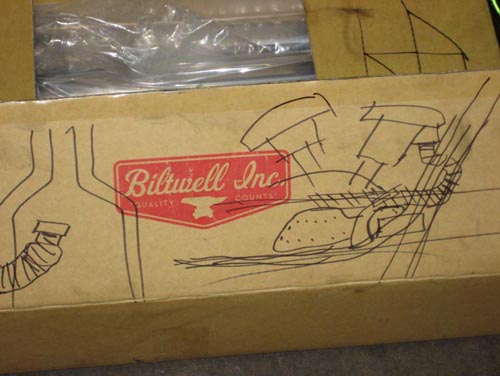
This was originally written by McGoo from Biltwell. It was posted here with his permission, and is a nice tutorial on how to use the Biltwell Builder Motorcycle Exhaust Pipe Kit to make a killer custom motorcycle exhaust for your chopper, bobber, tracker, custom Harley Sportster, Triumph motorcycle, etc. You can use this same tutorial with many different choices of motorcycle exhaust fabrication pieces we have available on our website.
BMX kingpin Chris "The Mad Dog" Moeller at S&M BMX solicited my help to make some new pipes for this infamous Black Widow. S&M BMX builds their own high-dollar BMX bikes in their own building right here in the US of A, so we had skills (shop manager Jason Balls, himself a chopper freak of some repute) and equipment at our disposal.
Chris and I are old BMX grease monkeys, but we put our heads together and dreamed up a pipe set for his new motor in a matter of hours using only a Sharpie, a piece of welding rod and our (half) wits. Here's the blow-by-blow from last night's shop session:
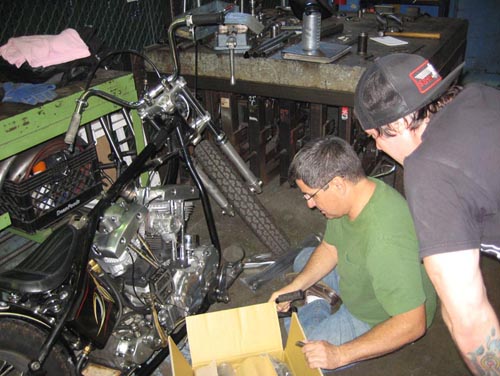
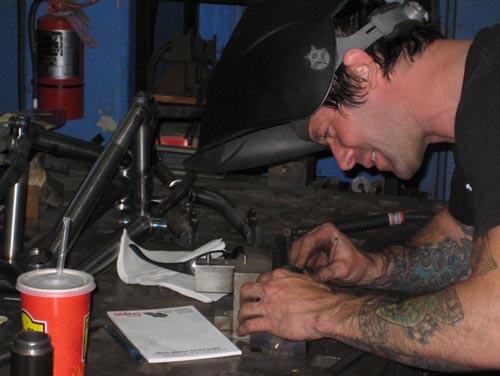
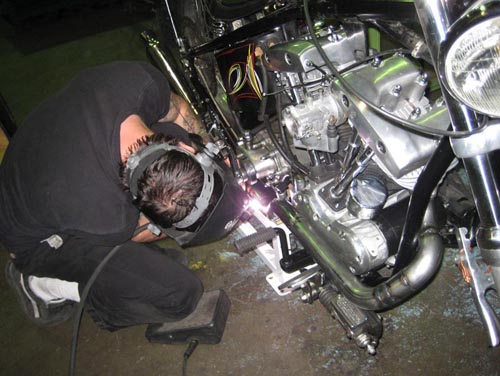
Step 1: Prepping your work area & rough drawing
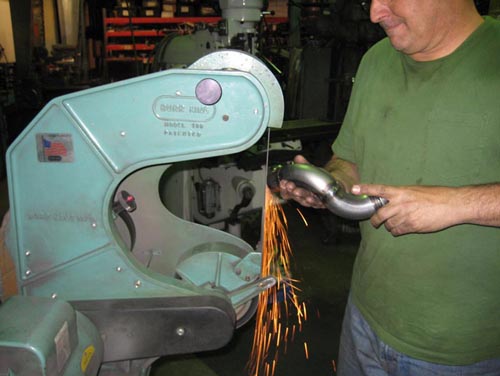
Prep your work area. As you can see from the photo below, a work area can be the floor of the garage, or a lift in your pristine, personal motorcycle workshop.
A lot can be accomplished, when it comes to custom motorcycle exhaust fabrication, with an angle grinder with cut-off wheel and a welder!
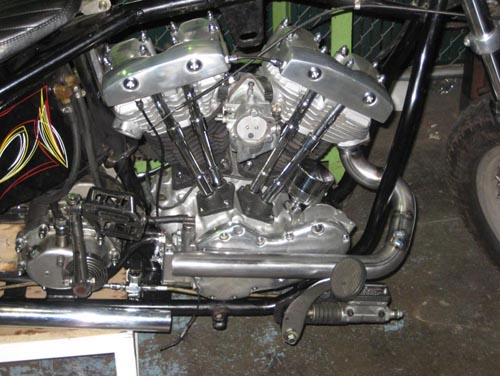
Step 2: Create your basic exhaust shape
Create your basic shape with a piece of welding rod. This can help make discussion easier and give a bit of a reference to help visualize the final design.
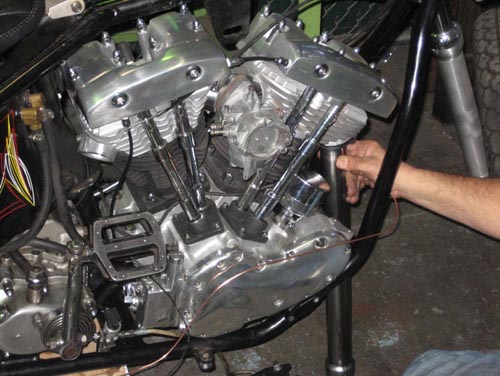
Install your header flange and start picking your bends.
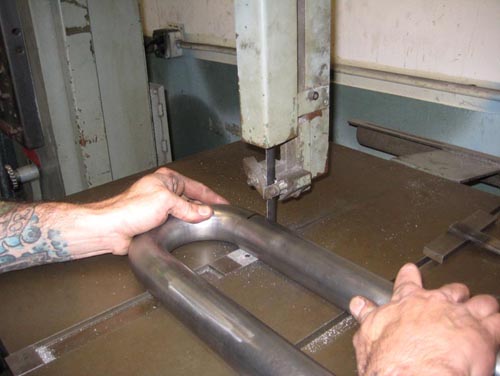
Exhaust tubing is easy to cut to length with a bandsaw or with a cutoff wheel on a grinder. Making the cuts square and even will make the final fitment and welding easier, so take your time marking and cutting your tubing accurately.
When cutting radius sections of exhaust tubing, cut it longer than you think you need and trim back bit by bit. This allows you to hold the next piece in place and ensure the angle is right where you want it. It is easier to cut away more tubing than replace a section when you have hurried and cut it too short!
Once you have some pieces cut to length, tack weld your little bends and straights into shape
TIPS: How to bend motorcycle exhaust pipe?
Bending hollow exhaust tubing without a bender can be a difficult task. It can be done with an oxy-acetylene torch, however, to keep the pipe from crimping when you bend it the tubing must be packed with sand before heating. The ends of the tubing can be capped with automotive freeze plugs. Once heated dull cherry red and bent, allow the tubing to cool, remove the freeze plugs and empty out the sand.
It tends to be easier and faster to use pre-made mandrel bent exhaust tubing sections, cutting and fitting pieces together to get the exact bend (or sequence of bends) that you desire.
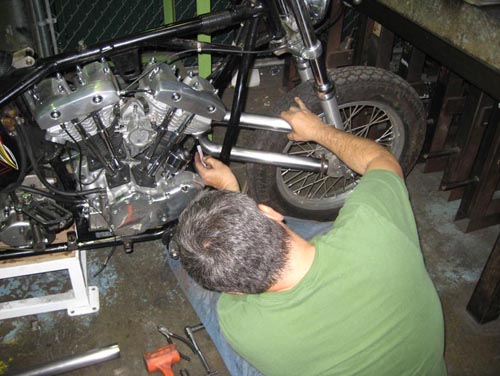
Step 3: Custom Motorcycle Exhaust Fabrication
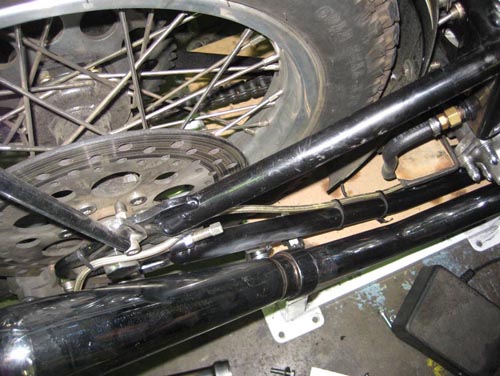
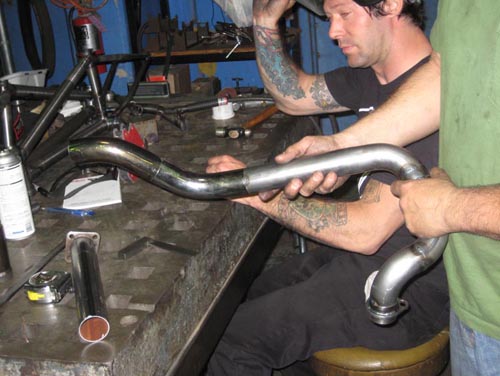
Assess your progress by installing and reinstalling your pipe as it grows

If you like where things are headed and the exhaust is clearing what it's supposed to (such as the frame, foot controls and engine), it's time to strengthen the exhaust pipe in the making.
At this point you can make some 1/2" long stitch welds to hold your sub-assembly more firmly into place
With front half of the pipe in limbo, assess your design and method of mounting in the rear. Mad Dog didn't like the way his cocktail shaker mufflers hung on a giant bracket, so he jettisoned this contraption in favor of some tabs. Yes, those are zip ties Jason is staring at.

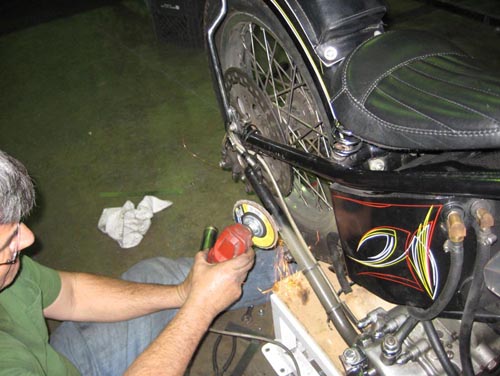
Step 4: Welding the Components
Clean up your tube surfaces with a flap disk to make room for new steel mounting tabs and new welds
Using your exhaust pipe sub-assembly as a guide and a jig, determine the location
of your support tabs and tack them into place
Step 5: Finish making the motorcycle exhaust
Finish weld your exhaust pipe.
TIPS: The best way to weld exhaust pipe
The best way to weld the exhaust pipe is to use TIG welding because TIG welding is suitable for the exhaust material (typically mild or potentially stainless steel). The fine control and penetration a TIG weld offers is superior to MIG welding, especially on a custom chopper exhaust pipe.
A good TIG welder can fusion weld (TIG weld without adding additional material via filler rod) the exhaust segments together if the fit and finish is tight and without gaps. MIG welding is fine as well, though the larger weld beads often need a lot of work to be ground or sanded down to attain a seamless look.
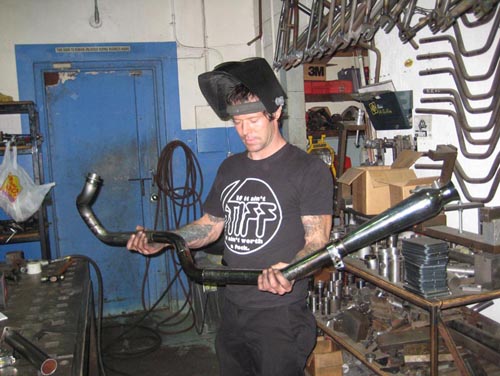
Admire your handwork. Repeat for the exhaust for the rear cylinder head.
Experience Gained Along the Way of Building a Custom Motorcycle Exhaust
- Not even the clean cut of a bandsaw will leave your tube openings in perfect shape for end-to-end welding. When this is the case, massage the tube openings with sandpaper. The more horsepower, the better
- The pipe for the front cylinder took us a little over 5 hours to build, and required some mods to the foot peg and foot controls location, and the aforementioned mods to the muffler mounting. We measured three times. cut twice and welded once on every joint. It's better to whittle away a little bit of tube at a time to get your joints perfect than it is to whack off too much tube... taking off is always easier than adding on, especially on tight radii.
- Beer actually made this project go faster.
- If you're a badass TIG welder like Jason is, you can fuse these tubes together without rod. He did this several times and it looked awesome.
- As the three of us proved, anyone with average talent, simple tools and some spare time can make pipes for their bike—you don't need a multi-million dollar bicycle factory at your disposal to do it!
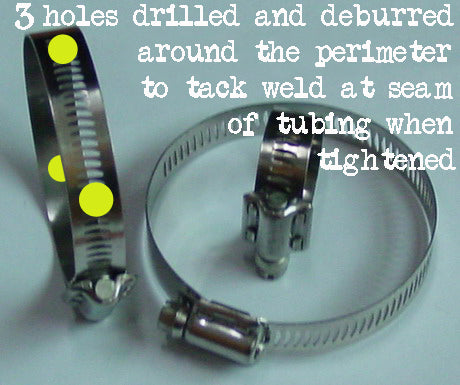
A great piece of advice from Derrick: "For all you TIG-tackers, try using some hose clamps with holes drilled in it to hold your place while you tack. trust me, it makes a world of difference in time when fitting and welding a set together."
Thanks to Chris for inviting me to his party, and to Jason for being such a good workmate.
I can't wait to see the rear pipe. Good luck and have fun, Mad Dog…
Custom Motorcycle Exhaust FAQs
Q: Will a custom exhaust require re-jetting the carburetor or remapping the fuel injection?
A: Almost certainly, yes — especially if the stock exhaust system is being completely removed rather than just the muffler. Removing restrictive stock exhaust increases airflow out of the engine, leaning the air-fuel mixture. On carbureted bikes, increase the main jet size (commonly one or two sizes up from stock) and potentially the needle position. On EFI bikes, a fuel tuner (Dynojet Power Commander, Vance & Hines Fuelpak, or similar) is needed to add fuel to match the increased exhaust flow. Running lean damages engines over time — plan for fuel system adjustment as part of any full exhaust build.
Q: Are there noise regulations for custom motorcycle exhausts in the US?
A: Yes. EPA regulations require all street-legal motorcycle exhausts to meet established noise standards, and many states enforce additional local sound limits — typically 80–96 dB depending on jurisdiction and road speed. Open straight pipes that eliminate baffles entirely are not street-legal in most states. California, New York, and Florida actively enforce noise regulations at roadside checks and inspection stations. A custom exhaust that passes in one state may fail inspection in another — include a removable baffle option if you ride across state lines.
Q: How does exhaust wrap cause pipe corrosion, and how do I prevent it?
A: Exhaust wrap traps moisture against the pipe surface, which accelerates rust on mild steel pipes — especially in climates with temperature cycling or rain. To prevent this: soak the wrap before applying (it conforms better and seals more tightly), apply a high-temperature exhaust coating (VHT Flameproof or similar) over the finished wrap, and re-spray after the first heat cycle to seal any gaps. Stainless steel pipe eliminates the corrosion concern entirely but costs significantly more than mild steel.
Q: What effect does exhaust pipe diameter have on power delivery?
A: Pipe diameter affects exhaust scavenging velocity — the speed at which outgoing exhaust gas helps pull in the next intake charge. Too-small diameter creates back pressure that stifles flow. Too-large diameter slows gas velocity and reduces the scavenging effect. For a stock or mildly modified Harley Big Twin, 1-3/4-inch header pipe is the standard recommendation. Higher-compression or larger-displacement engines benefit from 2-inch or larger. Going bigger does not always mean more power — matching pipe diameter to the engine's actual flow requirements is what produces results.
Q: Can I weld mild steel exhaust sections to stainless steel, and does it require special technique?
A: Yes, but it requires different filler rod than a mild-to-mild weld. ER309L stainless filler rod is the standard choice for welding mild steel to stainless, providing a joint that resists the differential expansion between the two materials. Use lower heat input than you would for mild steel, and allow adequate tack cooling between passes to avoid warping the stainless section. For most custom exhaust builds, keeping all sections in the same base material (either all mild steel or all stainless) is simpler and produces more consistent results.


Related Products


