


In this how-to tutorial Tyler shows you how easy it is to take your stock Sportster's cockpit and turn it into something exciting and custom. Changing out your motorcycle handlebars can drastically change the look, feel, and handling of your motorcycle and are extremely easy to change out. Tyler walks you through the step by step disassembly of a 1994 Harley-Davidson 1200 Sportster stock handlebar and control set up.
Then walks you through how easily it is to install a new set of our Narrow Rabbit Ears handlebars and T-bar 10" rise Chrome handlebars and the capabilities of keeping your stock controls.
With our Rabbit Ear handlebars and T-bar handlebars, we have a lot of options for you to choose from. We have smooth or dimpled that come in three different finishes, Chrome, Black, or Stainless and we even offer:
- Two Rabbit Ear motorcycle handlebars styles: Standard width or Narrowed.
- Two T-bar motorcycle handlebar sizes: 8" or 10" Rise.
After choosing the right bar for you, there are even more ways to customize your cockpit with accessories or deleting accessories. From deleting your speedo, to changing out those bulky motorcycle mirrors, to adding some styling grips, to even relocating your motorcycle turn signals.
The options are endless and a really easy way to make your bike stand out from the rest all while being a super fun and easy project to tackle on your own.
So follow a long and get some ideas on how you can make your cockpit even cooler by utilizing all that Lowbrow Customs has to offer.
WATCH VIDEO: Installing Rabbit Ear Handlebars
Watch the full video to know details about how to install motorcycle handlebars.

Comparisons between the Lowbrow Customs Standard and Narrow Rabbit Ears.
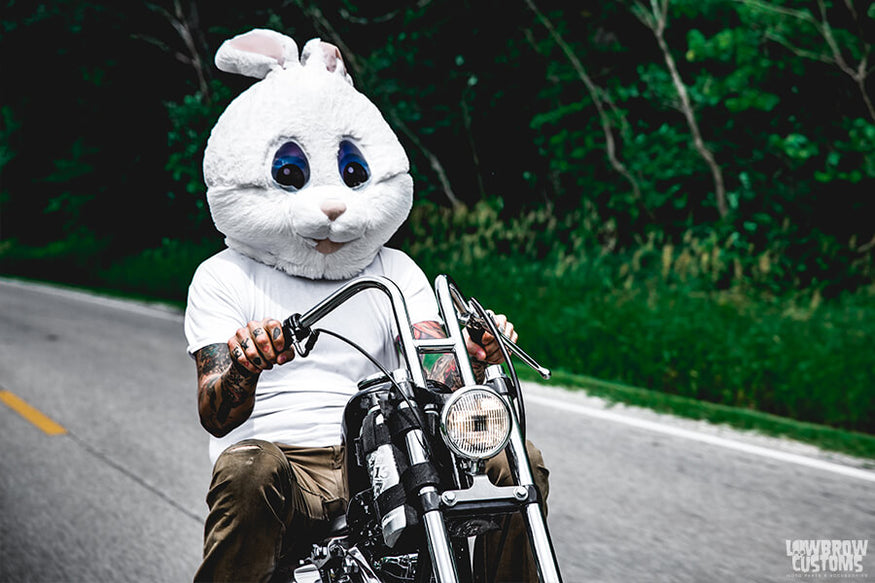
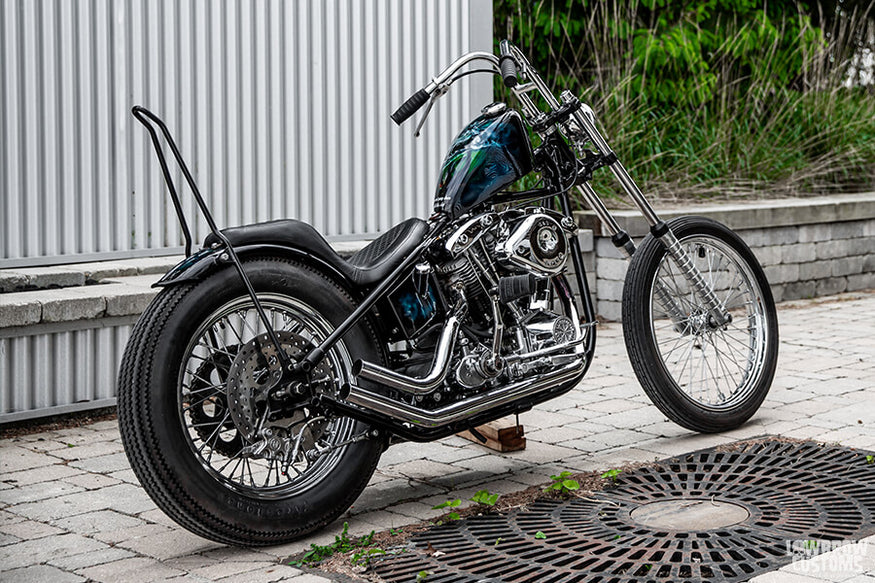
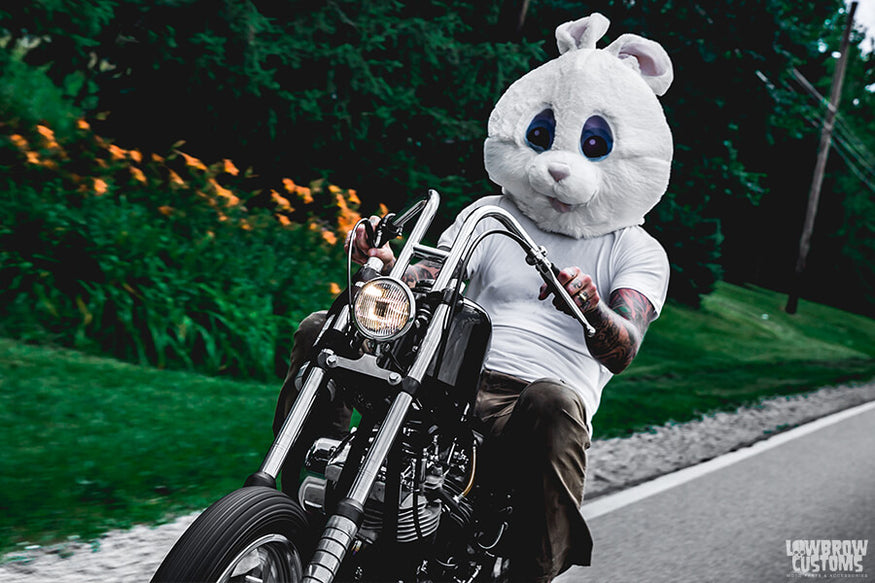
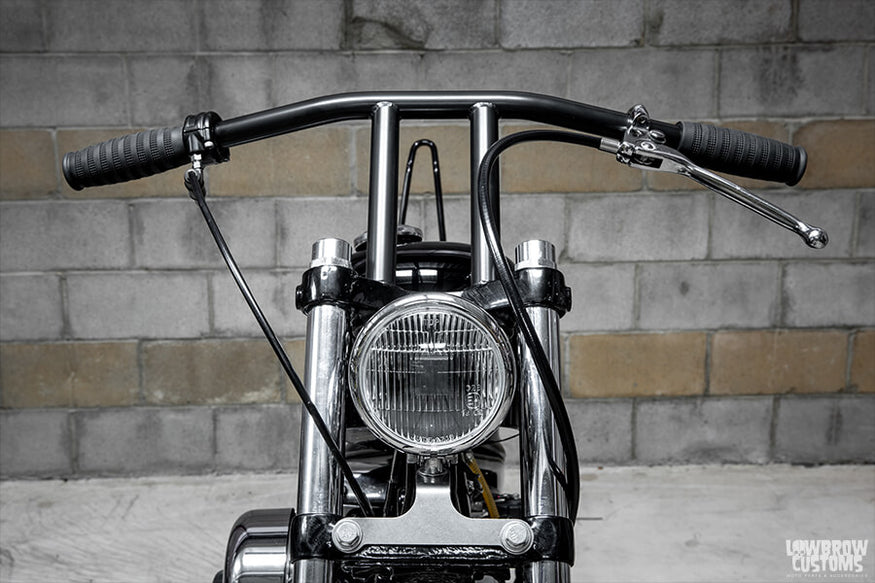
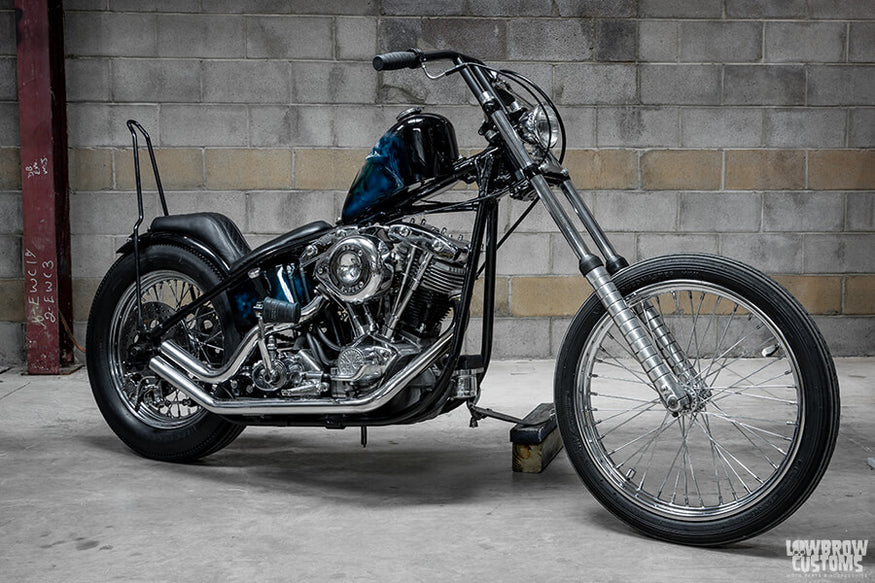
PHOTOS OF INSTALLED RABBIT EAR HANDLEBARS ON BIKES


Video Time Stamps:
00:01 - Intro
00:20 - Rabbit Ear handlebar styles available.
00:48 - Removing the stock speedo and tac gauge cluster.
01:09 - Speedo gauge mount relocation option.
02:08 - Remove the bolts holding the headlight eyebrow on to free up room to move the gauge cluster out of the way.
03:19 - Removal of the turn signal, motorcycle mirror, and hand controls on the right side.
05:52 - Removal of the turn signal, mirror, and hand control on the left side. (Turn signal and Mirror come off the same way as the right one.)
07:01 - Tip on how to remove glued grips on the left side. You can always check our blog on how to install motorcycle grips if you‘d like to know more details.
07:33 - Loosen the nuts on the riser bolts before removing the bars, this will help with getting them loose and not spin.
07:56 - Remove old handlebars from stock risers.
08:32 - Remove stock handlebar risers.
09:28 - Differences in certain stock mounting riser studs to look out for and solutions if you need to use something different.
10:53 - Installing Lowbrow Customs Rabbit Ear handlebars.
12:52 - Note* what to look for when putting the stock controls back onto the new handlebars. Be sure to watch out for the brake light switch and to engage the lever accordingly. You can also see the dimpled part of the bars will help you align the wiring correctly.
13:33 - Installing stock controls on right side.
14:58 - Installing stock controls onto the left side.
16:28 - Narrow Rabbit Ear handlebar install complete.
16:47 - Ideas and options on what to do to clean up the look of your cockpit
17:52 - Finished!
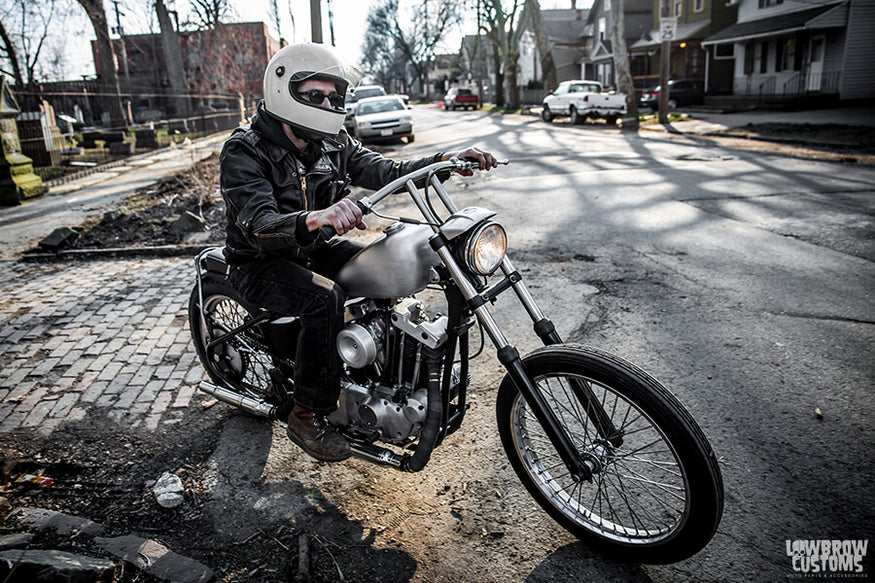
17:59 - Narrow Rabbit Ear handlebars in the wild!
WATCH VIDEO: Installing T-Bar Handlebars
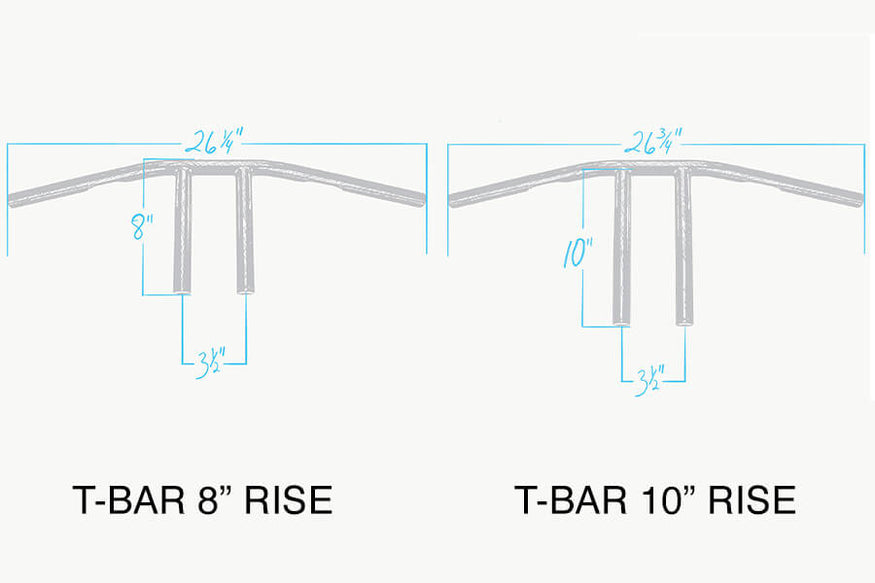
Here are measurements of the two styes of T-bar's. The 8"come in Chrome, Black and Stainless, dimpled or smooth. The 10" come in Chrome or Black, dimpled or smooth.
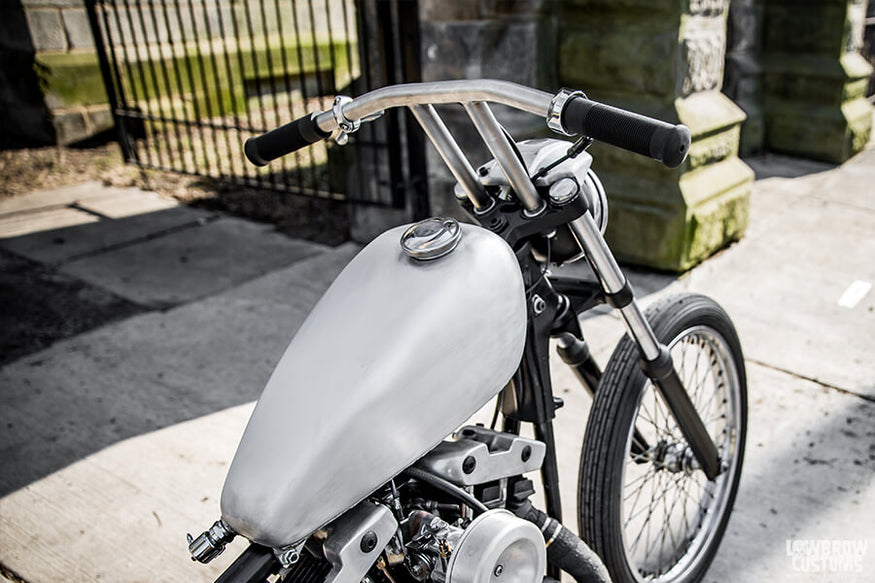
PHOTOS OF INSTALLED T-BAR HANDLEBARS ON BIKES
Black 8" rise smooth T-bars.
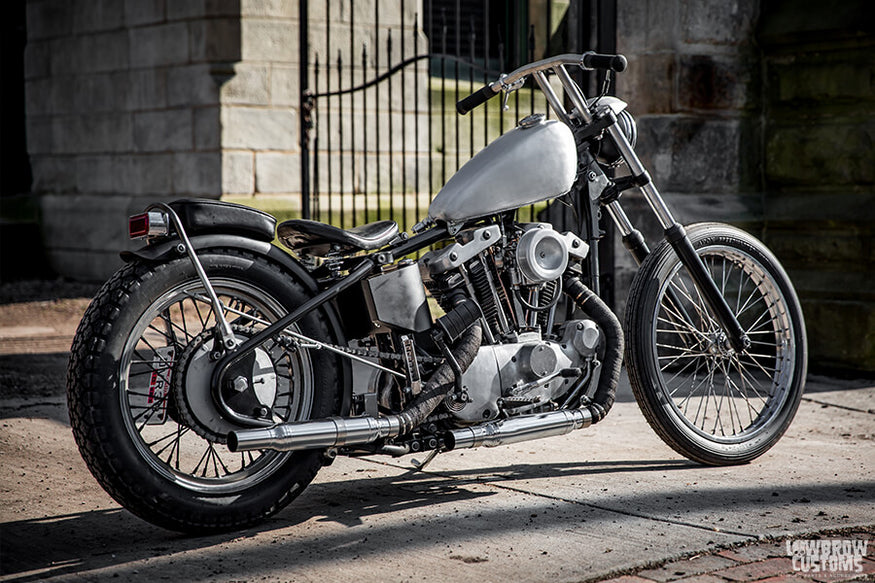
Tim Fiorucci's 1973 Ironhead Sportster rocking our 8" rise Smooth Stainless T-bars.


Video Time Stamps:
00:01 - Intro
00:23 - T-bar handlebar styles available.
00:49 - Removing the stock speedo and tac gauge cluster.
01:10 - Speedo gauge mount relocation options
02:09 - Remove the bolts holding the headlight eyebrow on to free up room to move the gauge cluster out of the way.
03:20 - Removal of the turn signal, mirror, and hand controls on the right side. 05:53 - Removal of the turn signal, mirror, and hand control on the left side. (Turn signal and Mirror come off the same way as the right one.)
07:02 - Tip on how to remove glued motorcycle grips on the left side.
07:34 - Loosen the nuts on the riser bolts before removing the bars, this will help with getting them loose and not spin.
07:57 - Remove old handlebars from stock risers.
08:33 - Remove stock risers.
09:29 - Differences in certain stock mounting riser studs to look out for and solutions if you need to use something different.
10:53 - Installing Lowbrow Customs T-bar handlebars.
12:10 - Brake line talks and how to determine what length you may need with new bars.
13:34 - Reinstalling the right controls onto the bars.
13:38 - Pay attention to the brake switch on the controls and to line up your brake lever correctly.
15:01 - Reinstalling the left controls onto the bars.
16:48 - Ideas on how to clean up your controls, wiring, cables, and customize your new handlebars.
18:39 - Finished!
18:45 - Lowbrow Customs T-bar handlebars in the wild!
Now that you know how to change motorcycle handlebars, your Sportster's transformation is just a wrench-turn away. Whether you're going for classic appeal or aggressive styling, installing new bars can completely transform your ride's look and feel. While we've covered the Sportster installation here, our Harley Davidson handlebar fitment guide includes specs for other models too. We're constantly creating detailed motorcycle how-to guides and event coverage to help riders like you customize their dream machines. Give these steps a try, and don't forget to share your handlebar transformation results with us!


Related Products


